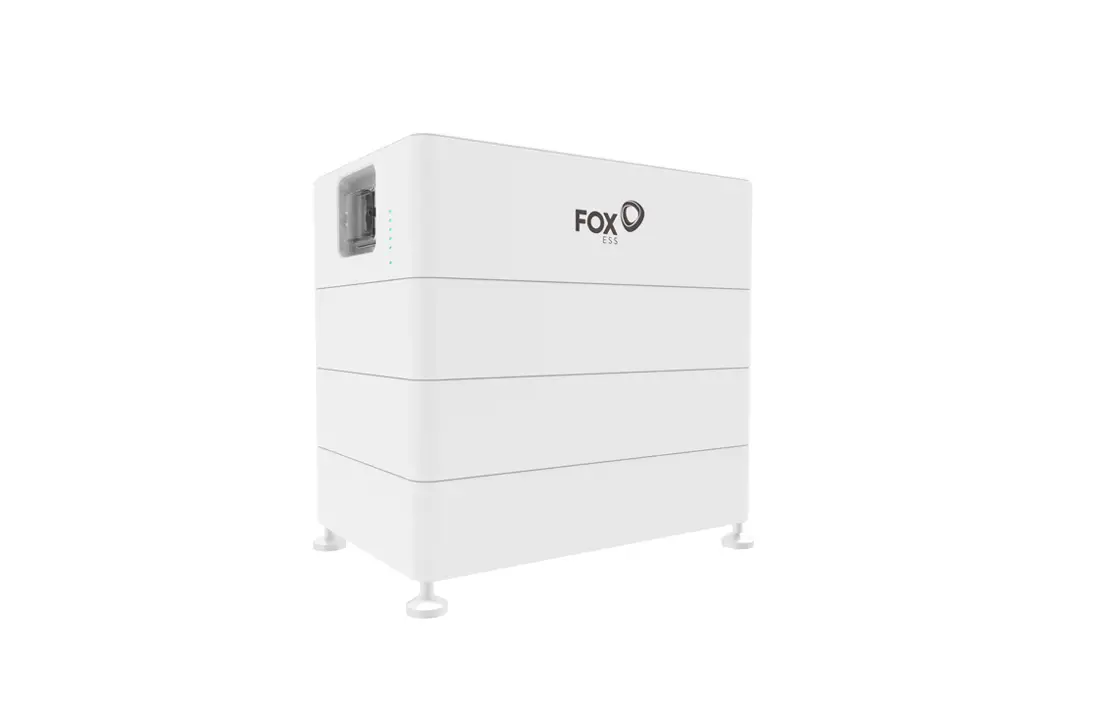
ECS FOX CM4000 High-Voltage Stackable Battery Installation Guide
Tools Required
The following tools will be required to install CM(Master module) and CS(Slave module) .
- Screw Driver
- Crimping Modular
- Safety Shoes

- Multimeter
- Safety Gloves

- Safety Goggles

- Plier
- Ribbon
- Electric Drill
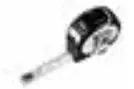
- Track Level Bar
- Tape
- Marker

Packing List
For CS :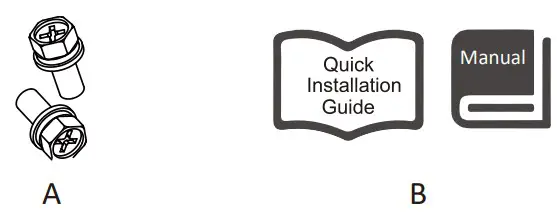
| No. | Items |
| A | Mounting screw pack |
| B | Installation guide & User manual |
For CM :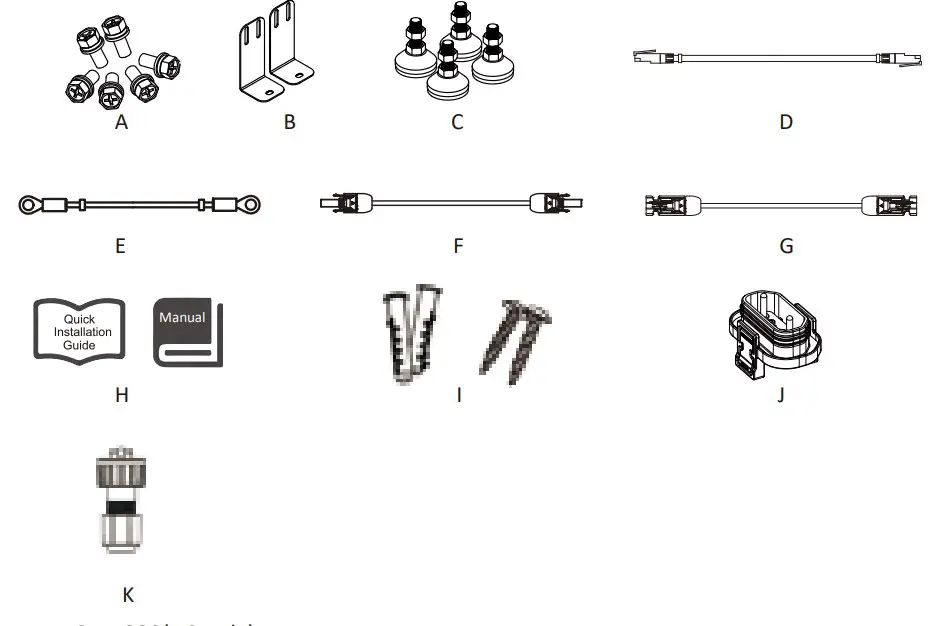
For CM4000(US only):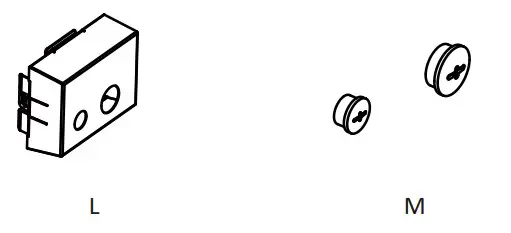
| No. | Items | No. | Items |
| A | Mounting screw pack | H | Installation guide & User manual |
| B | Fixing bracket | I | Expansion tube*2 & Expansion screw*2 |
| C | Footstand | J | Waterproof cover |
| D | Communication cable (BMS-inverter) | K | RJ45 |
| E | Grounding cable | L | Junction box |
| F | DC positive output cable | M | PLUG *2 |
| G | DC negative output cable |
Terminals
For CS :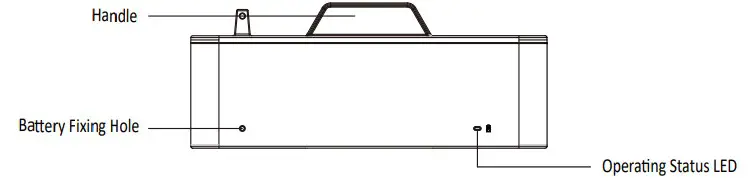
For CM :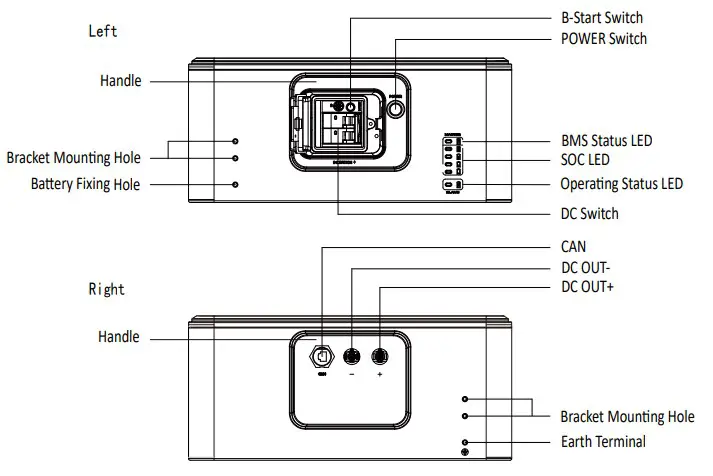
Installation Steps
Step 1
Install a CS with four footstand (Item C ) and place it on the ground and adjust it to the level. After installing the footstand, use a track level bar to confirm the level. Insert the waterproof cover (Item J) into the bottom of the battery and lock it in place with the clip.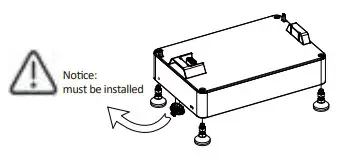
Step 2
Place the battery 20mm against the wall.
Note: Please make sure the Operating Stthe wall. atus LED is on your left handside when you facing the battery model.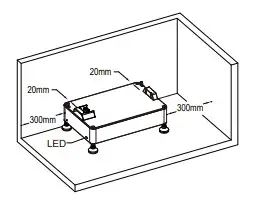
Step 3
Stack the batteries one by one.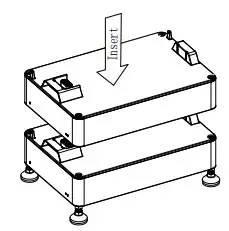
Step 4
Place the two fixing brackets (Item B) close to the wall and install them on both sides of the battery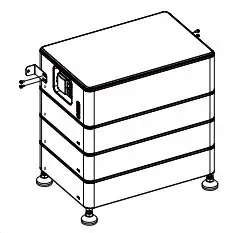
Step 5
Mark the wall through the bracket hole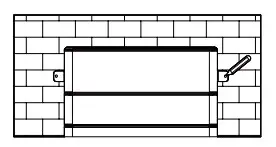
Step 6
Punch after removing the CM. Drill holes with electric drill, make sure the holes are at least 50mm deep, and then fighten the expansion tubes (Item I).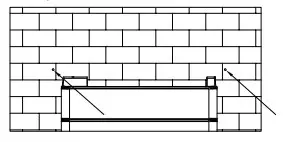
Step 7
After stacking CM again, fix the battery on the wall
Step 8
Fix the mounting screw packs on both sides of the battery, the installation is over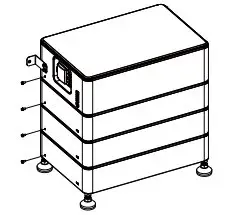
Note: Please make sure each system including 1 CM and 1 CS.CS lessthan 6(1~6) pieces: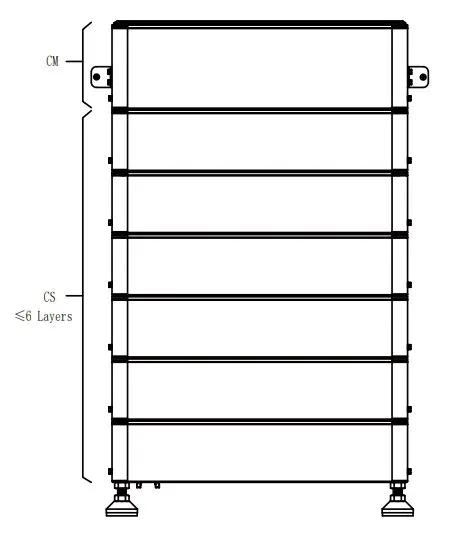
For CM 4000 (US only):
Note: Please make sure each system including 1 CM and 1 CS.CS lessthan 4(1~4) pieces: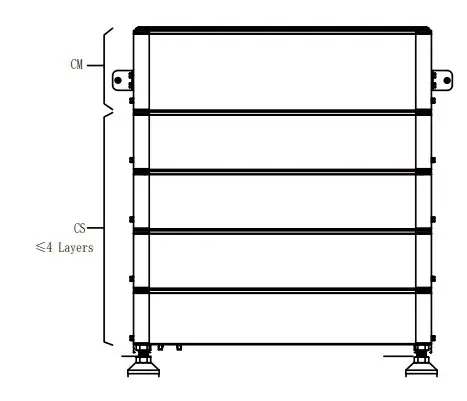
Please refer to the video for the installation of the junction box and the cable gland.
For CM 4000 (US only)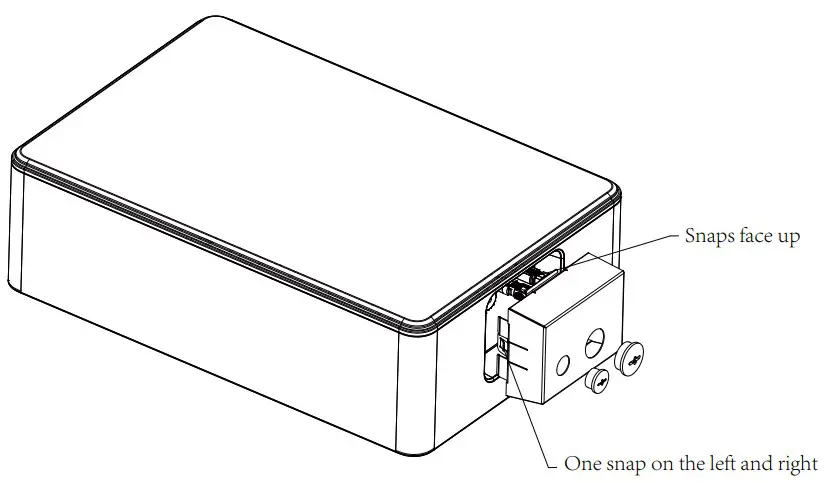
Wiring Steps
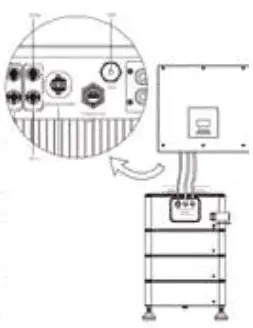
A: Connect the inverter and make sure the wiring position is correct, as shown in the figure below.
Note: Inverter wiring refer to the inverter user manual.
For outdoor use,please use item K and proceed as follows
Connection steps:
Step 1: Prepare a standard network cable and cable connector, then insert the network cable through the cable connector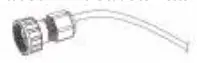
Step 2: Crimp the cable with a Rj45 plug which is inside of the cable connector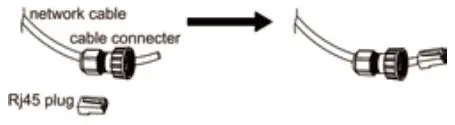
If the usage is indoor, please use item D
Step 3: Insert the cable connector into BMS port at the bottom of inverter and screw it tightly.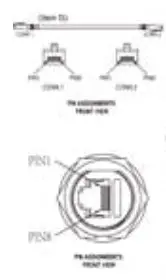
B: Connectthe grounding cable. The figure is shown in below.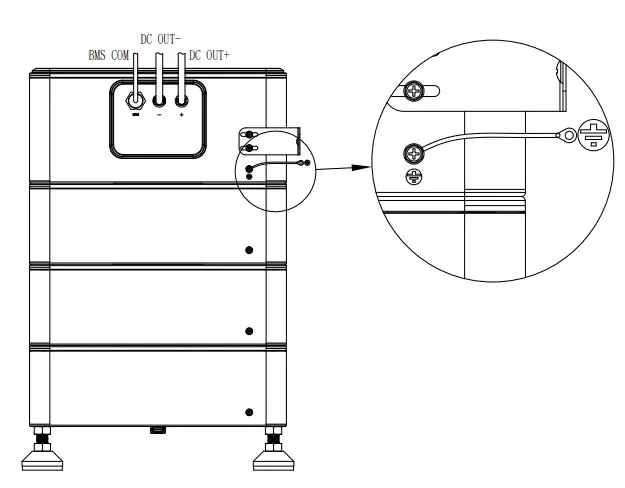
System Start Up
CM operation:
- Normal mode: When there is PV and grid access, turn on DC switch first, then press “POWER” button
- Black start: When there is no PV and grid access, turn on DC switch first, then press “POWER” button, then press and hold “B-Start ” button and release it after 10s.
Startup steps:
Turn on DC switch and press the POWER switch, firstly Master LED will light up once, and then the BMS Status LED will light up for 0.5s,Operating Status LED will light up for 1s at the same time,it means that the system works normally.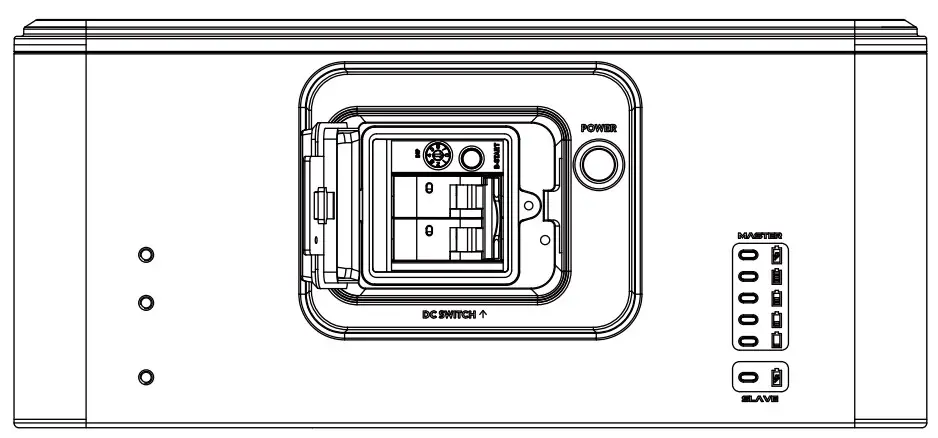
Please scan the QR Code and follow the steps below to download our latest multilanguage User Manual/Quick Installation Guide:
Scan the QR Code → Select your Language → Choose to download User Manual or Quick Installation Guide → Download