![]()
![]()
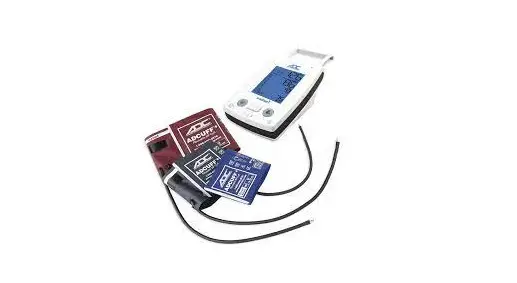
High-Capacity Battery Installation
 #9003BAT
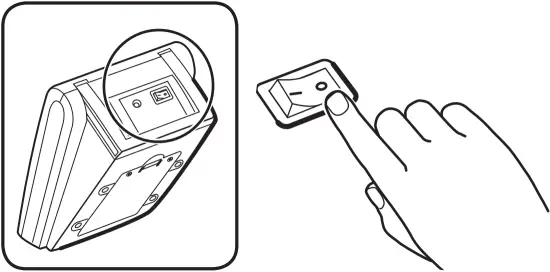
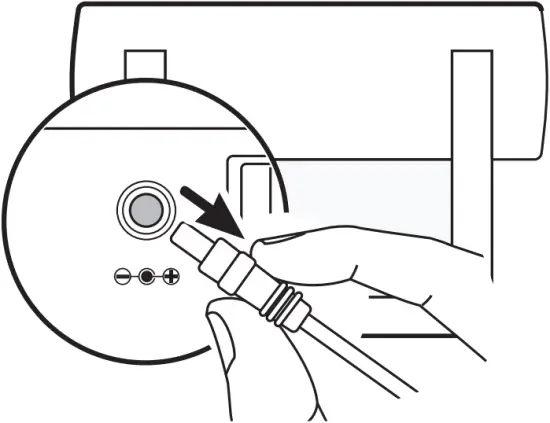
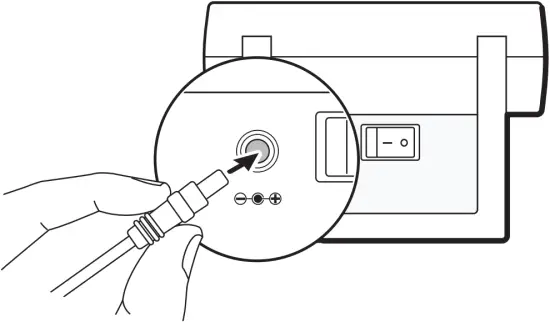
1 Press On/Off switch at back of unit to power off the unit.
Unplug power adapter socket from the back of the unit.
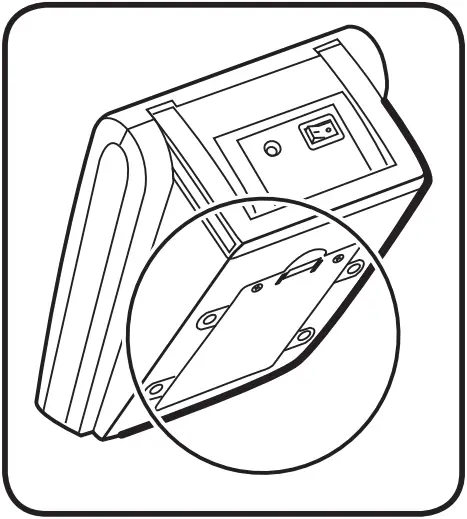
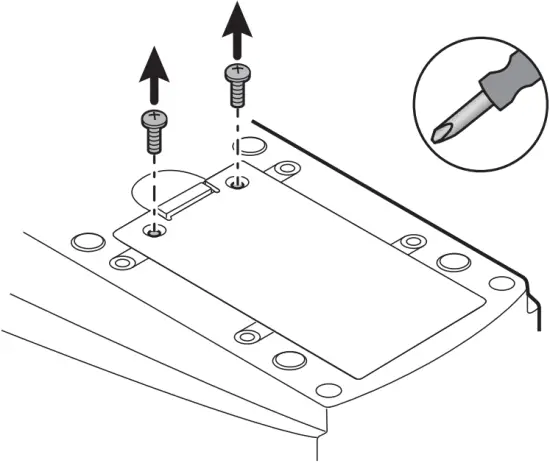
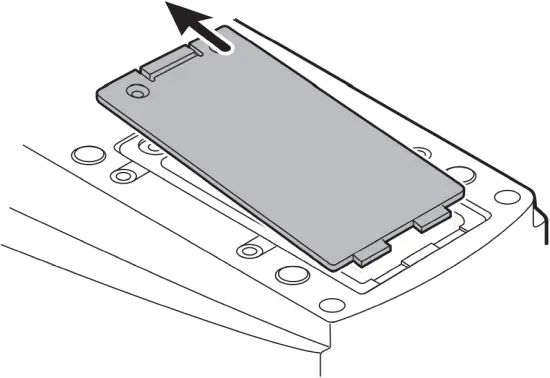
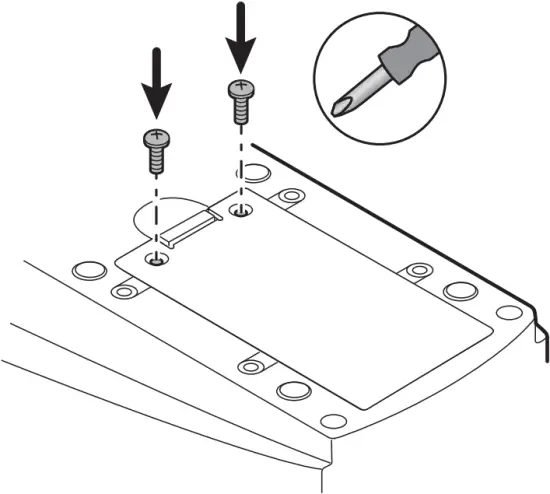
2 Remove both screws with a Philips screw driver.
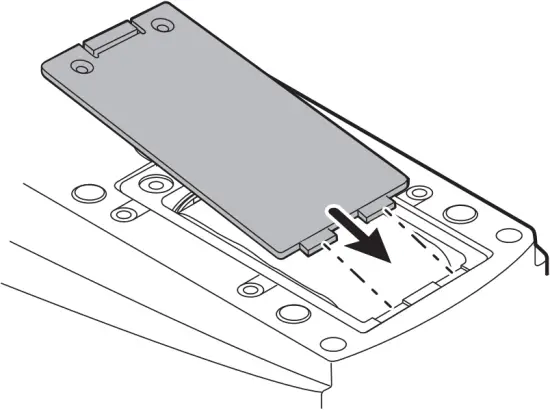
Slide out back cover.
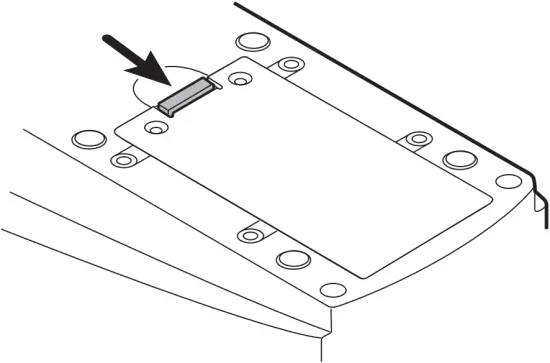
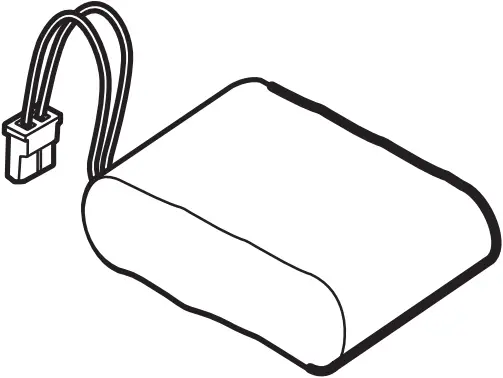
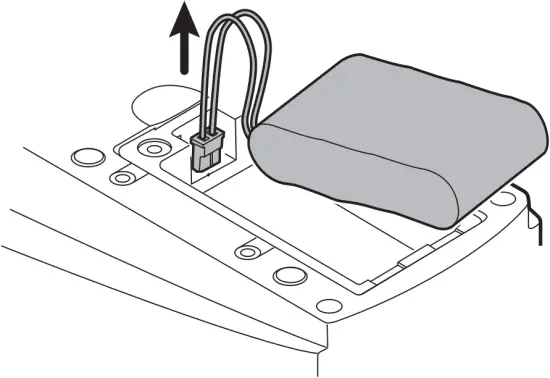
3 Remove the existing battery power pack.
Please do not dispose of battery in municipal waste.
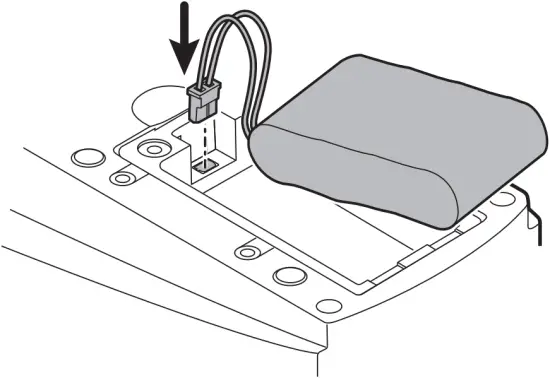
4 Insert new battery power pack.
Make sure exposed battery wires are tucked underneath the battery power pack so that the battery cover can slide back on.
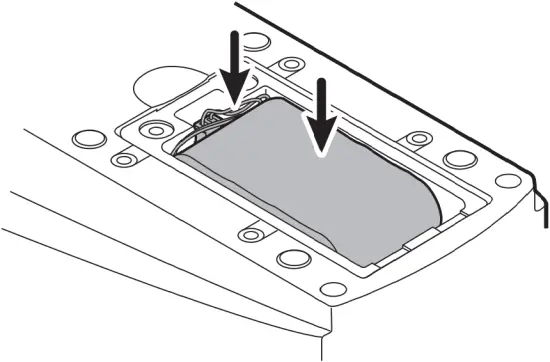
5 Slide in the battery cover back into position and replace screws.
6 Plug in power adapter socket at back of device and plug into wall outlet. Charge battery until recharge indicator on main unit turns green.

Download full manual at www.adctoday.com/esphyg3
![]()
American Diagnostic Corporation
55 Commerce Drive
Hauppauge, NY 11788 USA
1-800-ADC-2670
www.adctoday.com
IFU p/n: 93-9003BAT-00 rev 0 (09/23/2021)


 Installation Guide")

