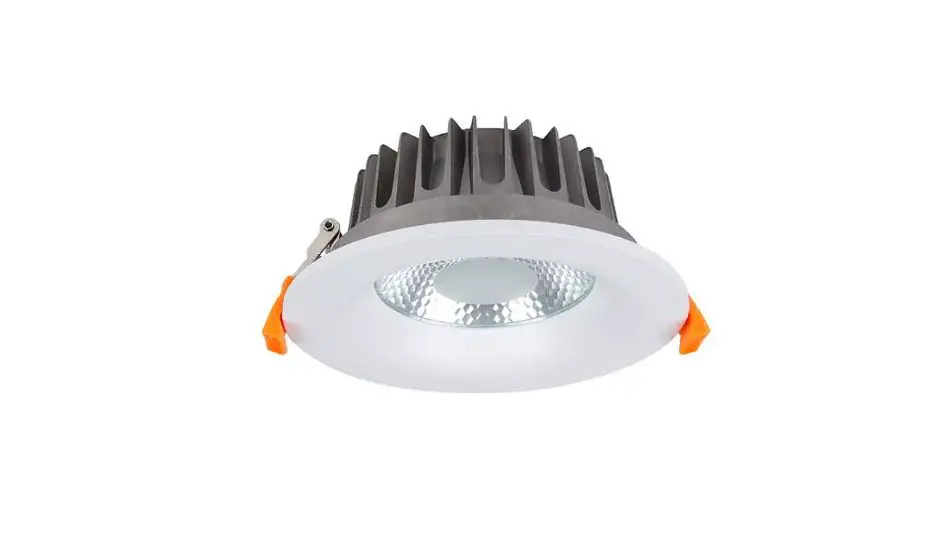
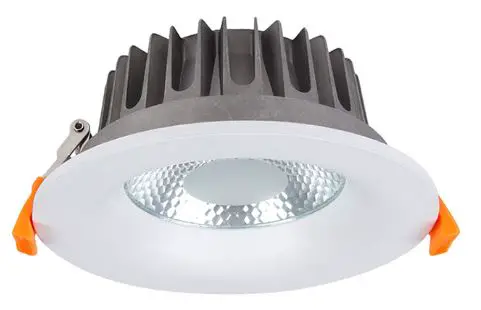
Foshan Rayven Lighting C5140A LED Downlight
4’, 5’ OR 6’ LED DOWNLIGHT INSTALLATION WARNING
- WARNING – Risk of fire or electric shock. LED Downlight installation requires knowledge of luminaire electrical systems. If not qualified, do not attempt installation. Contact a qualified electrician.
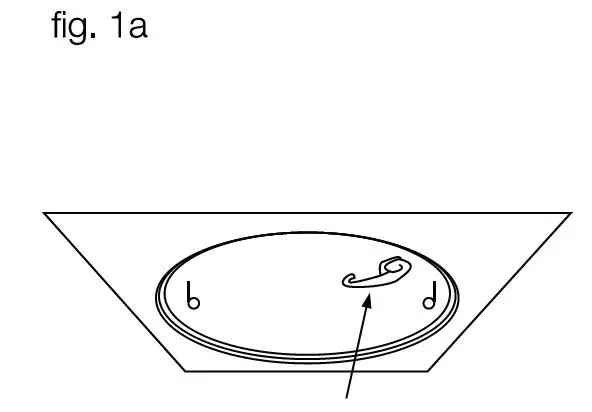
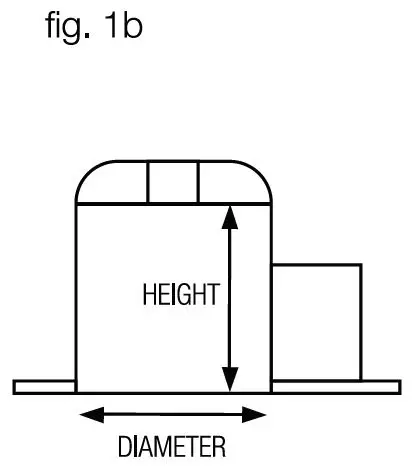
- WARNING – Risk of fire or electric shock. Install this kit only in luminaires that have construction features and dimensions shown in the photographs and/or drawings.
- WARNING – Do not make or alter any open holes in wiring enclosures or electrical components during kit installation.
- WARNING – To prevent wiring damage or abrasion, do not expose wiring to edges of sheet metal or other sharp objects.
INCANDESCENT HOUSING INSTALLATION
- Make sure the POWER IS TURNED OFF at the source to the recessed housing inside which you are installing the product. Once power has been turned off, remove
existing trim and bulb.

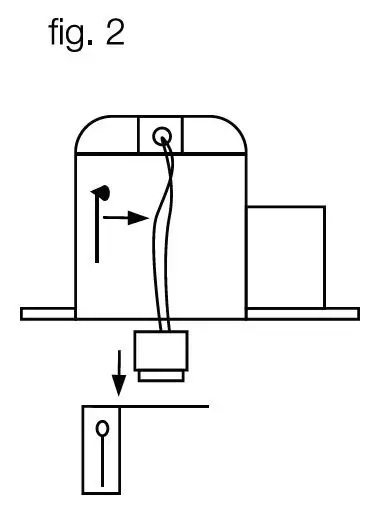
- Unscrew the lamp socket mounting bracket inside the recessed housing. Unclip the lamp socket from the bracket and remove the bracket (fig. 2).

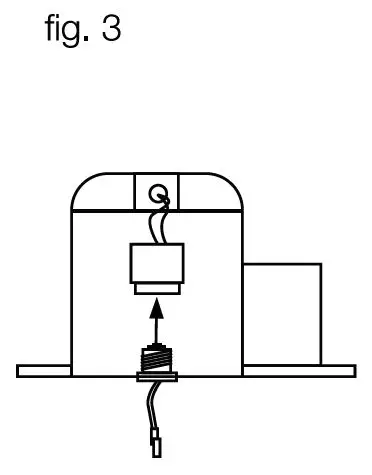
- Screw Edison base adapter into the socket (fig. 3).

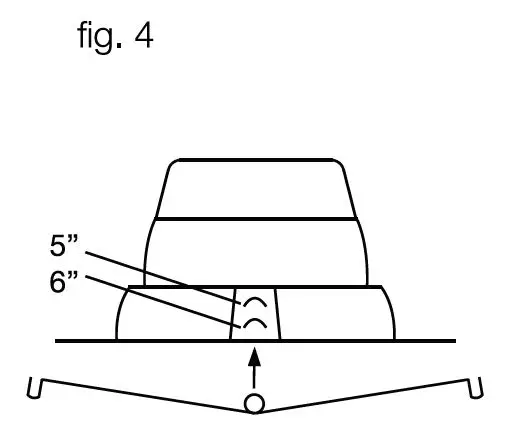
- Make sure the mounting springs are in the correct position. For 6″ housing, springs should be at the lowest position. For 5″ housing, springs should be at the highest
position (fig. 4).
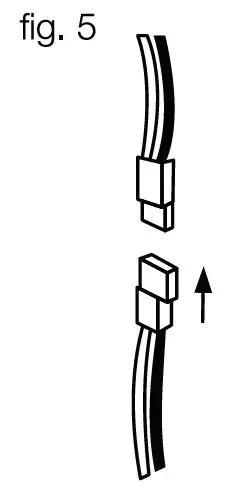
- Connect the female connector of the retrofit kit to the male connector of the socket adaptor (fig. 5).

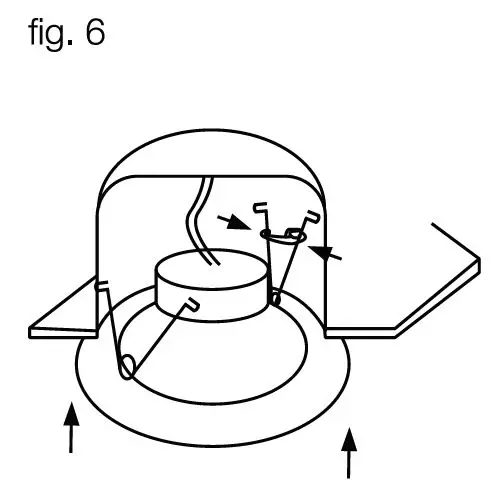
- Squeeze the springs of the retrofit kit and insert them inside the housing retaining bracket (fig. 6). Carefully tuck all the wire inside the can and gently push retrofit kit up flush
to ceiling surface.
LED HOUSING INSTALLATION
Connect the female connector of the retrofit kit to the male connector of the LED housing (fig. 5) and then proceed to Step 6 above.
Product Specs
Product Specs | ||||||||
| Model | Voltage | Lumens | Power | Cutout | beam angle | Size | Dimmable | |
| SD.C5140A | AC120V | 1000Im | 12W | Install with a 5 / 6 inch | 110° | (1)190*81mm | Yes | |
| Downlight Housing | ||||||||
| SD.C5140B | AC120V | 1000Im | 12W | Install with a 5 / 6 inch | 110° | (I) 190*81mm | Yes | |
| Downlight Housing | ||||||||
| SD.C5140C | AC120V | 1000Im | 12W | Install with a 5 / 6 inch | 110° | (I) 190*81mm | Yes | |
| SD.C5135A | AC120V | 1000Im | 10W | Downlight Housing Install with a 4 inch | 110° | (I)127*74mm | Yes | |
| Downlight Housing | ||||||||
| SD.C5135B | AC120V | 1000Im | 10W | Install with a 4 inch | 110° | (I)127*74mm | Yes | |
| Downlight Housing | ||||||||
FCC STATEMENT WARNING
Warning:
Changes or modifications to this unit not expressly approved by the party responsible for compliance could void the user’s authority to operate the equipment. This device complies with Part 15 of the FCC Rules. Operation is subject to the following two conditions: (1) this device may not cause harmful interference, and (2) this device must accept any interference received, including interference that may cause undesired operation.
Note:
This equipment has been tested and found to comply with the limits for a Class B digital device, pursuant to part 15 of the FCC Rules. These limits are designed to provide reasonable protection against harmful interference in a residential installation. This equipment generates, uses and can radiate radio frequency energy and, if not installed and used in accordance with the instructions, may cause harmful interference to radio communications. However, there is no guarantee that interference will not occur in a particular installation. If this equipment does cause harmful interference to radio or television reception, which can be determined by turning the equipment off and on, the user is encouraged to try to correct the interference by one or more of the following measures:
- Reorient or relocate the receiving antenna.
- Increase the separation between the equipment and receiver.
- Connect the equipment into an outlet on a circuit different from that to which the receiver is connected.
- Consult the dealer or an experienced radio/TV technician for help.
To maintain compliance with FCC’s RF exposure guidelines, the distance must be at least 20cm between the radiator and your body, and fully supported by the operating and installation configurations of the transmitter and its antenna(s).
 Installation Guide")


