COMICA BoomX-U QUA 4 Group Multi Functional Mini UHF Wireless Microphone User Manual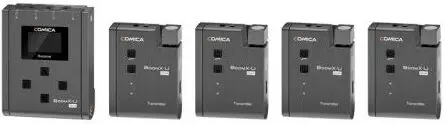
Foreword
Thanks for purchasing COMICA BoomX-U QUA Wireless Microphone
To ensure bring you a good using experience, please read this manual book carefully before using and correctly install and operate
Main Features
- 4-group UHF Wireless Microphone, Broadcast Level
- 24 Channels, Support Multi-receiver Monitoring & Shooting
- 180°Foldable Antenna, 120m Super-long Transmission Distance
- Support 4 Audio Tracks Mixing and Individual Output
- Support Charging While in Use, Battery Life Up to 6 Hours
- Internal and External Two Input Modes
- Support Auto-scanning/Manual Channel-setting
- LCF, 16-level Adjusted Gain Control, Optional Language, Muting Functions
- LCD Screen for Intuitive Power and Audio Dynamic Monitor
- Special Anti-loose Design for External Lavalier Mic
- Designed with Multi-functional Belt Clip and Compact
Notice
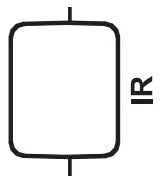
![]() Please make sure the IR sensor are closely aligned when pairing
Please make sure the IR sensor are closely aligned when pairing![]() Do not block the antenna position to avoid any poor signal generated
Do not block the antenna position to avoid any poor signal generated![]() It is recommended to open and adjust the antenna of transmitter and receiver to appropriate angle for stable transmission and long working distance
It is recommended to open and adjust the antenna of transmitter and receiver to appropriate angle for stable transmission and long working distance![]() It is recommended to unfold the antenna of receiver when using auto scan function, or it will easily cause the scan to fail
It is recommended to unfold the antenna of receiver when using auto scan function, or it will easily cause the scan to fail![]() Please choose to close the group to save power of the receiver when there is no need for multi-group use
Please choose to close the group to save power of the receiver when there is no need for multi-group use![]() It is recommended to keep a distance more than one meter between each transmitter when using IR sync function, or it is easy to cause mismatching
It is recommended to keep a distance more than one meter between each transmitter when using IR sync function, or it is easy to cause mismatching![]() The product belongs to high-precision instruments, please avoid falling, collision or pounding
The product belongs to high-precision instruments, please avoid falling, collision or pounding![]() Do not use the equipment in the vicinity of heat source or interference source, such as radiator, oven, refrigerator or air conditioner
Do not use the equipment in the vicinity of heat source or interference source, such as radiator, oven, refrigerator or air conditioner![]() When the pick-up distance is close or it is used outdoors, please put on the wind muff to prevent sound burst or reduce wind noise
When the pick-up distance is close or it is used outdoors, please put on the wind muff to prevent sound burst or reduce wind noise![]() Do not use the equipment in rain or in a damp environment to avoid short-circuit danger
Do not use the equipment in rain or in a damp environment to avoid short-circuit danger![]() Please keep the product in a dry environment
Please keep the product in a dry environment
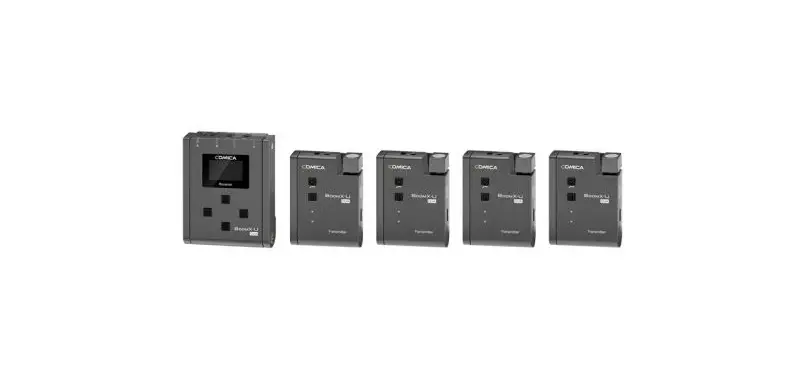
Packing List
Main Parts:
- Transmitter (TX)

- Receiver (RX)

Accessories:
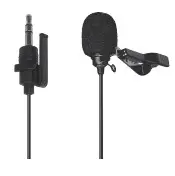
- 3.5mm Mic Audio Input Cable

x4 - Wind Muff

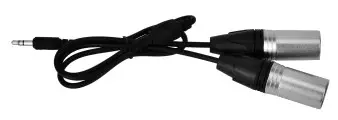
x4 - 3.5mm TRS-XLR Audio Cable

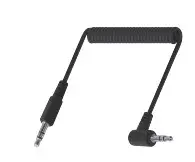
- 3.5mm TRS-TRS Audio Cable

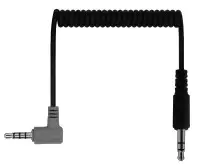
- 3.5mm TRS-TRRS Audio Cable

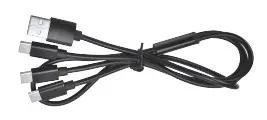
- 3 in 1 Charging Cable

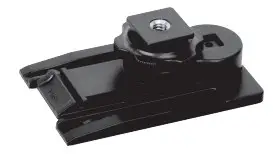
- Cold-shoe Quick Release Plate

- Carry Case

- User Manual

- Warranty Card


Components and Instruction
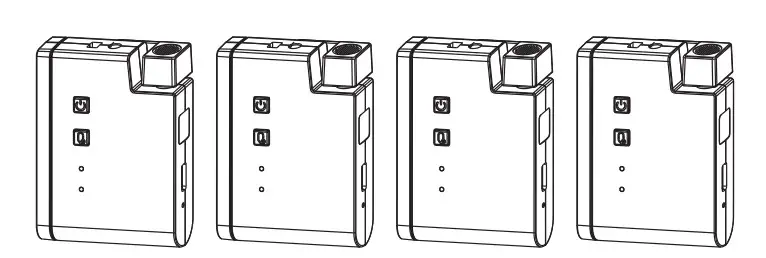
Transmitter(TX):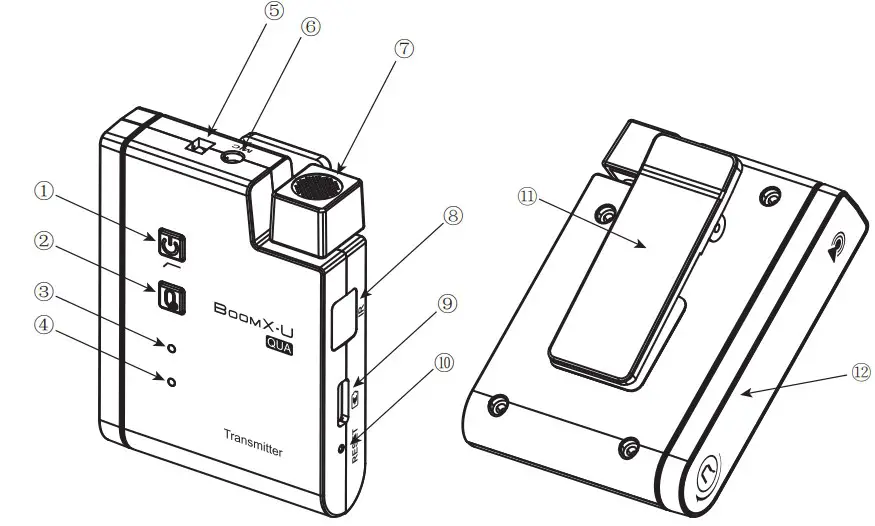
- Power/Low Cut Filter Button
- Muting Button
- Power/Low Cut Filter Indicator Light
- Audio Status Indicator Light
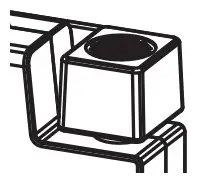
- External Mic Locking Buckle
- 3.5mm TRS Port of External Mic
- Internal Mic
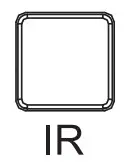
- IR Sensor
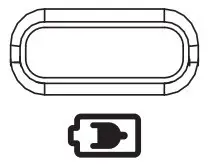
- USB-C Charging Port
- Reset Hole
- Belt Clip
- Antenna
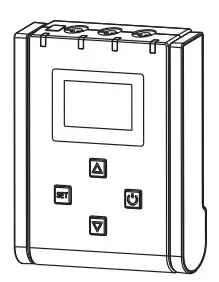
Receiver(RX):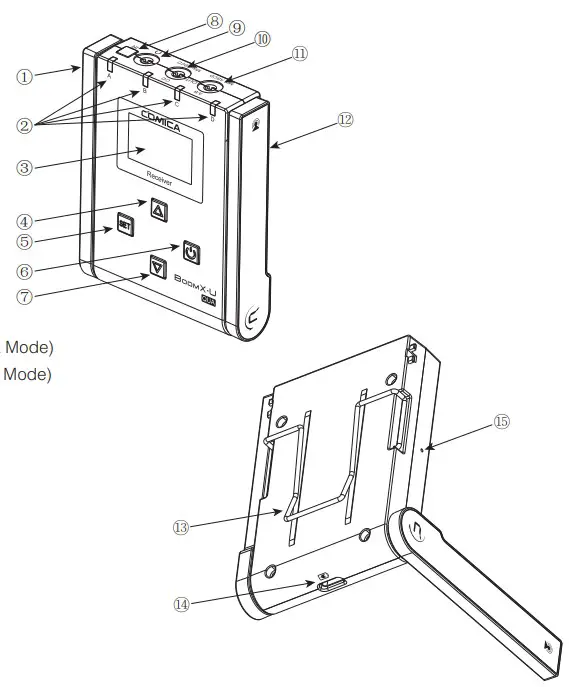
- Group B Antenna
- Group A/B/C/D Working Status Indicator
- Display Screen
- Menu Function Button+
- Function Setting Button
- Power/Menu Back Button
- Menu Function Button8. IR Sensor
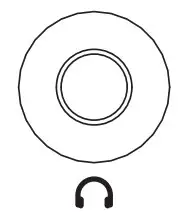
- 3.5mm TRS/TRRS Monitoring Port
- 3.5mm TRS Audio Output Port(Group C/D&MIX Output Mode)
- 3.5mm TRS Audio Output Port(Group A/B&MIX Output Mode)
- Group A Antenna
- Belt Clip
- USB-C Charging Port
- Reset Hole
Screen Display and Function Introduction
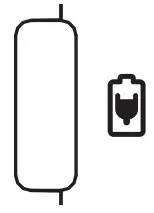
Transmitter (TX)
Function Introduction:
- Power/Low Cut Filter Button
Long press for On/Off; Short press for Low Cut Filter
- Muting Button
Long press to switch between normal recording and mute - Power /Low Cut Filter Indicator Light
The blue light stays on when it is turned on; The purple light keeps on when in Low Cut Filter mode; The red light flashes during pairing or low battery and keeps on when charging.
- Audio Status Indicator Light
The blue light flashes when the sound is input; the red light is on when the sound is crackled, and stays on when in the muting. - Reset Hole
If there is an abnormal phenomenon such as the device is crash or unable to turn on, insert the reset pin into the reset hole to reset it. - Internal Mic
Point the built-in microphone at the sound source to record
- 3.5mm TRS Port of External Mic
Insert 3.5mm TRS microphone input cable and use the external lavalier microphone to record. At this time, the internal microphone of the device is turned off
- IR Sensor
It’s paired successfully only when the transmitter and receiver’s IR sensor are closely aligned
- USB-C Charging Port
Connect the transmitter with the 5V power through the 3 in 1 charging cable to charge


Receiver (RX)
Screen Display: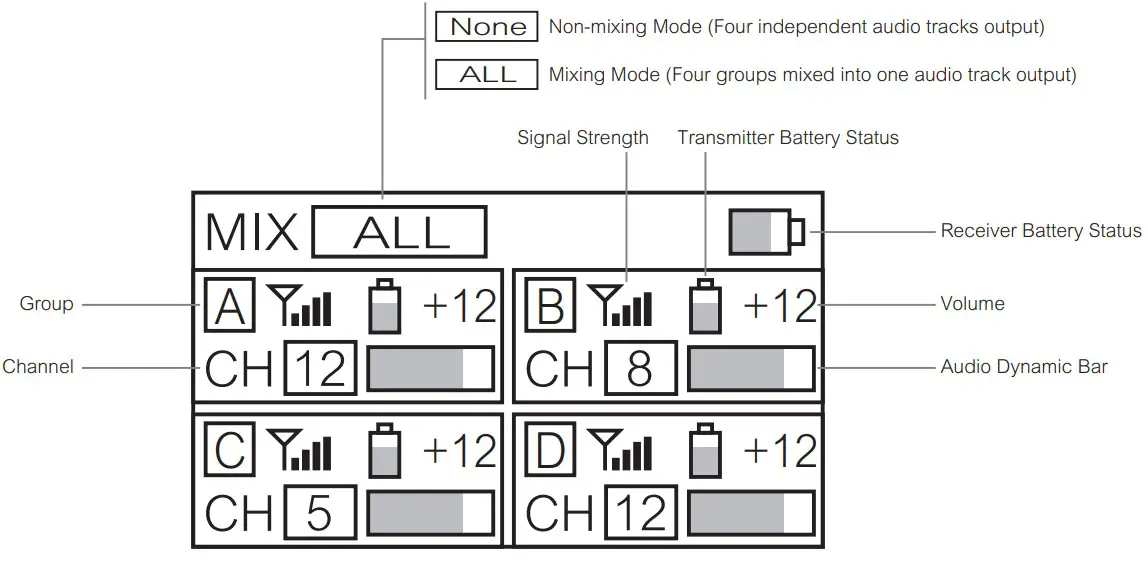
Function Introduction:
- Power/Menu Back Button
Long press for On/Off; Short press to back to the previous menu. - Function Setting Button
Short press to enter the menu/confirm setting.
- Menu Function Button+/-
Adjust the upper and lower menus.
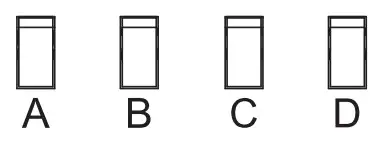
- Group A/B/C/D Working Status Indicator
The blue light keeps on when the corresponding group is successfully paired.
- Reset Hole
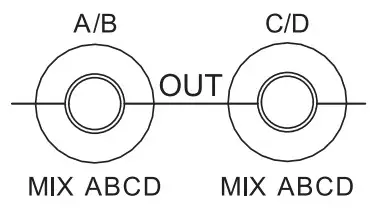
If there is an abnormal phenomenon such as the device is crash or unable to turn on, insert the reset pin into the reset hole to reset it. - 3.5mm TRS Audio Output Port
In the mixing mode, both ports can output one audio track mixed by four groups
In the non-mixing mode, A/B output port outputs two independent audio tracks (A and B), C/D output port outputs two independent audio tracks (C and D).
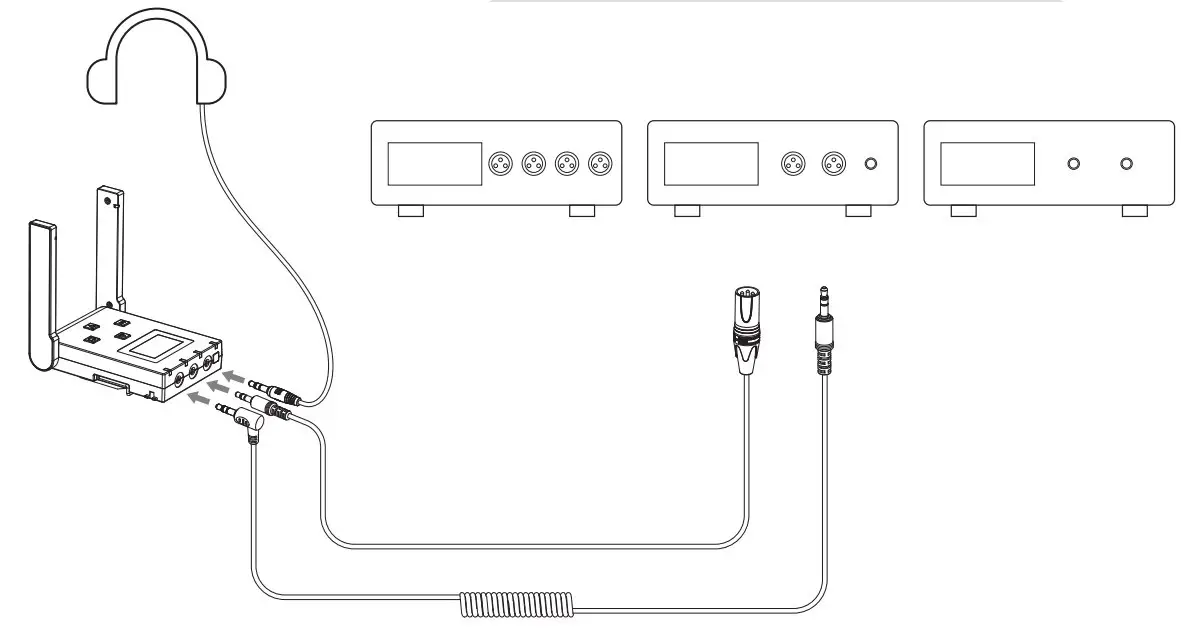
- 3.5mm TRS/TRRS Monitoring Port
Plug in 3.5mm TRS/TRRS headphones to monitor; When monitoring in non mixing mode, A/C is the left channel and B/D is the right channel.
- IR Sensor
It’s paired successfully only when the transmitter and receiver’s IR sensor are closely aligned.
- USB-C Charging Port
Connect the receiver with 5V power through 3 in 1 charging cable for charging.

Installation and Usage
Pairing Method:
Choose manual/automatic pairing according to personal needs
A. Manual Pairing
Enter “Channel”, select the corresponding channel according to personal needs; Enter “Sync”, keep the IR sensor of the transmitter and receiver closely aligned, and then synchronize one by one to successfully pair.
B. Automatic Pairing
Enter “Auto Scan”, the receiver will automatically select the most suitable channel for the current environment; Enter “Sync”, keep the IR sensor of the transmitter and receiver closely aligned, and then synchronize one by one to successfully pair.
NOTE:
- It is recommended to unfold the antenna of receiver when using auto scan function, or it will easily cause the scan to fail
- In “Auto Scan”, the user can choose to scan four channels one by one or scan these simultaneously
- It is recommended to keep a distance more than one meter between each transmitter when using IR sync function, or it is easy to cause mismatching
Installation Method:
Transmitter (TX)
Choose internal/external mic according to personal needs.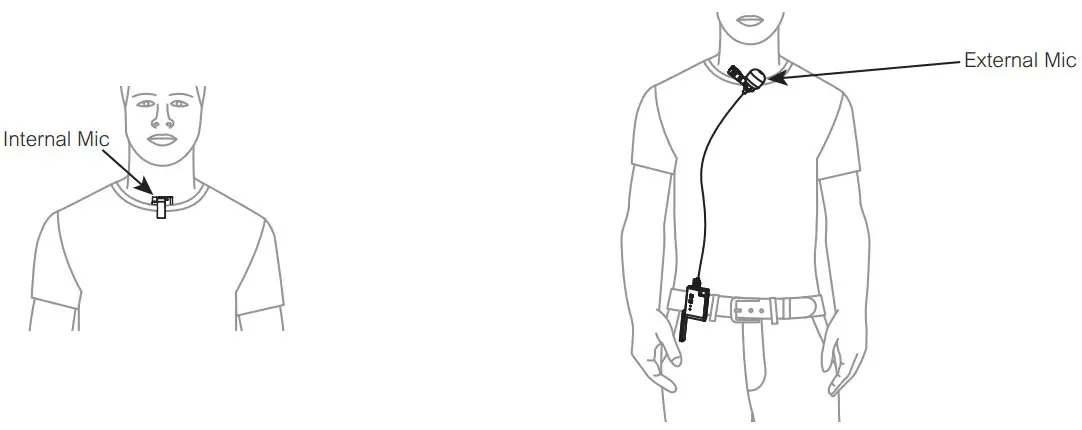
Note:
- For better concealment during use, it is recommended that the belt clip is fixed on the outside for use
- When the external microphone is working, the internal microphone will be automatically turned off.
- Rotate the antenna to 180° for the best signal.
Receiver (RX)
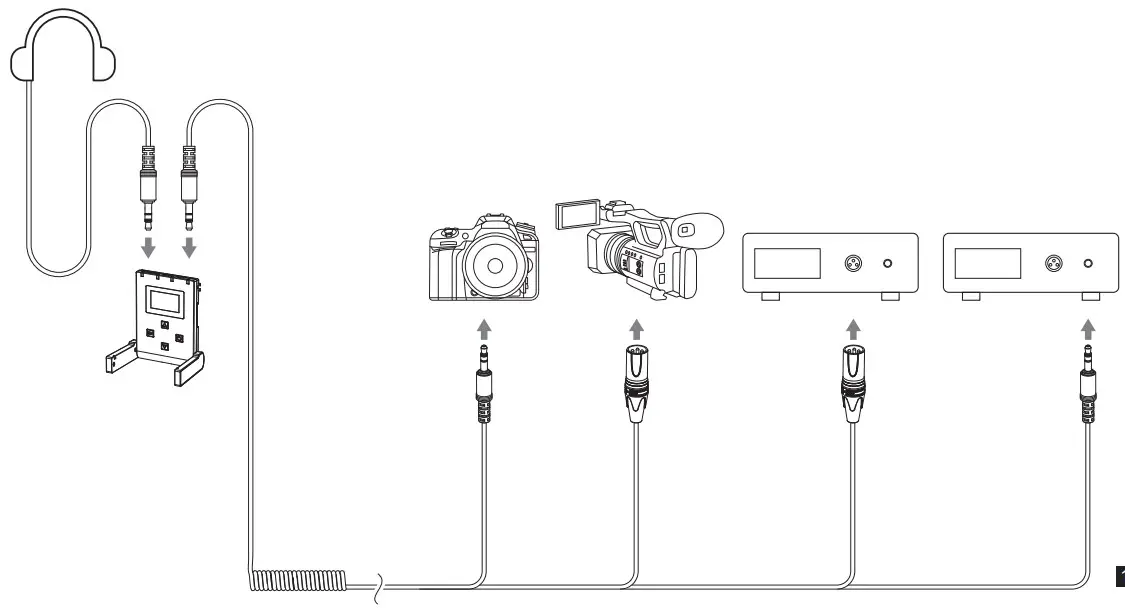
A. Mixing Output
- Work with Camera/Camcorder/Recorder
Connect the receiver with camera/camcorder/recorder through the 3.5mm TRS TRS/3.5mm TRS-XLR audio cable; Choose whether to monitor according to personal needs.
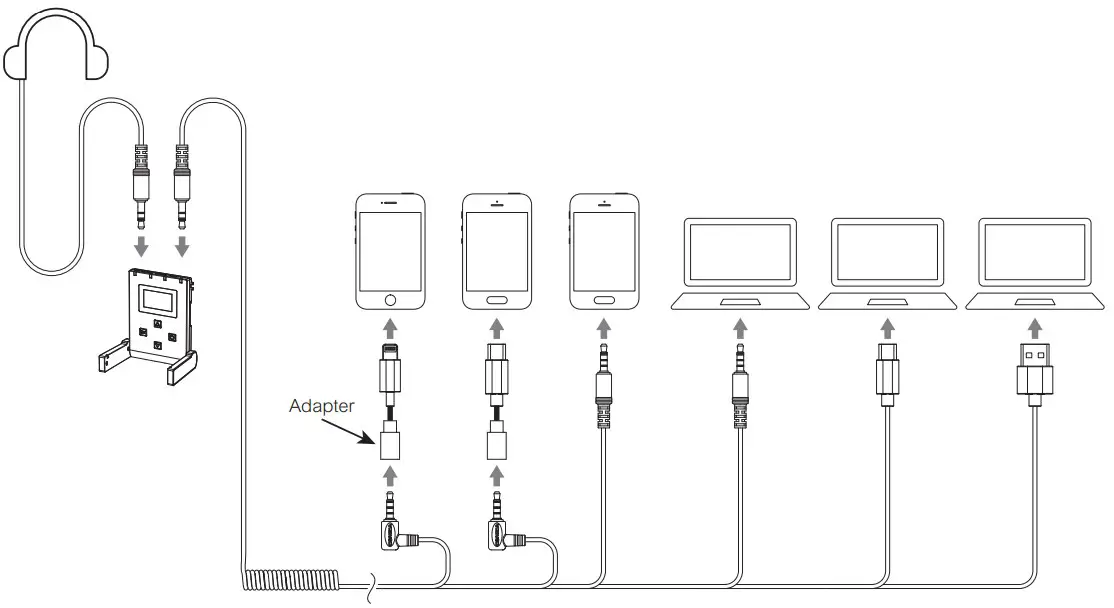
- Work with Smartphone/Computer
Connect the receiver with smartphone/computer through the 3.5mm TRS-TRRS audio cable; Choose whether to monitor according to personal needs(Please purchase related audio cables/audio adapter cables by yourself)
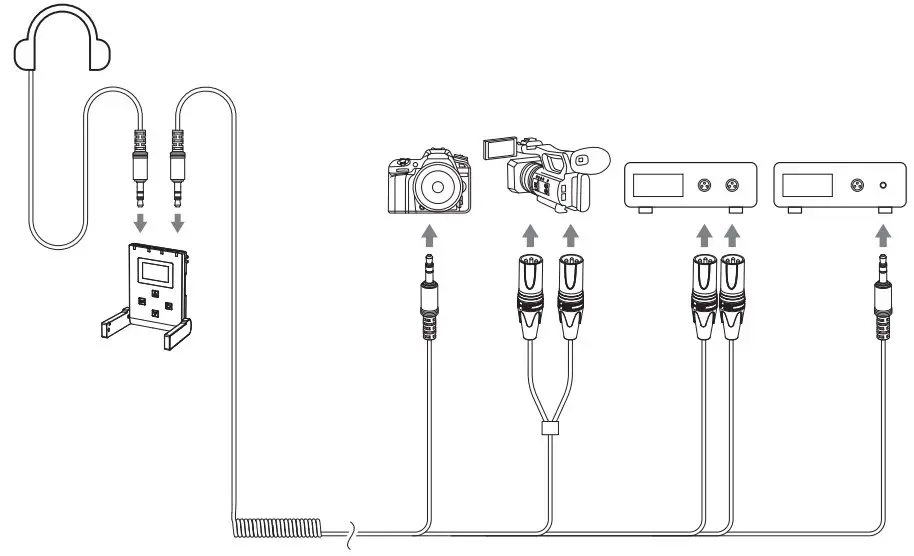
B. Non-mixing Output
- Dual-group Output: work with camera/camcorder/recorder/computer Connect the receiver with camera/camcorder/recorder/computer through related audio cables/audio adapter cables; Choose whether to monitor according to personal needs(Please purchase related audio cables/audio adapter cables by yourself)
In dual-group mode, outputs two audio tracks with A/B as a group or C/D as a group
- Four-group Output: work with recorder
Connect the receiver with recorder through the 3.5mm TRS-TRS/3.5mm TRS XLR audio cable; Choose whether to monitor according to personal needs
In four-group mode, outputs A/B/C/D four audio tracks.
Specifications
Transmitter(TX)
| Antenna | PCB Antenna |
| Polar Pattern | Omnidirectional |
| Frequency Response | 80Hz ~ 20kHz |
| Sound Pressure Level | 100dB |
| Signal/Noise | 75dB |
| Equivalent Noise | 19dBA |
| Sound Delay | <20ms |
| External Mic Input Interface | 3.5mm TRS |
| Battery | Li-ion Battery 600mAh 3.7V |
| Battery Life | 5 Hours |
| Net Weight | 45g |
| Dimension | 49 x 22 x 66mm |
| Operating Temperature | 0℃~ 50℃ |
| Storage Temperature | -20℃~ 60℃ |
Receiver(RX)
| Antenna | PCB Antenna |
| Receiving Sensitivity | -90dBm |
| Signal/Noise | 75dB |
| Equivalent Noise | 19dBA |
| Sound Delay | <20ms |
| External Mic Input Interface | 3.5mm TRS × 2 |
| Monitor Interface | 3.5mm TRS/TRRS |
| Battery | Li-ion Battery 1400mAh 3.7V |
| Battery Life | 6 Hours |
| Net Weight | 90g |
| Dimension | 65 x 17 x 82mm |
| Operating Temperature | 0℃~ 50℃ |
| Storage Temperature | -20℃~ 60℃ |
Parameters
Transmitter(TX)
| Channel Number | 24 x 4 |
| Carrier Frequency of Group A | 568.125MHz~573.875MHz |
| Carrier Frequency of Group B | 580.125MHz~585.875MHz |
| Carrier Frequency of Group C | 574.125MHz~579.875MHz |
| Carrier Frequency of Group D | 586.125MHz~591.875MHz |
| Transmitting Power | 15dBm |
Receiver(RX)
| Channel Number | 24 x 4 |
| Carrier Frequency of Group A | 568.125MHz~573.875MHz |
| Carrier Frequency of Group B | 580.125MHz~585.875MHz |
| Carrier Frequency of Group C | 574.125MHz~579.875MHz |
| Carrier Frequency of Group D | 586.125MHz~591.875MHz |
Support
QR Code:
Website: comica-audio.com
Facebook: Comica Audio Tech Global
Inistagram: Comica Audio
YouTube: Comica Audio
The COMICA LOGO is a trademark which is registered and owned by Commlite Technology Co.,Ltd
Email: [email protected]


