chord CB-25 Bass Amplifier
Introduction
Thank you for choosing our CB series bass amplifier. Please read this manual prior to use to avoid damage to the item. The CB range is specifically designed to give the bass player a powerful, dependable amplifier with enough useful features to suit a wide variety of situations from rehearsal to stage.
Warning
To prevent the risk of fire or electric shock, do not expose this appliance to rain or moisture. To prevent electric shock do not remove the cover. No user serviceable parts inside. Refer servicing to qualified service personnel.
Safety
- Prior to connecting mains, ensure that the supply voltage is correct, and the mains lead is in good condition.
- Avoid ingress of water or particles into the enclosure.
- If the mains fuse blows, refer the unit to qualified service personnel.
- Keep the unit out of direct sunlight and away from heat sources.
- Place the unit in an upright position during use and storage.
- Keep the unit away from moisture or dusty environments.
Cleaning
Use a soft cloth with a neutral detergent to clean the cabinet, panel and controls. To avoid damage, do not use solvents.
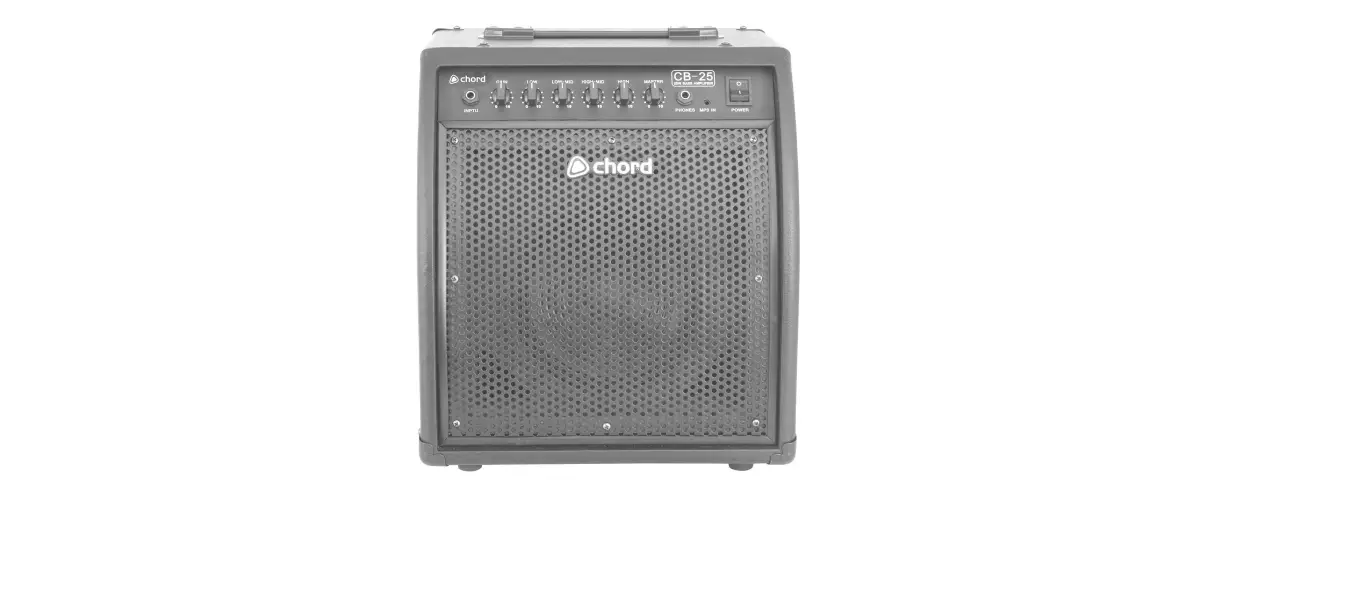
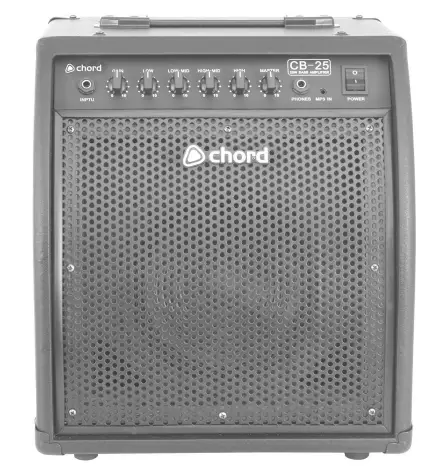
Controls and Connectors 

- IEC power inlet & fuse holder
- Input – 6.3mm jack (unbalanced)
- Gain control – Turning clockwise boosts input and increases drive
- Low EQ control
- Low-Mid EQ control
- High-Mid EQ control
- High EQ control
- Master output level
- Phones – 6.3mm jack output to drive headphones
- MP3 in – 3.5mm jack socket to plug in a line input to play along with.
- Power – Illuminated mains switch
Operation
Connect the bass guitar to the CB-series bass amplifier input using a good quality 6.3mm mono jack lead. Connect the amplifier to the mains using the appropriate mains IEC lead supplied. Set all EQ controls to the mid-way position. With the Master volume turned down, switch on the power switch and gradually increase the Master volume to the required level. Increase Gain and play a note, ensuring that the bass guitar’s volume and tone controls are turned up. Continue increasing Gain until the required signal level and drive amount are achieved.
Adjust the 4 EQ controls to boost or cut the relevant frequency ranges that produce the tonal response required. Low and Low-Mid cover the bass frequencies, whereas High-Mid and High cover the treble frequencies. Some experimentation is needed to achieve the best results from the EQ and will depend on how much low-frequency punch and higher frequency detail is needed. Plugging in a pair of headphones to the 6.3mm Phones jack will allow silent practice by muting the speaker output. Plugging a personal stereo playback device (like an mp3 player) into the MP3 mini-jack input allows the music to be mixed in with the bass guitar sound for “play-along” practice. Before switching off or removing power, turn down the Master volume control.
Specifications
| Power supply | 220-250Vac, 50/60Hz (IEC) |
| Output power @ 8Ω | 25Wrms |
| Speaker unit(s) | 8″ HD driver |
| Input | 6.3mm jack + 3.5mm Aux jack |
| Phones Out | 6.3mm jack |
| Preamp Controls | Gain, Master |
| Equalisation | 4-band EQ |
| Dimensions | 365 X 395 X 300mm |
| Weight | 12kg |
Troubleshooting
| No output and no Power light | Check POWER switch is on and mains lead is connected properly |
| Check mains fuse hasn’t blown | |
|
Power LED lit but no Output | Check that Gain, EQ, Master and bass guitar controls are not turned down fully |
| Check Speaker Outs are connected to the relevant speakers | |
| Check that headphones are not left plugged in | |
| Change jack lead to check if faulty, also for Send and Return jacks | |
| Check battery is OK in active bass or effects units in the Send/Return loop | |
| Output too distorted | Make sure Active bass is not plugged into Passive input |
| Reduce Gain & EQ controls and increase Master volume to compensate | |
| Adjust compression effect to combat heavy string attack | |
| Output very quiet | Check that Gain, EQ, Master and bass guitar controls are not turned down |
| Make sure passive bass is not plugged into Active input | |
| Unplug effects from Send/Return loop to check if they are cutting signal level |
Disposal: The “Crossed Wheelie Bin” symbol on the product means that the product is classed as Electrical or Electronic equipment and should not be disposed with other household or commercial waste
at the end of its useful life. The goods must be disposed of according to your local council guidelines.


