
![]()
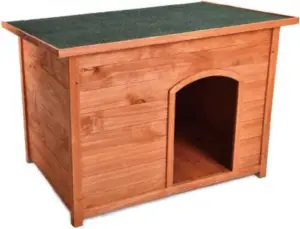
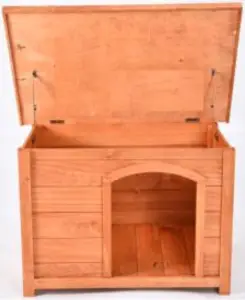
Dog Kennel Wooden

Product Overview
Contents
| G1 | 15cm X1pcs right latch |
| G2 | 15cm X1pcs left latch |
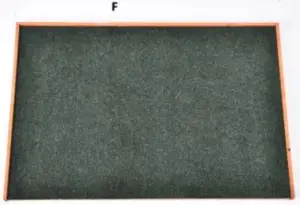
H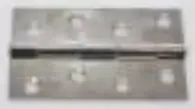 | 88X56mm X2pcs hinges (already attached on the top board F) |
I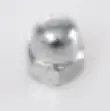 | NutX8pcs |
| J | Long Screws X8pcs |
K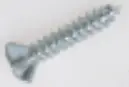 | Short screws X16pcs |
Instructions
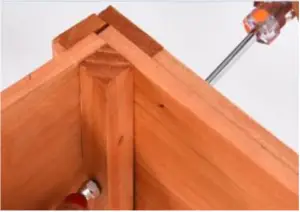
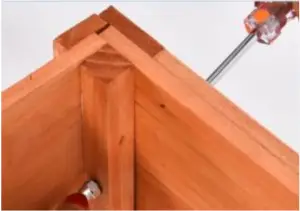
Step 1.
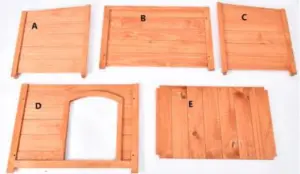
Connect boards (A & B) by inserting the screws (Kx2 pcs) and lock nut (J) using a screwdriver (not included). Do not over tighten at this step.

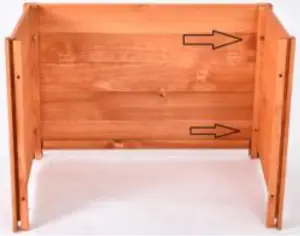
Step 2.
Connect boards (B & C) by inserting the screws (Kx2 pcs) and lock nut (J) using a screwdriver (not included). Do not over tighten at this step.
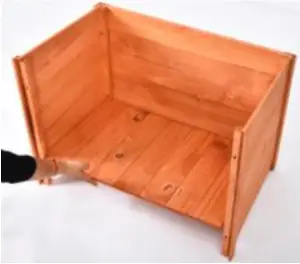
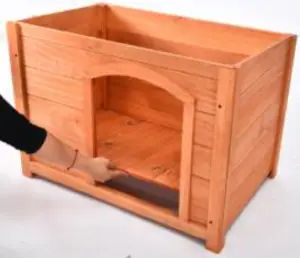
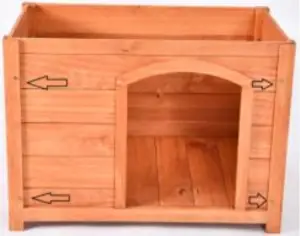
Step 3.
Insert the bottom board (E) and then, attach the front board (D) to boards (A & C), insert screw (Kx4 pcs) and lock nut (J) using a screwdriver (not included). Hold the four corners in right position and tighten all the screws at this step.
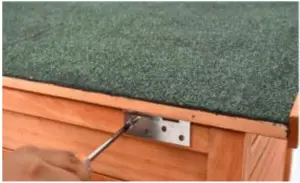
Step 4.
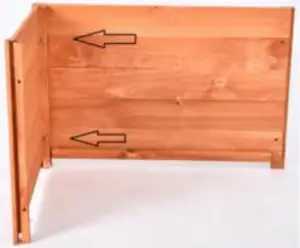
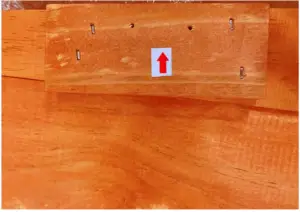
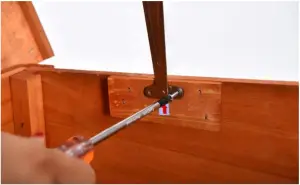
Put on the lid (F) and screw 2 hinges (H) on to the back of board (B) by using screw (Lx8 pcs), please follow the guiding holes on the back (require a screwdriver, not included).
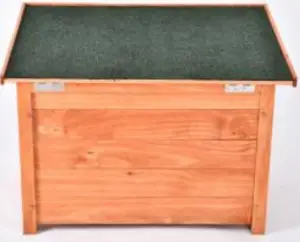
Step 5.
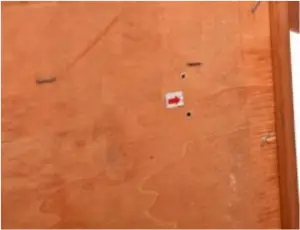
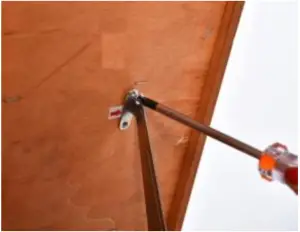
Assemble the latch (G x 1pc) on the sideboard (B) and top board (F) by using screws (Lx4 pcs) and a screwdriver (not included). Follow the guiding holes on blocks and top board. Repeat on the opposite side.
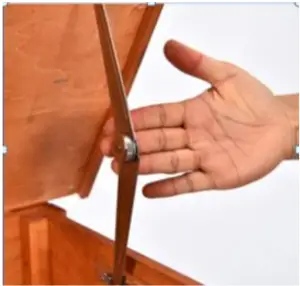
Step 6.
Open: Pull the lid up till the latch to 180 degrees, make sure the latch is locked before you put your pet in.
Close: Push the latch out as below on both sides before closing the lid.
WARNING:
For pet use only.
Supervise your pet during use.
For your pet’s safety, inspect regularly and remove if damaged.
Do not drag on the floor.
Do not sit or stand on this unit.
Do not lift when in use or with pet.


