![]() SOP for firewall
SOP for firewall
onboarding to Nebula
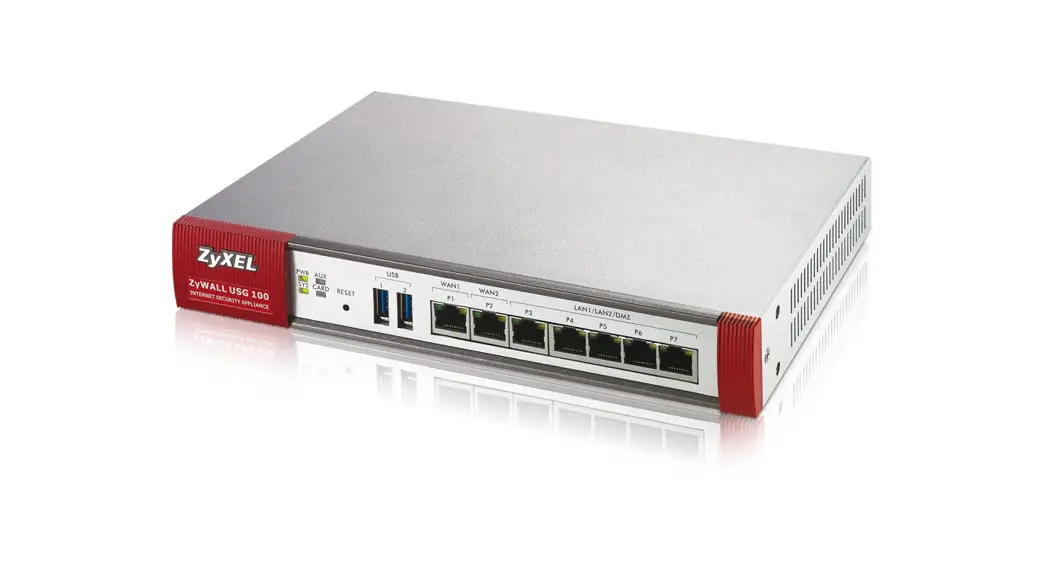
ATP/USG FLEX/USG20-VPN Series
User Guide![]()
Powered by Zyxel Nebula
together we are connected
Nebula Together represents Zyxel’s strategy to help customers realize thepower of bringing your whole network together into a single platform.
Install Hardware
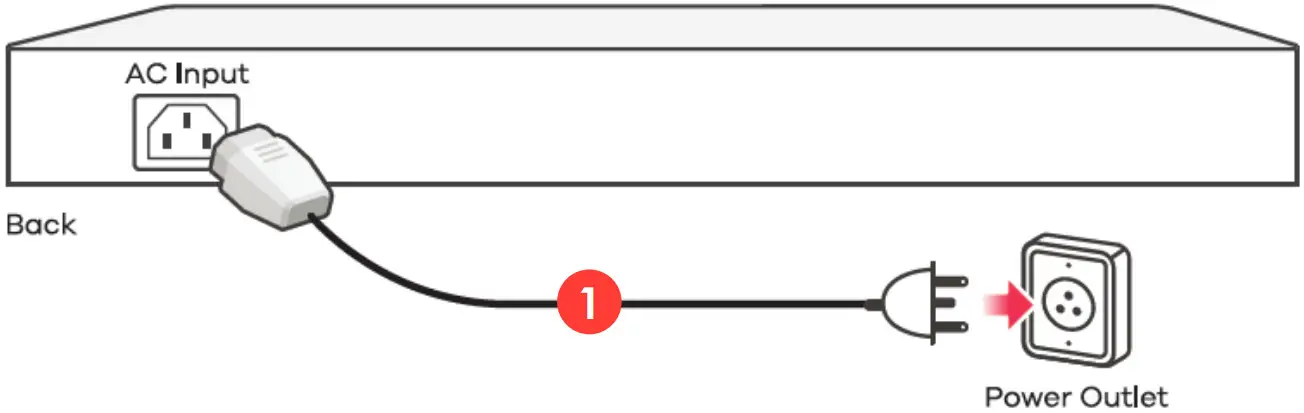
- Use the included power adaptor or power cord to connect the power socket (on the rear panel) to a power outlet.

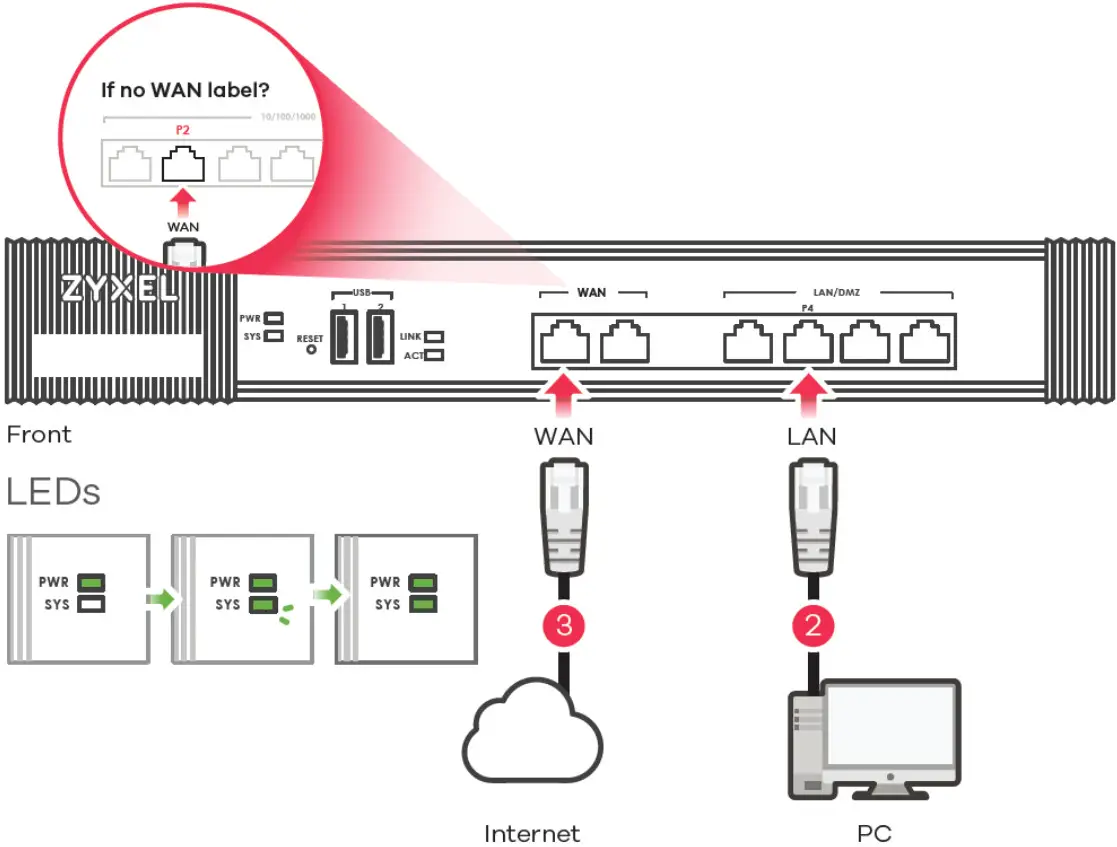
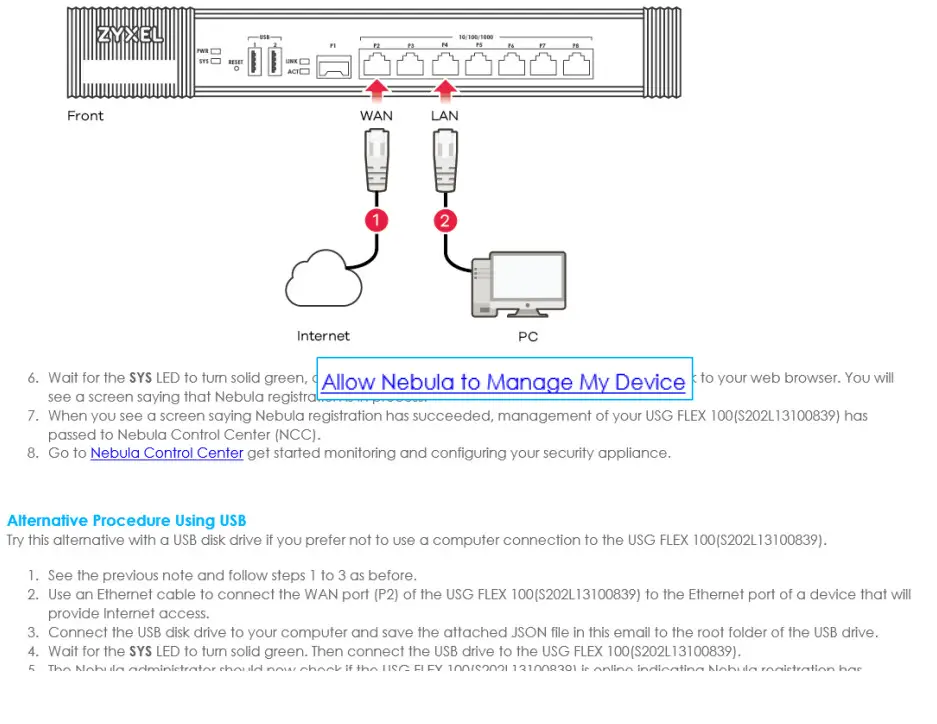
- It is recommended that you configure the security appliance before using it to protect your network. Use an Ethernet cable to connect a computer to the LAN port (P4) of the security appliance.
- Use another Ethernet cable(s) to connect a computer to the WAN port (or P2, if no WAN label) to an Ethernet jack with Internet access. At the front panel, ensure that the PWR light turns on. The SYS light blinks during system testing and initialization, then it should stay on when the system is ready. We’ll get you quickly up and going with this guide for Zyxel firewall onboarding to Nebula with DHCP WAN type.
Run initial wizard and upgrade firmware
2.1 Login to device GUI with IP: https://192.168.1.1
User name: admin
Password: 1234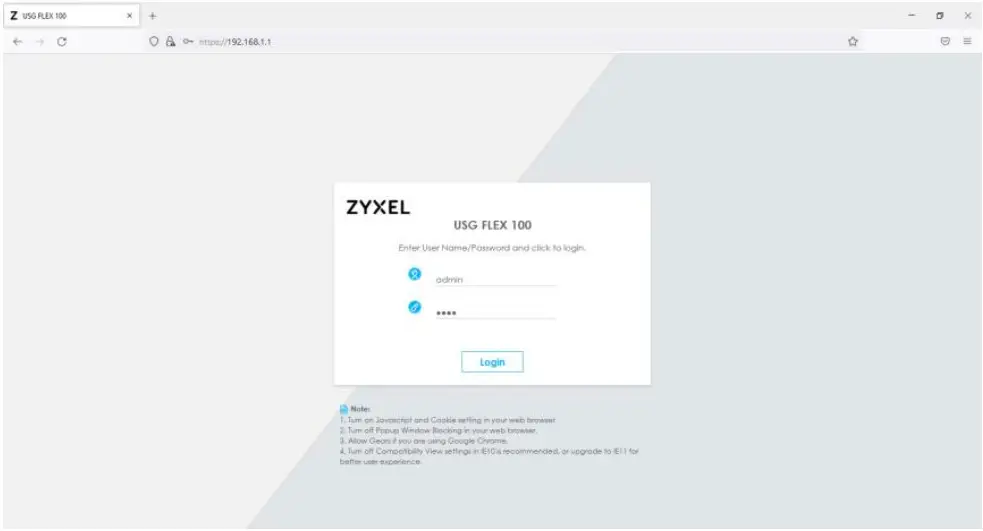 2.2 Set up a new password.
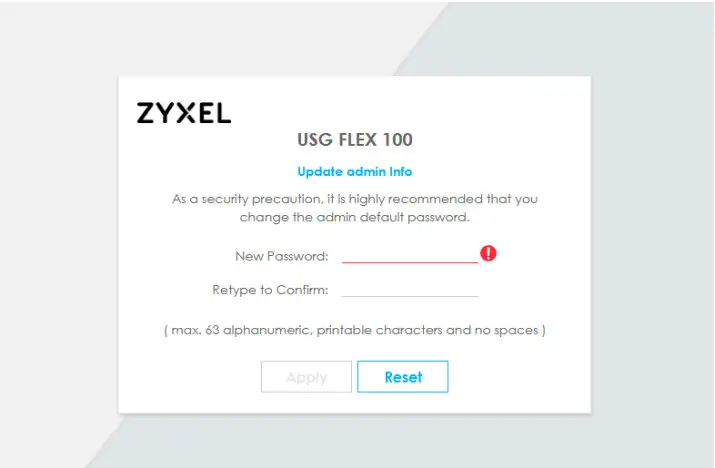 2.3 Use the new password to log in.
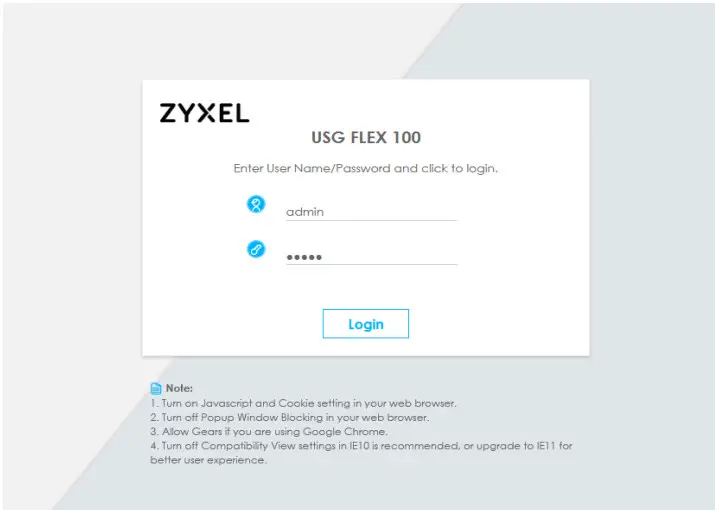 2.4. Start initial wizard and click Next>
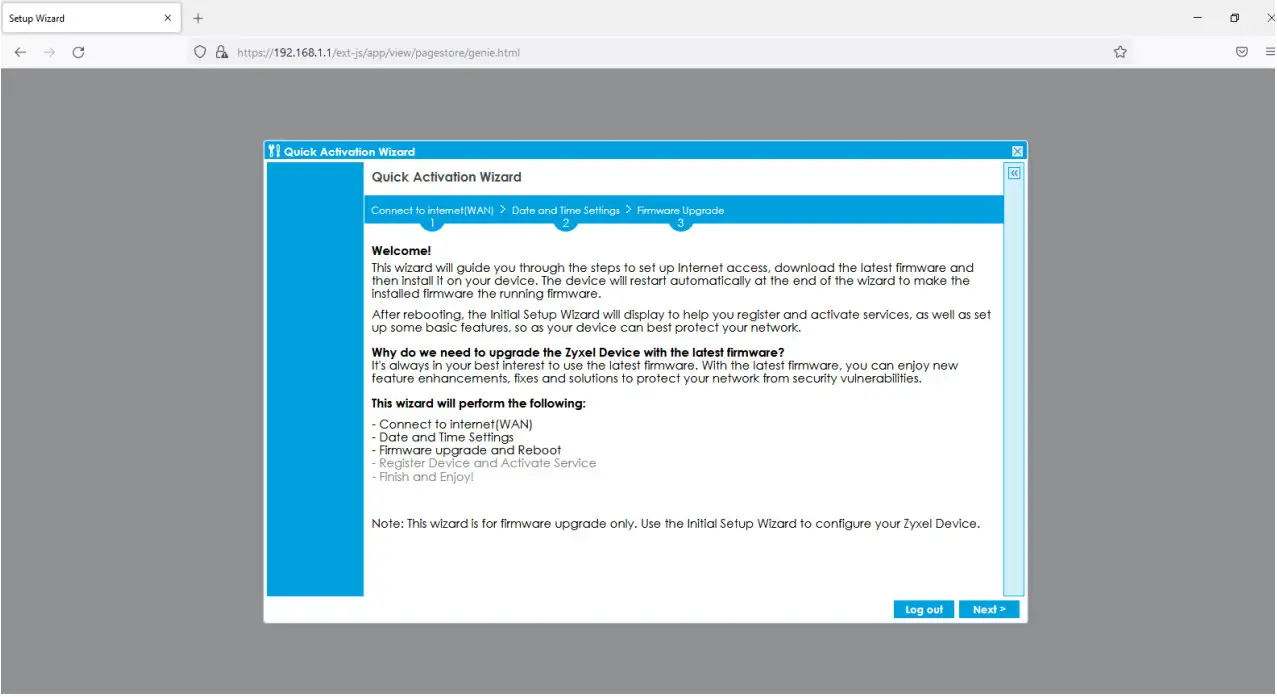 2.5 Connect to Internet(WAN): Select “Ethernet” and choose “Auto”(DHCP) as the WAN type. If you are using PPPoE, please select PPPoE.
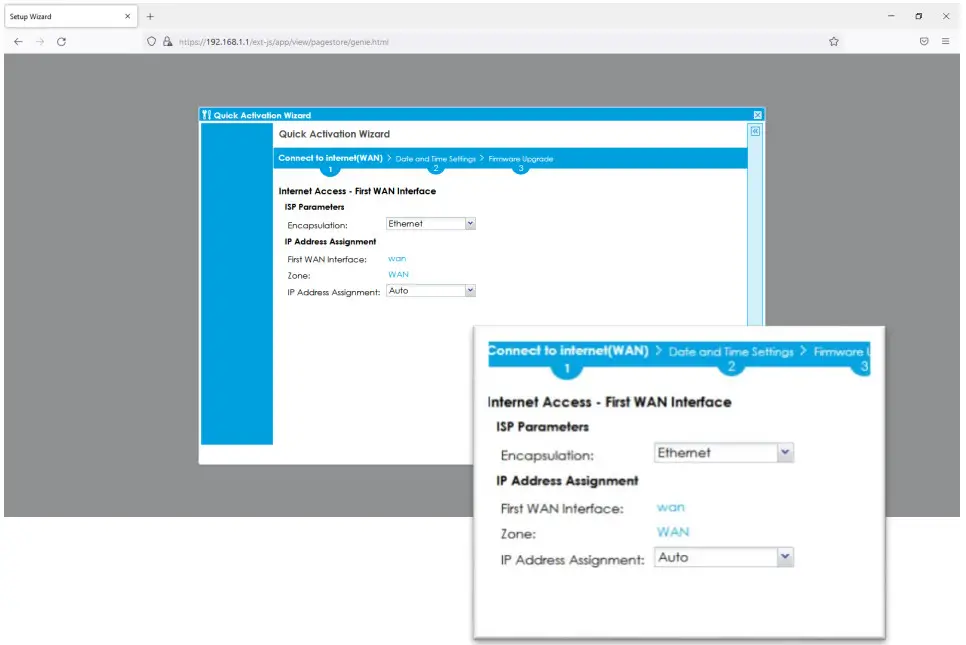 2.6 Check the Connection Test showing “OK” then press Next.
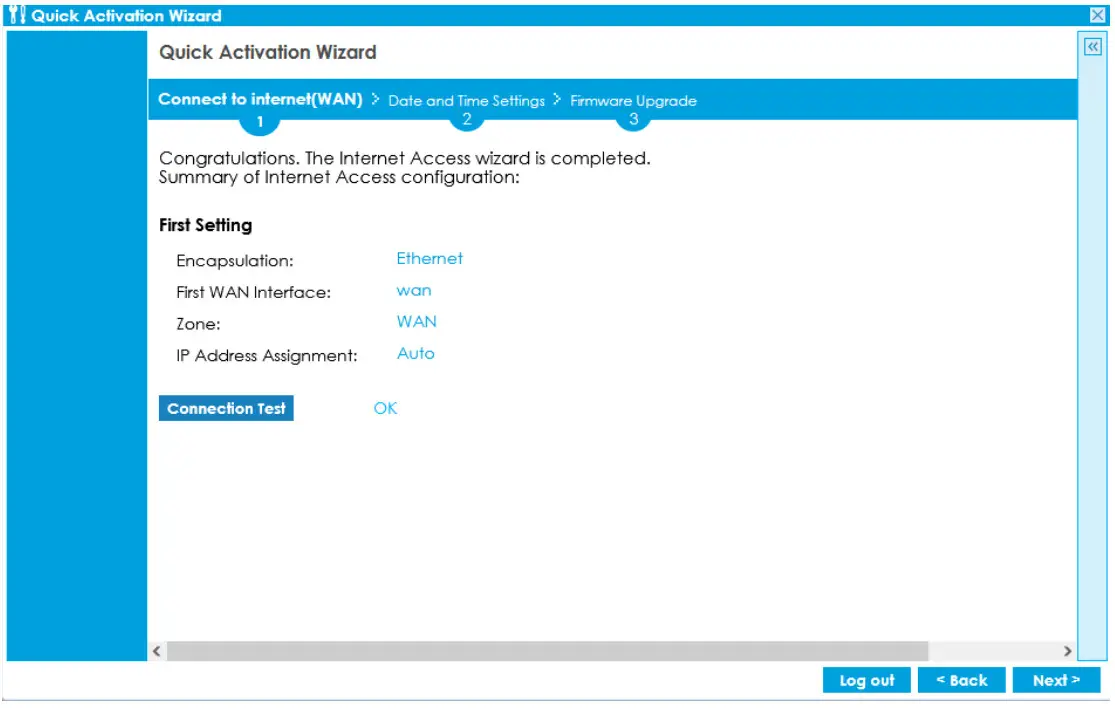 2.7 Data and Time Settings- Click Sync. Now then press Next.
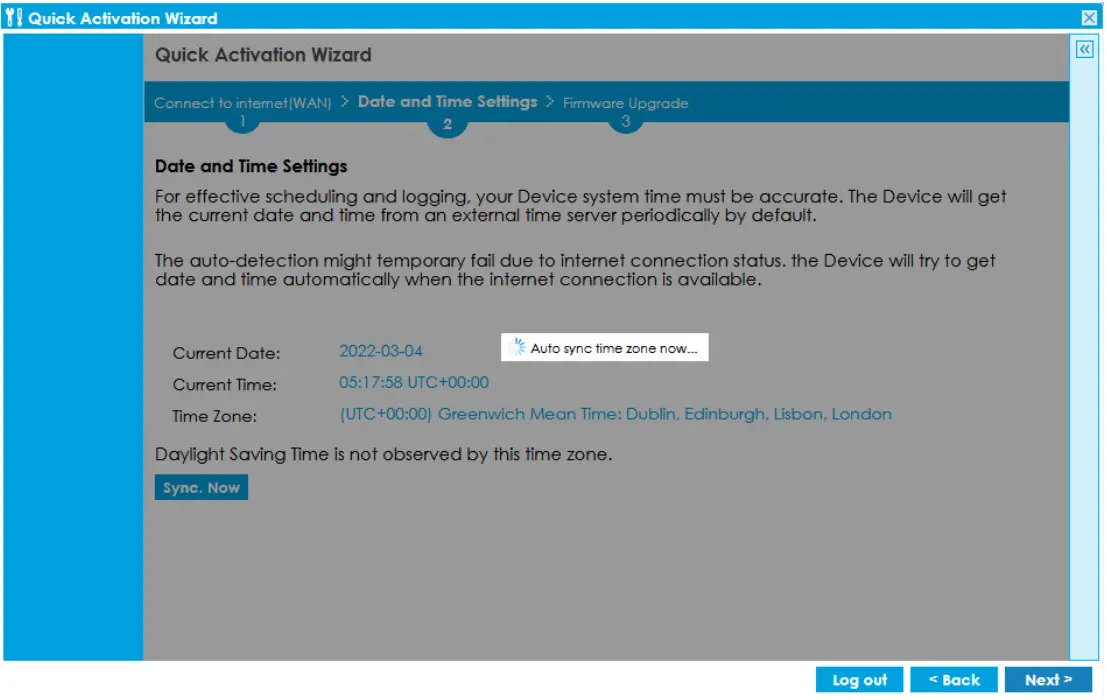 2.8 Firmware Upgrade– A new firmware will upgrade automatically.
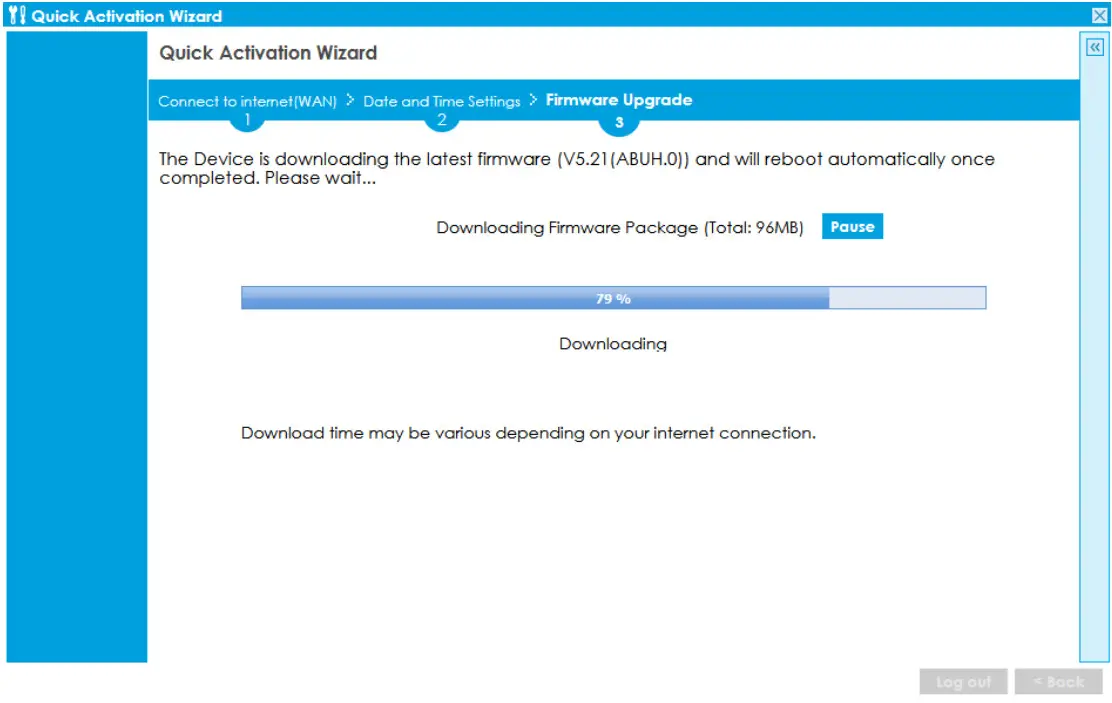
Onboard on Nebula Cloud
3.1 Go to Nebula Control Center page.
(https://nebula.zyxel.com) and click Get Started.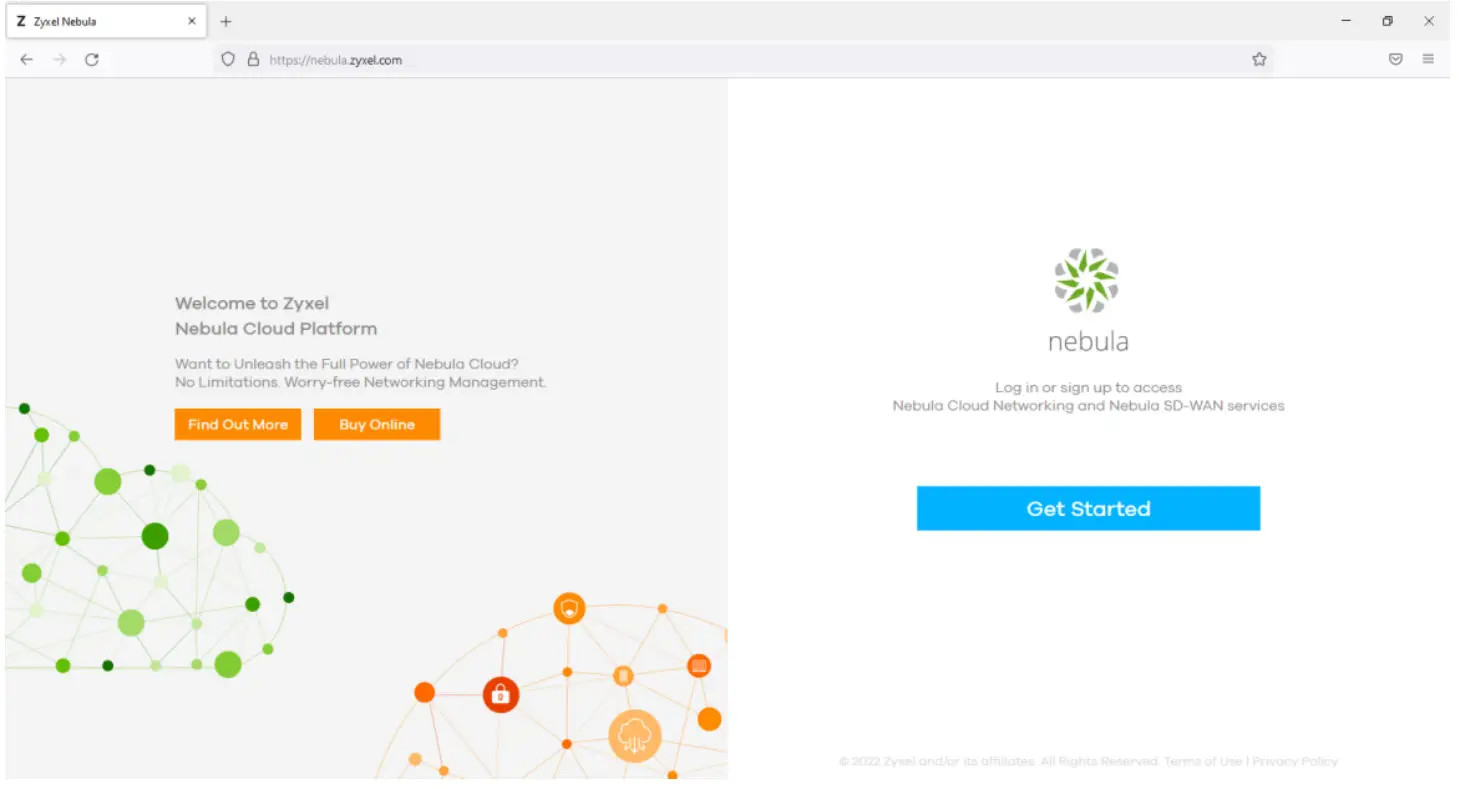 Create a Zyxel account. If you already have a Zyxel account, please skip stepping 3.5.
3.2 Create a Zyxel account.
3.3 Check your email with a confirmation link and open the link.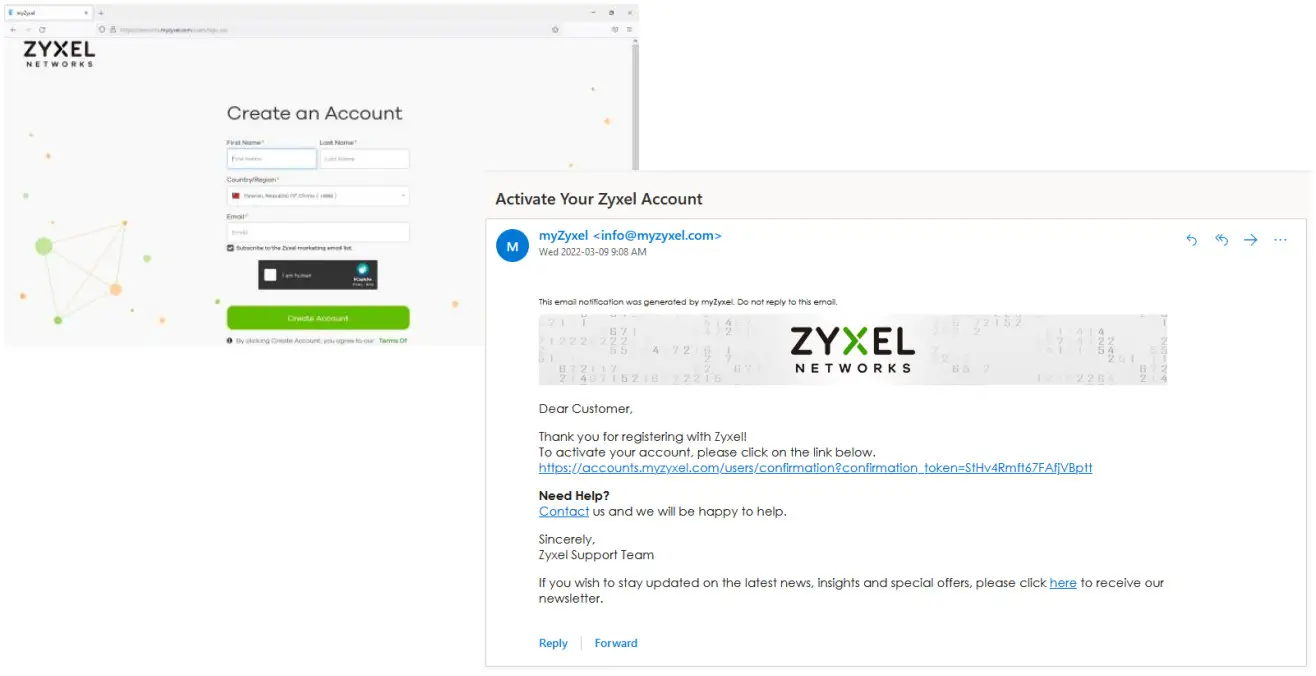 3.4 Set your password and 2FA.
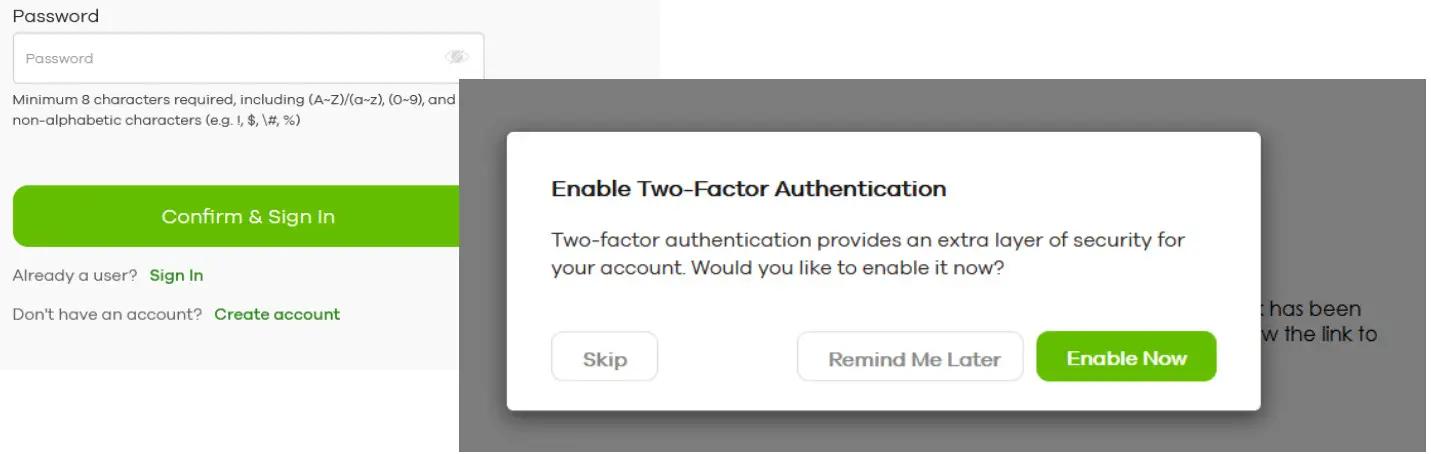 If you would not like to enable 2FA, please click Skip.
3.5 Click Let’s Start to set up Nebula’s initial wizard.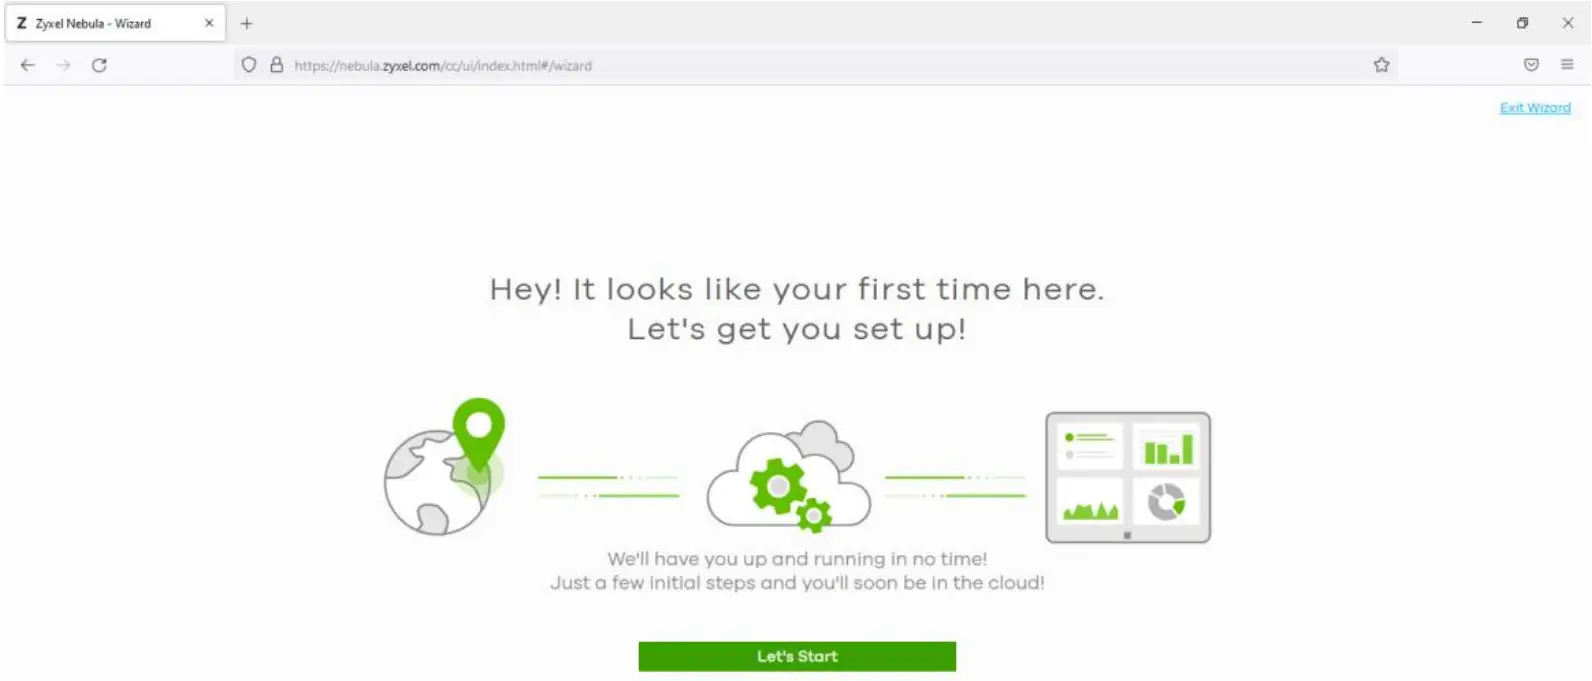 3.6 Create your Organization and Site.
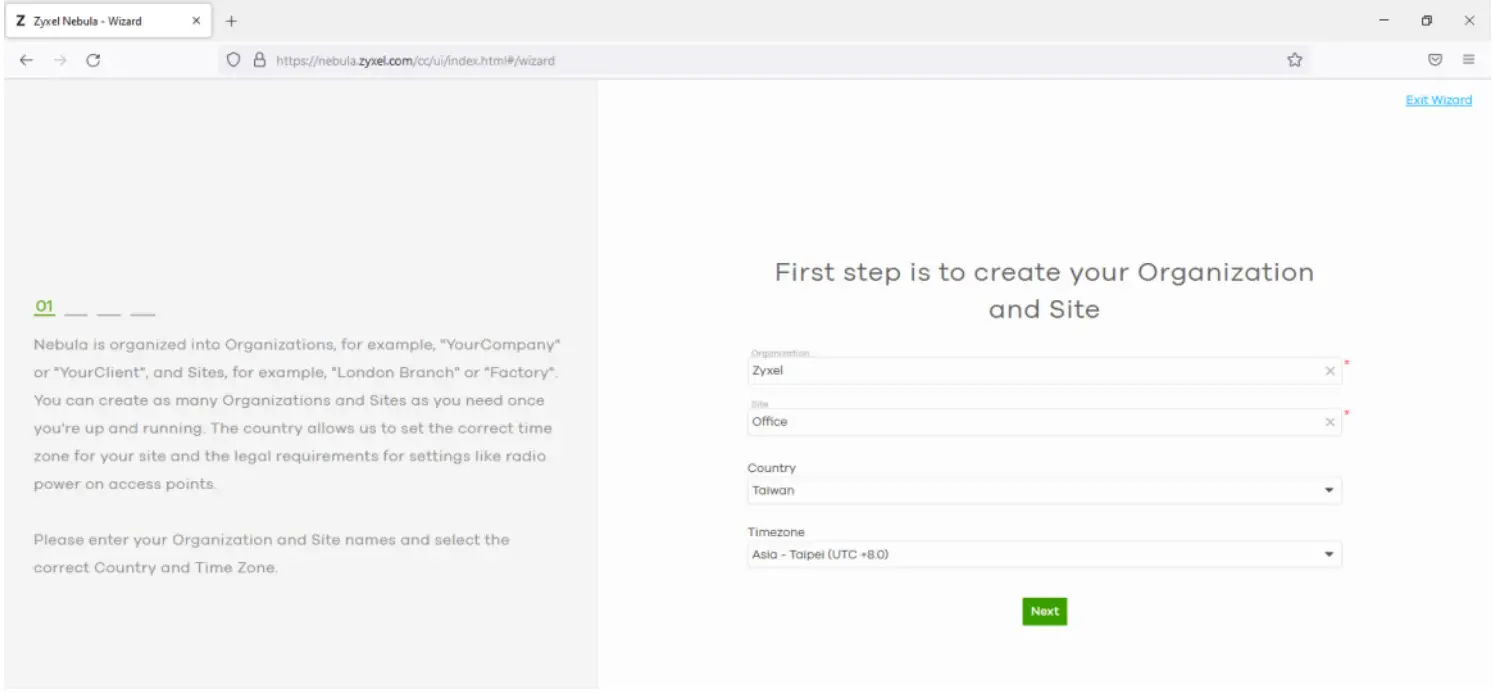 3.7 Don’t Skip this step! Add your device’s MAC address and Serial Number and click + Add, then click Next. (MAC address can be found on the sticker. When entering the MAC address, the colons will automatically be added in.)
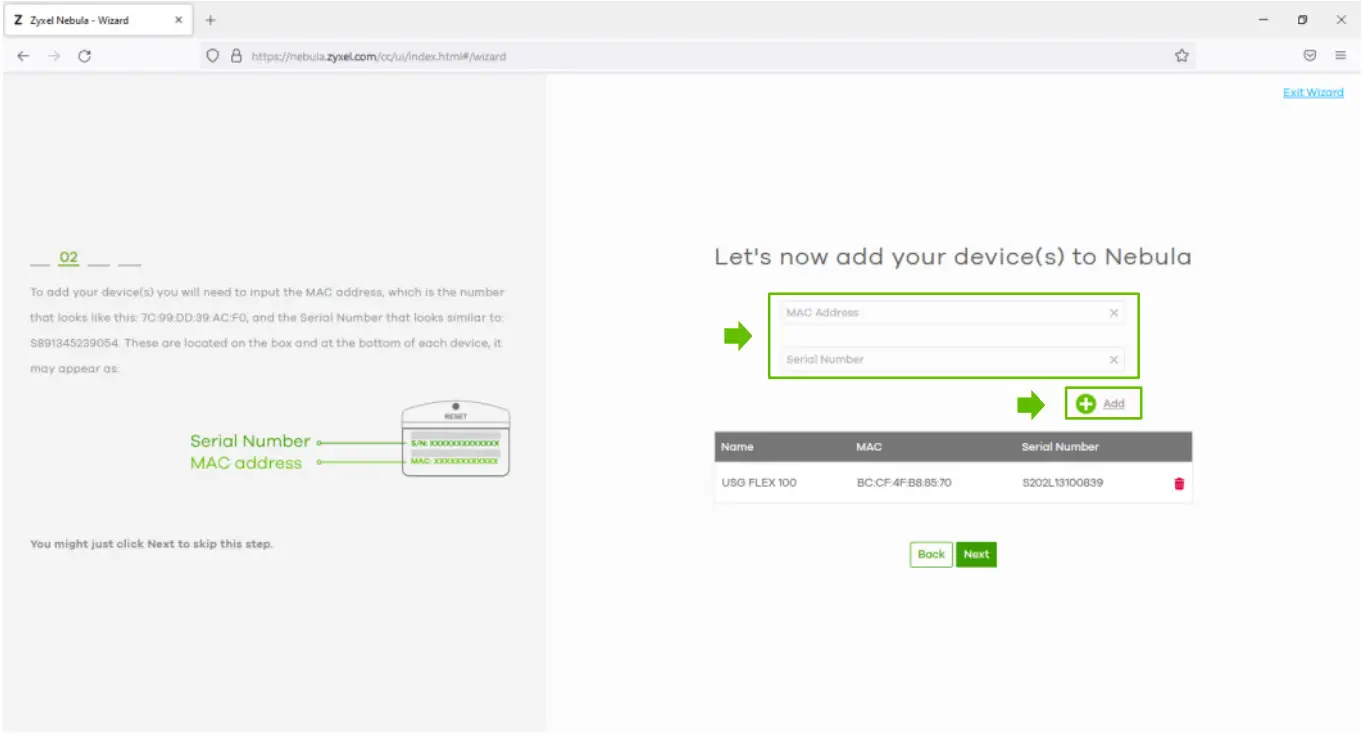 3.8 Click “Skip WiFi Settings”.
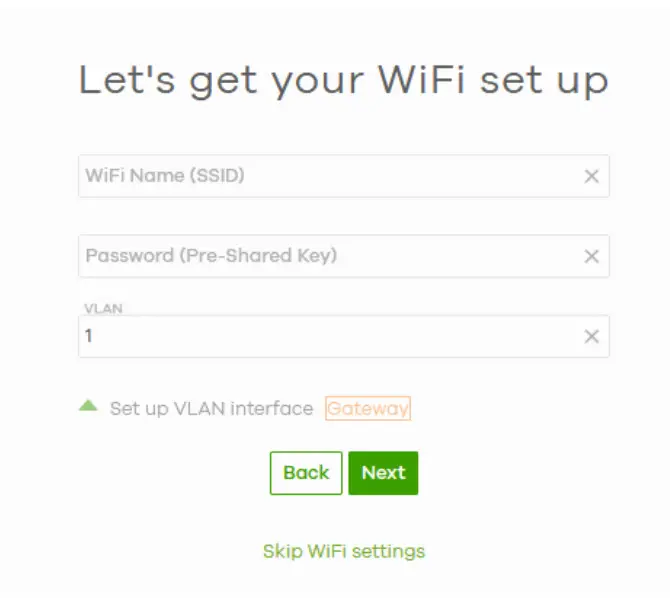 3.9 Select DHCP as WAN type and click Next. (If your WAN type is PPPoE, please select PPPoE). The system will send you an installation email.
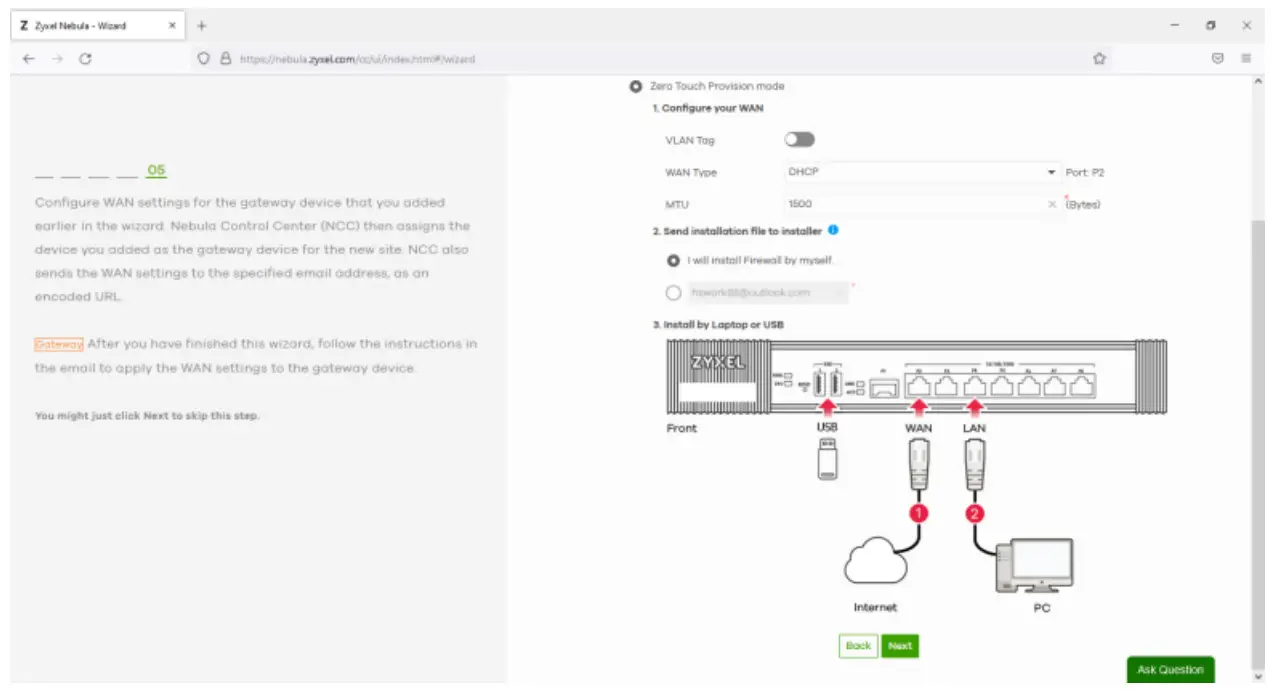 3.10 Click Go to Nebula dashboard
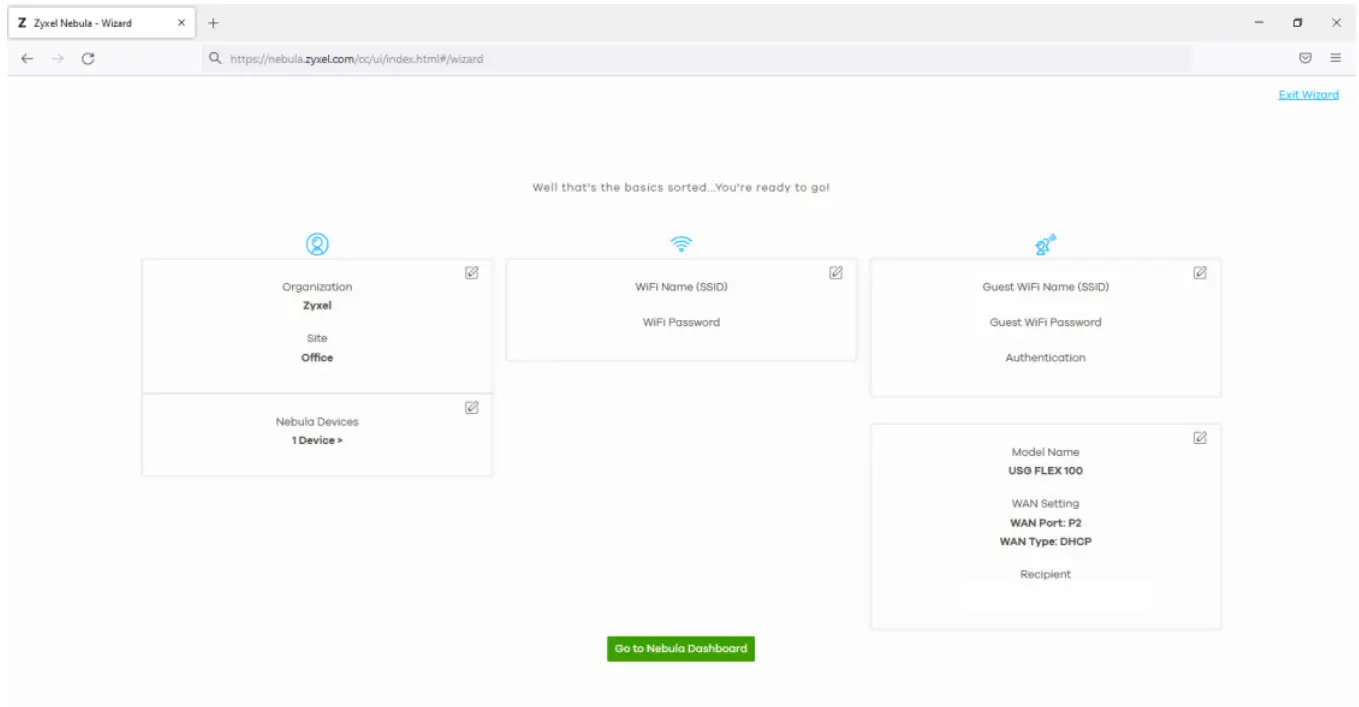 3.11 Select “Activate one-month trial period“ and click OK.
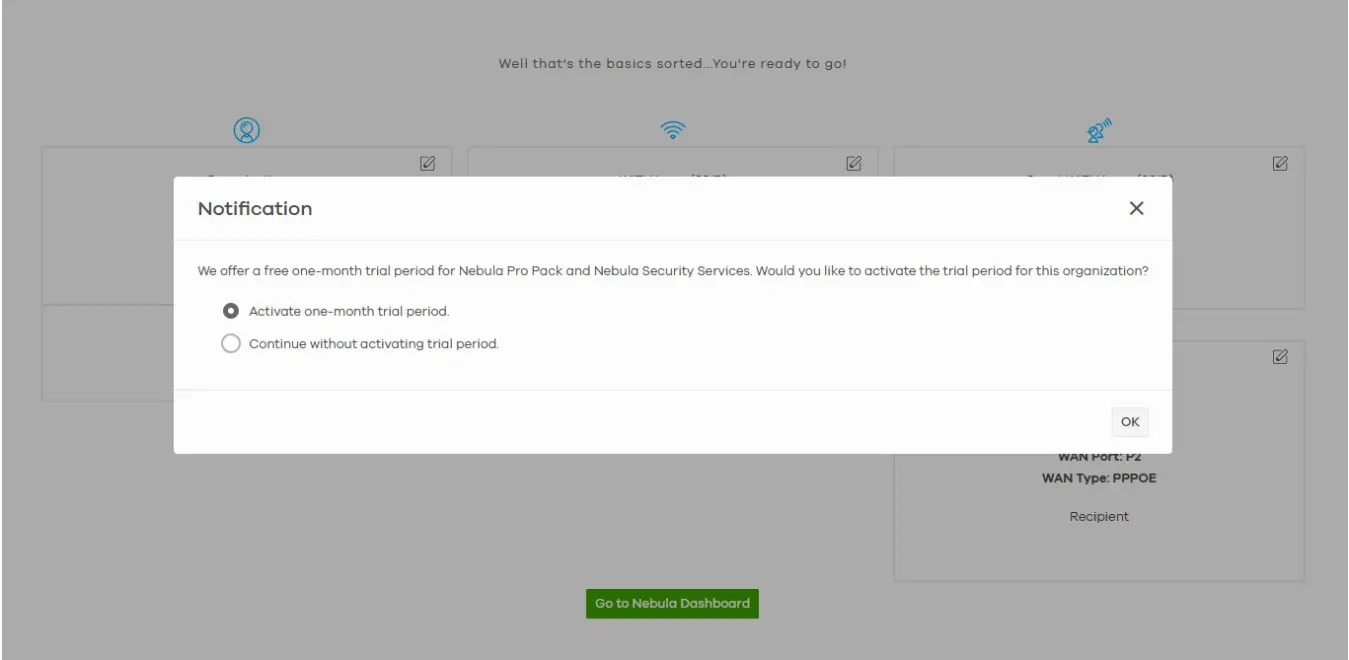 IMPORTANT
3.12 Go to your inbox and check for a mail subject with“Register your Zyxel Firewall device_device model”.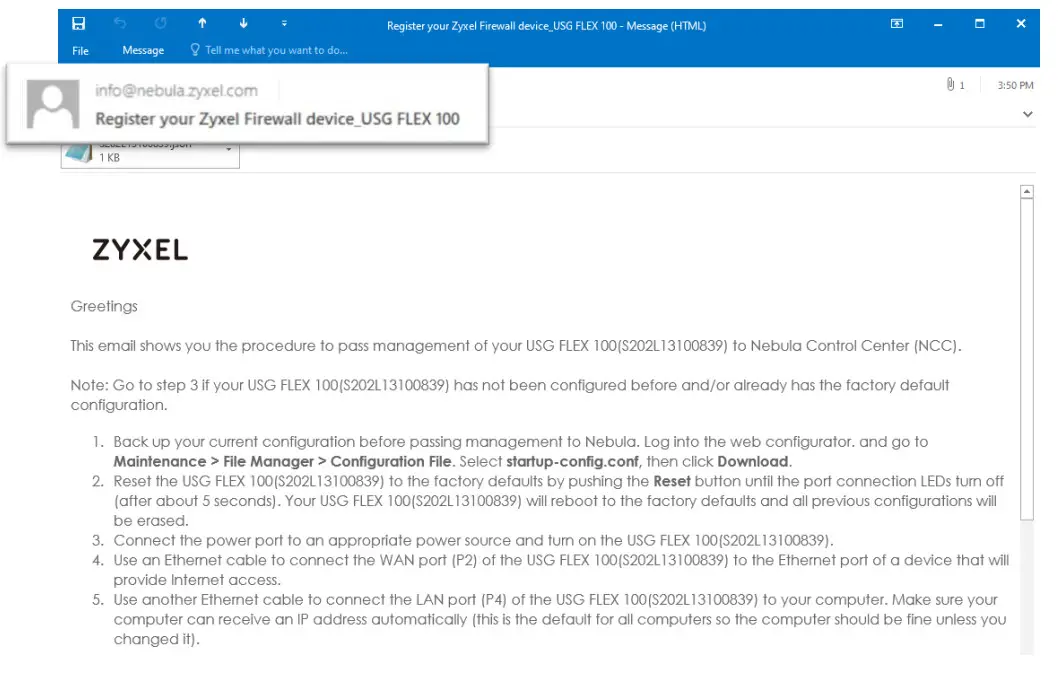 3.13 Press the reset button for five seconds on the device.
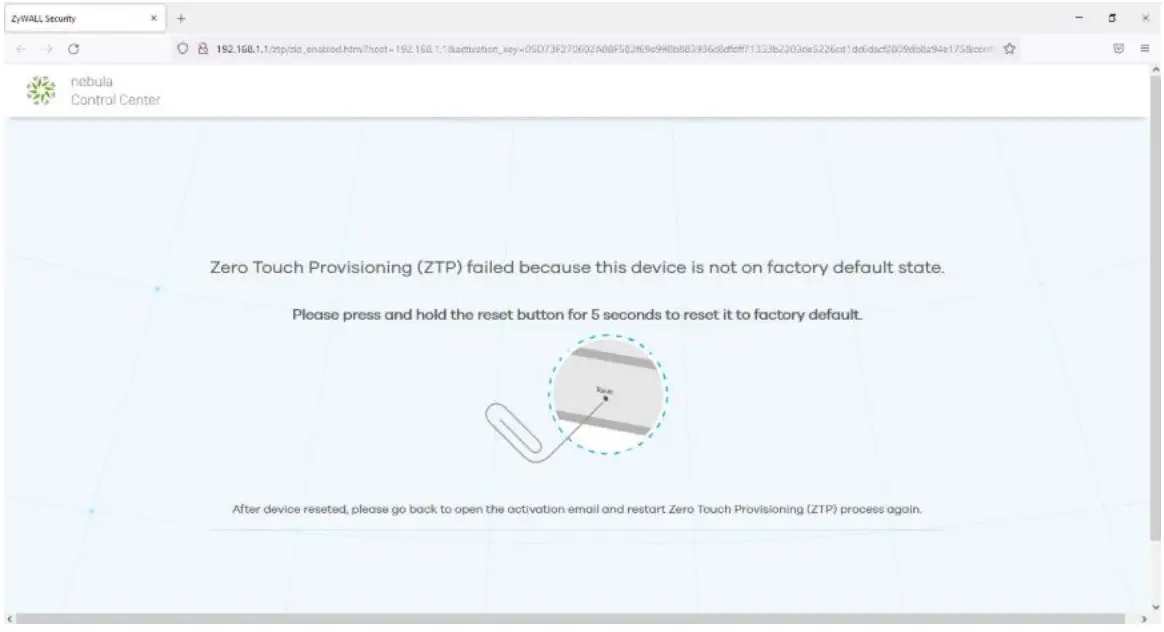 3.14 Click “Allow Nebula to Manage My Device”
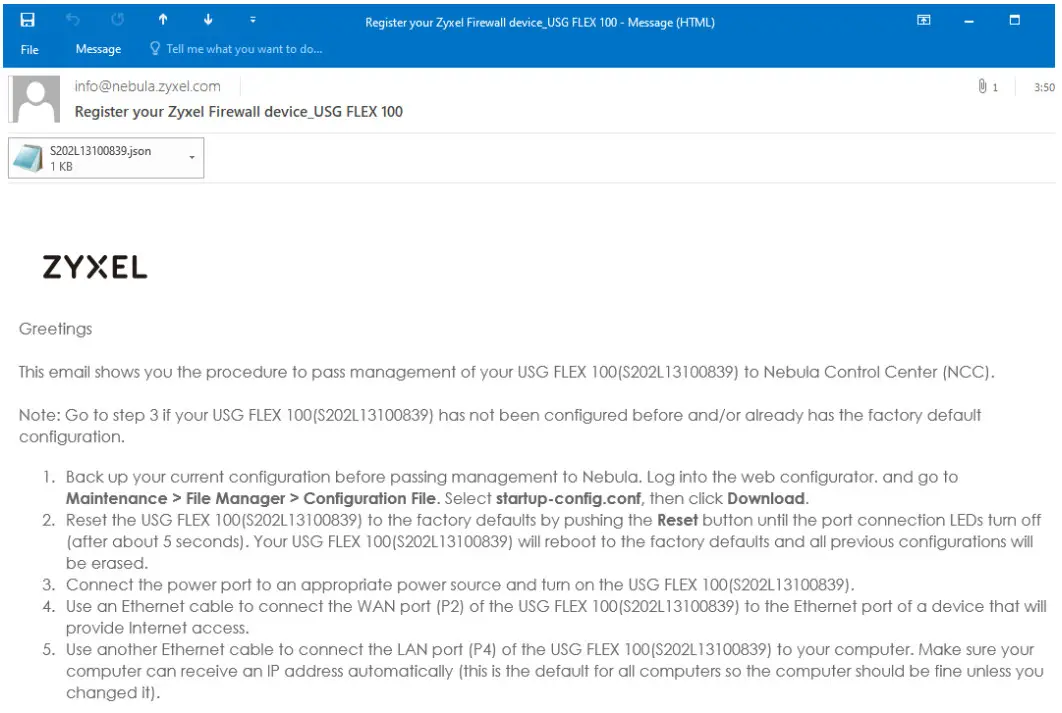
 3.15 Conduct the ZTP process.
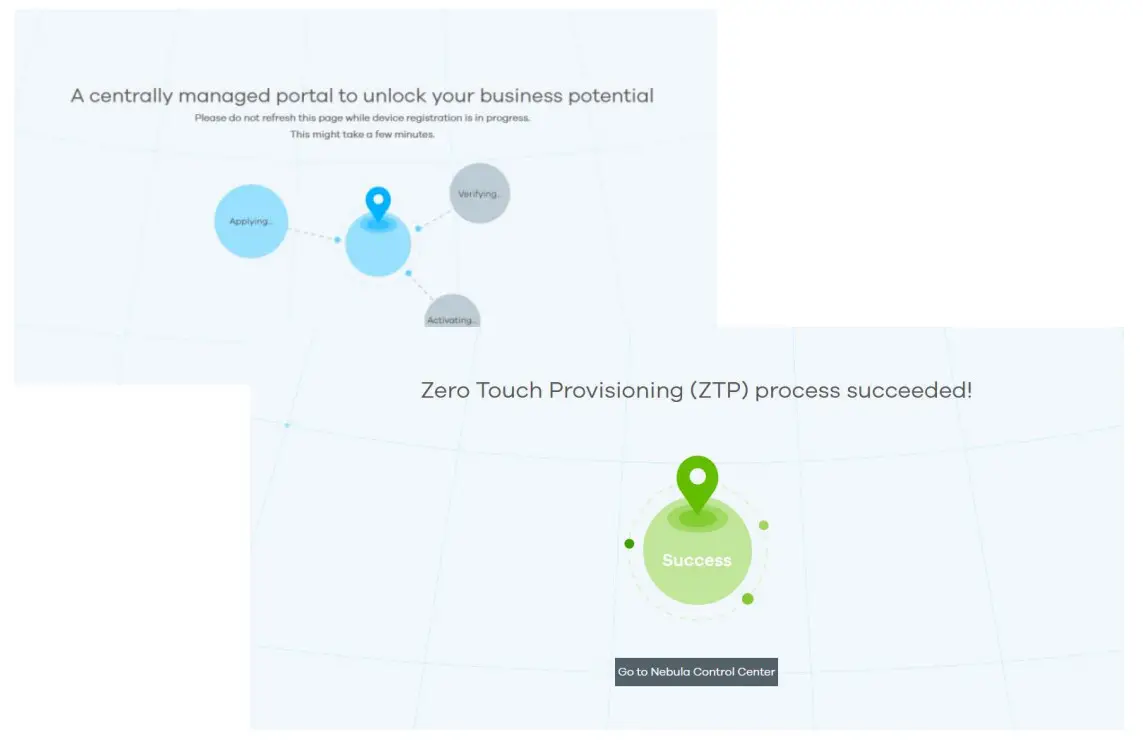 3.16 Log in to NCC and check the online appliance status.
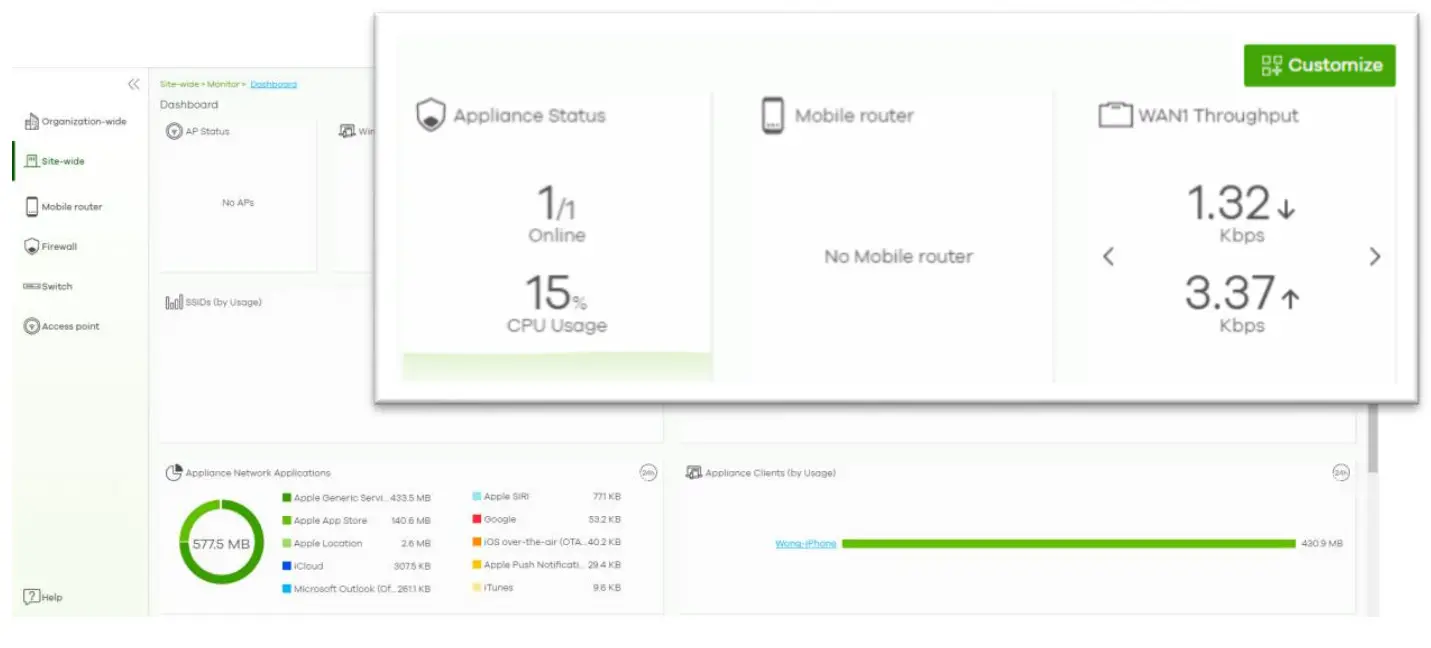 Congratulations on finishing your firewall setup on Nebula! Enjoy advanced protection with easy management!
 ![]()


