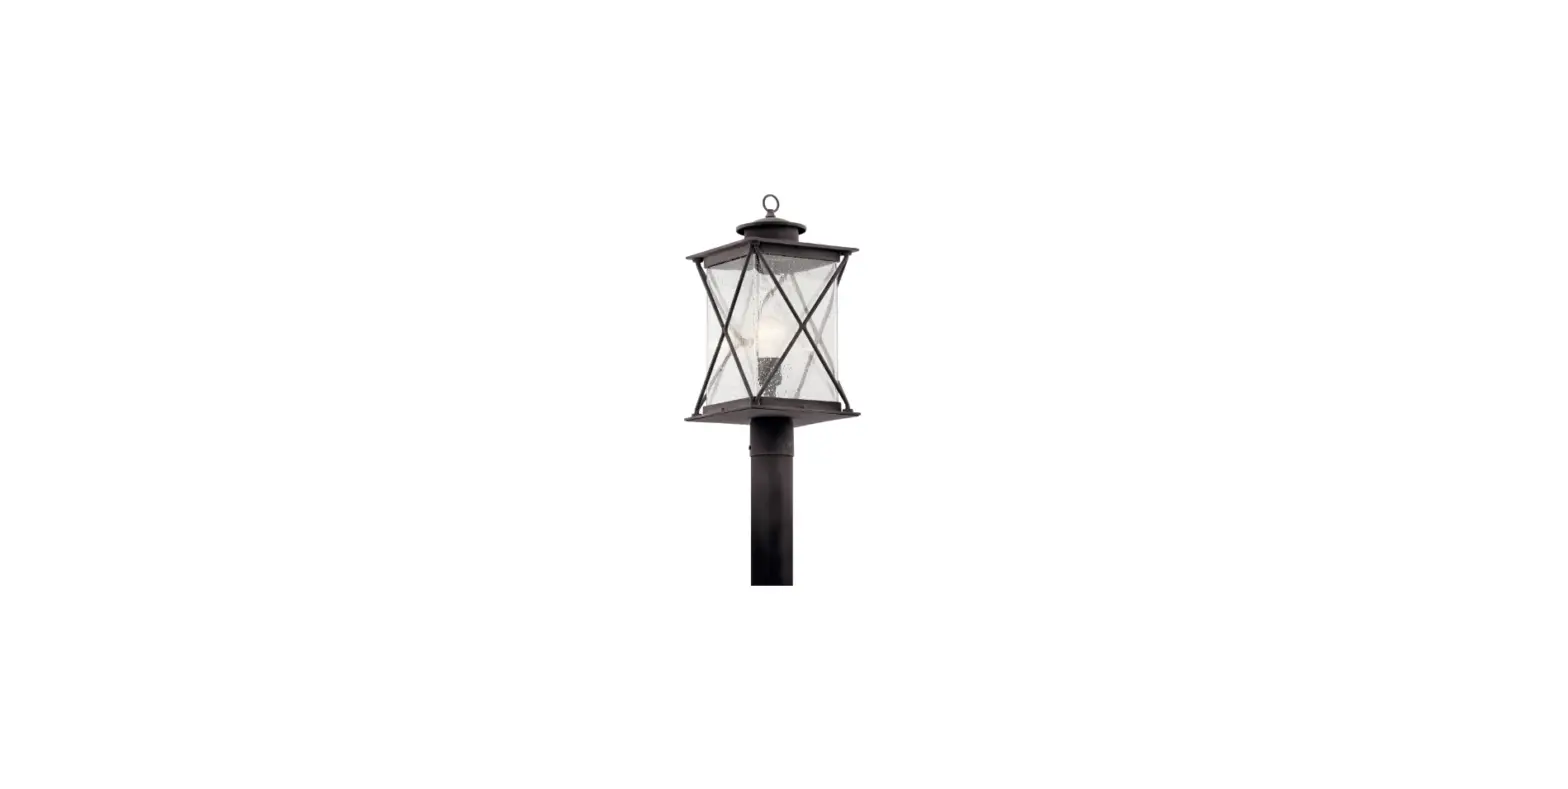
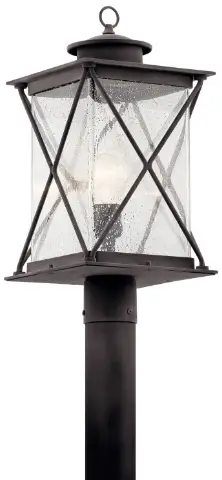
KICHLER 49746WZCL18 Argyle 19.5-Inch Weathered Zinc Transitional Post Light
CAUTION – RISK OF SHOCK – Disconnect power at the main circuit breaker panel or main fuse box before starting and during the installation.
INSTALLATION
- Slip the fixture over the post and mark the position of the mounting holes in the post.
- Remove the fixture from the post.
- Drill 3/16″ diameter holes in the post at positions marked.
- If the fixture is provided with ground wire, connect the fixture ground wire to the outlet box ground wire with a wire connector. (Not provided). NEVER connect the ground wire to black or white power supply wires.
- Make wire connections. Connectors not provided. Reference the chart below for correct connections and wire accordingly.
Connect Black or Red Supply Wire to: Connect White Supply Wire to:
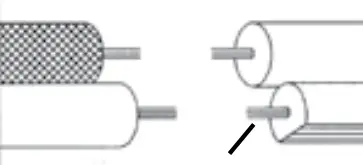
Black White *Parallel cord (round & smooth) *Parallel cord (square & ridged) Clear, Brown, Gold or Black without tracer Clear, Brown, Gold or Black with tracer Insulated wire (other than green) with copper conductor Insulated wire (other than green) with silver conductor *Note: When parallel wires (SPT I & SPT II) are used: the neutral wire is square shaped or ridged and the other wire will be round in shape or smooth. (see illus.) 
Neutral Wire
- Slip the fixture over a post and secure in place using provided screws. Screws should slip into holes drilled in post.
- Insert recommended bulb.
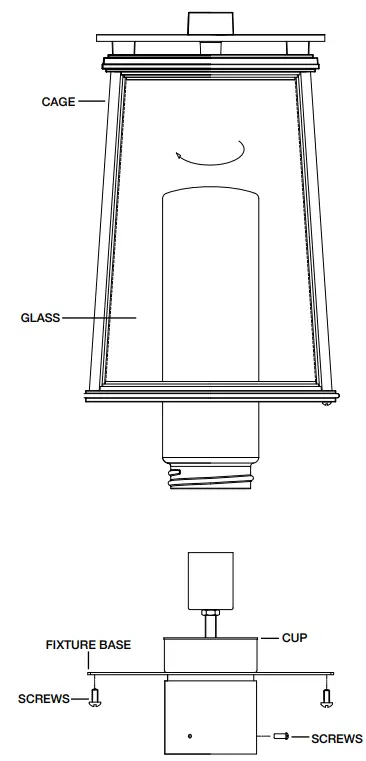
- Lower glass down over socket. Fit the bottom of the glass on the fixture base.
- Lower cage down over glass and set cage on the fixture base.
- Thread screws up from the underside of the fixture base and into cage. Tighten screws to secure the cage to the base.
We’re here to help 866-558-5706
Hrs: M-F 9 am to 5 pm EST


