brinno Time Lapse Construction Camera

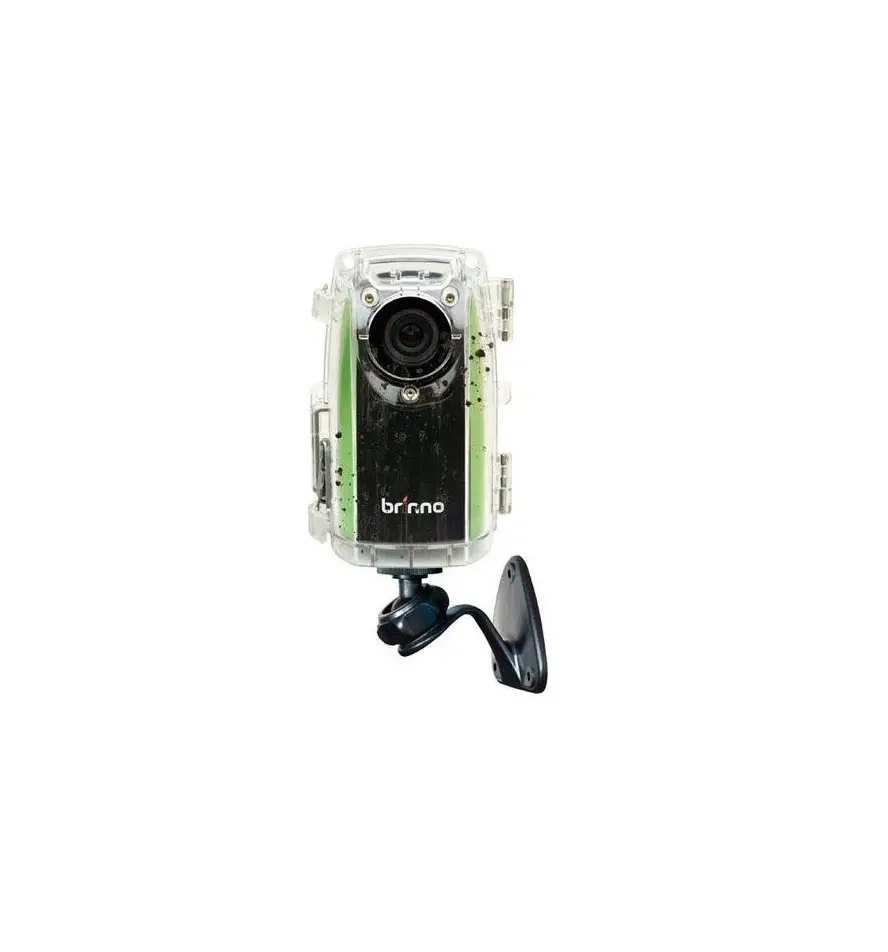
CONSTRUCTION CAMERA – BCC100
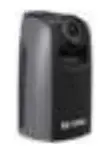
- TimeLapse Camera (TLC200 f1.2)

- Weather Resistant 3 Housing(ATH110)

- Camera Wall Mount(AWM100)

- Rubber Strap


BCC100 – Installation
STEP 1.
Insert an SD Card and switch on the Time Lapse Camera power.
STEP 2.
Insert the Time Lapse Camera into the Weather Resistant Housing, confirming the waterproof seal is aligned correctly.
STEP 3.
Please make sure the Time Lapse Camera lens is positioned correctly to fit into the transparent lens (Housing).
Close the Weather Resistant Housing door and latch the buckles (Top and bottom).
STEP 4. Start Recording
- The LCD will display the set up screen.

- Set the Time Interval and AVI frame rate.

- Press OK to proceed to the Preview Screen, frame your subject.

- Press OK again to start the recording process.


STEP 5. Installation
A (TLC200 f1.2+AWM100)
B (TLC200 f1.2+Rubber Strap)
STEP 6. Finish
While recording, hold the “OK” button until the LCD light turns on and shows the text “Processing”, it means the camera is processing file closing. When completed the processing it will display the text “Ready”.
This indicates the recording session is complete.
Remove the SD card from the camera, and insert it into your computer or laptop to enjoy your amazing Time Lapse Videos!
Optional Accessory

Brinno Reader (ABR100)
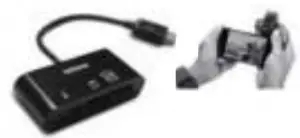
Play your construction time lapse video on your smartphone on site.
No need to go back to the office with the Brinno High Speed On The Go ( OTG ) Reader (ABR100) *Your Smartphone needs to OTG for this function.

Motion Sensor (ATM100)
Upgrade the time lapse camera to a motion activated camera, detecting any movement in the area. Great for Security.

7F, No.75, Zhou Zi St., Taipei City11493, Taiwan
Phone: +886-2-8751-0306 Fax: +886-2-8751-0549
[email protected] www.brinno.com
Made in Taiwan


