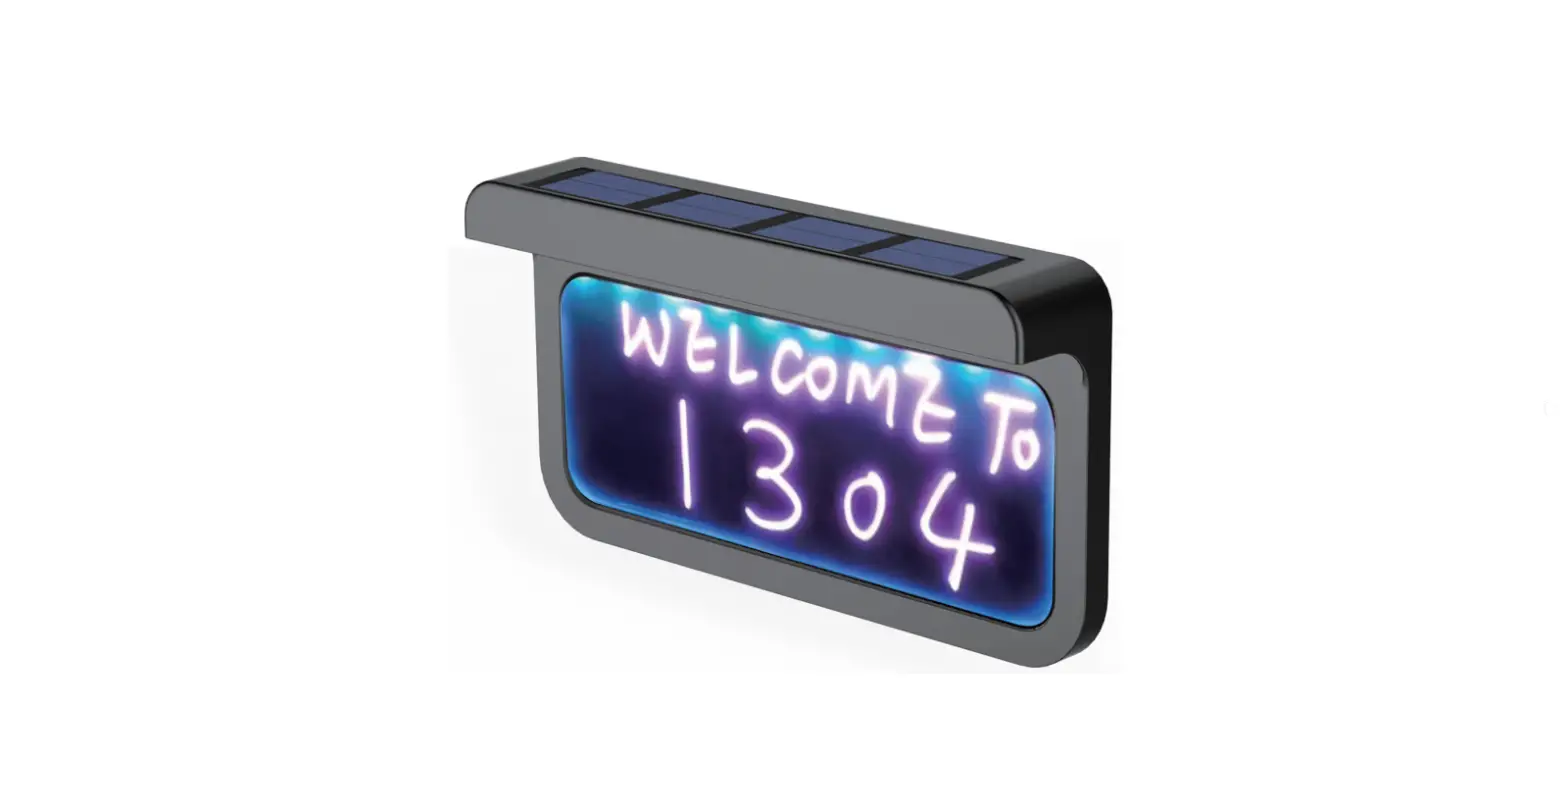
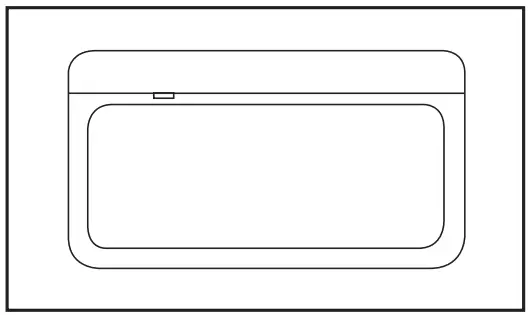
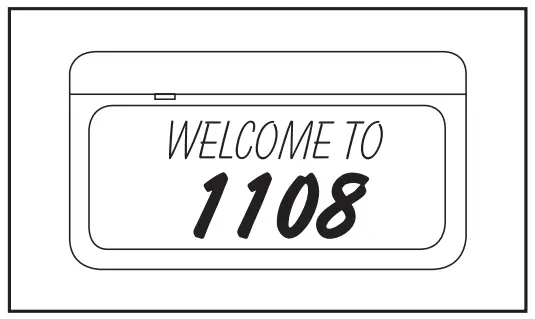
RELIABILT 5182027 Diy Solar LED Address Sign

INSTALLATION AND HOW TO USE
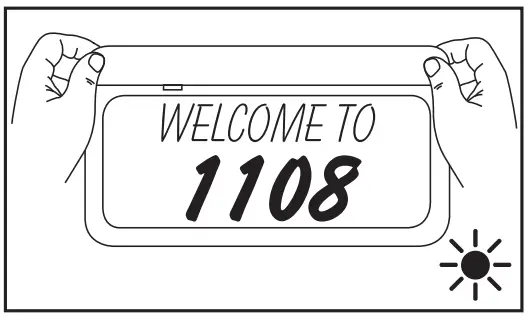
- Locate the best location for your DIY Solar LED Address Sign. For best results, it is recommended that the sign is placed where it receives adequate sunlight throughout the day.
- The light turns ON and Off automatically at sunset and sunrise.
- To illuminate either house number, holiday greetings, or other messages, simply wipe away the current message with a wet cloth using water or a basic household cleaner and then rewrite your new message.
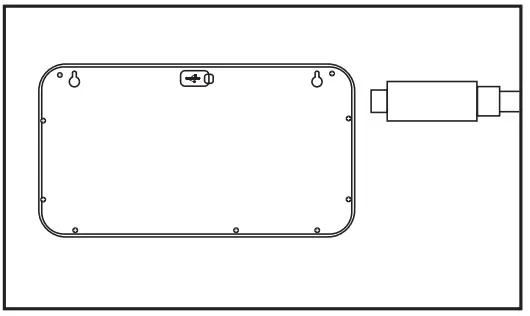
- This Solar Powered LED Address Sign is equipped with a USB charging port if experiencing an extended period without direct sunlight.
SETTING UP AND INITIATION
Package Included:
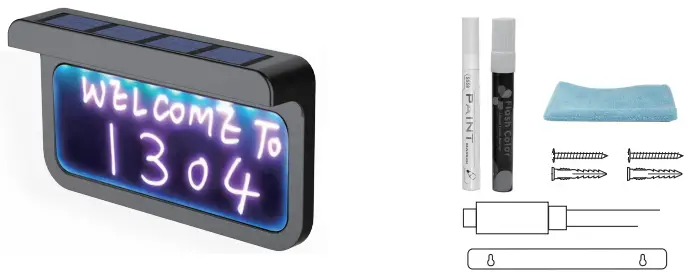
- 1 – Address sign plaque
- 1 – Waterproof pen
- 1 – Water-Soluble paintbrush
- 1 – Charging cable
- 1 – Cleaning cloth
- 2 – Screws& anchors
- 1 – Install guide card
How To Install
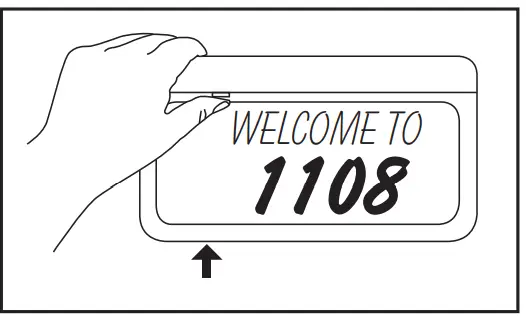
- . Clean the board.

- Write the Information you want to display.

- Once you have located the desired placement for the sign, use the Install Guide Card to mark the correct position for two screws. For best results, install sign where it can receive direct sunlight.
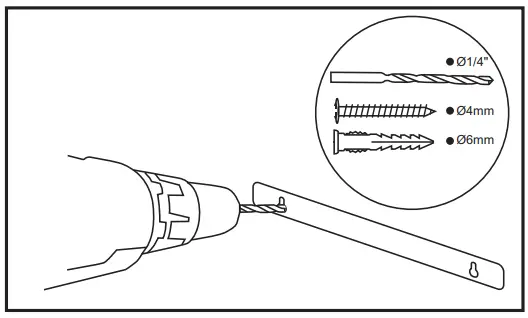
- Drill two holes using a 1/4″ drill bit.

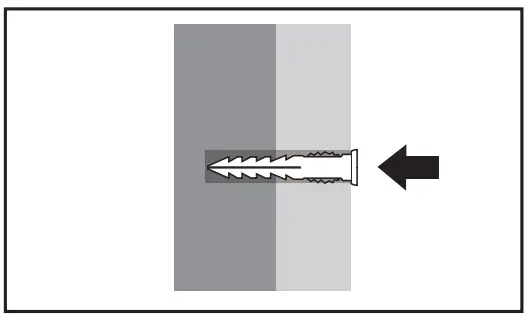
- Tap the anchor into the hole you drilled

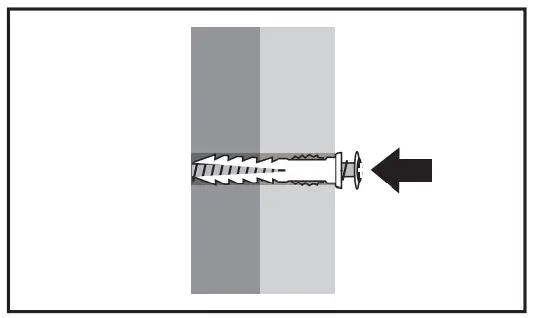
- Drive the screw into the anchor.
- Don’t drive the screw all the way in. Leave a small distance between the screw head and the surface of the wall for hanging.

- Don’t drive the screw all the way in. Leave a small distance between the screw head and the surface of the wall for hanging.
- Press switch to Auto, choose the lighting mode as you like.
- For RGB Mode – Turn the button to the left .
- For White Mode – Turn the button to the right.

- Hang sign on the screws.
- If experiencing an extended period without direct sunlight, you can charge the sign using the type-c charging port. After charging is completed, insert the soft cover to prevent exposure to moisture or dirt and debris.

SECURITY INFORMATION
- CAUTIONS: The packing contains small parts that could be swallowed by children. Keep the packaging material away from children and pets (danger of suffocation).
- This solar powered address sign is not a toy.
- For safety reasons it is not allowed to rebuild and/or to change the solar address sign luminaire.
- Clean the solar module regularly with a damp towel.
- To clean the water-soluble paint with a wet cloth, and clean the waterproof paint with a basic USA cleaner or household alcohol.
- Please pay attention to an appropriate start-up. Never attempt to repair defective parts yourself. Repairs must be carried out only by qualified specialist.
- Charging cable included, close the soft cover tightly after charging to prevent the infiltration of rainwater.


