Eumyviv 17802 Farmhouse Chandelier with Seeded Glass Instruction Manual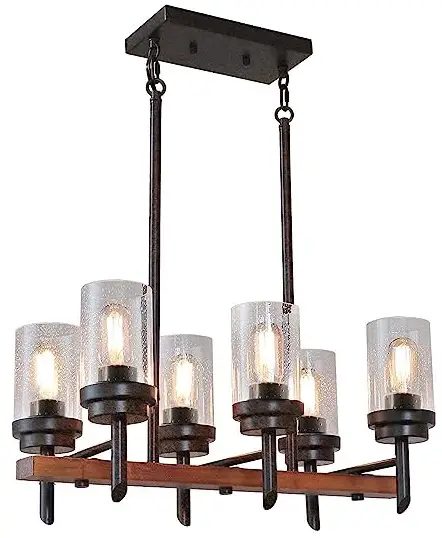
Instructions
WARNING (To reduce the risk of fire, electric shock, or injury to persons):
- We suggest installation by a licensed electrician.
- Please read the instruction carefully and save it as you may need it at a later time.
- Before you start, NEVER attempt any work without shutting off the electricity until the work is done. A). Go to the main fuse, or circuit breaker, box in your home. Place the main power switch in the “OFF” position. B). Place the wall switch in the “OFF” position.
- The mounting surface should be clean, dry, flat, strong enough and 1/4” larger than the canopy on all side. Any gaps between the mounting surface and canopy exceeding 3/16” should be corrected as required.
- Make sure that the ceiling or wall can stand the weight of the lamp before the fixture.
- Make sure the voltage you are using is 120V. The maximum wattage is 60W per bulb.
- Keep the lamp away from acidic and basic objects in case of damaging the surface of the lamp.
- When replacing a bulb, you should turn off or unplug the lamp and you must wait until it is cool as bulbs get hot quickly.
- The safety instructions appearing in this manual are not meant to cover all possible conditions that may occur. It must be understood that common sense, caution, and care must be used with any electrical products.
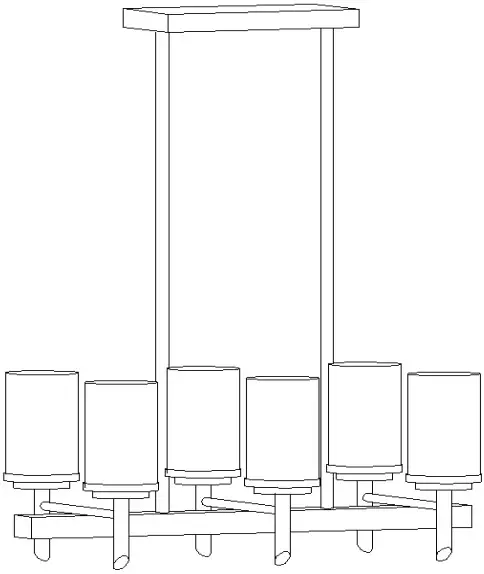
Image for the finished product
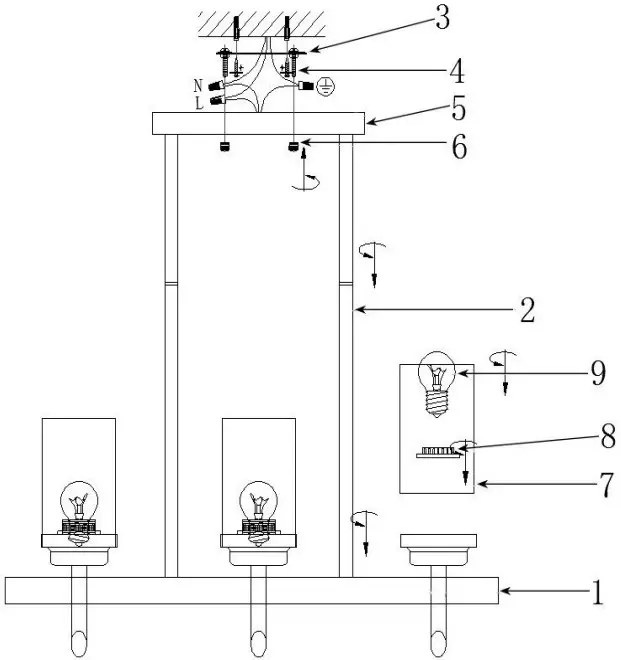
Installation Procedures
- Open the package and take out all the parts or accessories, then place them on a clean flat place.
- Fix tube 2 to the lamp body 1. There are few tubes, you can adjust the height you need.
- Fix canopy 5 to the tube 2.
- Fix mounting part 3 to the outlet box by screw 4.
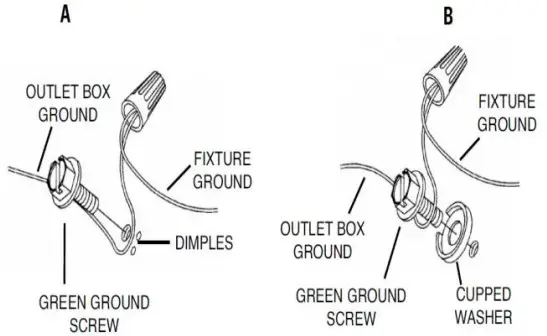
- Connect wires from lamp to the outlet box in the ceiling, more wiring instructions as below:

Connect Black or Red Supply Wire to: Connect White Supply Wire to: Black White *Parallel cord (round & smooth) *Parallel cord (square & ridged) Clear, Brown, Gold or Black without tracer Clear, Brown, Gold or Black with tracer Insulated wire (other than green) with copper conductor Insulated wire (other than green) with silver conductor 
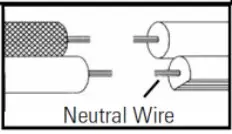
Note: When parallel wires (SPT I & SPT II) are used. The neutral wire is square shaped or ridged and the other wire will be round in shape or smooth (see illus.) - Fix canopy 5 to the ceiling by using screw cap 6.
- Fix the glass shade 7 on the lamp holder by ring 8.
- Install bulbs 9 (not included).
- Check everything installed correctly, then you can turn on the light.