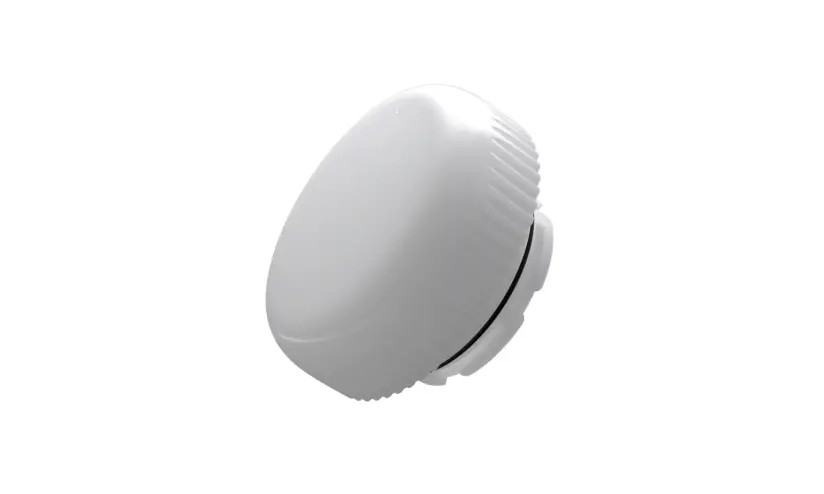
HANECO SKYLUX G4 Motion Sensor and Remote User Guide
![]() WARNING
WARNING
The Motion Sensor must be installed by a professional electrician. Switch power off prior to installation. Ensure input voltage conforms to the voltage range of product. Please read these instructions carefully before using this product and keep for future reference.
Instructions
 ON/OFF Control
 Daylight Sensor
 Hold Time
 Detection Area
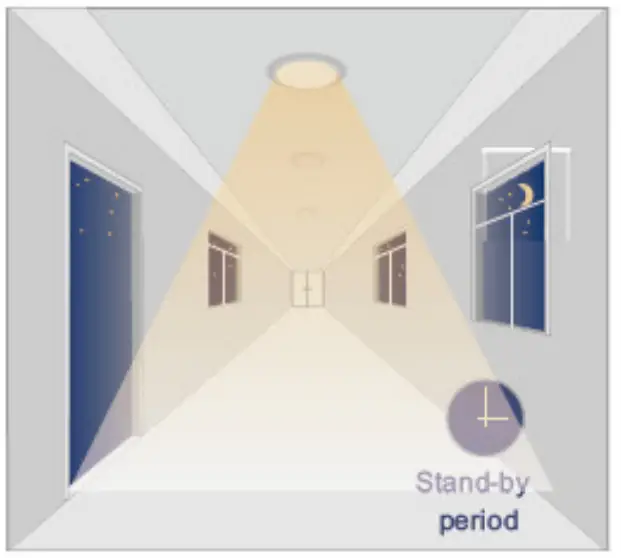
 Stand-by Period
 Stand-by Dimming Level
 Remote Control
 10-12m Highbay
TECHNICAL SPECIFICATIONS
| Operating Voltage: | 10.5-15V d.c. <30mA | |
| Output: | DIM 0-10V | |
| Standby Consumption: | <30mA | |
| Microwave Frequency: | 5.8GHz ± 75MHz | |
| Microwave Power: | <0.3mW | |
| Daylight Priority Function: | 120/80/50/30Lux | Dimming: 10/20/30% | Factory Default: Disable |
| Detection Area Setting: | 25/50/75/100% | Factory Default: 100% |
| Hold Time: | 5s/30s/1min/3min/5min/10min/20min/30min | Factory Default: 5s |
| Daylight Threshold: | 2/10/30/50/80/120Lux (or Disable) | Factory Default: Disable |
| Stand-by Period: | 0s/10s/30s/1min/5min/10min/30min/60min +∞ | Factory Default: 0s |
| Stand-by Dimming Level: | 10/20/30/50% | Factory Default: 10% |
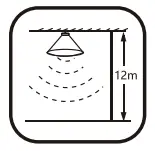
| Maximum Mounting Height: | Max. 12m Ceiling Mounted | |
| Maximum Detection Range: | Max. ø12m Ceiling Mounted | |
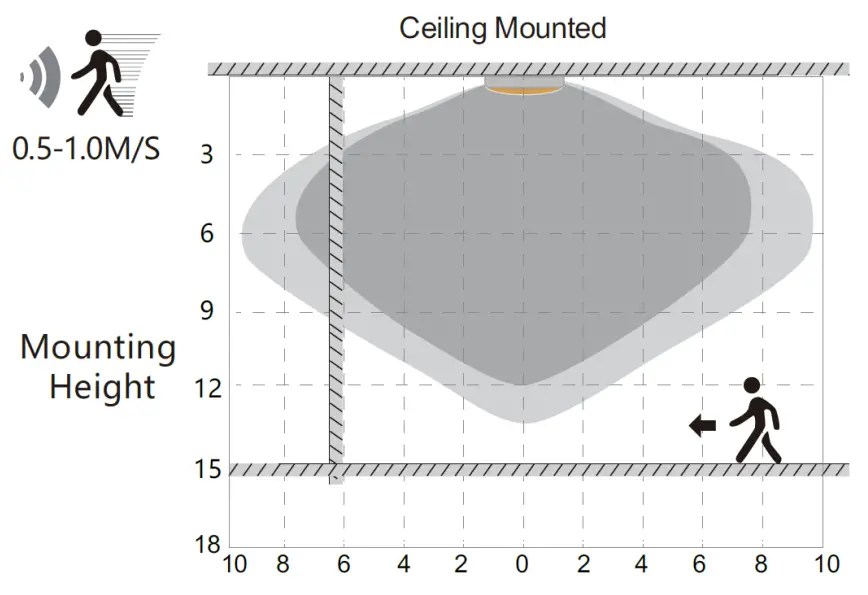
| Motion Detection: | 0.5 ~ 1m/s | |
| Operating Temperature: | -20°C to +60°C | |
| IP Rating: | IP65 |
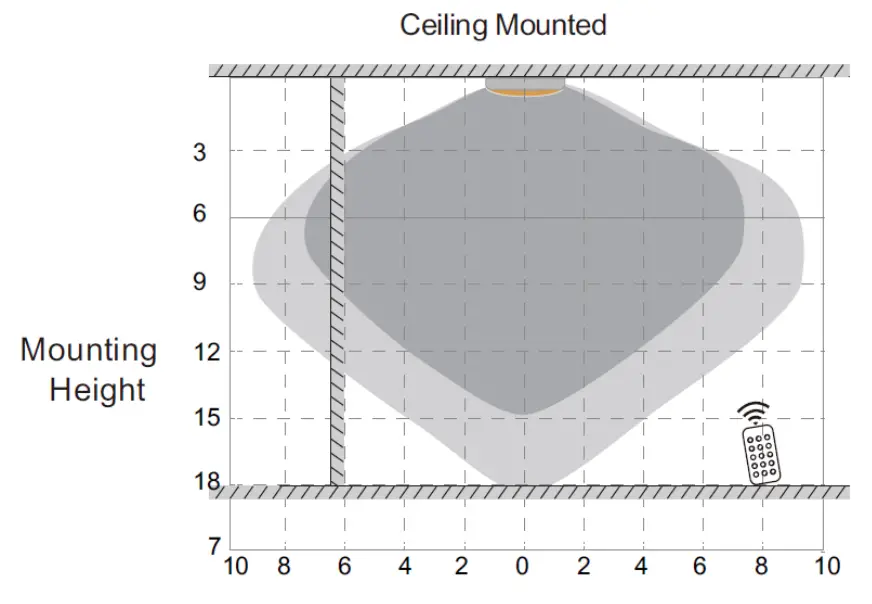
DETECTION PATTERN
![]() Well Detected Area
Well Detected Area
![]() Possible Detected Area
Possible Detected Area
Highest mounting height is 12m.
This figure indicates the maximum distance at the highest mounting height with 100% sensitivity.
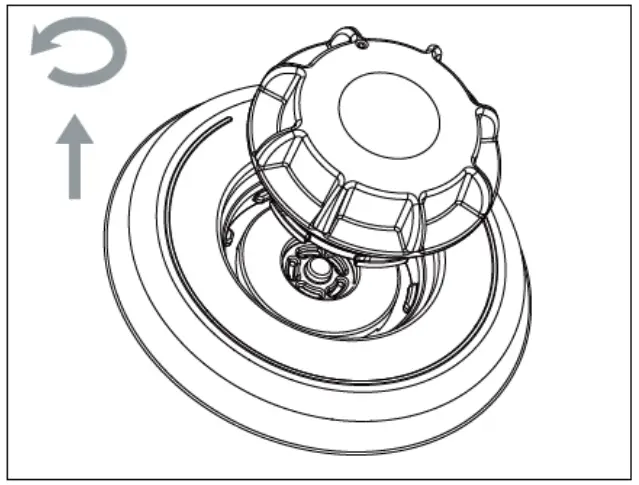
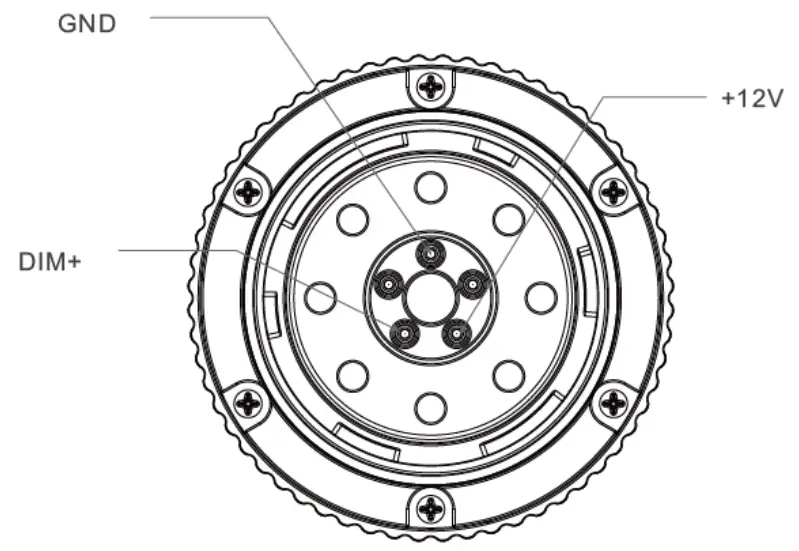
INSTALLATION
- Rotate the sealing cover (cap) counter-clockwise until it cannot be rotated any further. Pull it outwards and remove.

- Please store the removed sealing cover (cap) for future use
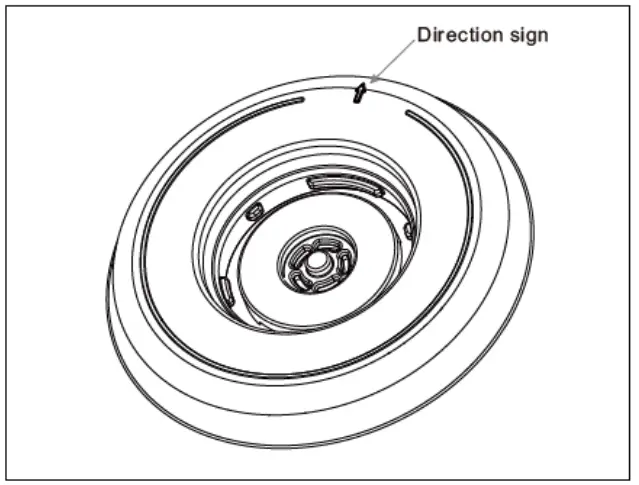
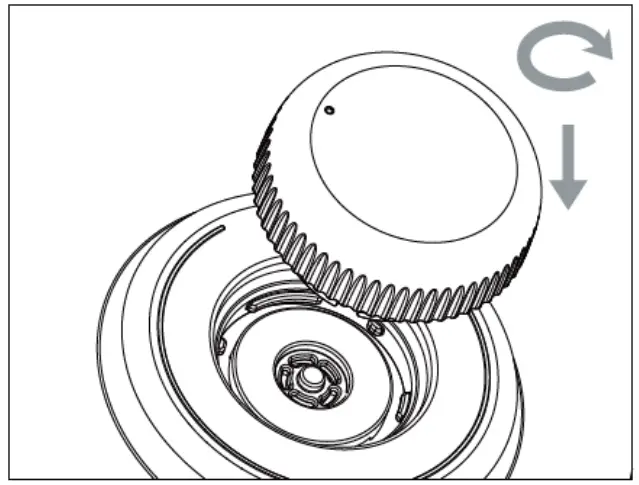
- Place the plug part of the Sensor on the expansion interface and find the only installation position through 360° rotation. When rotating to the correct position, the module will be embedded downward. You can also refer to the direction guide arrow, and then rotate clockwise to complete the installation. When it cannot rotate any further, it is locked.
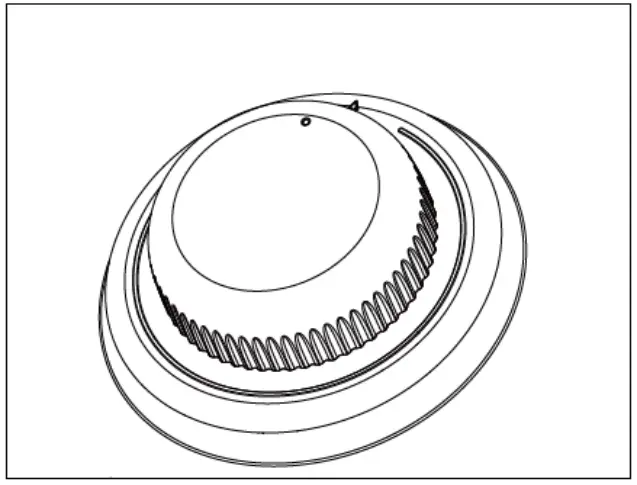
- The installation should be carried out without power supply connected. Recheck and other relevant tests should be conducted after completion of the installation. After correct installation, the marking point of the Sensor shall be in the same direction as the interface direction arrow.


DAYLIGHT PRIORITY
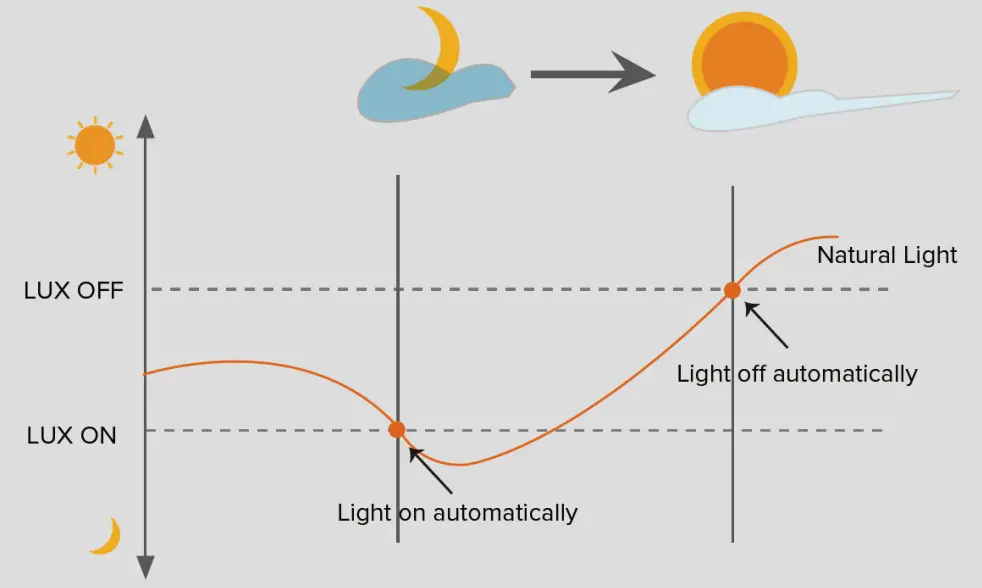
With Daylight Priority Function, HIGHBAY-MS is able to differentiate artificial light brightness from natural light after installed inside the fixture, and automatically turn off light when ambient brightness exceeds the preset Lux level.
Precondition of Daylight Priority:
- Stand-by period is +∞
- Stand-by dimming level is on 10%, 20% or 30%
- Daylight threshold is on 30Lux, 50Lux, 80Lux or 120Lux
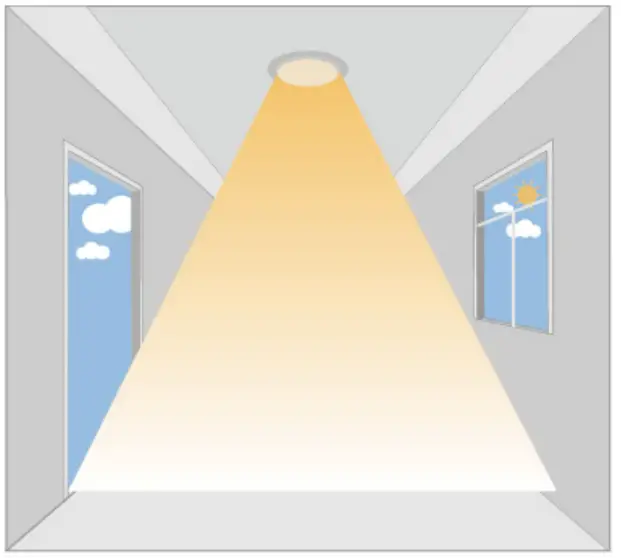
PERFORMANCE
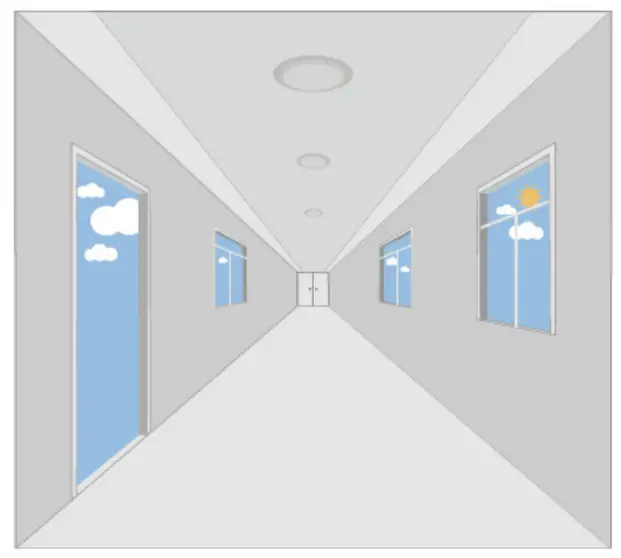
- Automatic ON/OFF Function
With sufficient daylight, even when motion detected, light remains OFF.
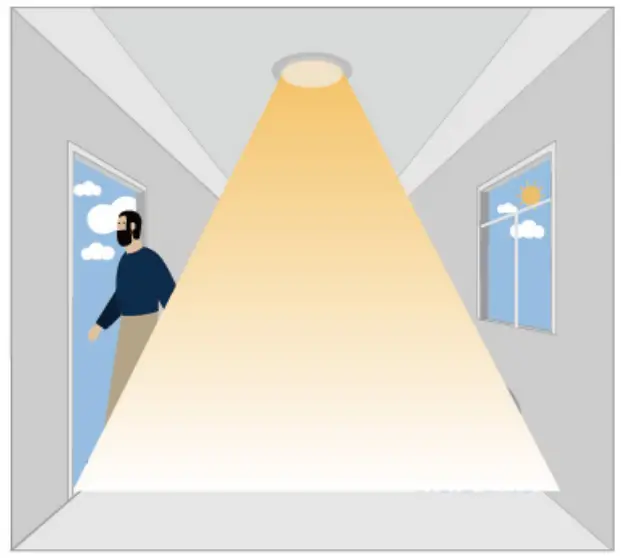
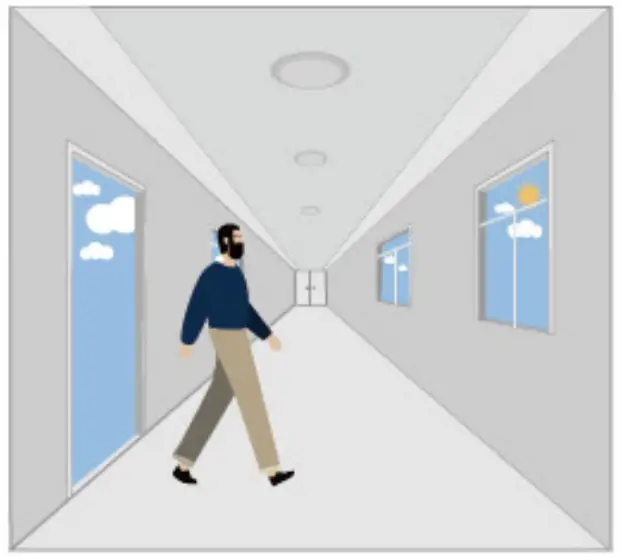
With insufficient daylight, the sensor turns light ON when motion gets detected.
The sensor turns OFF light automatically after the holdtime when there’s no motion detected. - Daylight Disable Function: When daylight threshold is preset to “Disable”, the sensor turns light ON when motion gets detected, and OFF after hold time.
The sensor turns light ON when motion gets detected
The sensor keeps light ON for holdtime period after motion leaves.
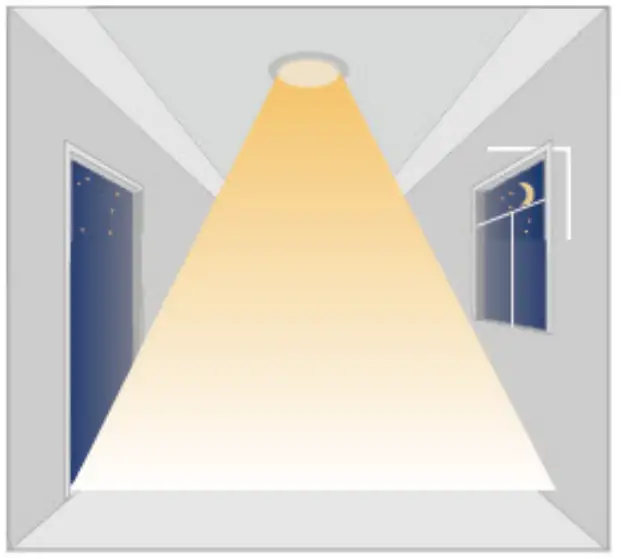
The sensor turns OFF light automatically after the holdtime. - Corridor Function, Bi-level Dimmable
With sufficient daylight, the sensor keeps light OFF even motion gets detected.
With insufficient daylight, the sensor turns light ON when motion gets detected.
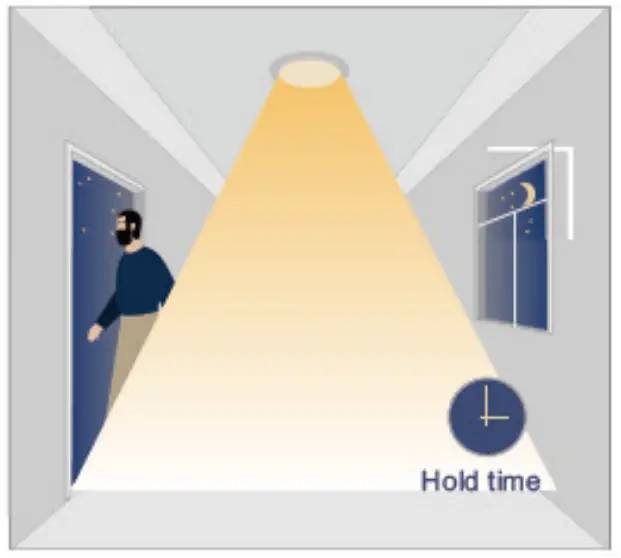
After there’s no motion detected, the sensor keeps light ON 100% for holdtime.
After holdtime, sensor dims light to standby dimming level for standby period.
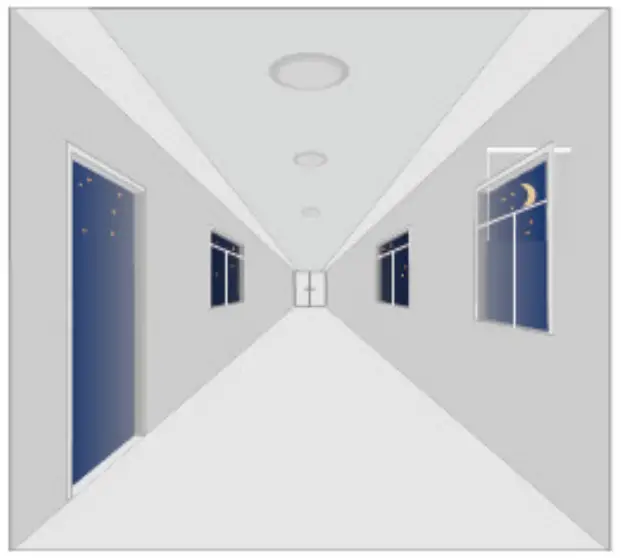
The sensor turns OFF light automatically after the standby period when there’s no motion detected.
Sensor Remote Controller

| BUTTON | FUNCTION | PERFORMANCE |
 | ON/OFF | |
 | MW/PIR | |
 | Reset | |
 | Start | |
 | Memory | |
 | Apply | |
 | Detection Area | |
 | Hold Time | |
 | Daylight Threshold | |
 | Stand-by Period | |
 | Stand-by Dimming Level | |
 | UP | The main functional buttons to adjust the factors to wanted level. |
 | DOWN | |
 | POWER | Supports to manually change dimming output in detection mode; Press it, specific icon on the screen will blink and press the + – buttons to adjust. |
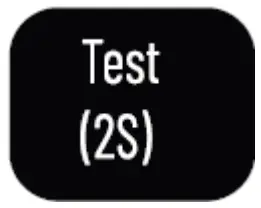 | Test Mode | Supports to check if the sensor works correctly with a short 2S holdtime;Press it and the holdtime will change to 2S, and it can’t be memorized. |
DETECTION PATTERN
![]() Well Detected Area
Well Detected Area
![]() Possible Detected Area
Possible Detected Area
Control distance: 15m.
This figure indicates the maximum distance at the highest mounting height with 100% sensitivity
HOW TO USE HIGHBAY-REMOTE
Sensor Programming
- ON/OFF button to turn on the light
- SCENE button to start programming
- Choose functional button of detection area, see icon blinking on the LCD screen display then use + – buttons to change
- Same programming with all the other functional buttons of holdtime ,standby dimming level, standby period and daylight threshold
- Done and leave the remote.
* Icon keeps blinking on the screen for 5S that means the program will then be kept afte 5S.
*Each press will make sensor dim down light then back to100%, it means remote signal has been well received.
Manually Dimming
ON/OFF Mode
- ON/OFF button to turn on the light
- Press +- button to dim light directly, it dims from 10% to 100%
DIMMING Mode
- ON/OFF button to turn on the light
- SCENE button to start programming
- POWER button
- +- buttons to dim light, but it only dims from 60% to 100%; 50% is one of the standby dimming level options
*Number on LCD screen display may keep changing 10%-100%
Memory and Apply
(@ the first sensor)
- ON/OFF button to turn on the light
- SCENE button to start programming
- START button
- Choose functional button of detection area, see icon blinking on the LCD screen display then use + – buttons to change
- Same programming with all the other functional buttons of holdtime ,standby dimming level, standby period and daylight threshold
- MEMORY button
- APPLY button
(@ the other sensors)
- ON/OFF button to turn on the light
- SCENE button to start programming
- APPLY button
![]()
For more information
www.haneco.com.au
1300 001 LED


