FORCLOVER FRIMFTH31G4836 LED Wall Mounted Bathroom Vanity Mirror Instruction Manual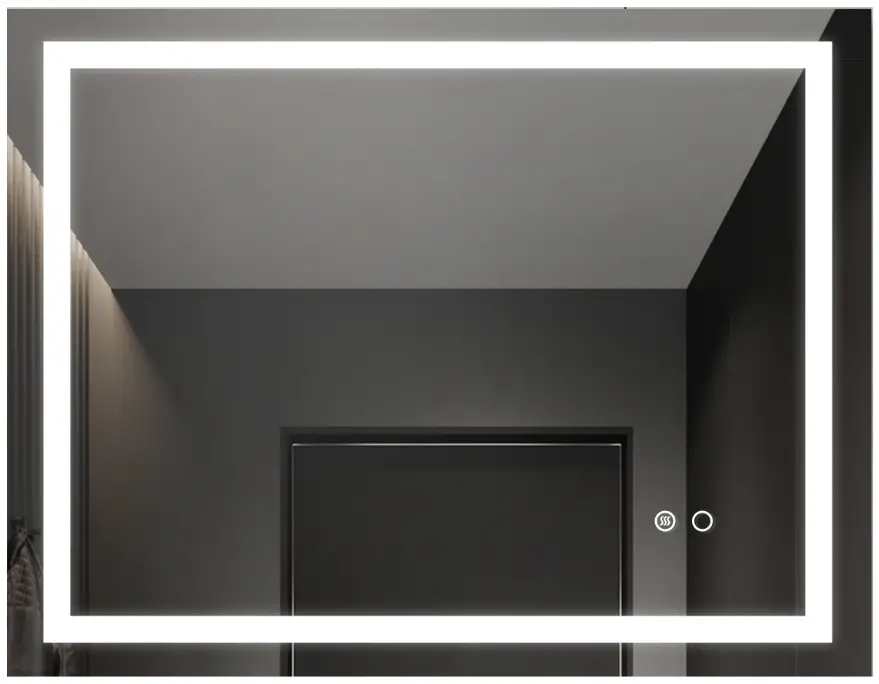
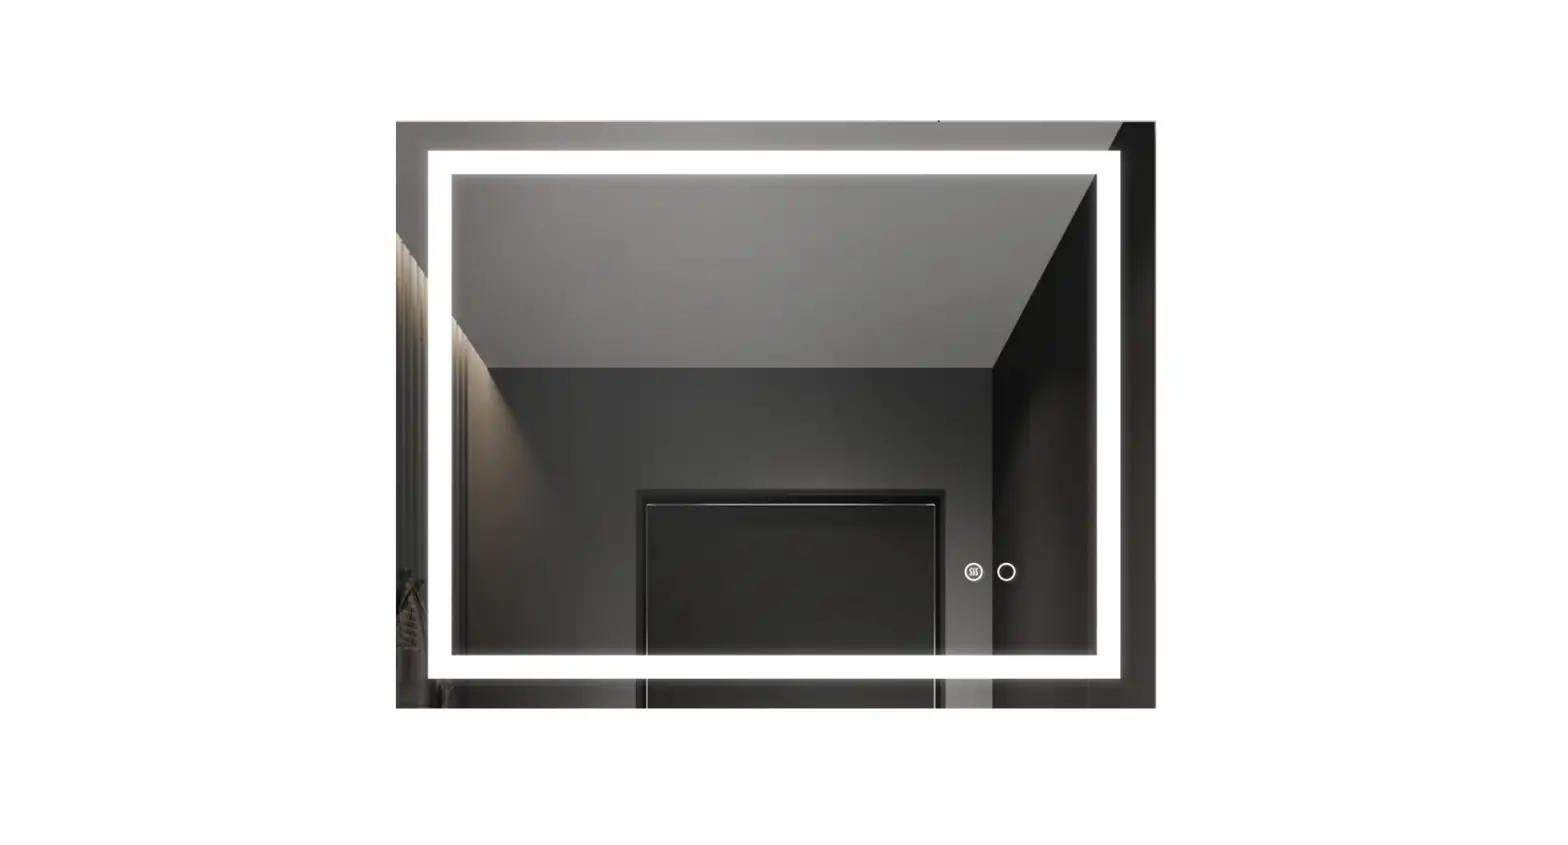
HOW TO USED DEFOGGER SWITCH AND DIMMER SWITCH
- Short Touch Button
 (<1s) to turn the task light ON/OFF. while is ON, blue is OFF.
 - Short Touch Button
 (<1s) to change color temperature from 2800K to 6000K, and cycle.
 - Press the Button
 to turn the defogger ON/OFF. white is ON, blue is OFF.
ELECTRICAL SAFETY INSTRUCTIONS
All connections must be installed by a licensed electrician, in accordance with current building codes. Consult a qualified electrician.
IMPORTANT
Always switch off the electrical supply at the main during installation and maintenance. It is recommended that the circuit breaker is switched off for the necessary circuit before installation commences.
Fitting in Bathrooms is subject to the appropriate building code Regulations. This product is NOT suitable for outside zones. It is also Not suitable for installation in saunas, steam rooms or shower cubicles. This product is only suitable for permanent installation. DO NOT connect to a trailing plug and socket outlet. This product is only suitable for indoor use. Do not attach the product to surfaces that are damp or otherwise electrically conductive.
INSTALLATION CARE & SAFETY
Wear suitable eye protection when drilling. Take care when using power tools. Beware of hidden cables or pipes. Take care if drilling on tiled surfaces in case the drill slips. A piece of masking tape applied to the wall before marking out the fixing holes will stop the drill from wandering.
CLEANING
It is recommended that the unit is cleaned with a soft,dry, non abrasive cloth when turned off. Never use cleaning agents or abrasive materials on any type of surface finish. Do not allow moisture to come into contact with the electrical components.
IMPORTANT
DO NOT strike glass components with hard or pointed items. DO NOT place very hot or very cold items against or in close proximity to glass surfaces unless an adequately thick insulation material is used to prevent such items coming in contact with the glass. The nominal thickness of the mirror glass used in this product is 1/4” and is film.
INSTALLATION TOOLS NEEDED
- Screwdriver
- Level

- Drill with 3/8“ bit

- Pencil

- Screwdriver

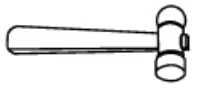
- The hammer

- Measuring Tape
INSTALLATION MANUAL
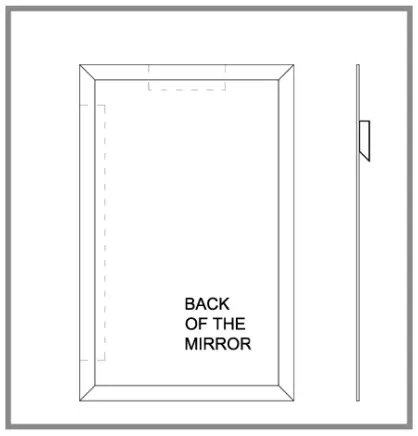
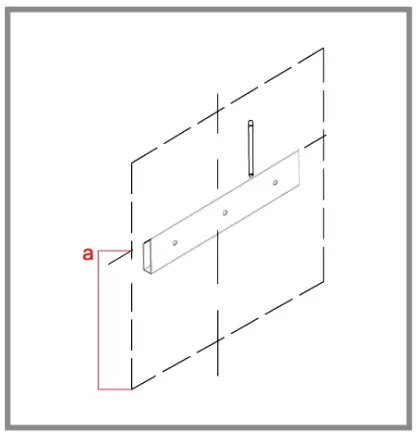
- STEP 01: Check the wall.Make sure that the wall is bearing walls that can support the Mirror’s weight. Measure the width and height of the mirror back holes/hocks distance with a tape measure.
- STEP 02: Mark the punching position on the wall with a pencil. Use level gauge make sure the hole at the same level.
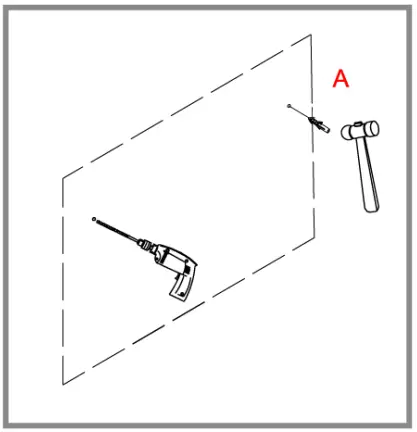
- STEP 03: Use impact drill punch holes in the marked center (6-8MM Drill bit),the drilling depth is about 5 CM.Use a hammer to drive the expansion screw into the drilled hote.
- STEP 04: Use screwdriver screw STEP the screw into the expansion screw, tighten. And then leave
a distance of about SMM from the wall.
- Step 05: Hand the mirror up with screw.
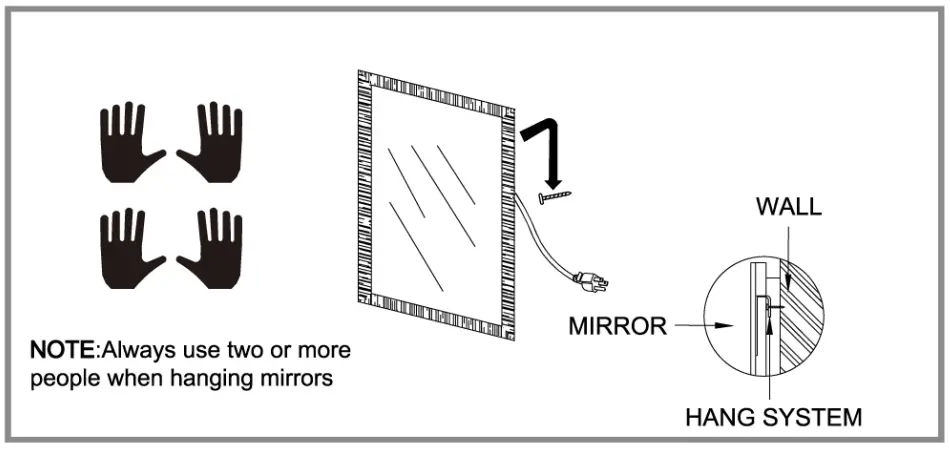
NOTE:Always use two or more people when hanging mirrors.


