
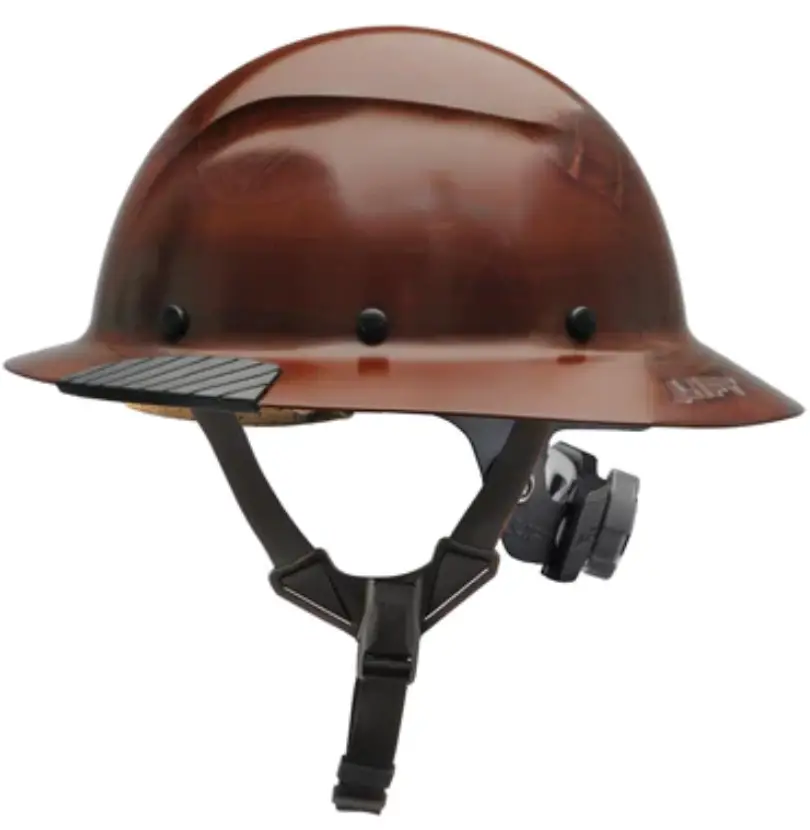
LIFT DAX Chin Strap
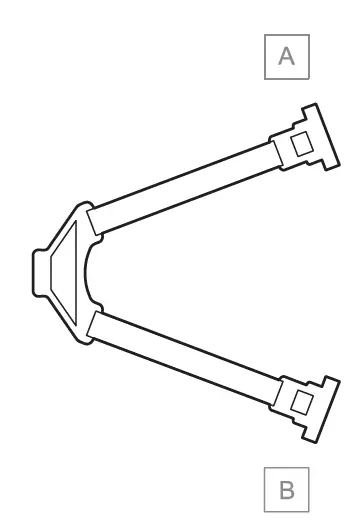
CHIN STRAP LEFT
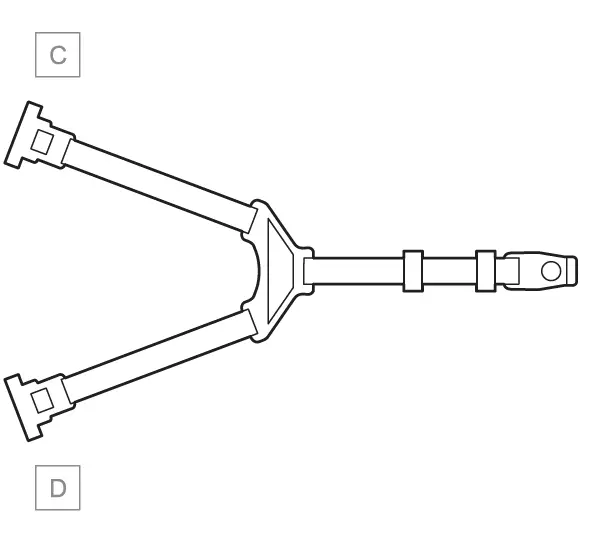
SUSPENSION UNIT
CHIN STRAP RIGHT
STEP 1
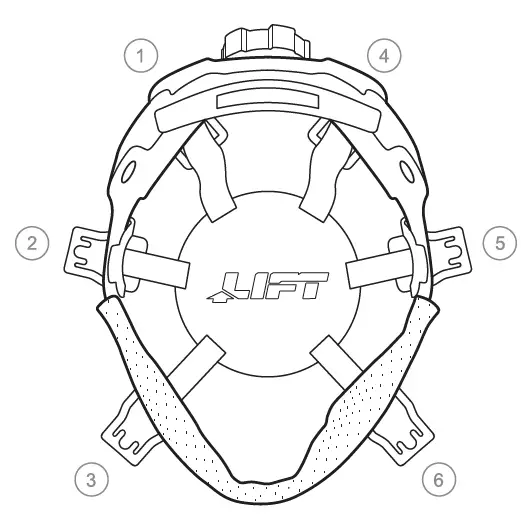
REMOVE SUSPENSION SYSTEM
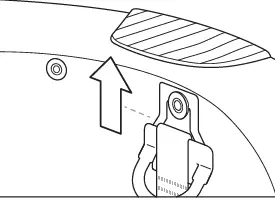
Remove the #1, 3, 4 and 6 Suspension System Mounting Points from helmet by looping a finger under black straps leading from the central leather dome and holding them flat against the side of the helmet. Pull the strap away from the top of the helmet while pressing it firmly against the helmet shell being careful not to bend the metal bracket. The metal bracket will disconnect away from the rivet.
STEP 2
INSTALL CHIN STRAP CLIPS

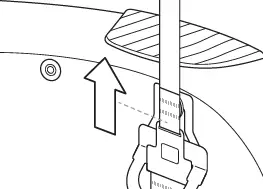
Place the Chin Strap Mounting Anchor between thumb and pointer finger. Apply pressure so that the mounting anchor bends into itself slightly. This will allow insertion through the plastic “loop” in the rivet mounting assembly. Insert Chin Strap Mounting Anchor through Suspension System Mounting Clips. Follow the same procedure for mounting point #3, 4 and 6. The teeth on the ends of the Chin Strap mounting anchor will clamp onto the squared bottom of the metal bracket once reinstalled onto the hard hat rivet.
STEP 3
REINSTALL SUSPENSION SYSTEM
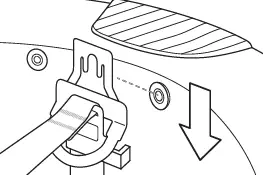
To reinstall, line up the metal bracket’s slightly bent teeth so that they can slide under the rivet. Grasping the same black strap from step #1, apply pressure toward the dome of the helmet while holding the Suspension System Mounting Point flat against the dome of the helmet. The teeth will click into place around the rivet.
STEP 4
CHIN STRIP MOUNTING ANCHOR
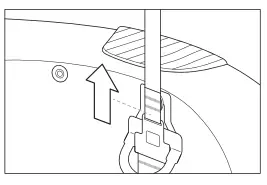
Ensure that the Chin Strap Mounting Anchor’s top. The curved side opposite the T slides under the top side of the rivet for a secure hold by carefully pulling the strap towards the center of the helmet until the plastic clicks under the rivet.
LOCKING CHIN STRAP
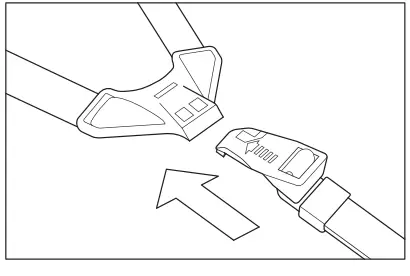
To engage chin strap buckle, place the top clip on the outside of the receiver. The magnetic clip will automatically engage securely. To remove the chin strap buckle, grasp the top and bottom with your thumb and pointer finger and squeeze. The top clip will slide upwards and disengage the magnet.


