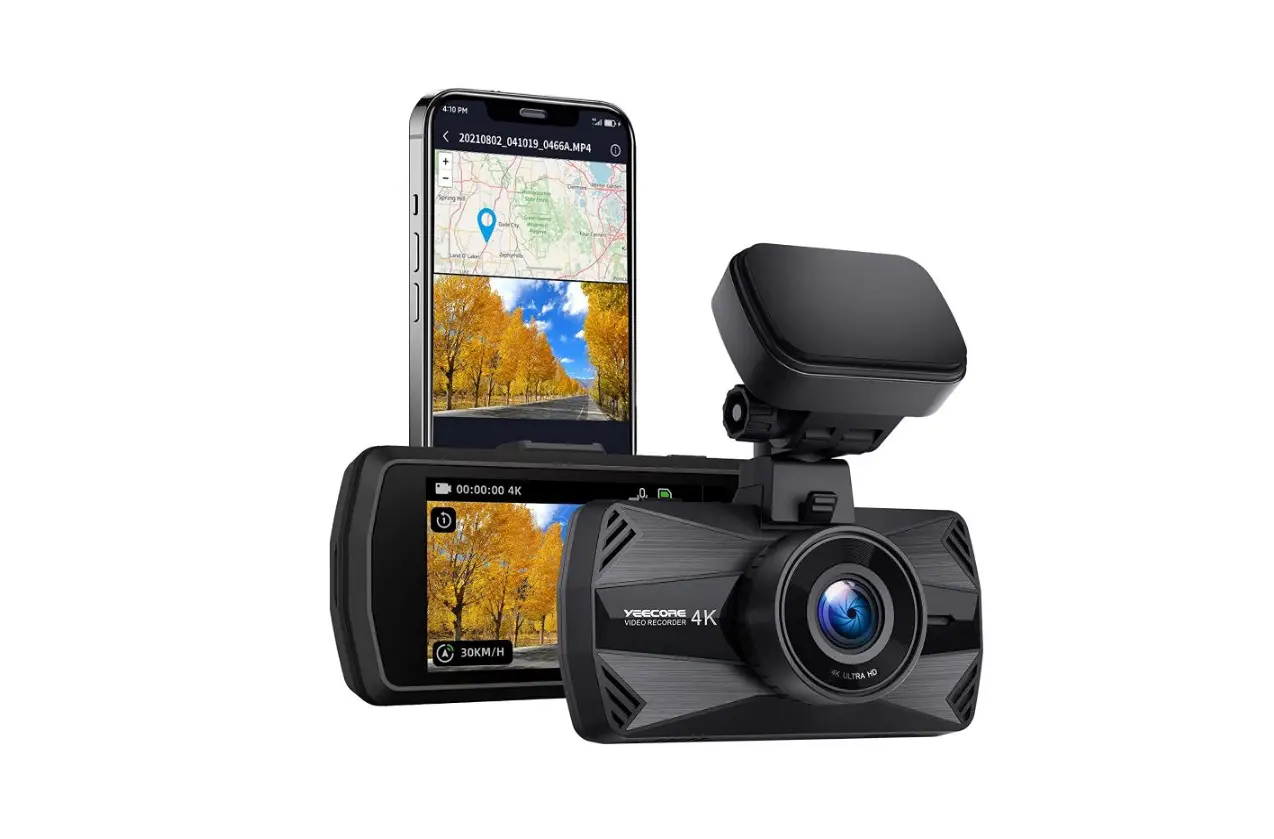
YEECORE D21 True 4K Dash Cam Built in 5G WiFi Driving Recorder User Manual
Safety Warnings
The laws or rules of certain countries or regions may forbid or restrict to install or use this product in your vehicle. Please obey all applicable laws and rules to use this product. The users should obey all applicable local laws and rules.
- Please don’t use, store or transport this product in an extremely high or low temperature environment.
- Please don’t put this product into the fire or oven.
- Please don’t operate this product while driving. And please always obey safety driving rules and current traffic rules.
- Please don’t disassemble this product, otherwise, the internal components may be damaged.
- The installation position of the products should not block the driver’s sight or the operation of the airbag.
- Please don’t let this product come into contact with liquid, otherwise, the product maybe be damage.
- Please use the original accessories provided with this product.
What’s in the box ?
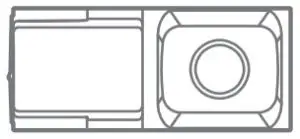
- Front Camera x 1

- Suction Mount x 1

- Rear Wired Camera x 1 (Optional)

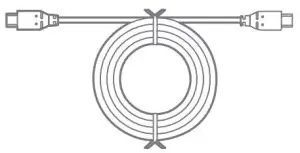
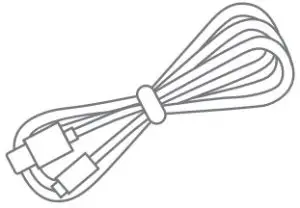
- Rear Camera Cable x 1 (Optional)

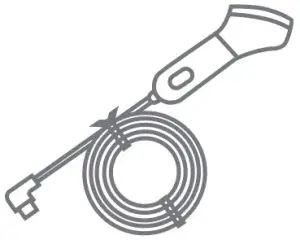
- Car Charger Cable x1

- USB Cable x 1

- User Manual x 1

- Crowbar x 1

- Cable Clip x 6

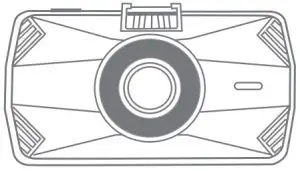


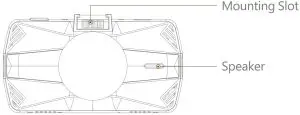
Getting to know the Dash Cam
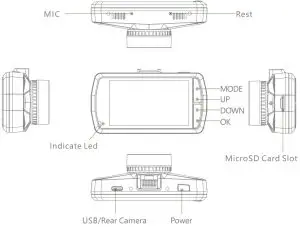
Each button has different functions in different modes
| Mode Button | Preview | Recording | Menu | Playback | Parking | |
| POWER | Long Press | Power on & off | Power on 8t off | Power on & off | Power on & off | Power on & off |
| Short Press | N/A | Take a photo | N/A | Enter the playback menu | Switch to normal mode | |
| MODE | Long Press | N/A | N/A | N/A | N/A | N/A |
| Short Press | Switch menu to | Lock the recording file | Back to previous | Back to previous &Stop play | Switch to normal mode | |
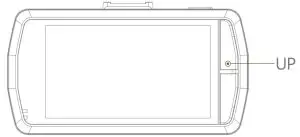
| UP | Long Press | Wi-Fi on | Wi-Fi on | Wi-Fi on | N/A | N/A |
| Short Press | Switch front & rear camera | Switch front & rear camera | Move up | Move up & Slow back | Switch to normal mode | |
| DOWN | Long Press | N/A | N/A | N/A | N/A | N/A |
| Short Press | Mic on & Mic off | Mic on & Mic off | Move down | Move down & Fast forward | Switch to normal Mode | |
| OK | Long Press | N/A | N/A | N/A | N/A | N/A |
| Short Press | Start video recording | Stop video recording | Confirms the action | Stop play & Start play & Confirms the action | Switch to normal mode | |
Installation
Inserting MicroSD Card
- Please don’t insert the MicroSD card diagonally, it will cause damage to the MicroSD card.
- Please use U3 or above high-speed MicroSD card.
- Insert the MicroSD card and turn on the dash camera, format the MicroSD card on the Camera before first use.
Ejecting MicroSD Card
Push on the top edge of the MicroSD card slowly until it clicks. The lock will be released then pull out the MicroSD card.
Suggestion
Please turn off the dash camera first when insert or eject the MicroSD card.
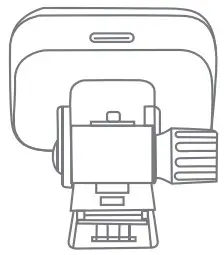
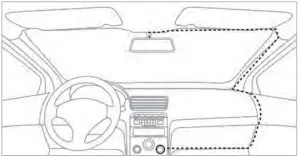
Installation in the vehicle
- The installation position of the products should not interfere with the driver’s field of vision, such as behind the rearview mirror.
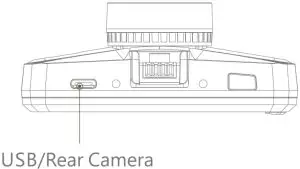
- Connect the car charger cable with the USB port of the suction mount. If you have the rear camera(optional), please connect the rear camera cable with the”USB/Rear Camera” port on the dash camera.
As shown below.
- Use the crowbar we provide to stuff the car charger cable on the top of the windshield neatly then fold it down from the side to keep the car charger cable away from the sight line and keep it tidy. And connect another end of the car charger cable to the cigarette lighter.
As shown below.
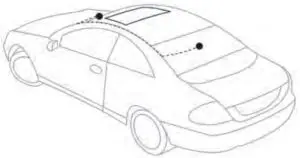
- If you have the rear camera(optional), connect the other end of the rear camera cable to the rear camera. Install the rear camera on the windshield.
As shown below..
Feature Guide
Loop Recording
Connect power and turn on the dash camera, it will start loop recording immediately. When the MicroSD card is full, the oldest recording file will be replaced by the latest recording file to ensure continuous recording.
Collision Detection Triggered(Emergency Recording)
Automatically: The G-Sensor will be triggered when a collision, sudden acceleration, or sudden swerve event occurs. The recording file will be locked for a certain period of time before and after the event. These emergency video files will be saved in the Event folder and will not be overwritten unless the storage space of the folder is full. Manually: When you see beautiful scenery or an emergency while driving, you can short press the MODE button to trigger the emergency recording in case of safe driving.
Time Lapse
If Time Lapse function is selected, the camera will take a photo at the set time interval, then merge these photos into a video file. The Time Lapse recording mode can save a lot of storage space.
- 1 Sec: Take a picture every 1 second.
- 5 Secs: Take a picture every S seconds.
- 10 Sec: Take a picture every 10 seconds.
Parking Mode(Constant Power Supply Needed)
When you turn on the parking mode, you can select the sensitivity. After parking,if a collision is detected, the camera will be started automatically and record 1 minutes. The first file will be saved in the EVENT folder and other files will be saved in the NORMAL folder.
Note: You use this function, you should use the Hardwire Kit we provide(need to buy separately) to connect to the car battery directly to keep the camera continuously powered. We don’t recommend running the camera continuously for too long in parking mode.
Taking Photos
In recording mode, short press POWER button, camera will take a picture and save it in the PHOTO folder.
Playback
- Browse files: Short press the “Mode” button to enter the playback mode. In this mode, there are Event,Normal,and Photo folders, press the up and down button to browse and press the “OK” button to play.
- Files playback: Press the “OK” button to play or pause, press the up and down buttons to select fast forward, and press the “Mode” button to exit playback.
- Delete files: When you want to delete a file in playback mode, press the “Power” button to pop up two menus: delete files (delete single and delete all files) and protect files (protect files, cancel protection files, lock files and unlock files), Press “OK” to perform corresponding operations.
- NOTE: Locked files can’t be deleted, you need to unlock the file first.
APP
App named YeecoreViewer, it can be downloaded from App Store & Google Play Store. Using this app, you can download or save the videos or snapshots to your smartphone album directly. Then you can easily share these wonderful videos with friends and families all over the world by social medial Youtube, Google Drive, etc.
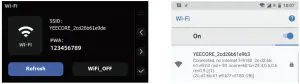
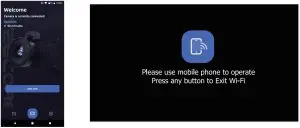
How to connect the APP and dash cam?
- Step 1: Long press the “UP” button, the Wi-Fi name and password is show on the dash cam screen.

- Step 2: Find the Wi-Fi name and enter password, Connect the Wi-Fi with your phone.

- Step 3: Open the APP “YeecoreViewer” and click “JOIN CAM”. And then it connect successful.

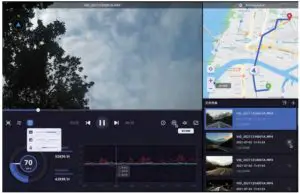
PC Tools
Please download the latest PC Tools on our official website (www.yeecore.biz/support/PCTools/YeecorePlayer.exe). After installing the tool, you can playback the video files on the MicroSD card. It can display audio, video, GPS tracking, G-Sensor information, and so on. As shown below.
Product Specifications
| Sensor | Front: 8M Night Vision |
| Rear(optional): 2M Night Vision | |
| Lens | Front: 157 Degree Wide Angle, 6-Glass Lens |
| Rear(optional): 140 Degree Wide Angle, 6-Glass Lens | |
| LCD | 3.0 Inches IPS |
| Video Resolution | Front: 4K3OFPS, 1440P3OFPS, 1080P3OFPS WDR |
| Rear(optional): 1080P3OFPS HDR | |
| Wi-Fi | Built-in 2.4G/SG |
| GPS | Built-in |
| Audio | Built-in mic and speaker |
| G-Sensor | Built-in |
| Photo Format | JPG |
| File Format | Mp4 |
| USB Port | Type-C |
| Battery Type | Super-capacitor |
| Working Temperature | 14°F-158°F(-10°C.-70°C) |
| Compatible OS(PC Player) | Windows XPNista/7/8/10/Mac OS |
Troubleshooting
When loop recording does not work or recording is interrupted
- The MicroSD card may be a low speed card, please use U3 or higher speed MicroSD card.
- The speed of the MicroSD card will be slowed down after a long period of time, it is recommended to format it on the camera.
Prompt” file error” when playing video or photo files
It is possible that the writing speed of the MicroSD card has decreased and some video and photo files are abnormal. It is recommended to format the MicroSD card on the camera.
When the MicroSD card over 64G cannot be read by the dash camera:
It must be formatted as FAT32 32KB file system on the computer, or formatted on the dash cam.
When the video is hazy
It may be fingerprints or spots on the lens, please keep the lens clean.
When recording indoors, there are horizontal stripes in the video
Please set the flicker to 50Hz or 60Hz according to the local power frequency.
When it is difficult to obtain GPS information
Some car navigation GPS antennas will affect the camera’s GPS reception. The dash camera should be installed as far away from the antenna as possible.
Warranty & Support
Warranty
The product comes with a full 12 months warranty. If you register your product on our official website (www.yeecore.biz/register), the warranty is extended to 18 months.
Support
If you have any questions about this product, please contact us freely on Amazon or send an email to [email protected], we will get back to you in 12-24 hours.
Hey, find us here
- Official Website

- Facebook