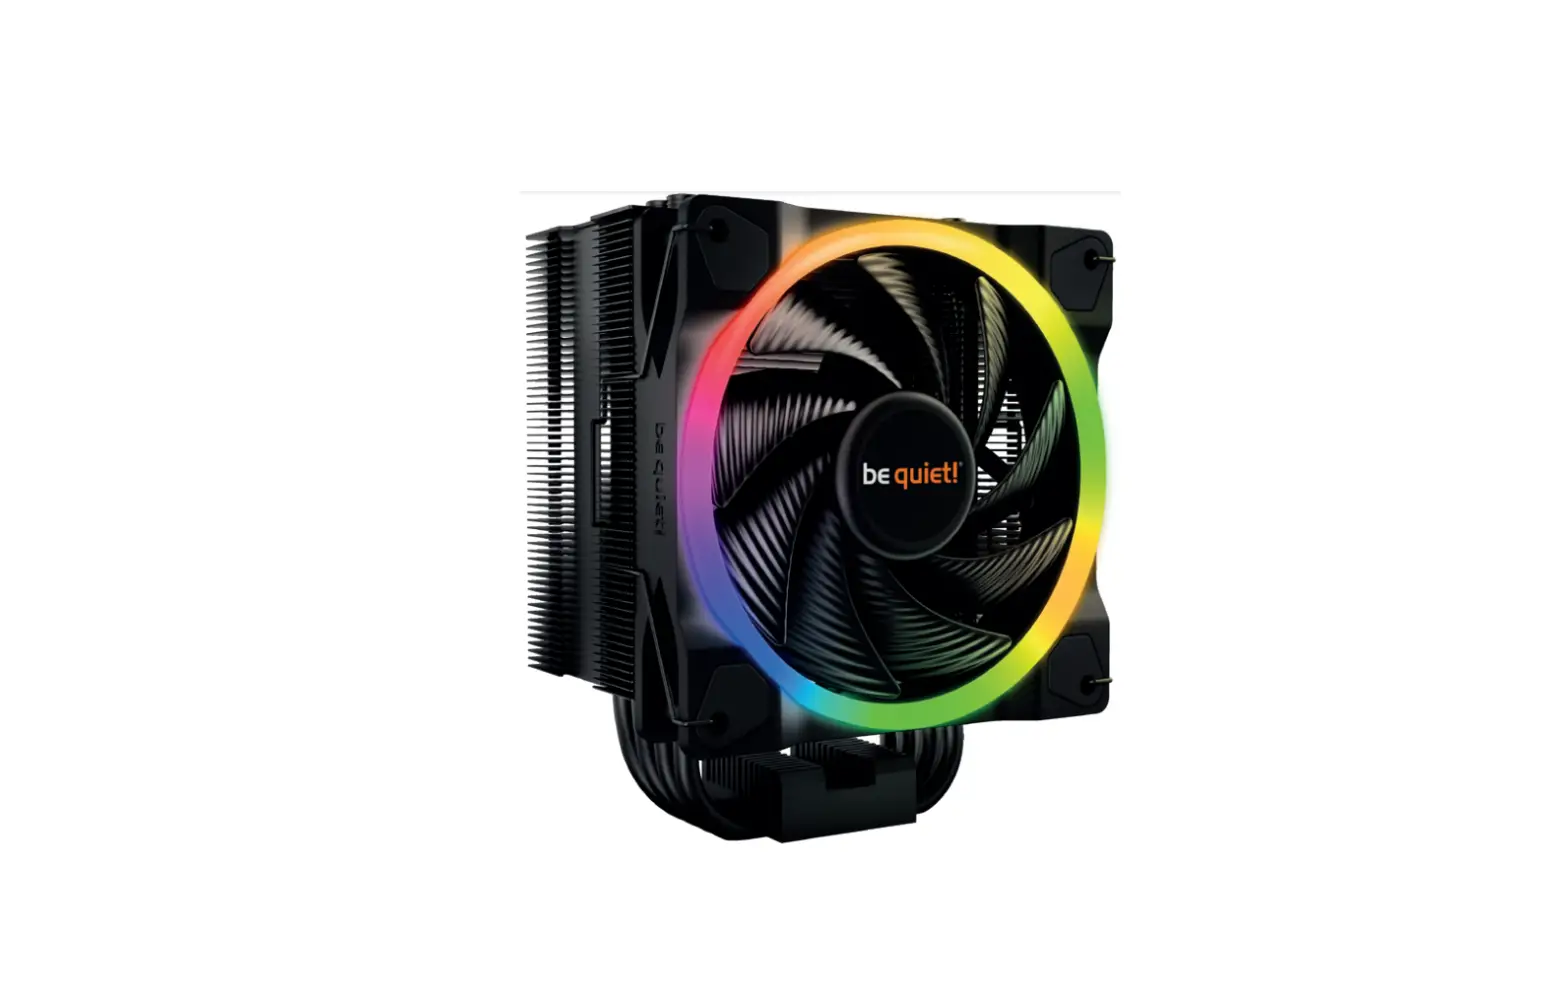
be quiet PURE ROCK 2 FX CPU Air Cooler Instruction Manual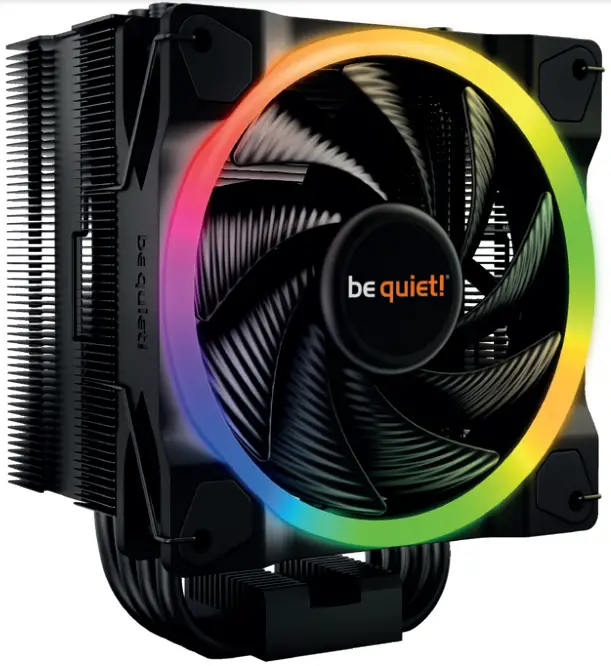
Introduction:
Thank you for deciding to purchase a be quiet! product. The following instructions will guide you through the installation process. If you do encounter installation problems, please don’t hesitate to contact our customer services by mailing [email protected]. Please note that be quiet! cannot accept liability for damage caused by compatibility problems.
Warranty:
- 3-year manufacturer guarantee for consumers (original purchase from authorized be quiet! dealers only)
- Guarantee work can only be processed with a copy included of the purchase receipt from an authorized be quiet! dealer
- Manipulation and structural changes of any kind, including any damage caused by external mechanical force, will lead to a complete voiding of the guarantee
- Our General Warranty Conditions apply, which can be viewed on bequiet.com
Listan GmbH
Wilhelm-Bergner-Straße 11c . 21509 Glinde . Germany
For further information contact us via e-mail: [email protected]
![]() We recommend preparatory mounting of the cooler outside ! the PC case for subsequent installation. The cooler should be removed prior to transportation as well.
We recommend preparatory mounting of the cooler outside ! the PC case for subsequent installation. The cooler should be removed prior to transportation as well.
SCOPE OF DELIVERY
| Part name | Quantity | |
1 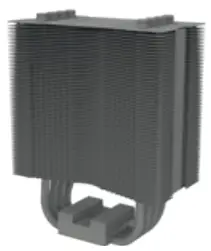 | be quiet! Pure Rock 2 FX CPU cooler | 1 |
2 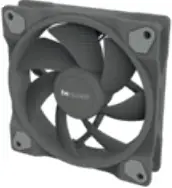 | Light Wings 120mm PWM high- speed fan | 1 |
3  | Intel backplate | 1 |
4 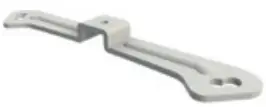 | Intel mounting brackets | 2 |
5 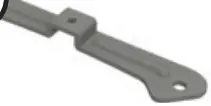 | Intel mounting brackets LGA 1700 | 2 |
6 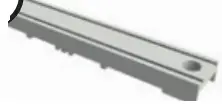 | Cooler mounting bridge | 1 |
7 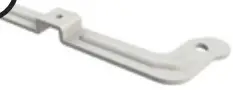 | Long AMD mounting brackets | 2 |
| 8 | Intel spacer nut A | 4 |
9 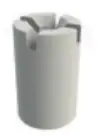 | Intel spacer nut B | 4 |
| 10 | AMD spacer nuts | 4 |
11 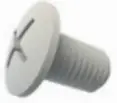 | Mounting bracket fastening screws | 4 |
12 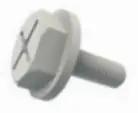 | Mounting bridge fastening screws | 2 |
13 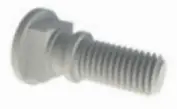 | Intel backplate screws | 4 |
14 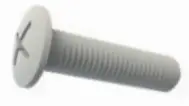 | AMD backplate screws | 4 |
| 15 | O-rings | 4 |
16  | Fan clips | 4 |
Intel: LGA 2011(-3) square ILM / LGA 2066
The following parts are needed for this:
1x Pure Rock 2 FX CPU cooler (1), 1x Light Wings fan (2), 2x Intel mounting brackets (4), 1x cooler mounting bridge (6), 4x Intel spacer nut A (8), 4x mounting bracket fastening screws (11), 2x mounting bridge fastening screws (12), 2x fan clips (16)
Assembly of the cooler mounting frame
First screw the Intel spacer nut A onto the threads of the socket frame. Place the Intel mounting brackets over the Intel spacer nuts and screw these tight with the mounting bracket fastening screws. You can use any cross-tip screwdriver for this.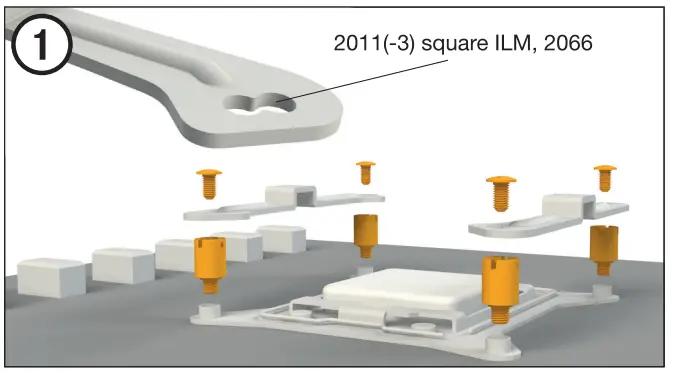
Removal of protective covering
The protective covering on the underneath of the cooler must be removed prior to installation against the CPU.
Caution: The preapplied thermal paste is not suitable for human consumption.
If swallowed, drink lots of water and urgently seek medical attention. Keep it out of the reach of children. Avoid contact with skin and eyes.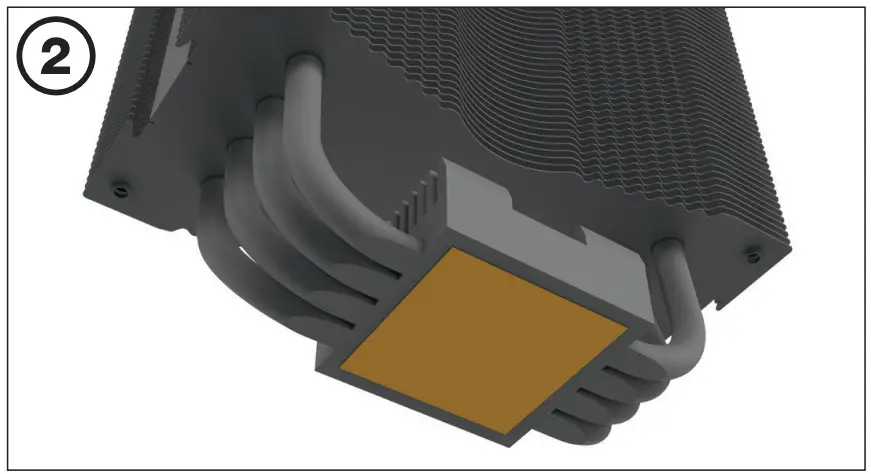
Mounting the CPU cooler
Position the cooler mounting bridge centrally on the cooler. Next place the cooler unit onto the CPU. Insert the mounting bridge fastening screws from above into the cooler mounting bridge and then screw these alternately tight.
You can use any cross-tip screwdriver for this.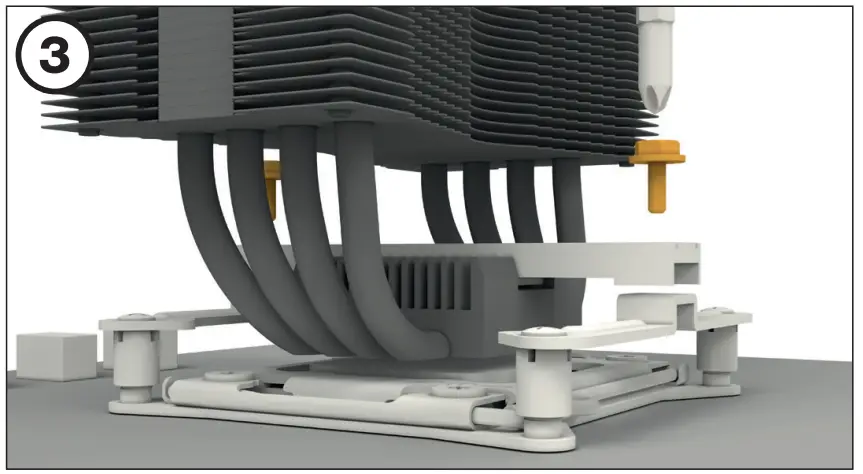
Mounting the fan
Fasten the Light Wings fan onto the cooler unit using fan clips. Connect the fan to the motherboard’s PWM signal.
When dismantling the fan, push the notches of the fan clips away from the fan.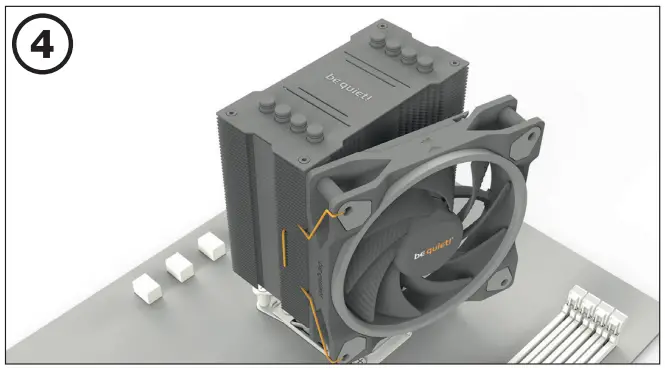
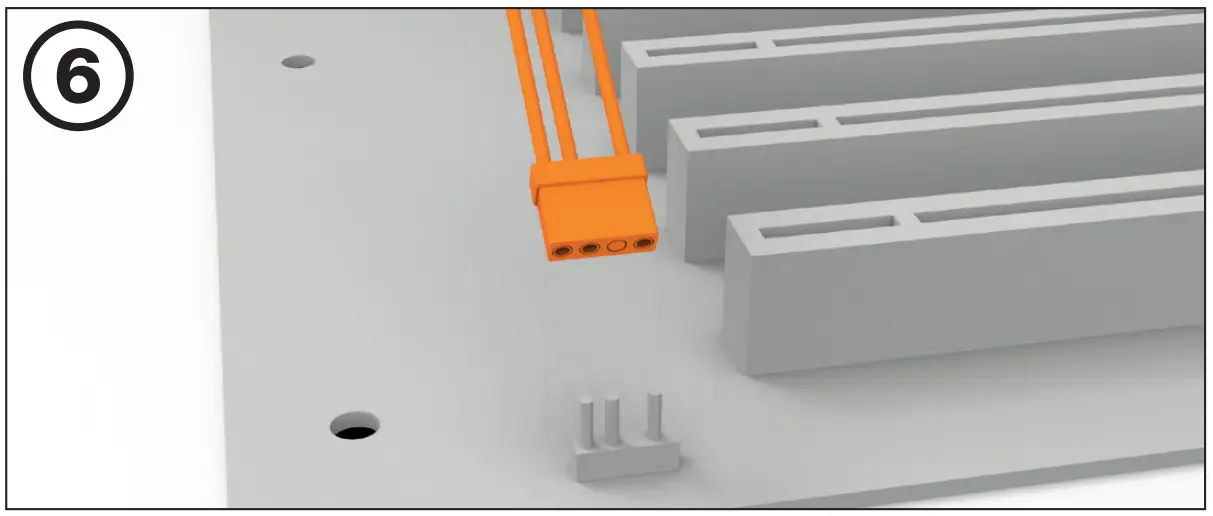
Synchronization of ARGB illumination with the motherboard
Pure Rock 2 FX enables you to synchronize the ARGB illumination directly via your motherboard. To do that switch off your system prior to installation. Next connect the ARGB connector with your motherboard. Now the ARGB illumination is being controlled by the software of the motherboard.
Warning: The ARGB connector may only be connected to a 5V ARGB header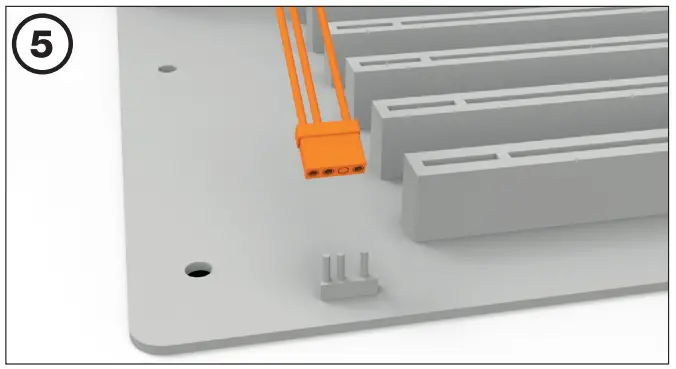
Intel: LGA 1700 / 1200 / 1150 / 1151 / 1155
The following parts are needed for this:
1x Pure Rock 2 FX CPU cooler (1), 1x Light Wings fan (2), 1x Intel backplate (3), 2x Intel mounting brackets (4), 2x Intel mounting brackets LGA 1700 (5) 1x cooler mounting bridge (6), 4x Intel spacer nut B (9), 4x mounting bracket fastening screws (11), 2x mounting bridge fastening screws (12), 4x Intel backplate screws (13), 4x O rings (15), 2x fan clips (16)
Mounting the backplate
Position the Intel backplate screws in the notches situated on the rear side of the Intel backplate. Pay attention in so doing to align with the holes drilled for each socket.
For fixing the backplate screws onto the Intel backplate use the O-rings.
Once assembly of the Intel backplate for the respective Intel socket has been completed, position it under the motherboard. In so doing make sure that the backplate screws are precisely located within the motherboard holes.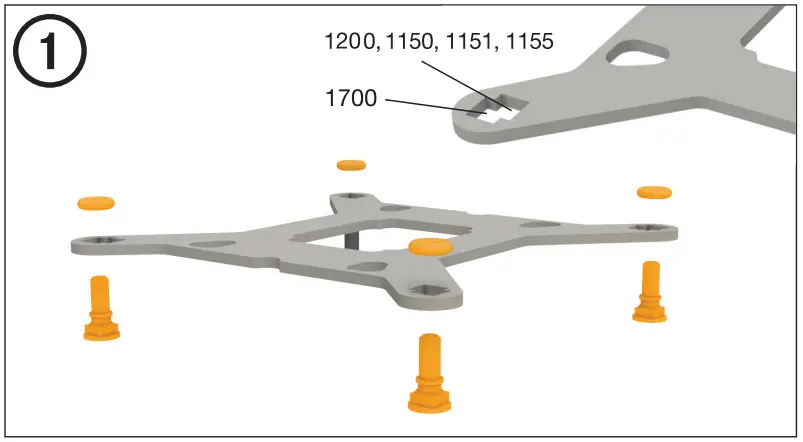
Installation of the mounting brackets
Screw the Intel spacer nut B onto the previously positioned Intel backplate.
Then position, depending on your socket, the Intel mounting brackets or Intel mounting brackets LGA 1700 over the Intel spacer nut B and affix these with the mounting bracket fastening screws.
You can use any cross-tip screwdriver for this.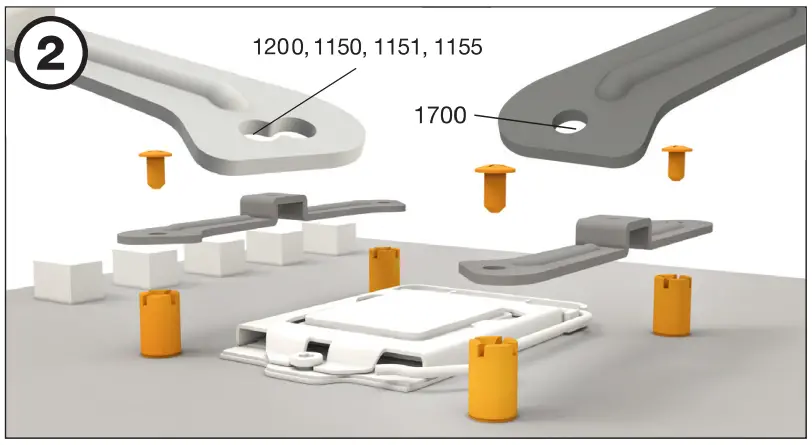
Removal of protective covering
The protective covering on the underneath of the cooler must be removed prior to installation against the CPU.
Caution: The preapplied thermal paste is not suitable for human consumption.
If swallowed, drink lots of water and urgently seek medical attention. Keep it out of the reach of children. Avoid contact with skin and eyes.
Mounting the CPU cooler
Position the cooler mounting bridge centrally on the cooler . Next place the cooler unit onto the CPU. Insert the mounting bridge fastening screws from above into the cooler mounting bridge and then screw these alternately tight.
You can any cross-tip screwdriver for this.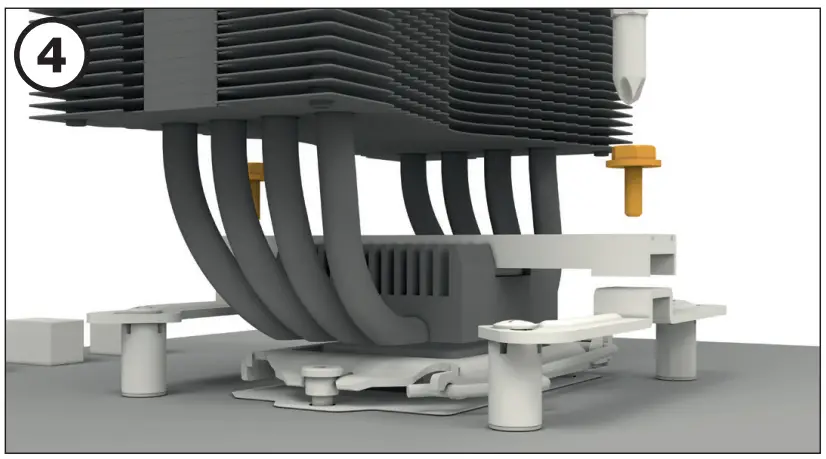
Mounting the fan
Fasten the Light Wings fan onto the cooler unit using fan clips. Connect the fan to the motherboard’s PWM signal.
When dismantling the fan, push the notches of the fan clips away from the fan.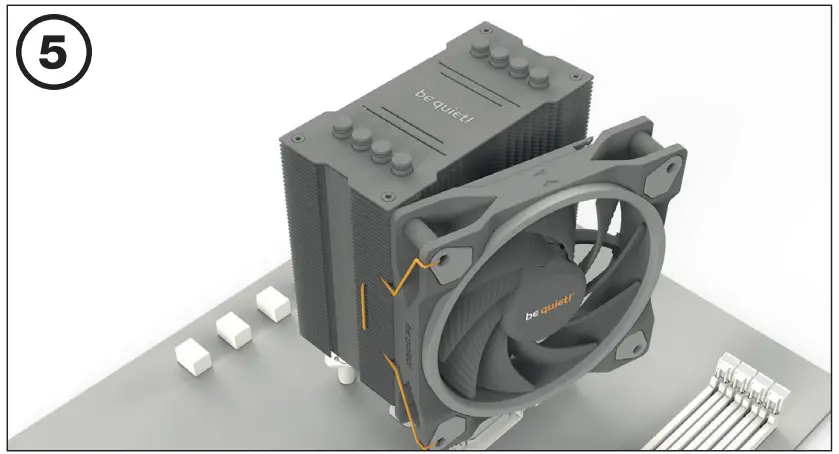
Synchronization of ARGB illumination with the motherboard
Pure Rock 2 FX enables you to synchronize the ARGB illumination directly via your motherboard. To do that switch off your system prior to installation. Next connect the ARGB connector with your motherboard. Now the ARGB illumination is being controlled by the software of the motherboard.
Warning: The ARGB connector may only be connected to a 5V ARGB header.
AMD: AM4
The following parts are needed for this:
1x Pure Rock 2 FX CPU cooler (1), 1x Light Wings fan (2), 1x cooler mounting bridge (6), 2x long AMD mounting brackets (7), 4x AMD spacer nuts (10), 2x mounting bridge fastening screws (12), 4x AMD backplate screws (14), 2x fan clips (16)
Assembly of the cooler mounting frame
To permit mounting of the cooler please remove both the plastic retainers of the AMD retention module. The factoryfitted backplate affixed to the rear side of the motherboard will be needed for sub-sequent installation of the cooler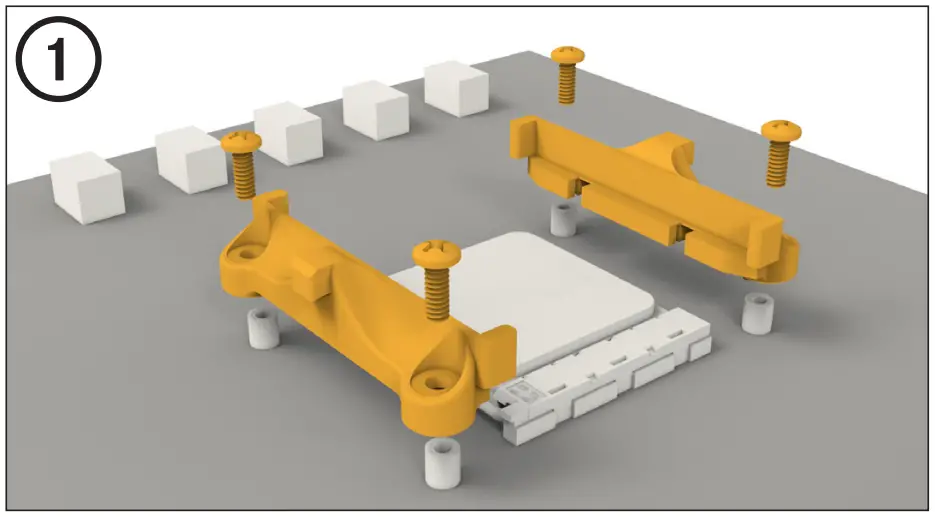
Affixing the mounting brackets
Place the four AMD spacer nuts onto the backplate bolts protruding through the front side and affix both long AMD mounting brackets with the AMD backplate screws.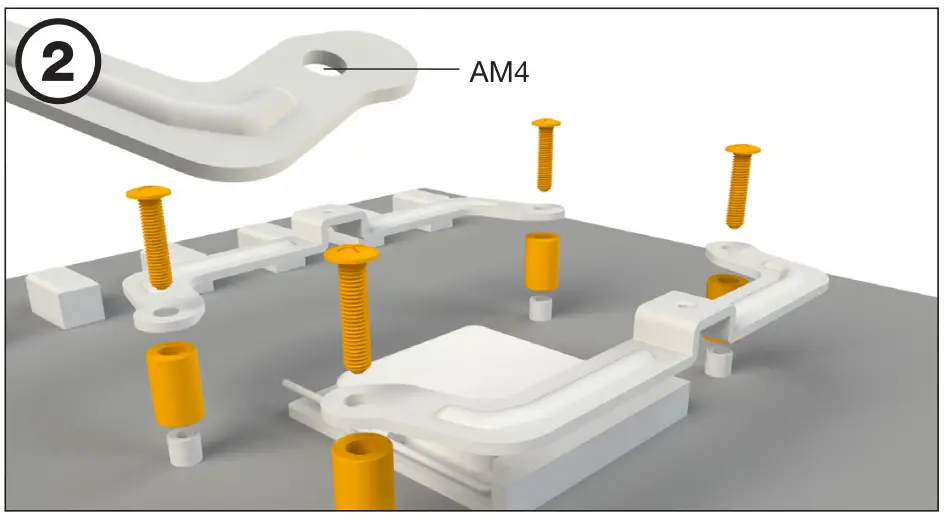
Removal of protective covering
The protective covering on the underneath of the cooler must be removed prior to installation against the CPU.
Caution: The preapplied thermal paste is not suitable for human consumption.
If swallowed, drink lots of water and urgently seek medical attention. Keep it out of the reach of children. Avoid contact with skin and eyes.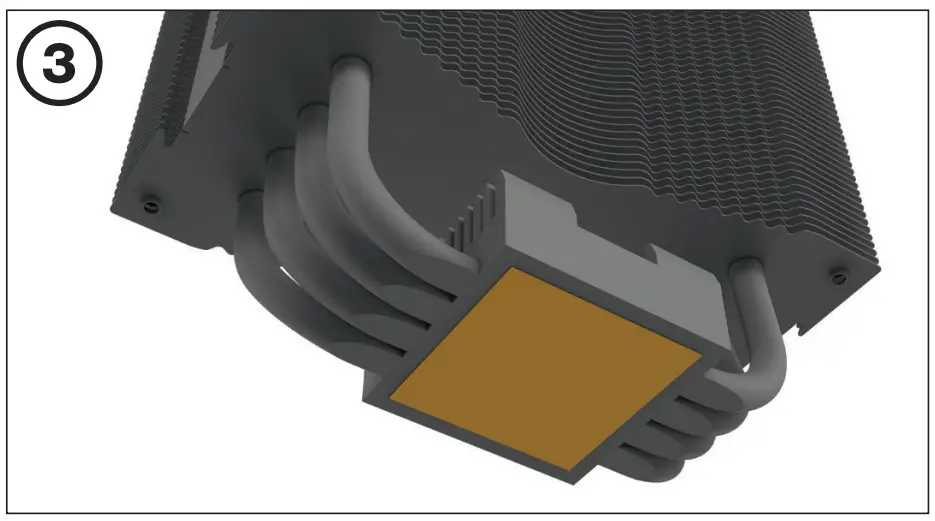
Mounting the CPU cooler
Position the cooler mounting bridge centrally on the cooler. Next place the cooler unit onto the CPU. Insert the mounting bridge fastening screws from above into the cooler mounting bridge and then screw these alternatively tight.
You can use any cross-tip screwdriver for this.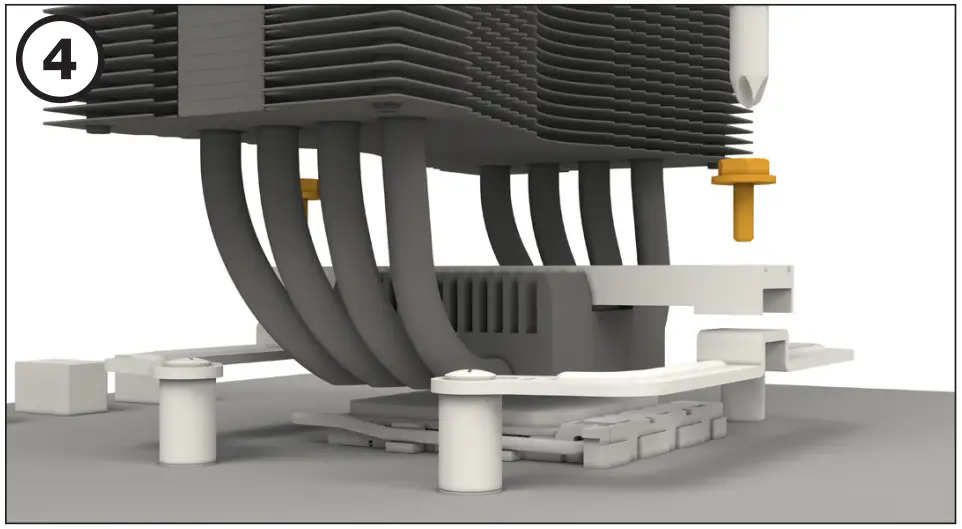
Mounting the fan
Fasten the Light Wings fan onto the cooler unit using fan clips. Connect the fan to the motherboard’s PWM signal.
When dismantling the fan, push the notches of the fan clips away from the fan.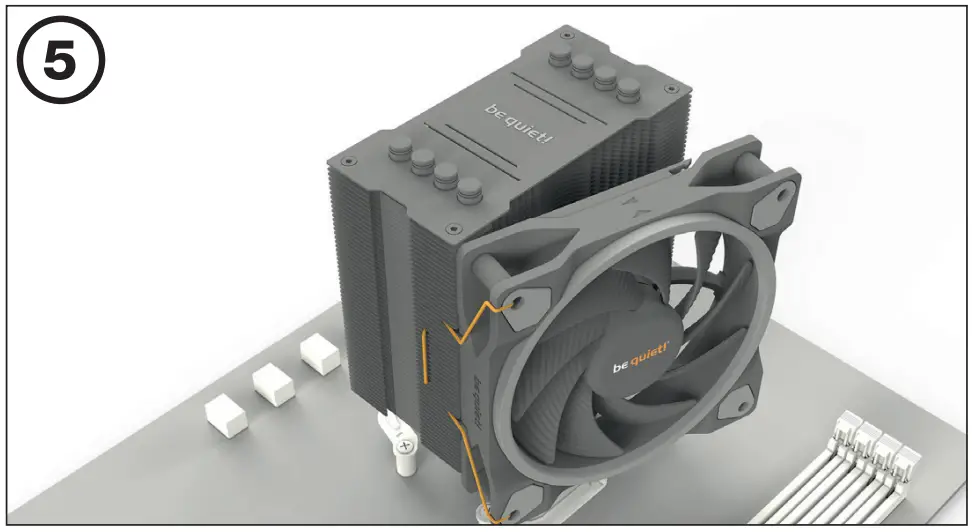
Synchronization of ARGB illumination with the motherboard
Pure Rock 2 FX enables you to synchronize the ARGB illumination directly via your motherboard. To do that switch off your system prior to installation. Next connect the ARGB connector with your motherboard. Now the ARGB illumination is being controlled by the software of the motherboard.
Warning: The ARGB connector may only be connected to a 5V ARGB header.