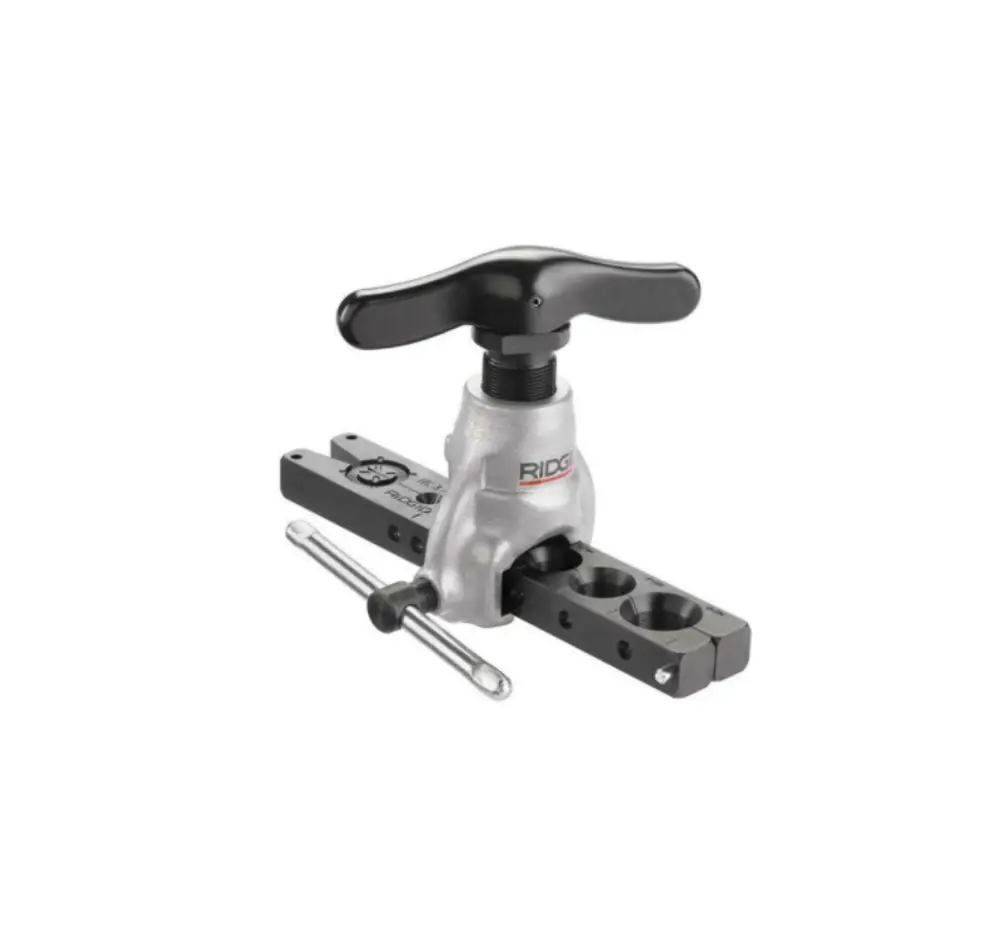
YELLOW JACKET Electric/Manual Lightweight Flaring Tool Instructions

Flaring Instructions
Step 1:
Use a reamer to clean the tube. Insert the tube into the appropriate hole. Slide the tube positioning device to the hole and make sure the tube touches the device lightly. Then slide the yoke to the top of the tube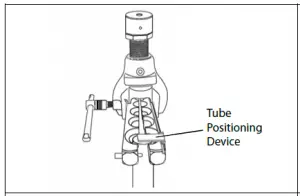
Step 2:
Line up the arrow indicator on the yoke with the indicator on the bar. Then tighten the side handle on the yoke.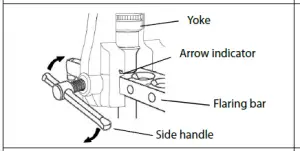
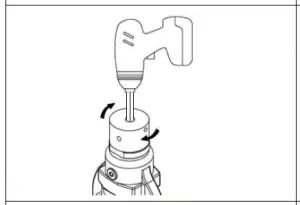
Step 3-1:
Use a power drill with torque option to start flaring. When the cone is free spinning, it means the flaring is in process. When the cone stops and does not rotate any further, the flaring is complete. Do not overturn.
Note: Use 1/4” hex bit or reversed screwdriver bit
Step 3-2:
For manual flaring, take the side handle off the side and use it on top of the yoke.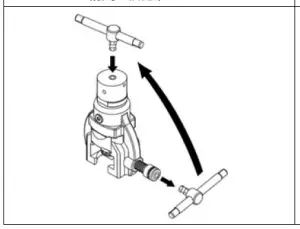
Note: After some uses, clean the debris off the eccentric cone to ensure the smoothness of the cone. Also, for a longer lifespan, use lubricant at the thread to prevent rust.
Step 3-3:
Or use the top handle to flare manually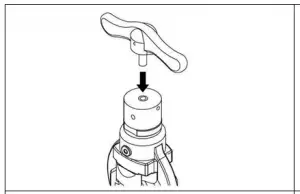
Step 4:
Use a power drill or manually return the yoke to the original position. Then release the side handle to move the yoke to the back. Open the flaring bar to remove the flared tube.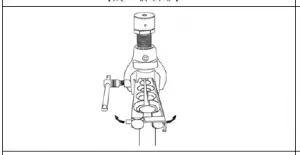
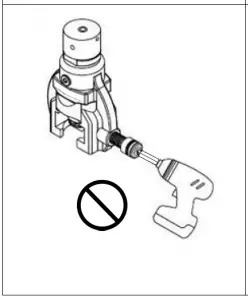
WARNING
- The side nut to hold the bars in place doesn’t come in free-spinning function. DO NOT use power drill to tighten the nut of the yoke.
- For safety reasons, use only power drills with adjustable torque to prevent injury when locked up. Use caution when flaringtubing with a power tool. Start with the drill tool torque setting low and increase only
enough to allow the flare to be formed. Use low speed, hold securely and be prepared for the possibility that the tool may jump during operation.
Note: After some uses, clean the debris off the eccentric cone to ensure the smoothness of the cone. Also, for a longer lifespan, use lubricant at the thread to prevent rust.
Note: After some uses, clean the debris off the eccentric cone to ensure the smoothness of the cone. Also, for a longer lifespan, use lubricant at the thread to prevent rust.


