VEVOR 4X3X2.75 Spray Paint Booth Instruction Manual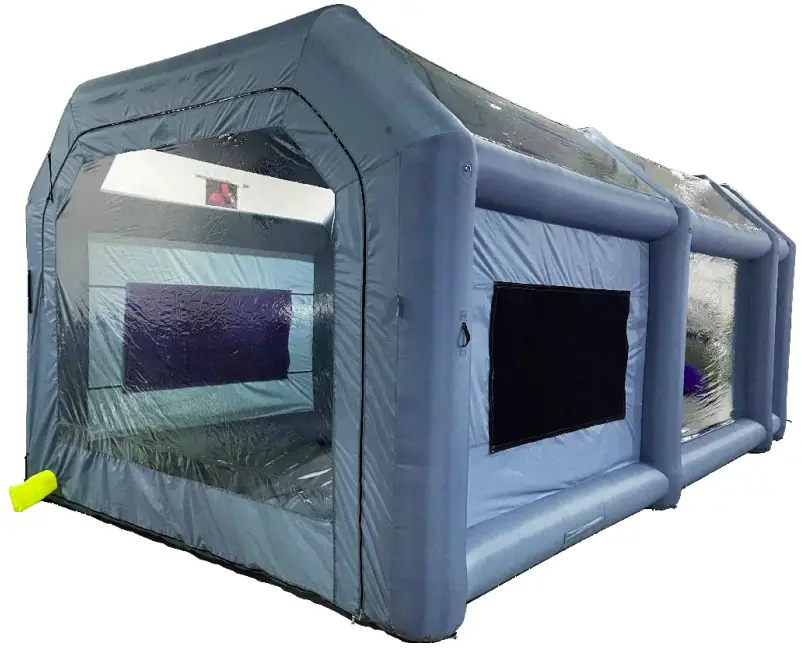
Safe Instructions
![]() WARNING:
WARNING:
- Avoid using this product in rain, strong wind, hail, and other bedwear there.
- Avoid sharp points, blades, and other items to scratch the product.
- Keep away from fire sources.
- The air inside the tent is scarce, so good ventilation must be ensured when painting inside the tent.
- Due to the large size of this product, installation requires 2 to 4peopletoassist
![]() CAUTION: Carefully read instructions and procedures for safe operations.
CAUTION: Carefully read instructions and procedures for safe operations.
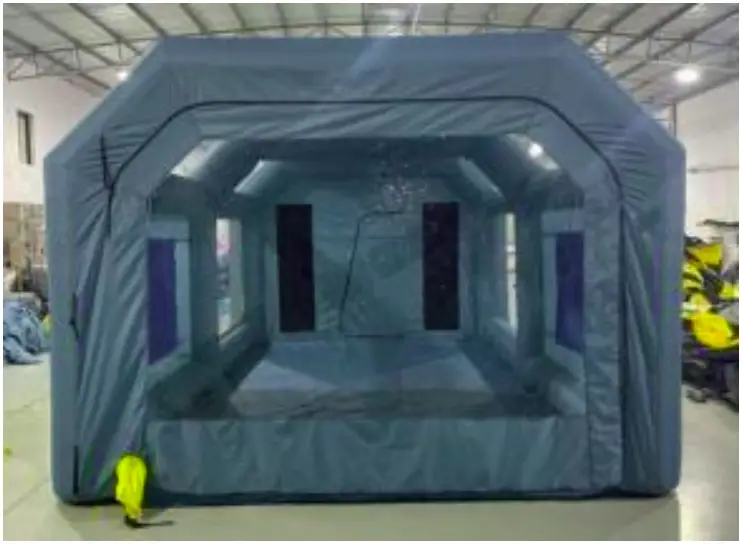
PRODUCT INTRODUCTION
| Model SPEC. | 4X3X2.75 | 6X3X2.5 | 7X4X2.75 | 8X4.5X3.3 | 8.5X4.8X3.3 | 10X6X4 |
| Size | 13*10*9ft | 20*10*8ft | 23*13*8.5ft | 26*15*11ft | 28*16*11ft | 33*20*13ft |
| Material | 210DOxford- fabric | 210DOxford- fabric | 210DOxford- fabric | 210DOxford- fabric | 210DOxford- fabric | 210DOxford- fabric |
| Color | Blue | Blue | Blue | Blue | Blue | Blue |
| Input voltage | 120V~60Hz(USA)220-240V~50Hz(EUR/ AUS) | 120V~60Hz(USA)220-240V~50Hz(EUR/ AUS) | 120V~60Hz(USA)220-240V~50Hz(EUR/ AUS) | 120V~60Hz(USA)220-240V~50Hz(EUR/ AUS) | 120V~60Hz(USA)220-240V~50Hz(EUR/ AUS) | 120V~60Hz(USA)220-240V~50Hz(EUR/ AUS) |
| Inflation blower power | 950W | 750W | 750W | 950W | 950W | 1100W |
| Ventilation blowerpower | / | 480W (USA) | 480W (USA) | 750W (USA) | 750W (USA) | 950W (USA) |
| / | 550W(EUR/AUS) | 550W(EUR/AUS) | 750W(EUR/AUS) | 750W(EUR/AUS) | 950W(EUR/AUS) | |
| G.W | 25.4kg | 36.2kg | 44.4kg | 56kg | 57.4kg | 74.6kg |
| N.W | 21.6kg | 31kg | 39kg | 50kg | 51.2kg | 67.6kg |
PACKAGE CONTENT
| model Parts | 4X3X2.75 | 6X3X2.5 | 7X4X2.75 | 8X4.5X3.3 | 8.5X4.8X3.3 | 10X6X4 |
| Spray paint booth | ×1 | ×1 | ×1 | ×1 | ×1 | ×1 |
| inflation blower | ×1 | ×1 | ×1 | ×1 | ×1 | ×1 |
| Ventilation blower | / | ×1 | ×1 | ×1 | ×1 | ×1 |
| Storage bag | ×1 | ×1 | ×1 | ×1 | ×1 | ×1 |
| Sand bags | ×4 | ×4 | ×4 | ×4 | ×4 | ×6 |
| Stakes | ×4 | ×4 | ×4 | ×4 | ×4 | ×6 |
| Ropes | ×4 | ×4 | ×4 | ×4 | ×4 | ×6 |
| Pack of repair patches | ×1 | ×1 | ×1 | ×1 | ×1 | ×1 |
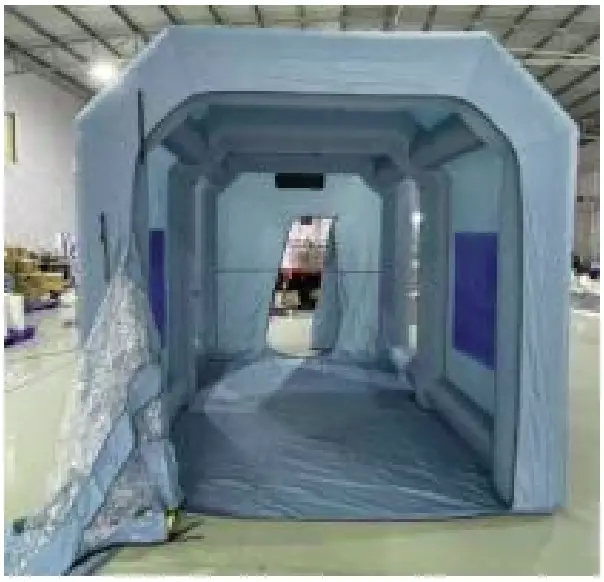
PRODUCT DIAGRAM
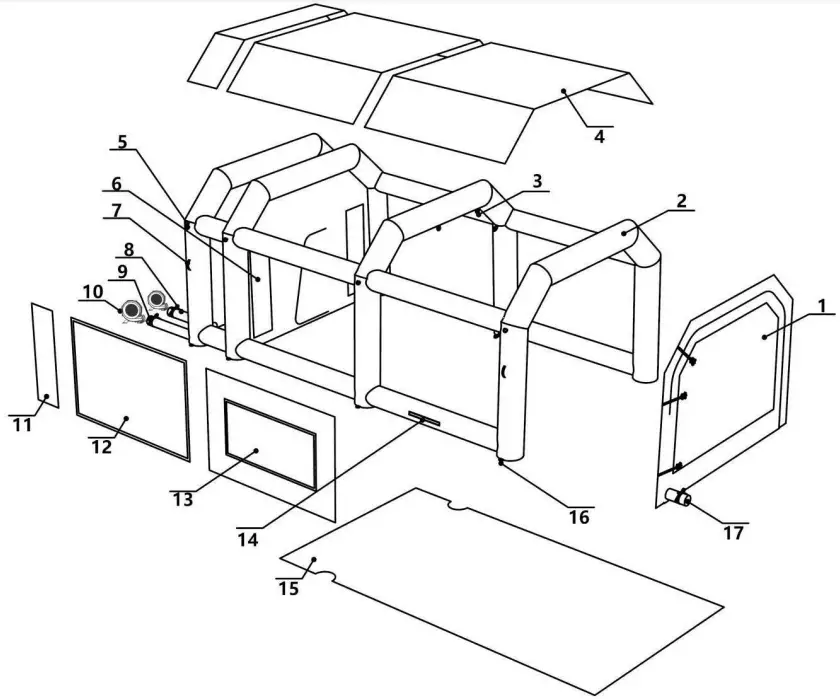
- Front Door
- Air Column
- Light Hook
- Ceiling
- Rope Ring
- Activated Carbon Filter Cotton
- Handle
- Ventilating Tube
- Air Column Filling Tube
- Air Blower
- Transparent Window
- Emergency Escape Window
- Double Filter Cotton
- Exhaust Zipper Por
- Bottom
- Metal Ring
- Power Line Inlet
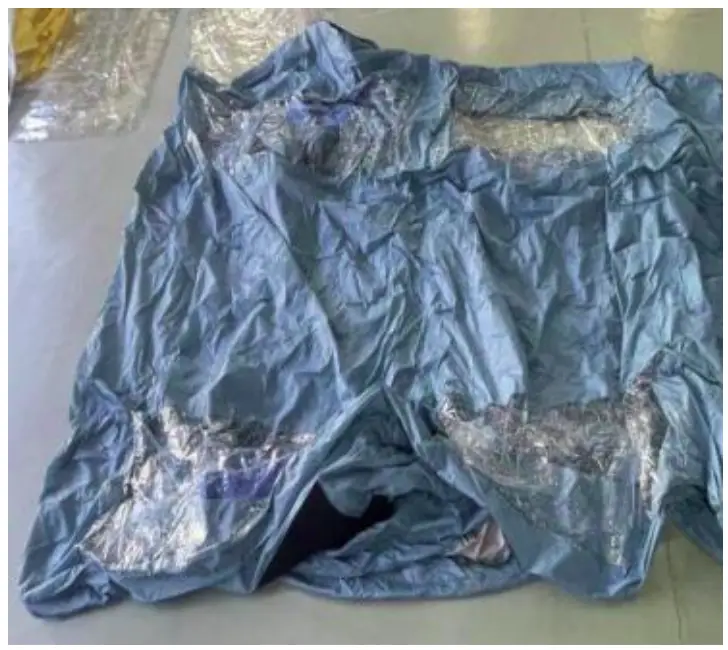
INSTALLATION INSTRUCTION
- Unfold the tent and spread it out on a clean and level ground.
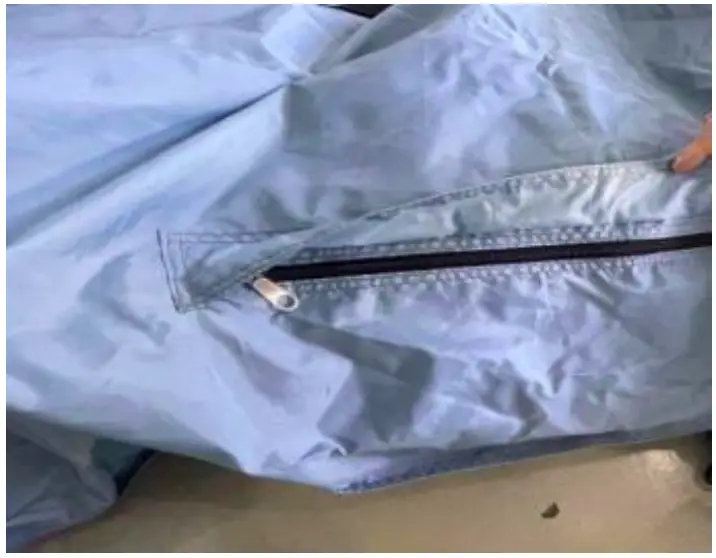
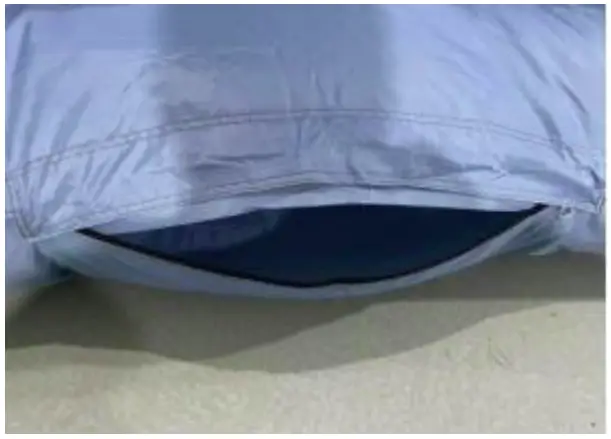
- Zip up both sides of the product.

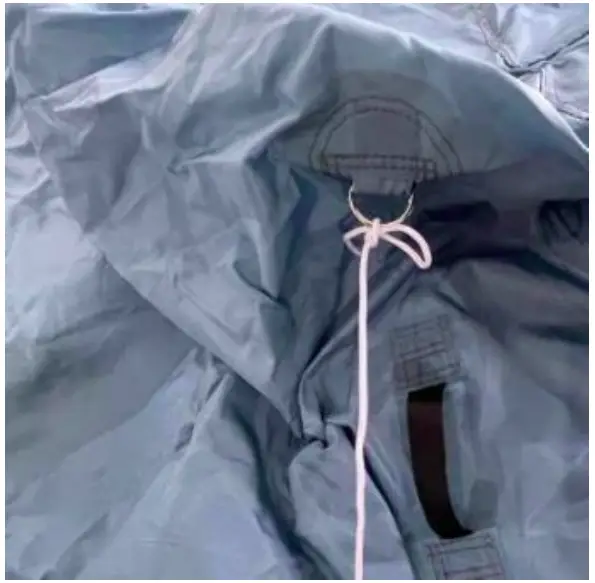
- Tie thereto the rope ring.

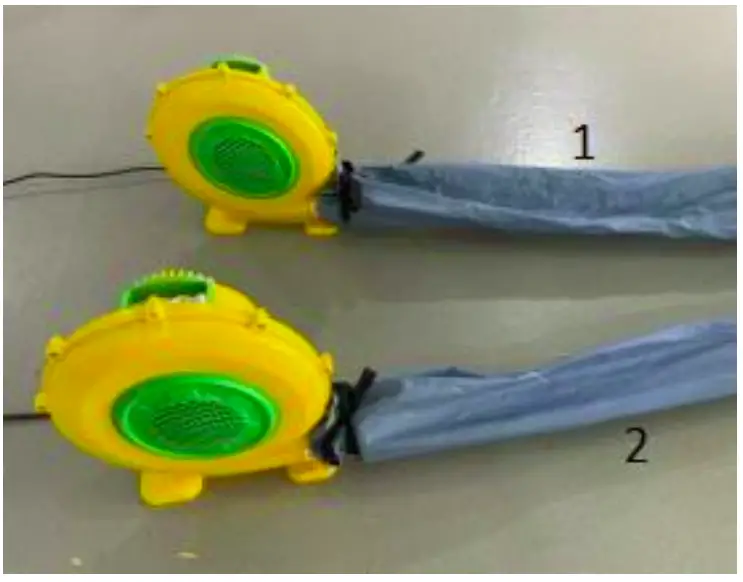
- Tie the air tube to the air blower outlet, as shown in the figure. 1 is the ventilation blower; 2 is the inflation blower.

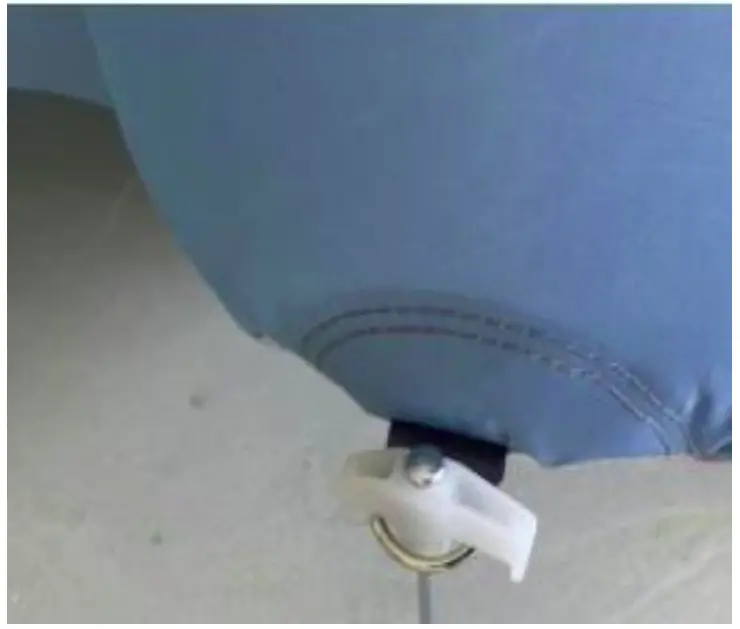
- When the tent is inflated, please fasten the tent with stakes at the bottom metal rings.

- When the assembly is complete, peacetime the windproof rope to the fixed object.

Storage Instruction
It is recommended to store the product when it is dry to avoid dampness and mildew.
It is recommended to put them in a storage bag and store theming awry environment.
Keep away from sharp objects to avoiding scratching. After wet weather, it is recommended to air the tent on sunny days
- Unzip and open the front and back doors.

- Turn off the air blowers and open both exhaust zipper ports.
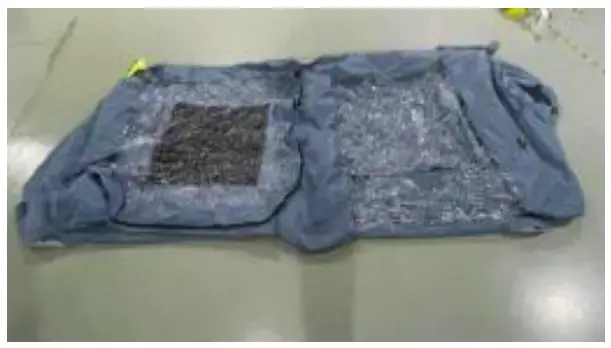
- Drainable air and flatten the tent ashen below

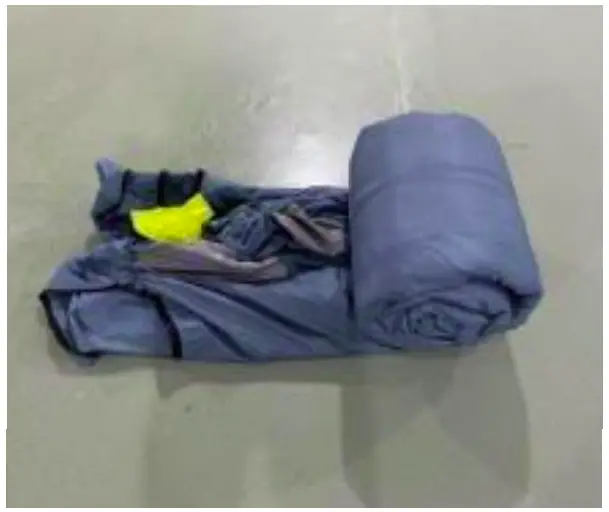
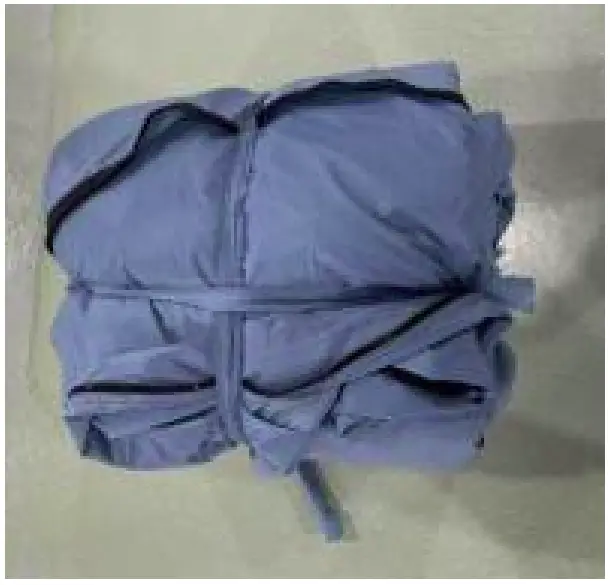
- Roll up the tent, as shown in the figure

- Roll up the tent with ropes.

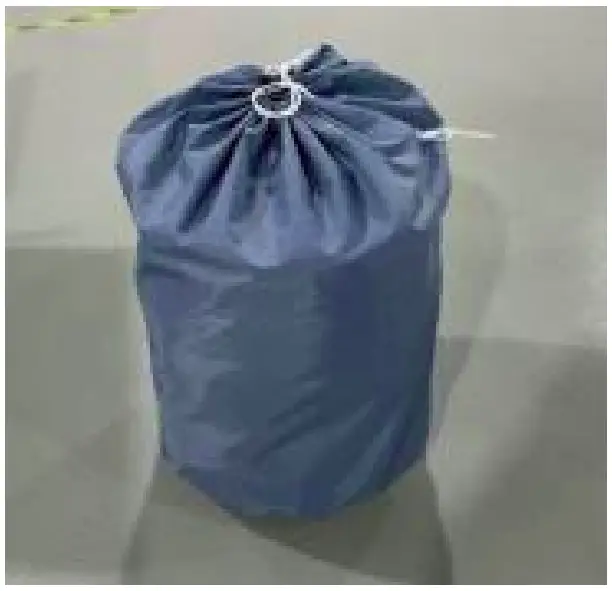
- Put it into storage bag and place in dry environment.

NEED HELP? CONTACT US!
Have product questions? Need technical support? Please feel freetocontact us:

This is the original instruction, please read all manual instructions carefully before operating. VEVOR reserves a clear interpretation of our user manual. The appearance of the product shall be subject to the product you received. Please forgive us that we won’t inform you again if there are any technology or software updates on our product.
Technical Support and E-Warranty Certificate
www.vevor.com/support
We continue to be committed to offering tools at competitive prices. “Save Half”, “Half Price”, or any other similar expressions used by us only represent an estimate of savings you might benefit from buying certain tools with us compared to the major top brands endknot necessarily mean to cover all categories of tools offered by us. You are kindly remined dove reify carefully when placing an order with us if you are saving half in comparison with the to puma or brands.
Technical Support and E-Warranty Certificate
www.vevor.com/support
www.vevor.com/support
We continue to be committed to offering tools at competitive prices. “Save Half”, “Half Price”, or any other similar expressions used by us only represent an estimate of savings you might benefit from buying certain tools with us compared to the major top brands endknot necessarily mean to cover all categories of tools offered by us. You are kindly remined dove reify carefully when placing an order with us if you are saving half in comparison with the to puma or brands.
Technical Support and E-Warranty Certificate
www.vevor.com/support