novostella NTS22A-RGB-US-NF LED RGB Strip Light User Guide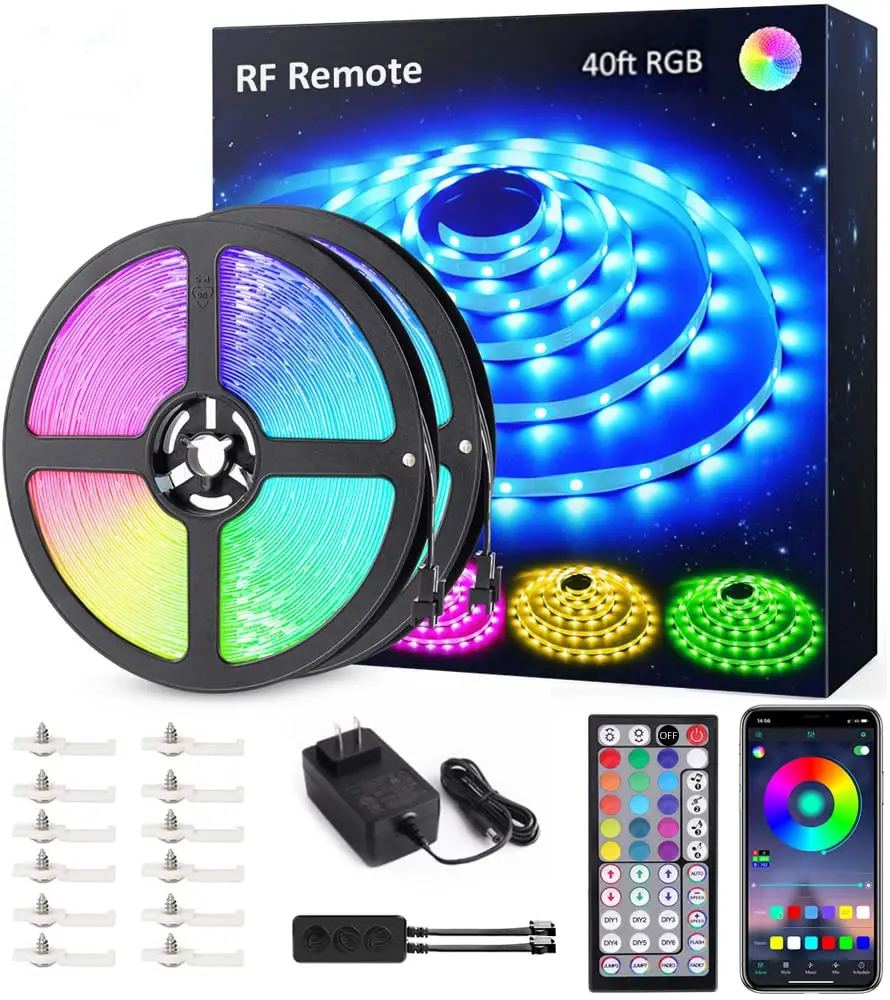
THANK YOU for choosing Novostella. To optimize user experience, please use the product according to the following instructions.
Warning
- Winding lighting is prohibited, as it affects heat dissipation and might cause dangers.
- Please unroll the light strip from the plate before lighting it up.
- NTS22A-RGB-US-NF can only work with ONE power adapter in a series connection of maximum 6 meters, and NTS28A-RGB-US-NF can only work with ONE power adapter in a series connection of maximum 12 meters.
- Please check if the light strip and the parts are intact before using them.
- Please make sure that the power supply is turned off before installation.
- Please use the attached power adapter only, to ensure that the light works properly.
- Please do not use this light in the open air or under humid environment.
Specification
| P/N | NTS22A-RGB-US-NF |
| Model | NTS22A-RGB-US-NF |
| Wattage | 24W |
| color | RGB |
| Total Length | 20ft/6m |
| LED Type | 5050 |
| LED Quality | 180 LEDs |
| Input Voltage | 100-240V AC |
| Frequency | 50/60Hz |
| Working Voltage | 12 V |
| Working Temperature | -2£“C-40”C |
| Restriction | Indoor Use Only |
| Battery Type | CR2025 (for RF remote controller) |
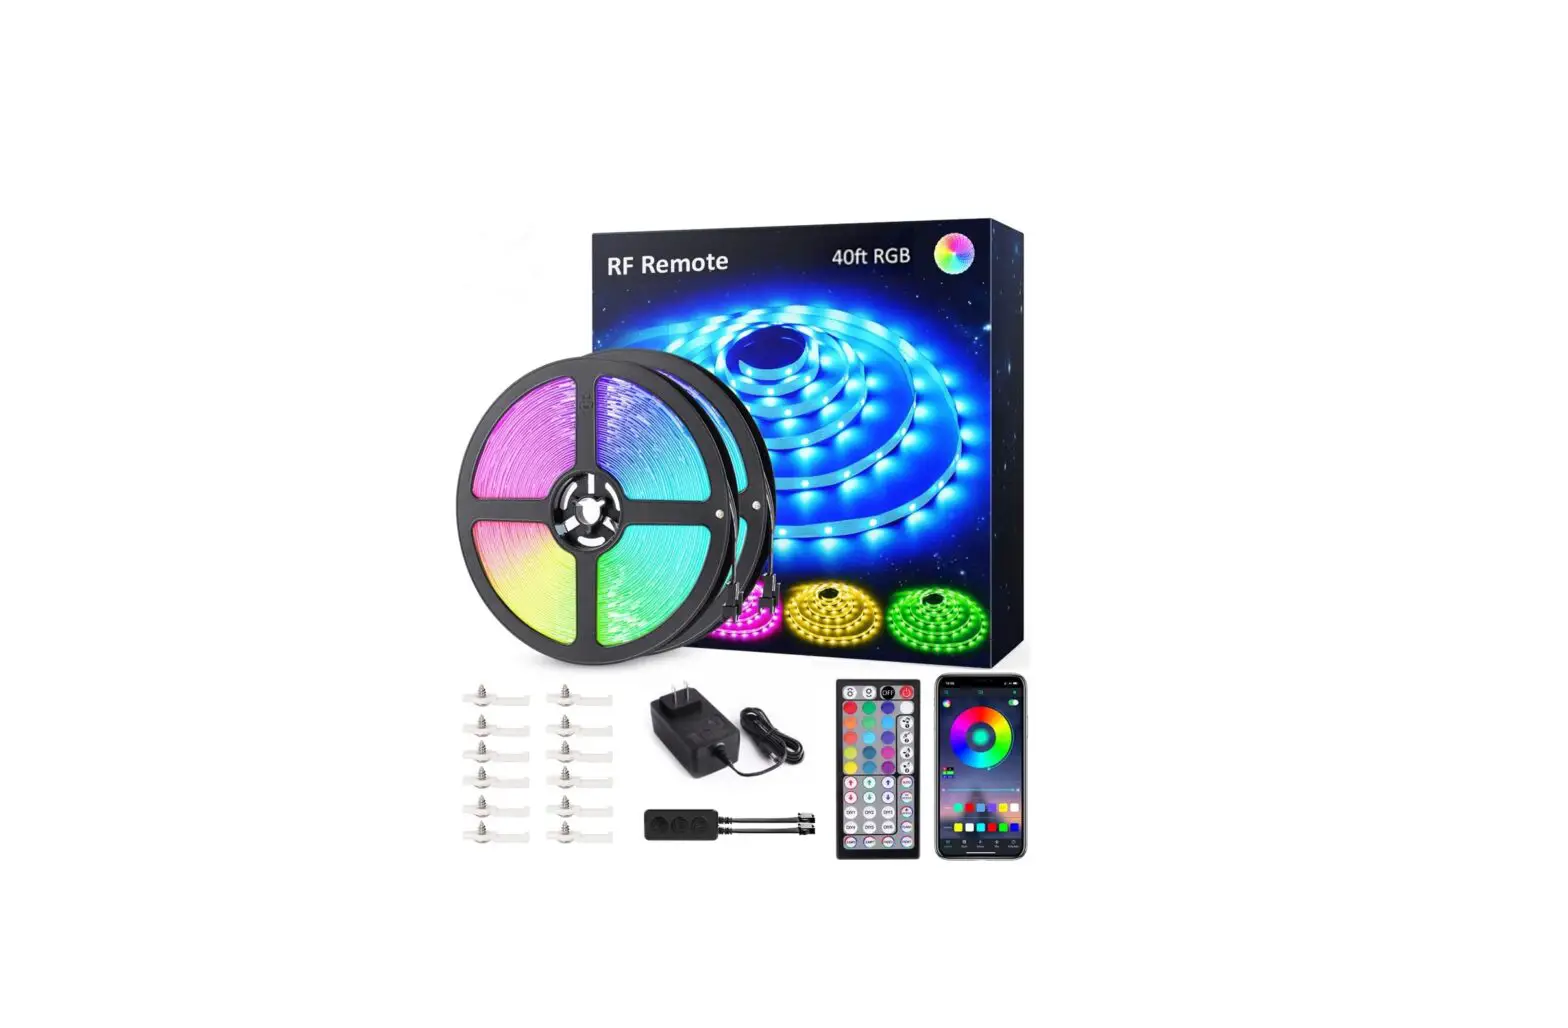
| Package Includes | Light Strip x 1, RF Remote Controller x 1, Power Adapter x 1, LED Signal Receiver x 1 |
| SKU | NTS28A-RGB-US-NF | NTS28A-RGB-UK-NF |
| Model | NTS28A-RGB-US-NF | NTS28A-RGB-UK-NF |
| Wattage | 36W | |
| Color | RGB | |
| Total Length | 40ft / 12m | |
| LED Type | 5050 | |
| LED Quantity | 360 LEDs | |
| Input Voltage | 100-240V AC | |
| Frequency | 50/60Hz | |
| Working Voltage | 12V | |
| Working Temperature | -25°C–40°C | |
| Restriction | Indoor Use Only | |
| Battery Type | CR2025 (for RF remote controller) | |
| Package Includes | Light Strip x 2, RF Remote Controller x 1, Power Adapter x 1, LED Signal Receiver x 1 | |
Components
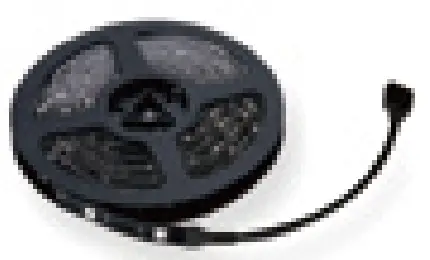
- Light Strip

- Power Adapter

- RF Remote Controller

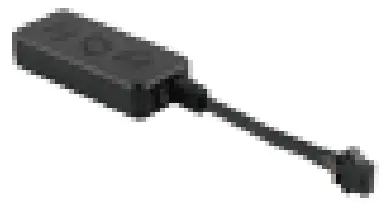
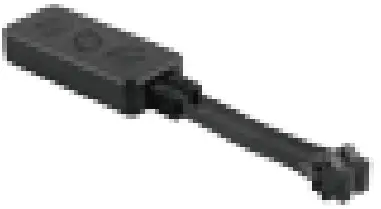
- LED Signal Receiver

NTS22A-RGB-US-NF
NTS28A-RGB-US-NF
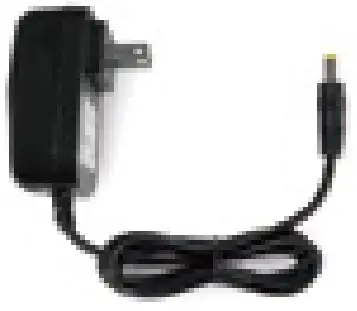

Note: Power Adapter Cord – type Z attachment. For type Z attachment: The cable or cord cannot be replaced without breaking or destroying the luminaire.
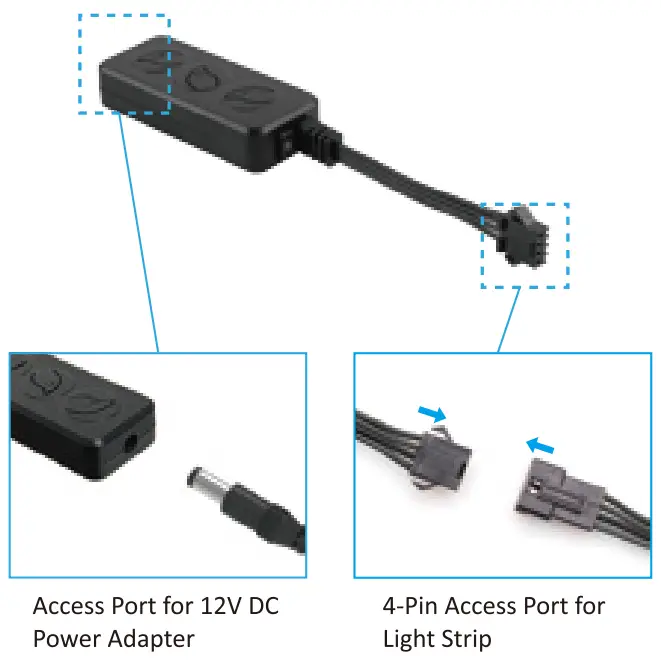
LED Signal Receiver
RF Remote Controller
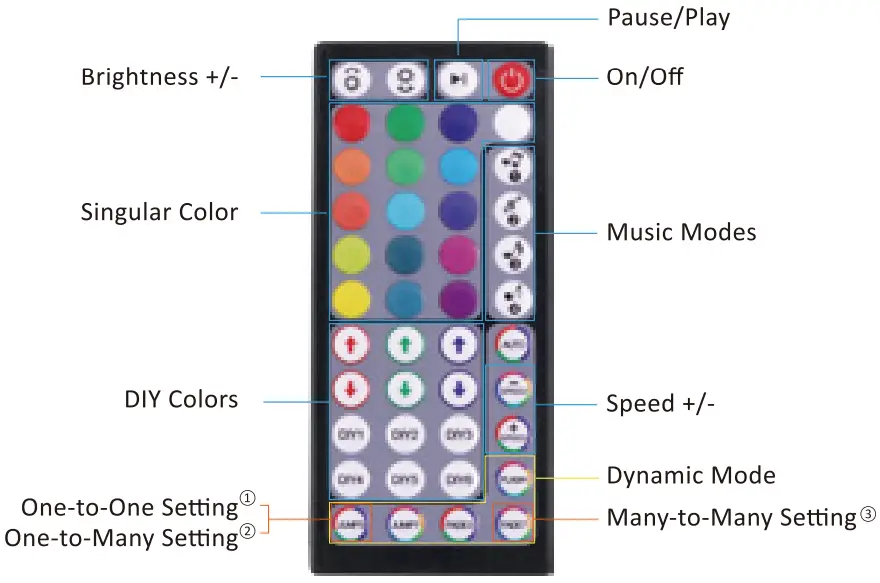
Dynamic Mode
There are 6 preset dynamic modes, and their speed can be adjusted with the “QUICK” or ”SLOW” button.
- JUMP3: Flash and loop among 3 colors (Red, Green, Blue).
- JUMP7: Flash and loop among 7 colors (Red, Green, Blue, Yellow, Purpple, Cyan, White).
- FADE3: Fade and loop among 3 colors (Red, Green, Blue).
- FADE7: Fade and loop among 7 colors (Red, Green, Blue, Yellow, Purpple, Cyan, White).
- FLASH: Flash on white color only.
- AUTO: Loop among the above 5 dynamic modes. The FLASH mode (white color only) repeats 20 times, while the rest four modes repeats 4 times in each loop.
Three Settings
There are three flexible settings for the remote controller(s) to control the light strip(s) as per your lighting project, One-to-One Setting, One-to-Many Setting and Many-to-Many Setting. You can choose either which light strip and how many light strips one controller controls, or which controller and how many controllers control the light strip(s).
1 One-to-One Setting: One remote controller can only control one light strip.
Turn on the remote controller and power on the LED Signal Receiver of the light strip. During the first5 seconds, immediately long press the bottom left button on the remote controller till the strip light blinks. Then the ‘One-to-One Setting’ is done. One-to-One Setting is the factory default.
One-to-Many Setting: If you want to control many light strips with one remote controller, you could choose the ‘One-to-Many’ Setting. Turn on the remote controller and power on all LED Signal Receivers of the light strips. During the first5 seconds, immediately long press the bottom left button on the remote controller till the strip lights blink. Then the ‘One-to-Many Setting’ is done.
Many-to-Many Setting: If you have many light strips and remote controllers, and hope that any of the controller can control all the light strips, you could choose the ‘Many-to-Many’ Setting. Tum on each remote controller and power on its LED Signal Receiver. During the first5 seconds, immediately long press the bottom right button on the remote controller till the strip light blinks.
How to DIY colors?
This light strip is made of RGB LEDs, which means there are three colors (red/green/blue) on one LED. All lighting colors are made by changing the ratio of red, green and blue on the LED.
e.g. Red + Green = Yellow Lighting
Red + Blue = Purple Lighting
Green + Blue = Cyan Blue Lighting
Firstly, choose and press one button from DIY1 to DIY6 on the RF controller, for instance, the DIY1 button. Secondly, press ? or button to increase (/) or decrease (/) the ratio of red, green and blue on the LED, so as to create different lighting colors. Then the specific DIY color lighting will be saved on the DIY1 button (the button you choose on the first step). Next time when you want to use this DIY color lighting, simply press DIY1 button for a quick access.
Installation
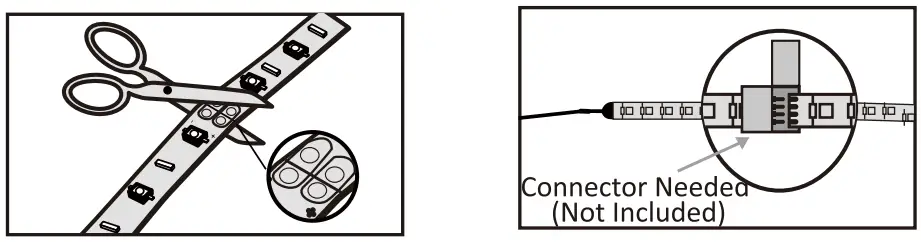
How to cut the LED strip?
Before cutting the LED strip, please keep these in mind.
- Once the strip is cut, an extra connector is needed for reconnection, otherwise the rest part being cut can not work. The connector is not included in the package. You may contact the seller for the connector details.
- Double confirm the length for installation before making the cut.
- Cut the strip along the marks.

How to install the LED strip?
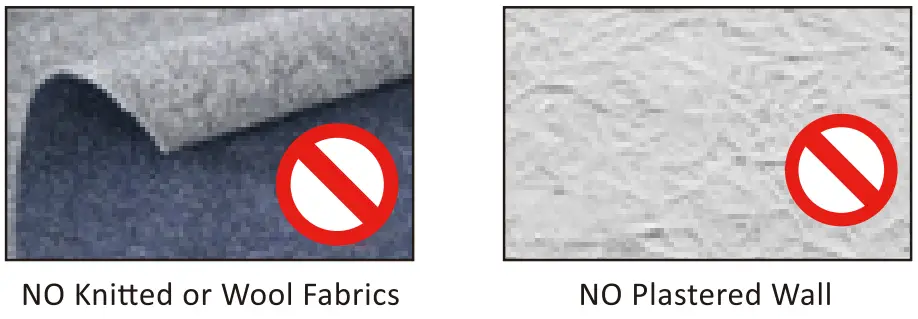
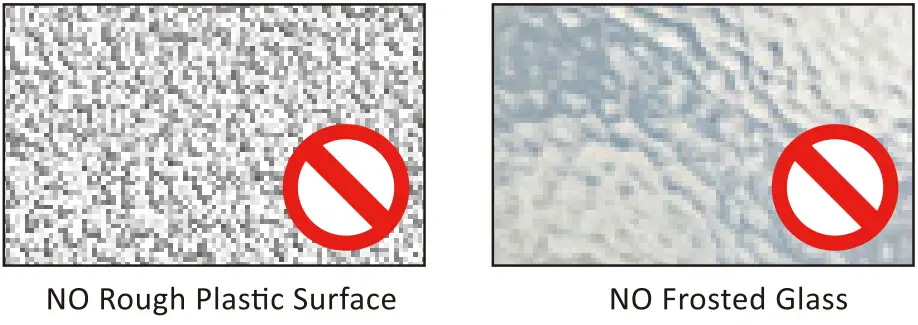
- Choose an even and smooth surface.


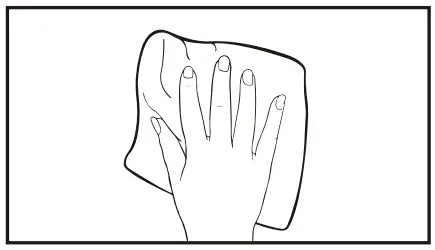
- Sweep the dust off the surface.

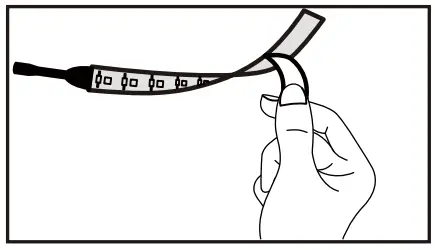
- Tear the back sheet.
- Press the strip with Force.
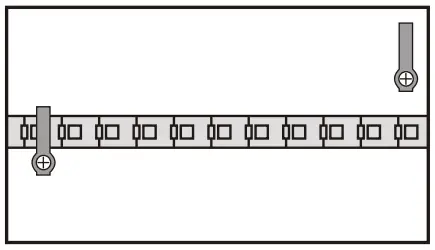
- Fasten the strip with clips, if applicable. (It is recommended to use the clip every 0.5m.)
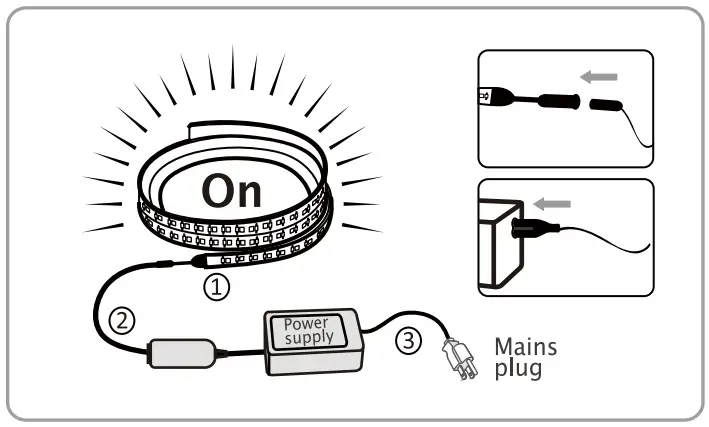
- Connect the light strip (1) to controller cable (2), and then connect controller cable to power adapter (3). Plug the adapter into the socket and turn on the light strip by pressing ‘ON’ button on the RF remote controller.


How to control the light strip?
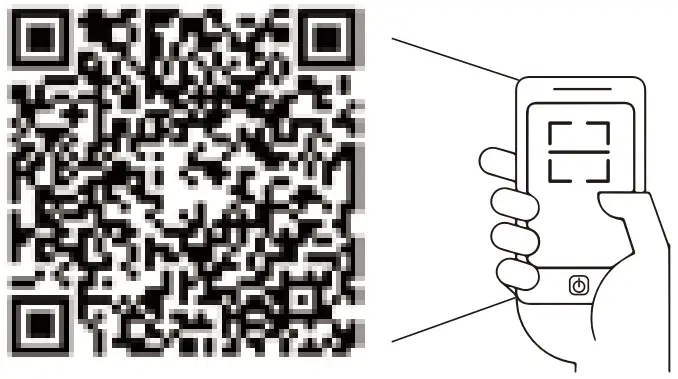
- Download the App Lotus Lantern by scanning the QR code below.
This App is compatible with Android 4.0 and iOS 8.1 or above.- Download APP
- Scan the QR code from the label or user manual.

The APP is compatible with Android 4.0 and IOS 8.1 and higher version.
Android 4.0

iOS 8.1
- Scan the QR code from the label or user manual.
- Download APP
- Power on the light.
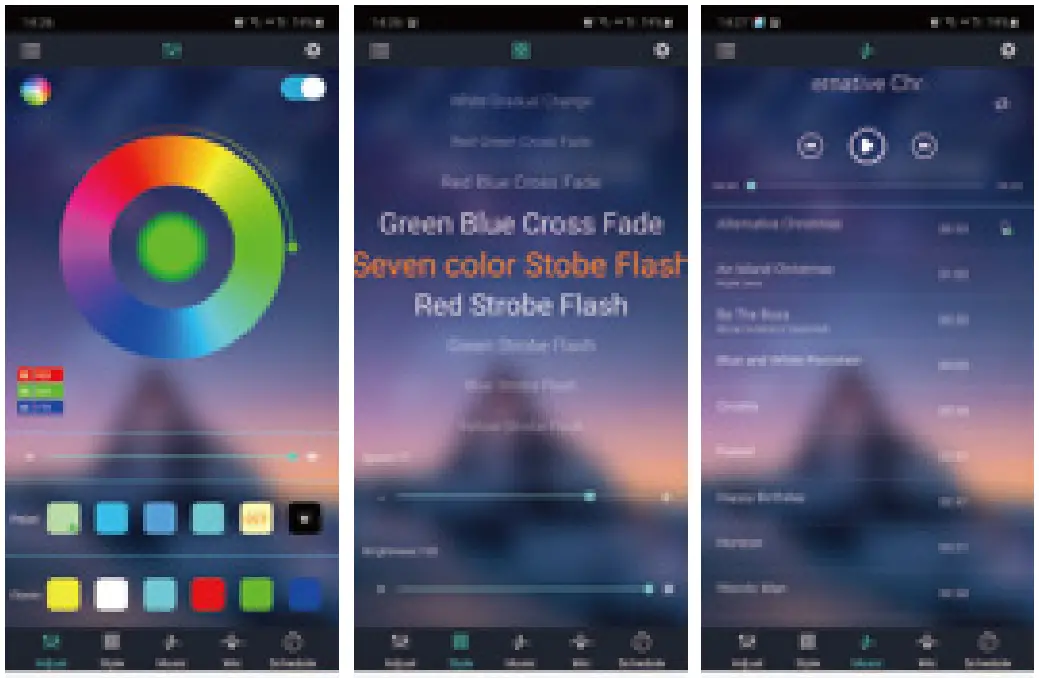
- Activate the Bluetooth function on your phone and open the App to automatically connect to the light.
- Enjoy the lighting by exploring the functions such as brightness, modes, music sync, timer etc via the App.


Contact Us
Have some issue? No worries! Please reach us via these channels.
Our customer services team is more than happy to help.
![]() [email protected]
[email protected]![]() fb.com/novostella.fans
fb.com/novostella.fans![]() Scan to Message Now!
Scan to Message Now!![]() www.novostella.net
www.novostella.net
Manufacturer: Shenzhen Ustellar Technology Ltd.
Address: Rm.201, A Bldg., No. A Qianhai 1st Rd., Shen/gang Cooperation Zone, Qianhai, Shenzhen, CHINA 518000


