![]()
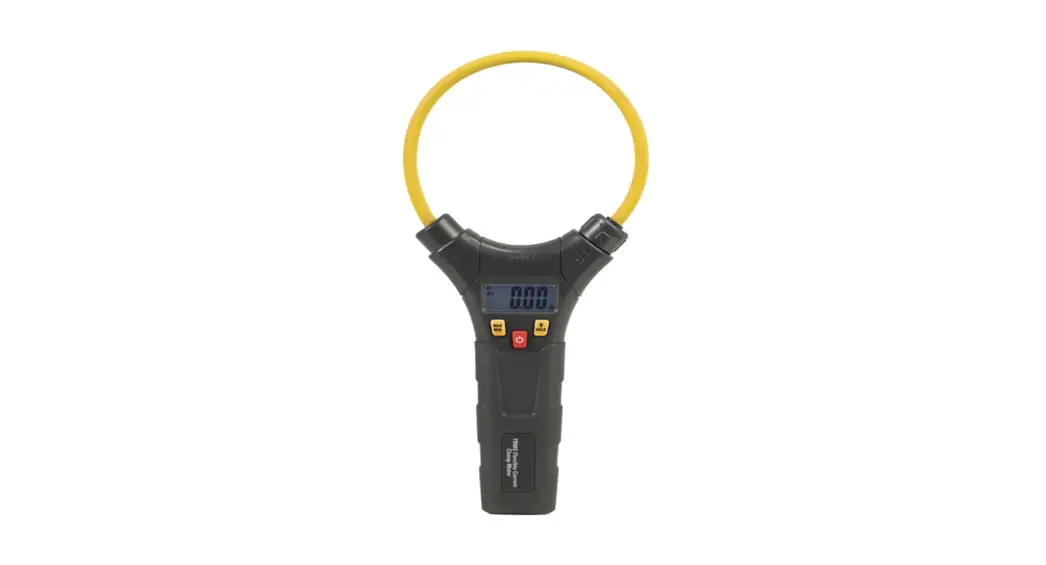
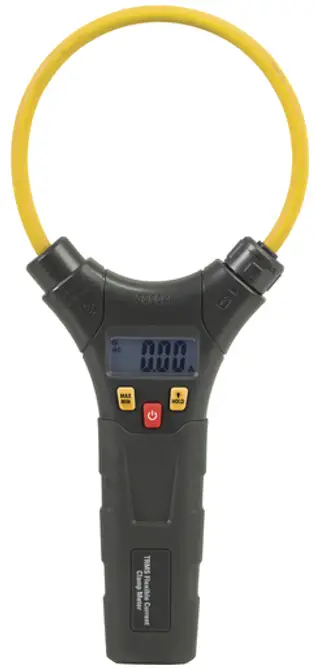
Flexible
AC Current Clamp meter
USER Manual
Please read this manual before switching the unit on.
Important safety information inside.
Introduction
Congratulations on your purchase of the True RMS Flexible AC Current Clamp meter.
The True RMS AC/DC Current Clamp meter features:
- Auto Power OFF
- Data Hold
- MAX/MIN
- Backlit LCD display
Safety
2-1. International Safety Symbols![]() This symbol, adjacent to another symbol or terminal, indicates the user must refer to the manual for further information.
This symbol, adjacent to another symbol or terminal, indicates the user must refer to the manual for further information.![]() This symbol, adjacent to a terminal, indicates that, under normal use, hazardous voltages may be present
This symbol, adjacent to a terminal, indicates that, under normal use, hazardous voltages may be present![]() Double insulation
Double insulation
2-2. SAFETY NOTES
- Do not exceed the maximum allowable input range of any function.
- Do not use when instrument power is off.
- Remove the battery if the meter is to be stored for longer than 60 days.
2-3.CAUTIONS
- Improper use of this meter can cause damage, shock, injury, or death. Read and understand this user manual before operating the meter.
- Inspect The condition of The test coil and the meter itself for any damage before operating the meter. Repair or replace any damage before use.
- Use great care when making measurements if the voltages are greater than 25VAC RMS or 35VDC. These voltages are considered a shock hazard.
- If the equipment is used in a manner not specified by the manufacturer, the protection provided by the equipment may be impaired.
- Do not operate meter while Low Battery warning is on. Replace batteries immediately.
Description
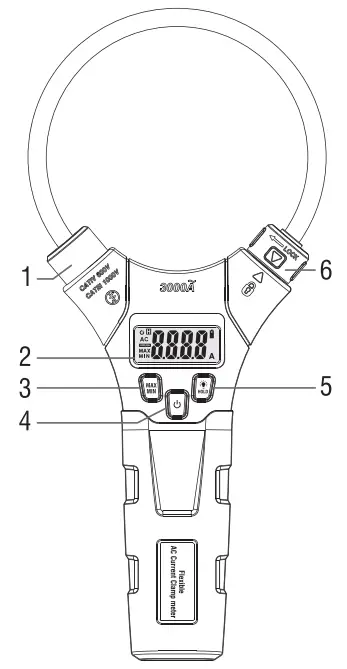
Meter Description
1-Flexible current coil
2-LCD display
3-MAX/MIN button
4-Power button
5-Data Hold/Backlight button
6-Turn knob
Display icons Description
| H | Data Hold |
| 0 to 3000 | Measurement display digits |
| AC | Alternating Current |
| A | Amperes |
| MAX | Maximum |
| MIN | Minimum |
| Low batter | |
| Auto power off |

Specifications
| Function | Range | Resolution | Accuracy (% of reading + digits) |
| AC Current 50∼400Hz True RMS | 30.00A AC | 0.01A | ±(3.0% + 8d) |
| 300.0A AC | 0.1A | ±(3.0% + 5d) | |
| 3000A AC | 1A | ± (3.0% + 5d) |
Note: Accuracy is given as ± (% of reading + counts of least significant digit) at 23°C ±5°C, with relative humidity less than 80%RH. The measured conductor is placed in the center of the coil.
General Specifications
| Display | 3000 counts backlit LCD |
| Low Battery indication | “ |
| Over-range indication Operating Temperature | ” OL ” display 41°F to 104°F(5°C to 40°C) |
| Storage Temperature | -4°F to 140°F(-20°C to 60°C) |
| Operating Humidity | Max 80% up to 87°F (31 °C)decreasing linearly to 50% at 104°F(40°C) |
| Storage Humidity | <80% |
| Operating Altitude | 7000ft. (2000meters)maximum. |
| Battery | 1.5V “AAA” Size Battery x 2 |
| Auto power OFF | After approx. 15 minutes |
| Safety Standard | EN61010-1, EN61010-2-032, EN61326-1. Overvoltage Category III 1000V and Category IV 600V, Pollution Degree 2. |
Operation
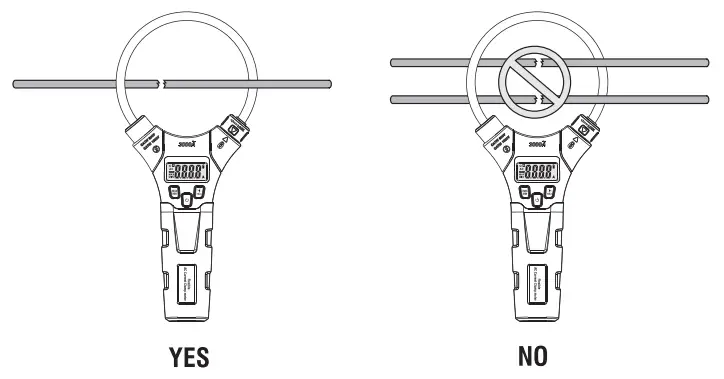
7-1.AC Current Measurements
Open the flexible coil clamp meter power and will be single phase is in flexible coil, and a locking knob, so that the measured single phase in the flexible coil of central, in order to obtain the best measurement results. The results of the measurements will be displayed on the LCD screen.
7-2.Power button
Short press the power button to boot, and long press the power button to shut down.
7-3.MAX/MIN Button
- Press the MAX/MIN button to activate the MAX/MIN mode. The “MAX” indicator will appear on the LCD display along with the highest reading. The display will update every time a higher “MAX” occurs.
- Momentarily press the MAX/MIN button again to view the lowest reading. The “MIN” indicator will appear on the LCD display along with the lowest reading. The display will update every time a lower reading occurs.
- Press and hold the MAX/MIN button to end MAX/MIN and return to normal operation.
7-4.Data Hold/Backlight Button
Short press this button, the measured AC current value is displayed on the LCD screen, and then the short press is canceled. Long press this button to turn on the backlight, press the button again to turn off the backlight.
7-5.Automatic Power OFF
In order to save power, the instrument without any key operation, automatic shutdown after about 15 minutes. After the shutdown press, the power button once again opens the instrument.
Maintenance
8-1. Cleaning and Storage
Periodically wipe the case with a damp cloth and mild detergent; do not use abrasives or solvents. If the meter is not to be used for 60 days or more, remove the battery and store it separately.
8-2. Battery Replacement
- Remove the Phillips head screw that secures the rear battery door.
- Open the battery compartment.
- Replace two AAA batteries.
- Secure the battery compartment.
Rev.170318