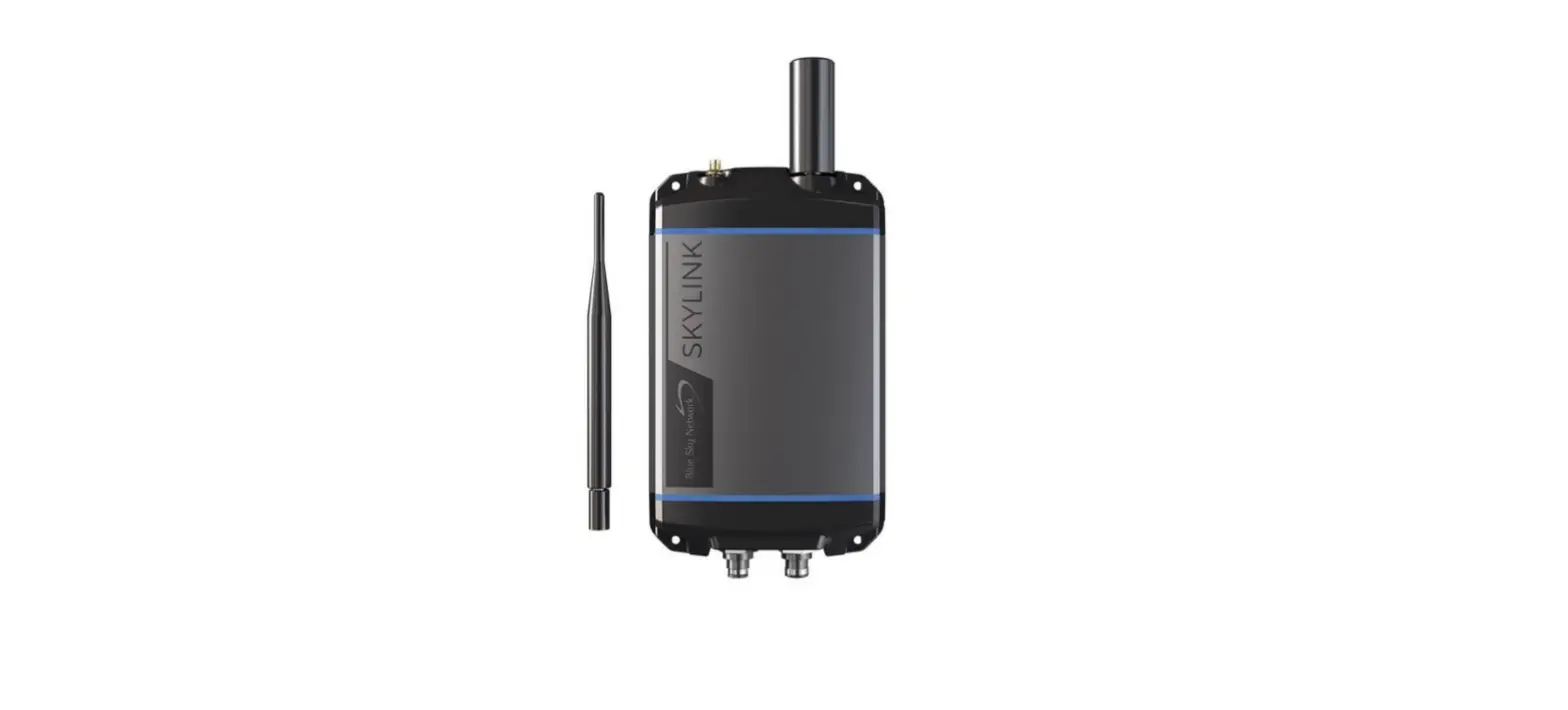
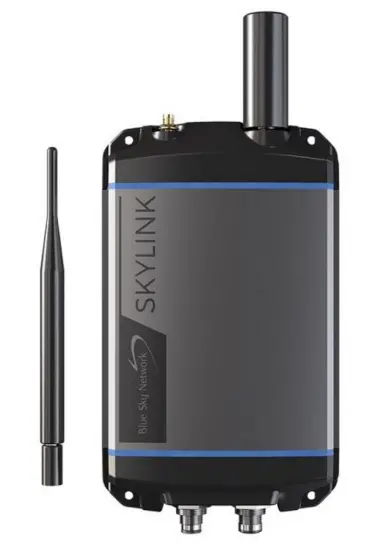
 Blue Sky Network Skylink Battery Pack
STEP 1: ATTACH THE BATTERY
Bolt the SkyLink Battery Pack to the SkyLink Data Gateway. A permanent installation it can be mounted to a post using the Data Gateway mounting bracket, or by screwing it to a wall.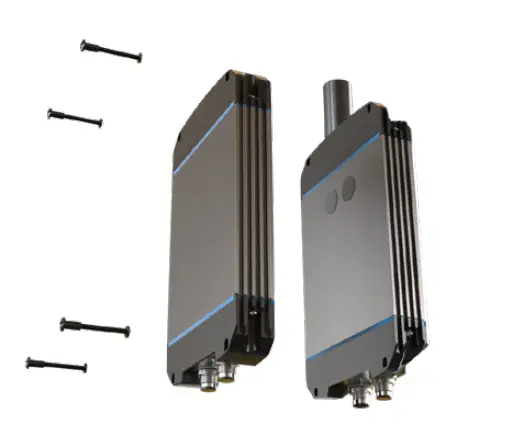
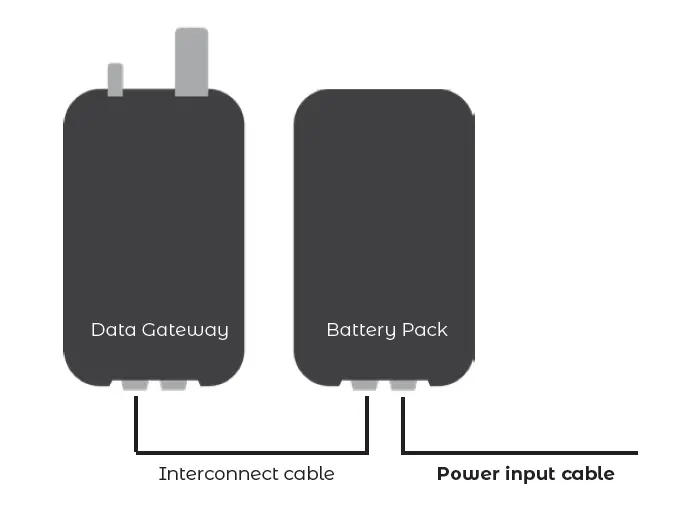
STEP 2: ATTACH THE INTERCONNECT CABLE
Connect the interconnect cable between the Battery Pack and the Data Gateway. There is one standard interconnect cable and three optional cables:
- Standard 6” interconnect cable, PN 300697-1
- Optional 72” interconnect cable, PN 300697-2
- Optional 6” interconnect cable & Ethernet cable, PN 300697E-1
The interconnect cable connects to the left-hand connector of the Data Gateway and the left-hand connector of the Battery Pack when looking at the front of both units.
STEP 3: ATTACH THE POWER INPUT CABLE
Connect the power input cable to the right-hand connector on the Battery Pack. for mobile use, this is a temporary connection to charge the battery and a permanent connection for fixed installations. Their standard cable has an AC adapter and there is an optional DC cable:
- Standard power input cable, PN 300698-AC
- Optional power input cable, PN 300698-DC
SKYLINK BATTERY PACK QUICK START GUIDE
BATTERY STACKING
To stack batteries, use the battery stacking cable, PN 300699, as shown below: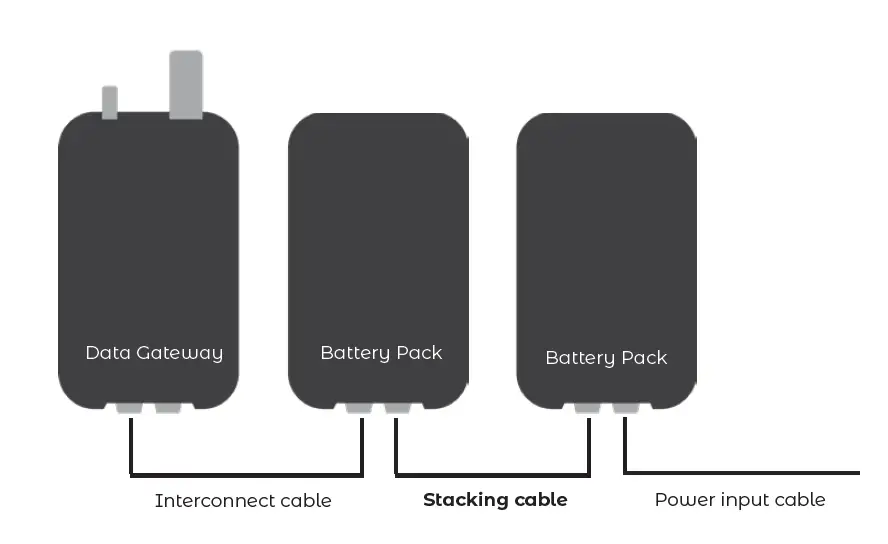
www.blueskynetwork.com
SKYLINK-BATTERY-PACK-QUICK_START_GUIDE-V1.0 For customer use only. Not intended for further distribution.


 User Guide")
