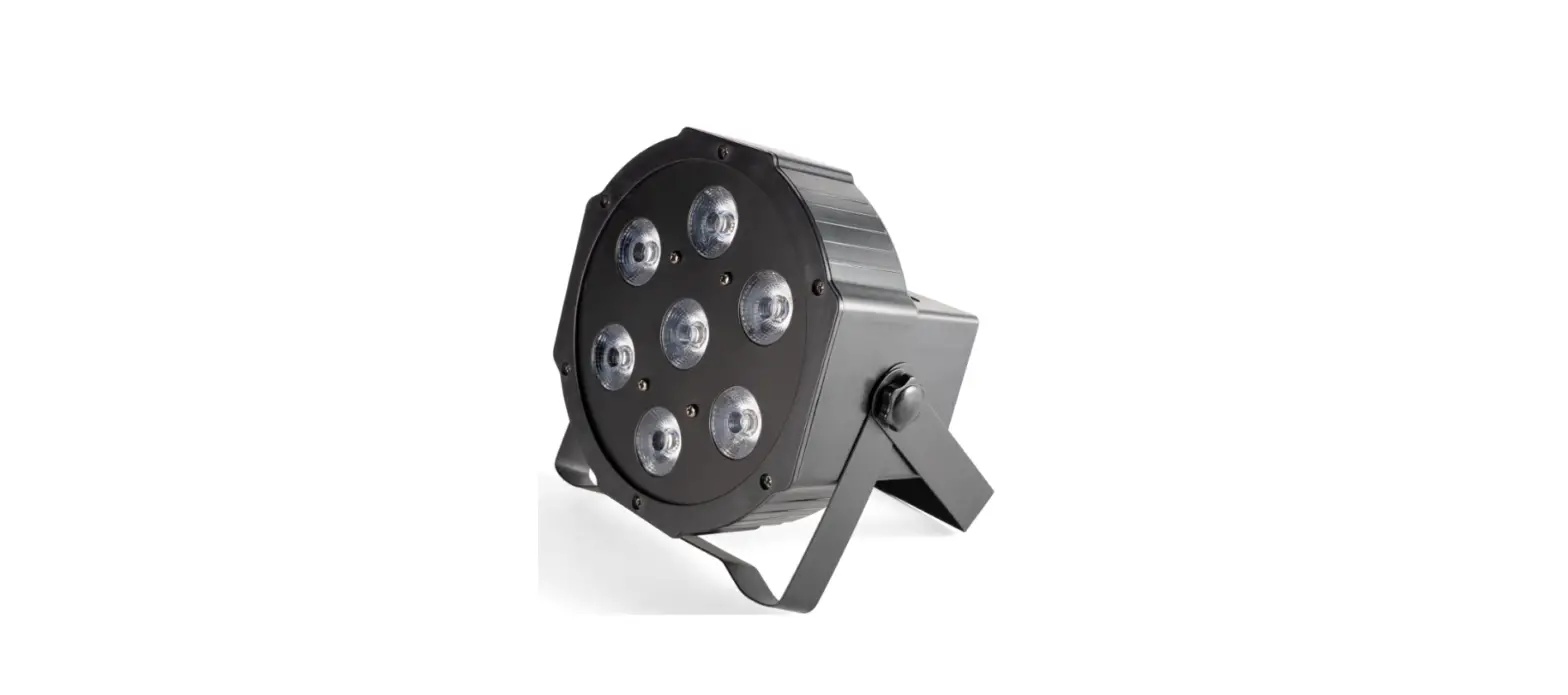
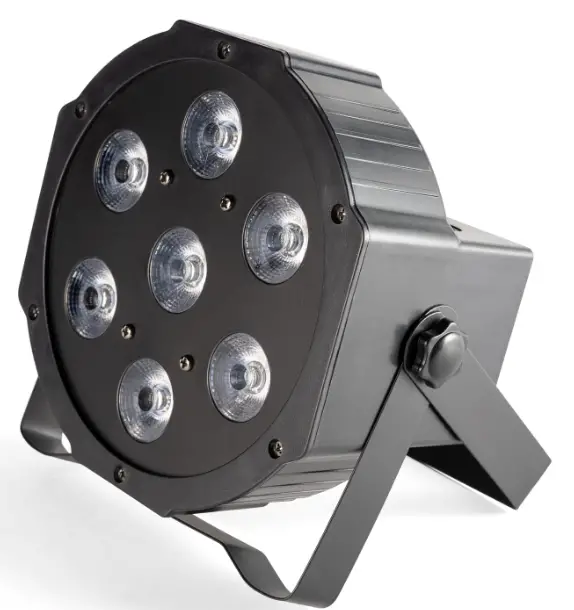
FLASH F7100335 LED PAR 56 7x10W RGBW Sockets

INTRODUCTION
THANK YOU FOR PURCHASING LED PAR 56 7x10W RGBW SOCKETS. FOR SAFETY REASONS AND TO ENSURE A TROUBLE-FREE OPERATION, CAREFULLY READ THE INSTRUCTIONS.
SAFETY INFORMATION
- Please keep this User Manual for future consultation. If you sell the fixture to another user, be sure that they also receive this instruction booklet.
- Unpack and check carefully there is no transportation damage before using the fixture.
- Before operating, ensure that the voltage and frequency of the power supply match the power requirements of the fixture.
- It’s important to ground the yellow/green conductor to earth in order to avoid electric shock.
- Disconnect main power before servicing and maintenance.
- Use safety chain when fixing this fixture. Don’t handle the fixture by taking its head only, but always by taking its base.
- Maximum ambient temperature is: 400C Don’t operate it where the temperature is higher than this.
- In the event of a serious operating problem, stop using the fixture immediately. Never try to repair the fixture by yourself. Repairs carried out by unskilled people can lead to damage or malfunction. Please contact the nearest authorized technical assistance center. Always use the same type spare parts.
- Do not connect the device to any dimmer pack.
- Do not touch any wire during operation and there might be a hazard of electric shock.
- To prevent or reduce the risk of electrical shock or fire, do not expose the fixture to rain or moisture.
- The housing must be replaced if they are visibly damaged.
- Do not look directly at the LED light spot while the fixture is on.
PRODUCT INFORMATION
- Light source: 7pcs 10W RGBW 4in1 LED
- Power supply: AC 110V/240V 50/60Hz,
- Signal: DMX 512, Sound-Activated
- 3-Pin XLR DMX input/output
- Power consumption: 30 W
- Net Weight: 0,6kg
- Dimensions: H(17,5)xW(17,5)xD(9,5) cm
- Dim. (box): H(19,5)xW(19)xD(14) cm
- Weight (box):1 kg
INSTALLATION
The unit should be mounted via its screw holes on the bracket. Always ensure that the unit is firmly fixed to avoid vibration and slipping while operating. Always ensure that the structure to which you are attaching the unit is secure and is able to support a weight of 10 times of the unit’s
CONNECTION
The device is equipped with the following interfaces:
- DMX (in/out): XLR 3(5)-pin socket
- Power (in/out): powerCON socket

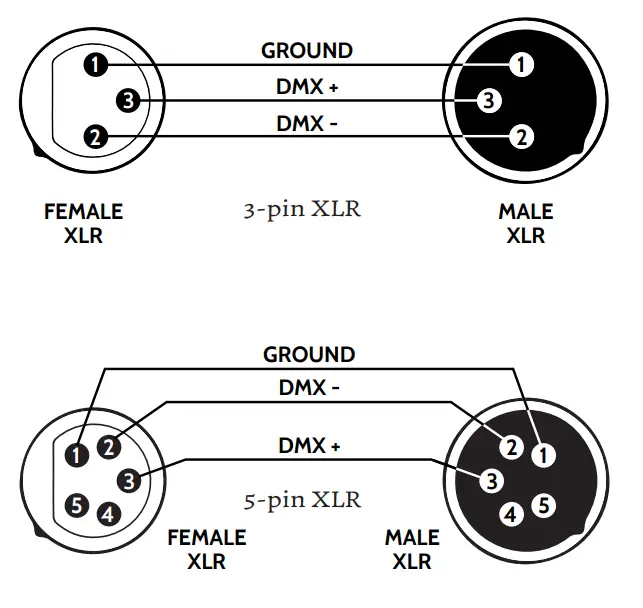
Connecting DMX signal
The connection is performed using cable with XLR-female -> XLR-Male plugs.
CAUTION! At the last fixture, the DMX signal has to be terminated with a terminator. Solder a 120Ω resistor between signal (-) and signal (+) into an XLR plug and plug it in the DMX output of the last fixture. weight. Also always use a safety cable that can hold 12 times of the weight of the unit when installing the fixture. The equipment must be fixed by professionals. And it must be fixed at a place that is out of the touch of people and has no one pass by or under it.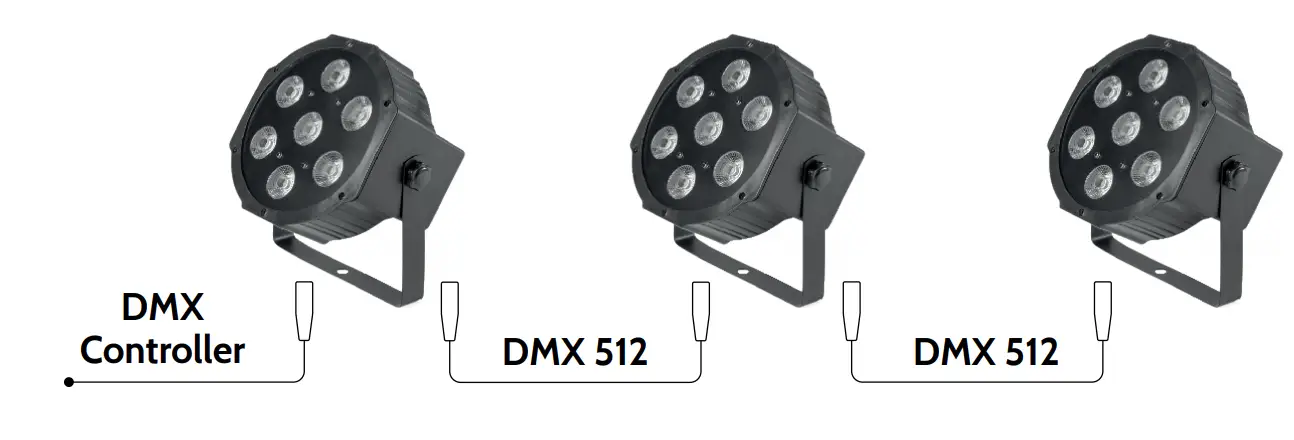
Voltage specification
| Input Voltage | Total Power | Frequency |
| 110/220V | 30W | 50/60Hz |
Connecting power supply
The connection is performed using power cable with PowerCon connector (included). The device must be operated by qualified personnel. Make sure that the power grid supply parameters are consistent with device parameters and limitations are not exceeded.
CAUTION! In the case of cable damage do not attempt to repair. Replacement or repair can be made only on the manufacturer or by a person with appropriate permissions.
LED Display function
LED display window function control table, all the function are selected and than press D key to save confirm.
| LED Display | Function | Operate | Others |
| D0001 | Advanced DMX | Up/Down choose the dmx sddress (1-512) ENTER to save option | Find „dmx data” |
| A0001 | DMX | ||
| R255 | Red, Green, Blue, White DIMMER | R/G/B/W/Y color brightness, (000-255) Up, Down change the degree | |
| G255 | |||
| B255 | |||
| W255 | |||
| FH99 | Strobe | (1’99) slow to fast | |
| CL01 | 8 Color Choose | CL01 – Red CL02 – Green … CL08 – All Dimmer | |
| FF99 | Color Fade | Up/Down choose the speed (1’99) ENTER to save option | |
| EE99 | Color Jump | ||
| CC99 | Color Pulse | ||
| SU01 | Sound Choose | Su01 – Red Strobe Su02 – Green Strobe … Su09 – Color Jump |
DMX 8CH
A001
| CH | Value | Explain |
| 1 | 0-255 | Dimmer |
| 2 | 0-255 | Red |
| 3 | 0-255 | Green |
| 4 | 0-255 | Blue |
| 5 | 0-255 | White |
| 6 | 0-255 | All Strobe, Slow to Fast |
| 7 | 0-50 | DMX Dimmer |
| 51-100 | 8 Color Choose: CH7 Control Color | |
| 101-150 | Color Pulse: CH7 Control Speed | |
| 151-200 | Color Jump: CH7 Control Speed | |
| 201-250 | Color Speed: CH7 Control Speed | |
| 251-255 | Sound | |
| 8 | 0-255 | All Function attach to CH7 |
D001
| CH | Value | Explain |
| 1 | 0-255 | Red |
| 2 | 0-255 | Green |
| 3 | 0-255 | Blue |
| 4 | 0-255 | White |


