 CAPATREAD Laminate Vinyl Stair Renewal System User Manual
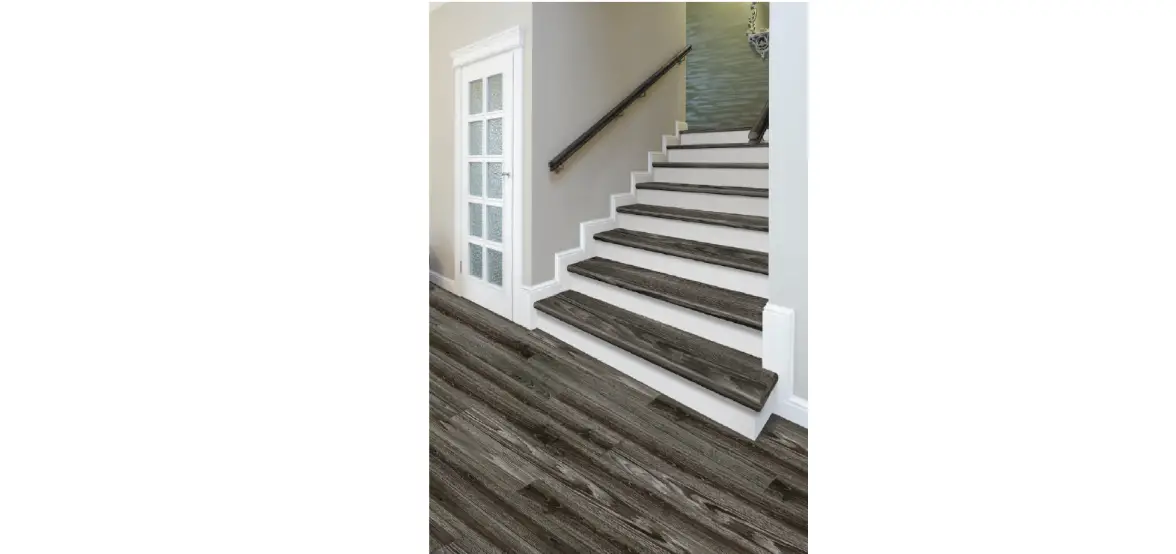
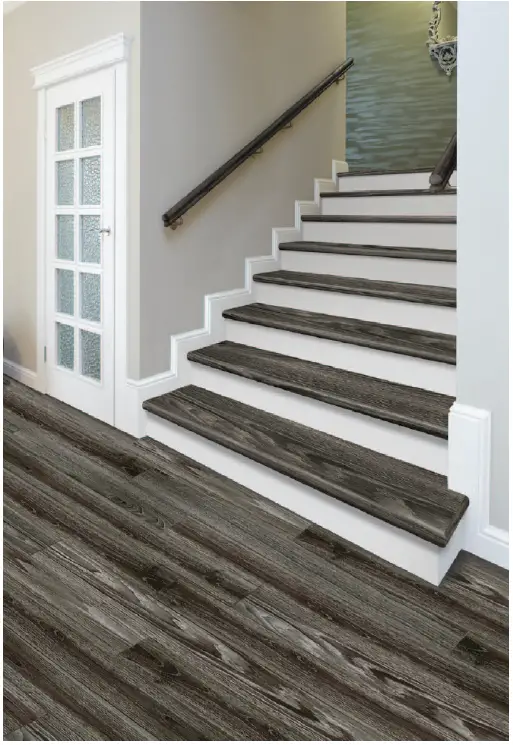
 Update carpeted or worn-out stairs
 Update carpeted or worn-out stairs
- An easy-to-install, durable stair covering with a pre-attached nosing for updating treads and risers
- Coordinate to your staircase to a laminate or vinyl flooring purchase
- Easy glue-down installation
- A cost-effective way to add value to your home
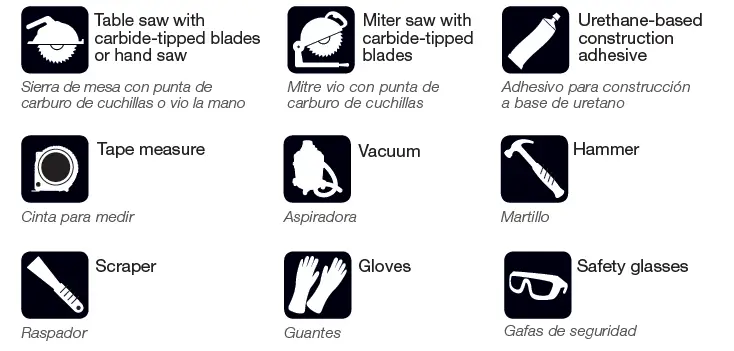
Required Tools and Materials
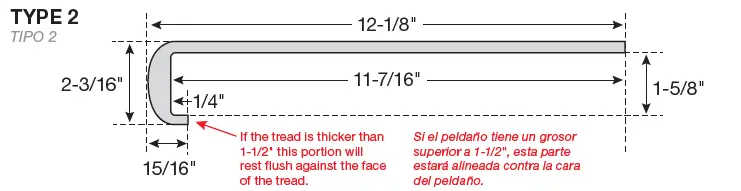
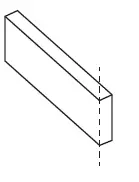
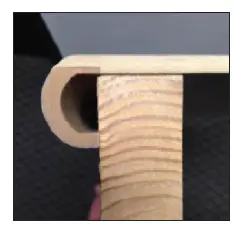
Cap-A-Tread Dimensions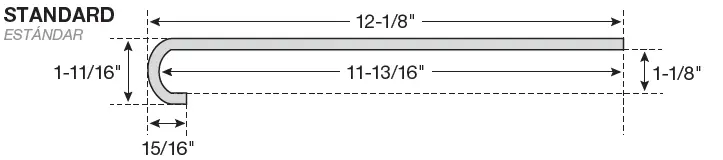
- The flat non-nosing portion of Cap A Tread is 8mm (5/16”) thick
- Works with treads up to 1″ thick

- The flat non-nosing portion of Cap A Tread is 8mm (5/16″) thick
- Works with treads between 1-1/8″ to 1-3/4″ Thick
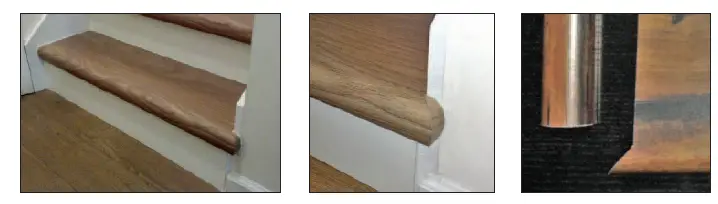
- Tread can either cap the existing tread (for treads 1-1/8″ to 1-1/2″ thick) or butt flush to the front of the existing tread face (for treads 1-9/16″ to 1-3/4″ thick)
- MAX PROTRUSION IS 11/16″ OVERHANG. Anything more than that and the riser must be built out using 1″x 6″ boards before Cap A Tread riser is installed
Basic Installation Instructions
NOTE: Cap-A-Tread should be installed from bottom stair to top with treads and risers being installed in the alternating order.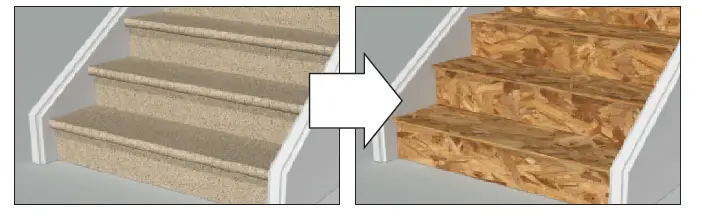
PREPARE
- Gather all of the tools listed.
- Start by removing any existing carpet, pad and staples from your existing staircase.
- Vacuum the staircase and make sure it’s free of debris.

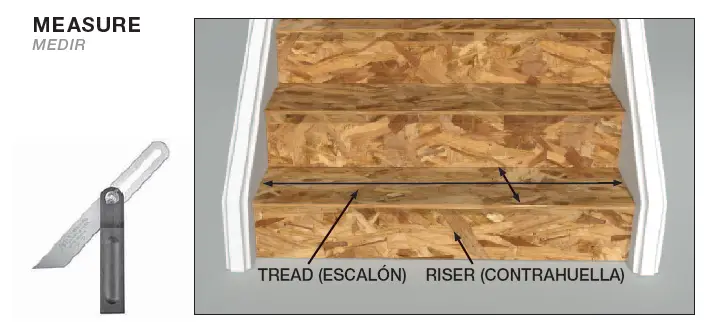
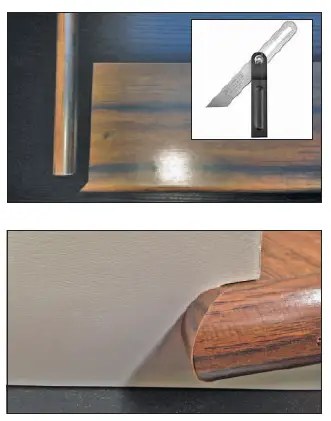
- Measure each stair tread (step). Be sure to measure twice and from both sides of the tread AS WELL AS use a T-Bevel or Angle Gauge since they may not be the same size and might not be square.
- Cut down the width of the Cap A Tread with a sliding compound miter saw.
- Use a table saw (or circular saw with a guide) to make any alterations to the depth of the Cap A Tread that run along the entire length of the product.
- Check the cut of the Cap A Tread for accuracy by dry-fitting it onto the stair for which you measured.

- Use Heavy Duty Liquid Nail or any All Urethane Construction Adhesive. Apply about a 1/4″ thick bead around the perimeter and then throughout the middle in a zig-zag shape on the back of the tread as seen below and adhere the new Cap A Tread to the existing tread. No need to use a trowel or full spread the adhesive.
- IMPORTANT. TO KEEP TREADS IN PLACE WHILE INSTALLING FROM TOP TO BOTTOM, YOU CAN ALSO SECURE WITH 3-4 BRAD NAILS ACROSS THE WIDTH OF THE TREAD, BUT NOT MORE THAN 1/4″ FROM THE CURRENT RISER. YOU WANT THE CAP A TREAD RISER TO COVER UP ANY BRAD NAILS INSTALLED.
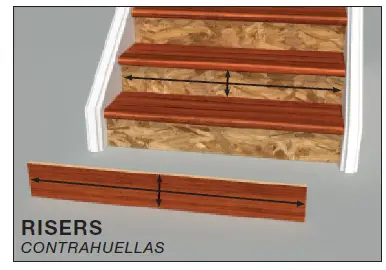
- Measure for risers only after the tread has been installed.
- Cut down the width of risers with a sliding compound miter saw.
- Use a table saw (or circular saw with a guide) to make any alterations to the height of the riser that runs along the entire length of the product.
- As in step #6, use Heavy Duty Liquid Nail or any construction urethane adhesive. Apply about a 1/4″ thick bead around the perimeter and then throughout the middle in a zig-zag shape on the back of the riser as previously shown and adhere the Cap A Tread to the existing tread.


FINISHING / ACABADO
Caulk Cap A Tread around the perimeter of the stair treads/risers and wipe clean for a nice finished look with no gaps.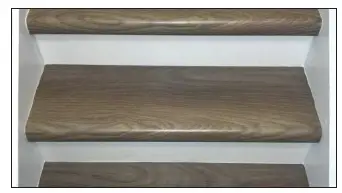
FAQ’s
RIP OFF AT MINIMUM 4″ FROM NOSING
Why does the return not come pre-mitered?
- Since most walls are not square, pre-mitering the return could mean it may not properly fit properly onto the side profile of the tread. Use a T-Bevel or Angle Gauge to properly determine the angle needed to cut the return.
How do I install the return?
- Secure with 3-4 brad nails and a small amount of glue.
How do I finish off the return on the side or side of a riser?
- Miter a cut-off piece of return to fit into place and secure with brad nails/glue.

RIP OFF AT MINIMUM 4″ FROM NOSING
Specs for Landing and Top Stairs
Be sure to only use Zamma coordinating Stairnose molding at the top stair. There are 2 different options to use for the top stair or landing.
- For landings, you can use coordinating Stairnose molding. OR
- Use Cap A Tread. Rip at the same width but no less than 4″ as your flooring plank from bullnose and join to flooring on landing with T-Molding or Multi-Purpose Reducer. Some notching may be required depending upon your staircase.
If a bullnose exists on landing, ONLY Cap A Tread with adjoining threshold should be used. Any existing bullnose should not be ripped off.
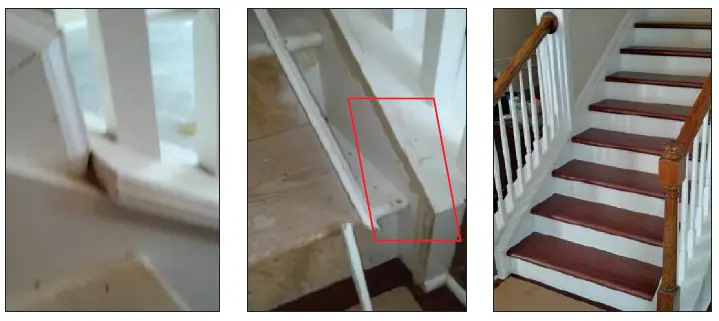
Do I Remove Existing Spindles / Install New Spindles Pre-Attached to Treads?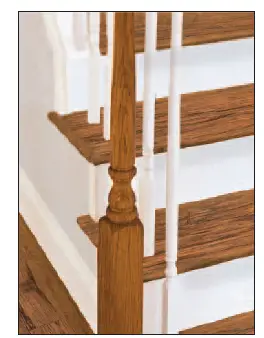
- Staircases can both have / not have spindles and the spindles may or may not be pre-attached to existing stair treads.
- If spindles are pre-attached to existing stair treads, these need to be removed prior to installation of Cap A Tread and re-installed after the Cap A Tread installation is complete.
- DO NOT CUT AROUND EXISTING SPINDLES TO INSTALL CAP A OR TREAD!

Landings that turn a corner
- For landings that turn a corner, use a piece from the length of a tread already ripped off and glue it underneath so no gap is exposed.

- Dog ears are necessary when the standard Cap A Tread with a return, has too much of a pre-existing miter to use.
- Miter the tread to the necessary depth/angle yourself.
- Miter a piece already cut off the tread to finish off the installation.

- Yes, a gap can exist with waterfall stairs as when you walk up a staircase, your feet do not apply diagonal pressure.
Risers Over 8-1/4″ Tall
- If your riser is over 8-1/4″ tall, the standard Cap A Tread coordinating risers likely not tall enough to cover up the existing riser once the Cap A Tread on top is installed and you will need to proceed one of two ways.
- Coordinating Risers: An extra Cap A Tread should be ordered. Once received, rip off the nosing, cut down to size and use as a riser.
- White Risers: Purchase a piece of 12″ x 48″ white melamine to cut down and use as a riser.
Installation Links
- Cap-A-Tread Videos to Reference
- Go to these YouTube links for further detailed installation
- Standard Cap A Tread Installation
- http://www.youtube.com/watch?v=Us8Ga7_MYUI
- Type 2 Cap A Tread and specific details
- http://www.youtube.com/watch?v=90tpUA3nttc


