![]()

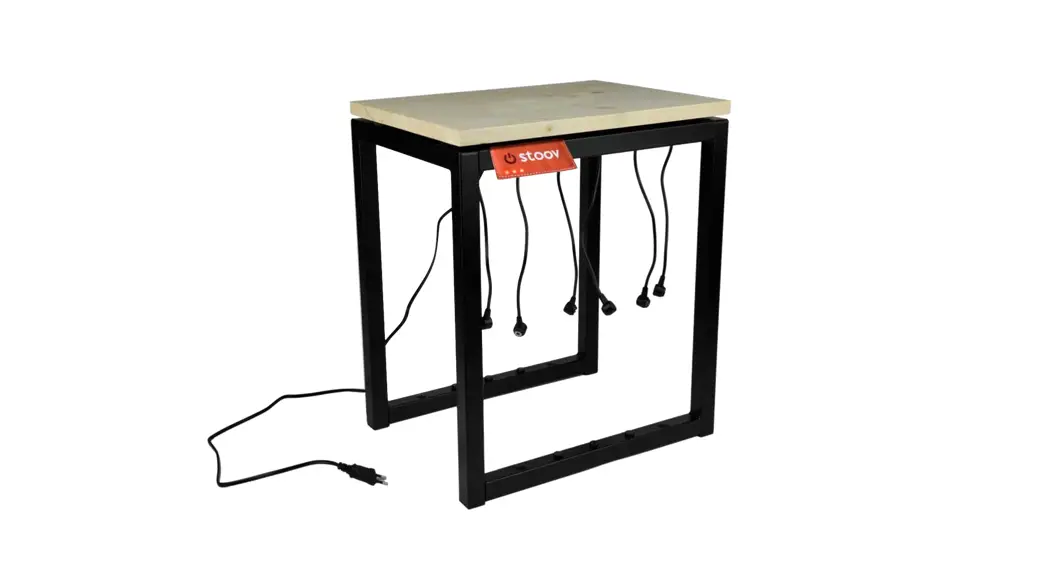
Assembly instructions
Charge6
Product information
 WARNING: Read carefully before use
- Only use the AC adapter enclosed with your Stoov® products. Using a different charger may cause irreparable damage to the product and can be dangerous.
- Do not expose the product to excessive heat from other sources.
- Do not use if wet
- Examine the electrical cords frequently for signs of weakness or damage. If there are such signs, please replace these parts.
What’s included?
- Metal frame
- Metal inlay tray
- Wooden board
- Power strip
- 1x large strain reliever
- 6x small strain reliever
- 4x nylon washers
- 4x wood screws
Assembly instructions
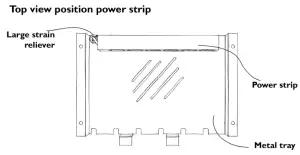
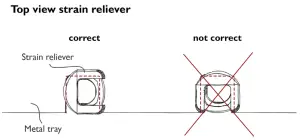
Step 1
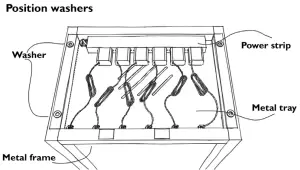
Place the large strain reliever around the wire of the power strip. And place the strain reliever with the wire on the metal inlay tray. See illustration for the position of the power strip and the large strain reliever.
 |  |
Step 2
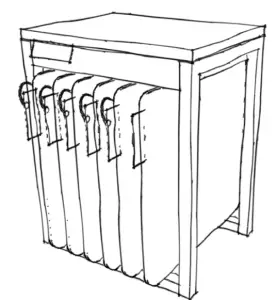
Place the 6 smaller strain relievers around 6 power cords of your Stoov® chargers. Place the cords with the strain reliever on the metal tray. We advise placing to strain reliever 25cm from the end of the wire.
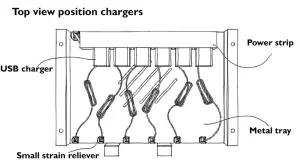
Step 3
Tie up the extra length of the cords with a tie-wrap or an elastic. And place the chargers in the sockets of the power strip. See the image on the previous page or the position of the chargers.
Step 4
Now place back the metal tray in the frame with the power strip and all the chargers.
Step 5
Place 4 round black nylon washers on the tray above the holes. See the image below on where to place the washers.
Step 6
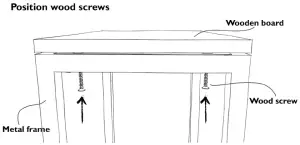
Place the wooden board on top of the washers and the tray. Screw the wooden board to the tray and metal frame with the 4 wood screws. See the image below to see how to place the wooden screws.
 |  |
![]()
Stoov B.V.
Rembrandtlaan 14a
3723 BJ Bilthoven
The Netherlands
+31 30 751 97 16
[email protected]
@mystoov
www.stoov.com
stoov.com


