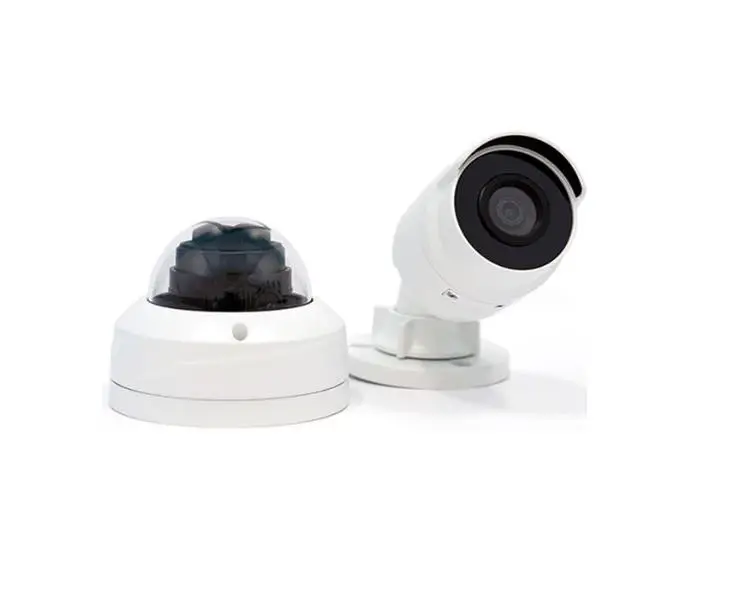
samsara SC11 Dome IP Site Camera

INSTALLATION
FEATURED
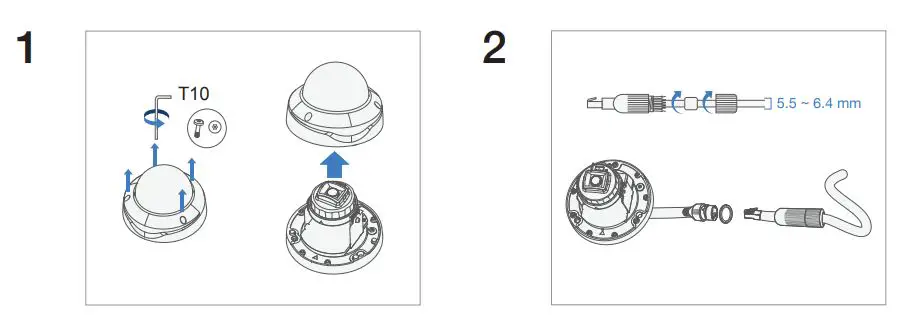
- Remove lid with the Torx driver provided.
- Attach cable gland if using outdoors or in a wet environment.

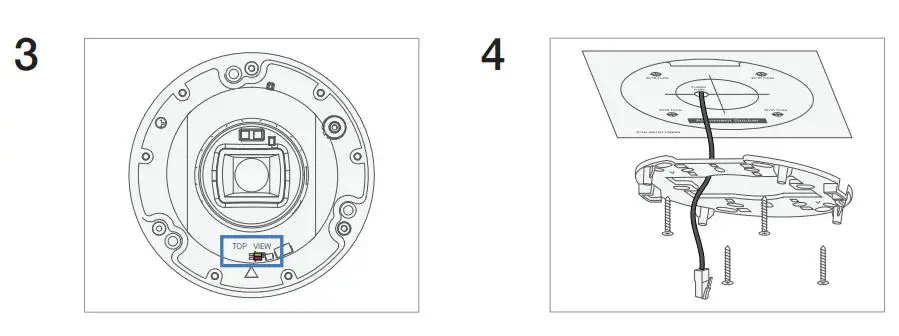
- Verify camera is powered before mounting.
- If necessary, install drywall anchors using the alignment sticker. Feed the ethernet cable through the middle opening of the backplate, then fasten the backplate to the mounting surface using the provided screws.

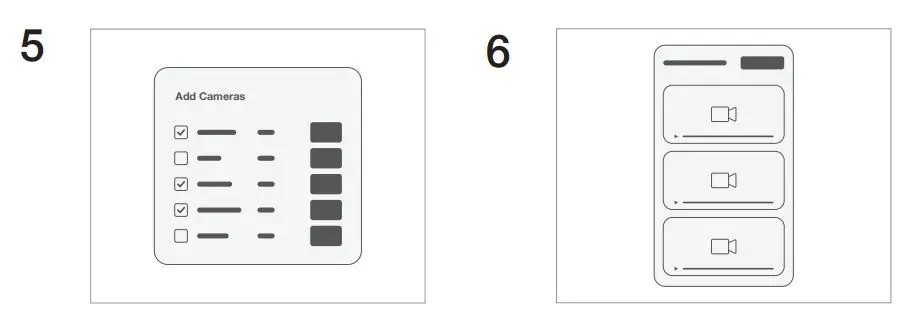
- When your camera is plugged into the network, add the camera to your dashboard by going to Devices > Cameras > Add Cameras. You can identify your camera in the results via the serial and/or MAC address printed on the camera’s box.
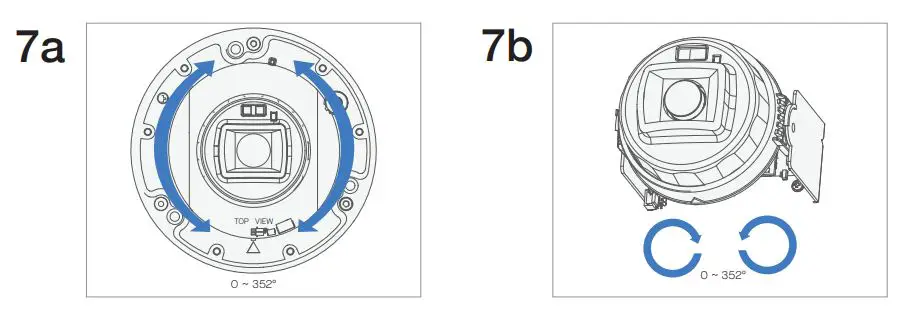
- Once added, confirm the camera is positioned correctly by viewing it in the mobile app or dashboard. The next steps demonstrate the different axes you can use to adjust the camera’s field of view.

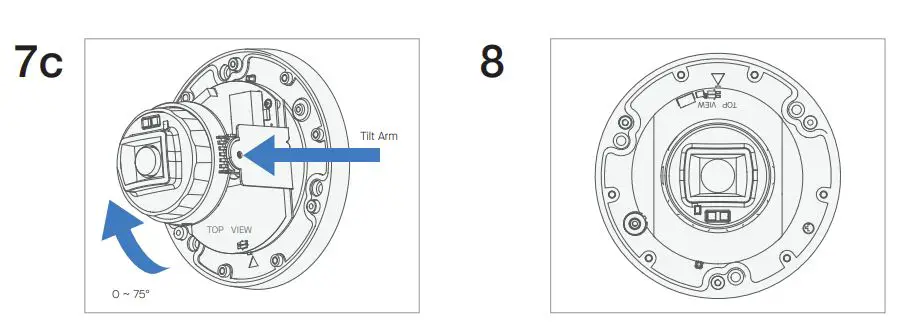
- Optional: Twist the camera base to rotate.
- Optional: Tilt lens. May need to rotate 180º to tilt in the reverse direction.

- Optional: Rotate aperture where needed.
- Optional: Tilt lens. May need to rotate 180º to tilt in the reverse direction.
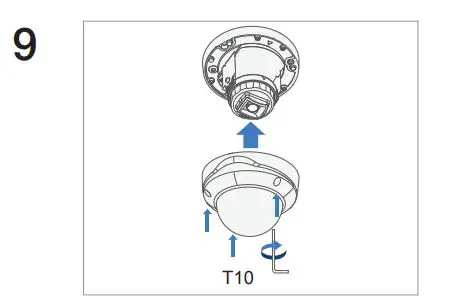
- This is the top of the camera and should be mounted with this side up.

- Once the aperture is properly aimed, use the Torx driver to secure the lid.
For more details on mounting or additional technical information, visit the Connected Sites knowledge base at samsara.com/support


