trusscore 702002001 8 ft PVC SlatWall Panel Gray User Guide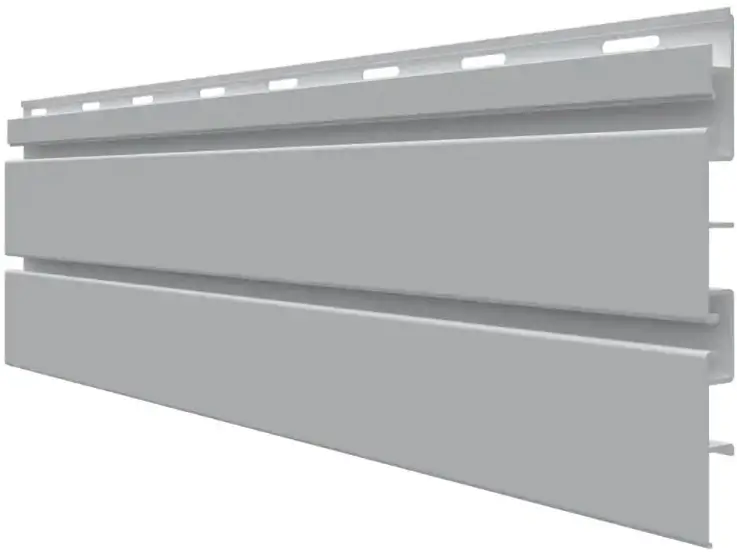
Materials
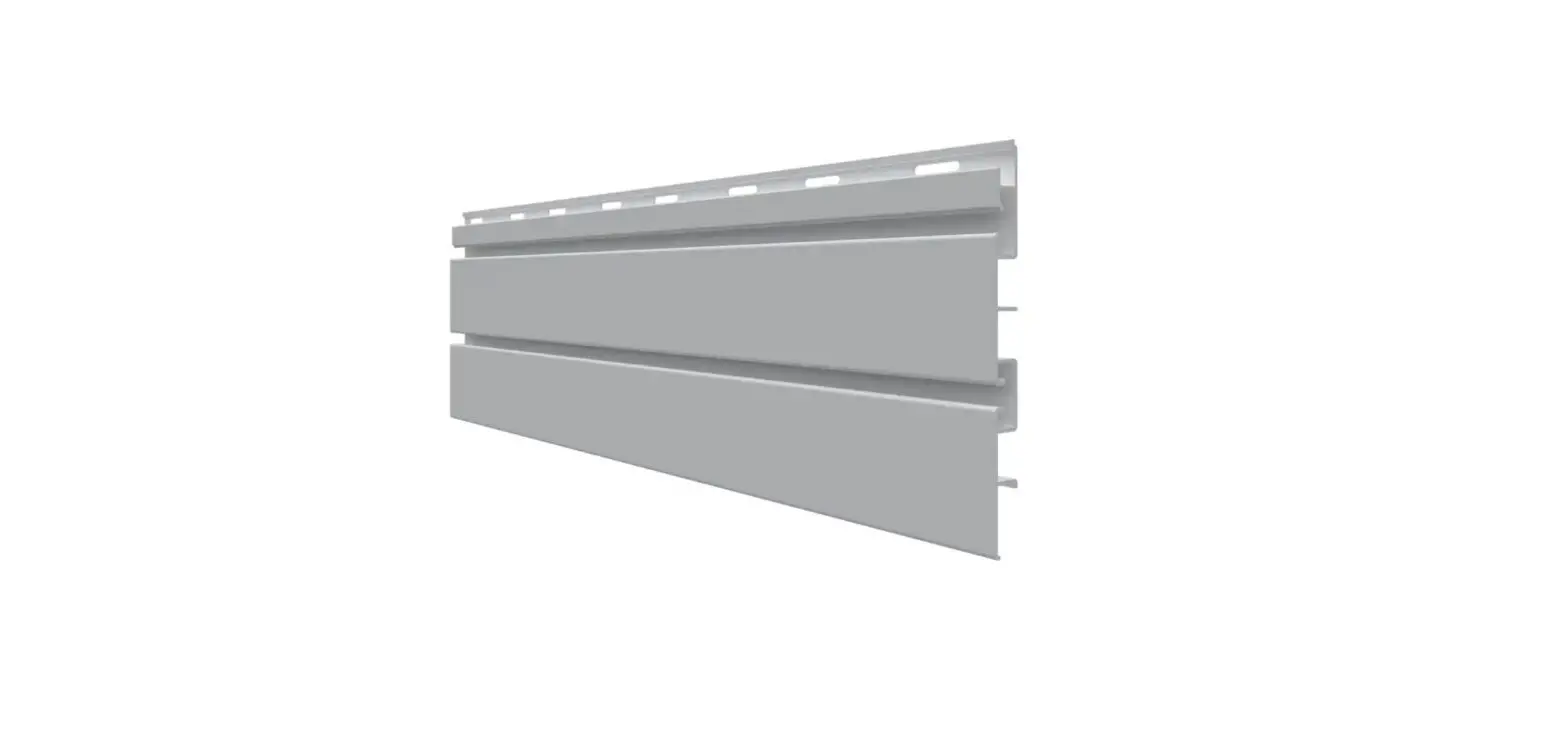
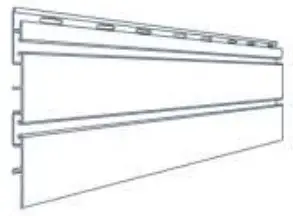
- SlatWall Panels

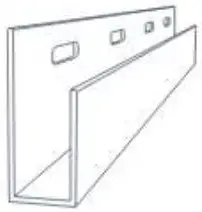
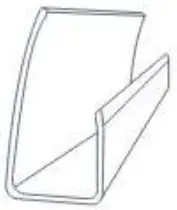
- 1/2″ J Trim For bottom

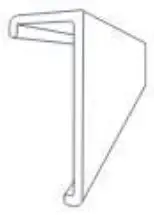
- Top Cap For tap

- 3/4″ J Trim For sides

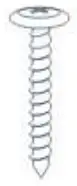
- Screws 1/4” Pan/Truss head

Tools required
- Tape measure

- Stud finder

- Level

- Tin snips

- Drill or screw gun

- Power saw

- Ladder

- Safety glasses

- Face mask


What to know before starting
- Panels are best cut with a masonry blade or a fine-tooth blade installed in the reverse direction. Use tin snips to cut trim and avoid fully closing the blades while cutting for best results.
- Fastening panels to wood studs or masonry walls every 16″ on-center is required to support the full 75 Ibs of load per square foot capacity.
- To allow for proper installation as well as expansion and contraction, do not overtighten fasteners and maintain 1/4″ clearance between both ends of each panel and any adjacent trims/panels.
Step 1: Measure and mark installation area
Each panel must start/finish on a stud. If the installation surface is drywall, locate and mark the first and last studs using a stud finder.
Measure from the floor. Mark the desired height of the bottom of the SlatWall area, extending a line the entire installation width using a level.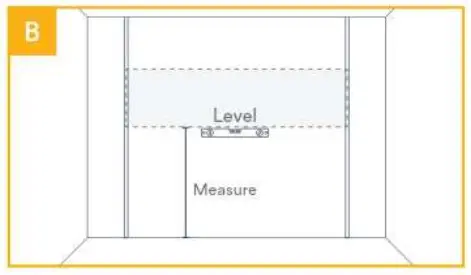
For drywall surfaces, use a stud finder and a level to locate and mark the entire length of each stud in the installation area from the top to bottom.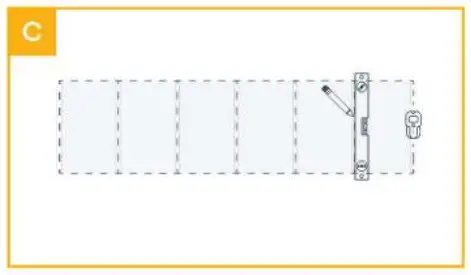
Step 2: Install trim
Using tin snips, cut the 1/2″ J Trim to the horizontal length. Align trim bottom with the horizontal height mark and fasten at each stud except for the studs at either end.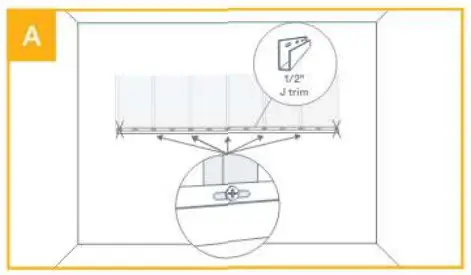
Cuttwo pieces of 3/4″ J Trim to vertical length. Place the vertical J Trim over the horizontal J Trim where they meet, and screw into the stud where both flanges overlap.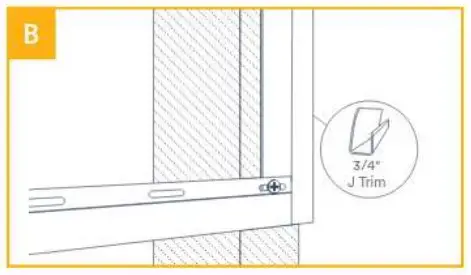
Ensure vertical J Trim is straight using a level and temporarily fasten the very top to hold it in place. Repeat for the other vertical J Trim.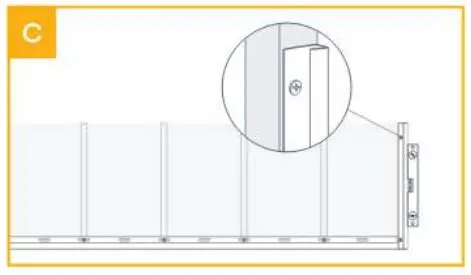
Step 3: Install panels
Insert the first panel between vertical J Trims and slide it down until seated in the bottom J Trim. Screw through the flange into each stud, leaving 1/16″ min. gap under screw heads. At both ends, screw through the overlapped flanges.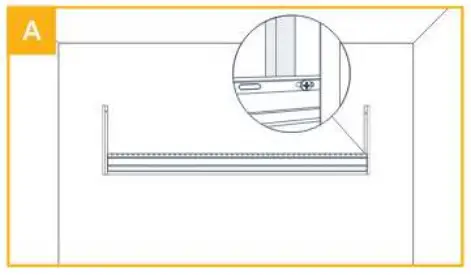
Insert the next panel into the J Trim channels on both ends and slide it down to the previous panel.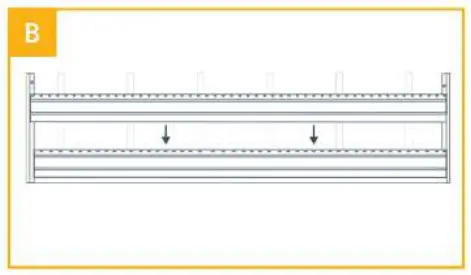
Securely interconnect the two panels by applying gentle pressure until a “snap” is felt and heard. Proper interlocking of panels is shown above.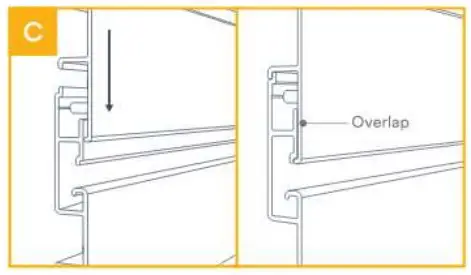
Step 4: Install Top Cap
Install Top Cap on the top SlatWall panel to complete the installation.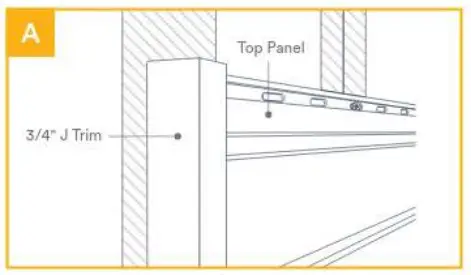
Cut Top Cap to size. Place the back lip of the Top Cap into the groove on the top of the SlatWall panel then snap the bottom lip onto the panel. Both vertical J Trims should overlap the Top Cap at both ends.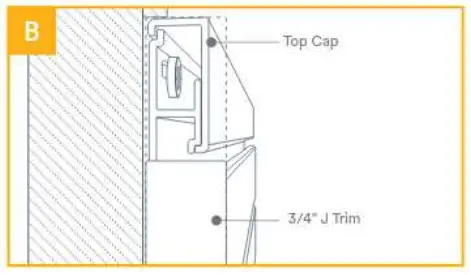
And you’re done! Stand back and admire the beauty, simplicity, endless possibilities of your new Trusscore SlatWall installation. Add any standard 3″ slatwall accessories to start organizing your space.
Looking for more?
For additional resources, including installation guides and videos, SlatWall accessories, warranty information, and Frequently Asked Questions, go to trusscore.com/slatwall
We’re here to help. For additional support, reach out to
[email protected]
call 1-888-418-4679
trusscore.com/slatwall