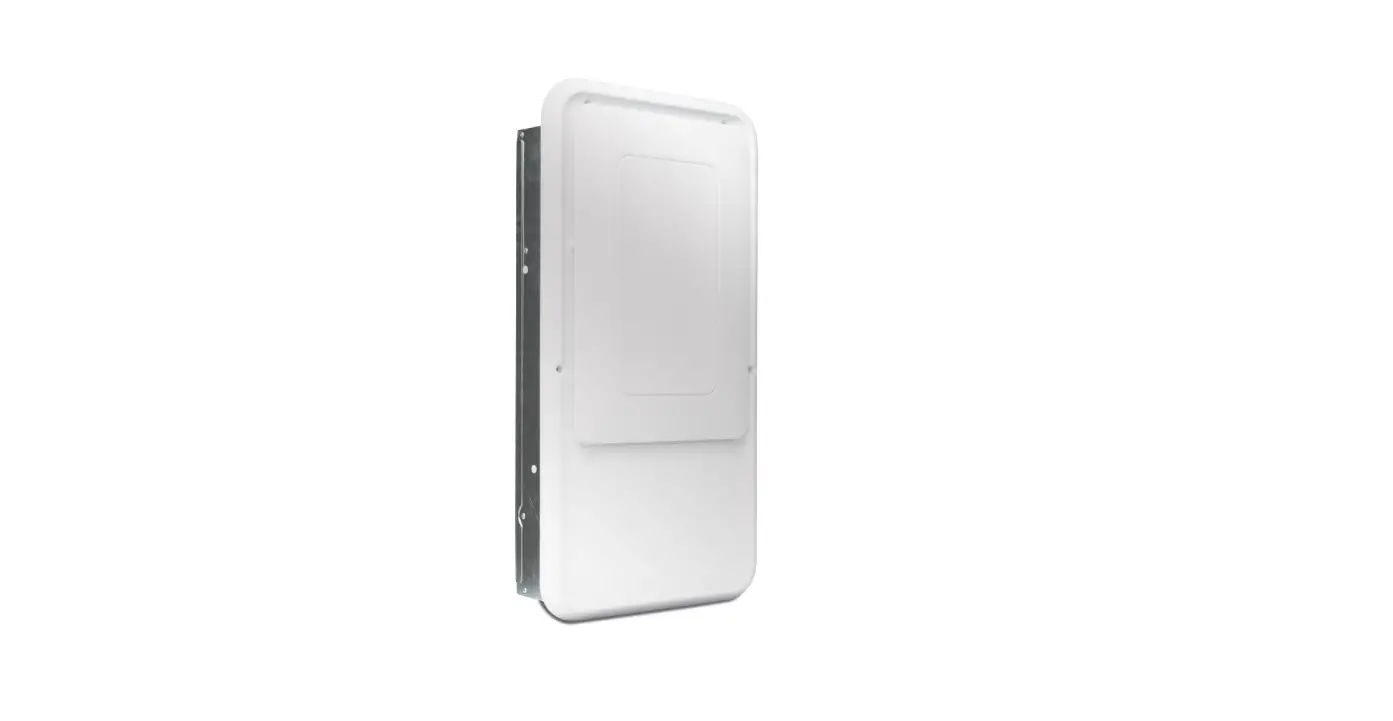
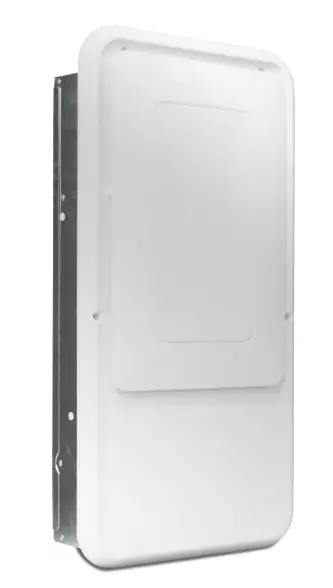
BROAN 4037768 In Wall Dehumidifier Rear Panel Kit
Parts Included
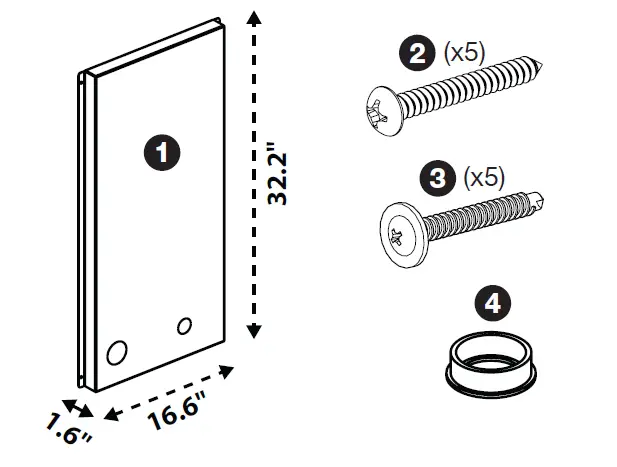
- Rear Panel
- Screw A (x5) – Pan Head, course pointed screw for wood
- Screw B (x5) – Truss Head, self-drilling screw for metal studs
- Plastic Grommet / Drain Hose Bushing
Tools Required:
- Drill/ScrewdriverTOLL
Step 1. Insert Grommets
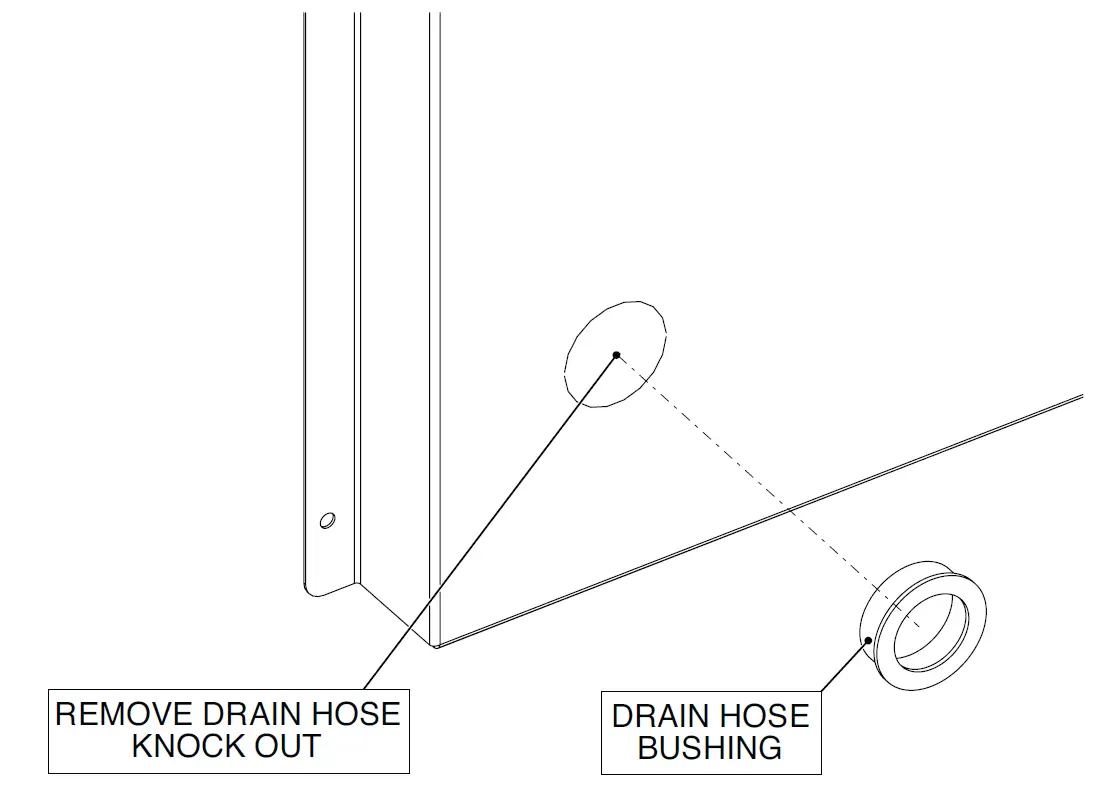
- Insert plastic grommet included with the in-wall dehumidifier to the back of the unit after punching out the knock-out hole for the drain hose.
- Insert plastic grommet included with this kit to the back of the rear panel.
Step 2. Install Drain Hose
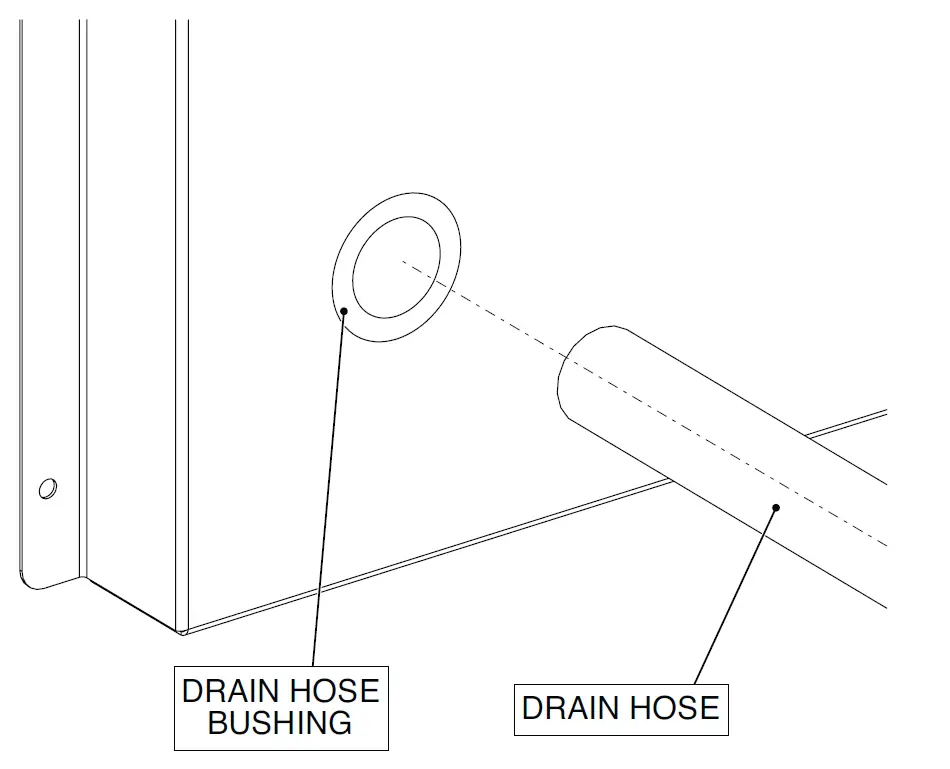
- Route the drain hose through the rear panel and the dehumidifier to connect to the drain pan.
- Be sure the drain hose knock out and the electrical wiring knock out on the rear panel line up with the dehumidifier.
Step 3. Install Rear Panel
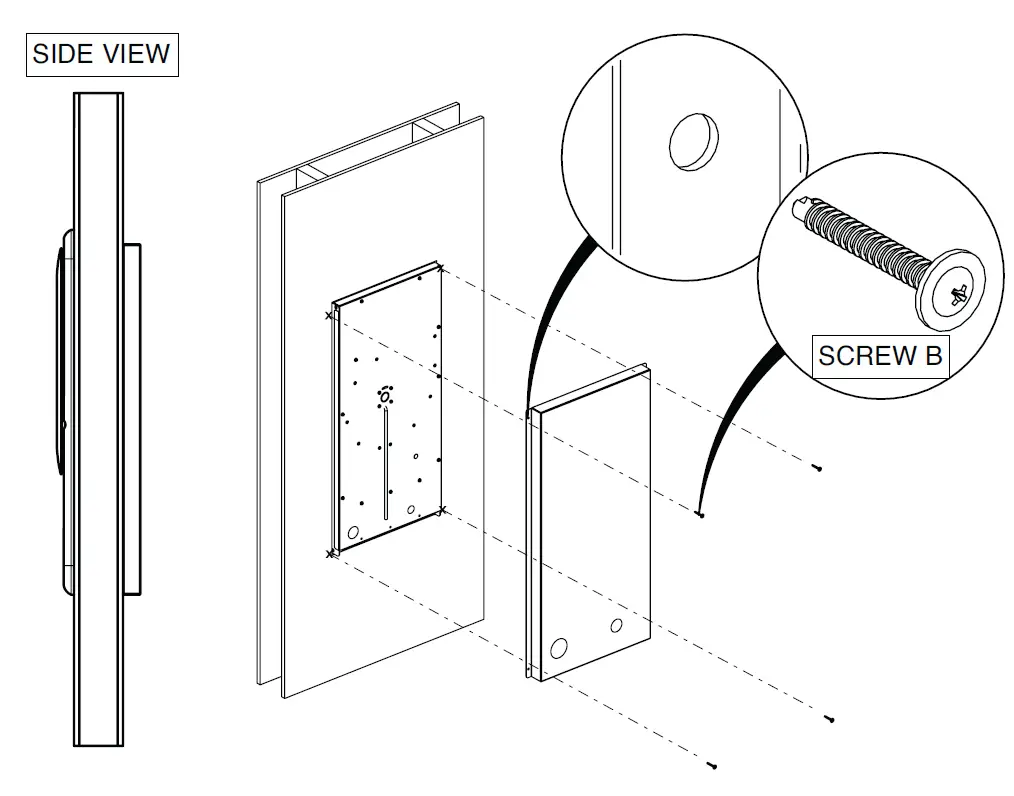
- Check that there is no strain on the drain hose and power cord.
- Locate the four holes on the rear panel and fasten to the wall with the appropriate screws based on the stud type. Screw A can be used for wood studs and Screw B can be used for metal studs.
TOLL-FREE 1-800-558-1711 www.Broan-Nutone.com


