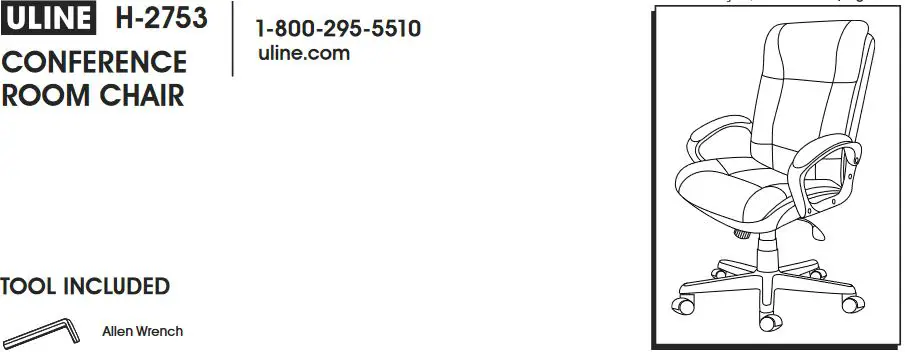
ULINE H-2753 Conference Room Chair
Installation Guide
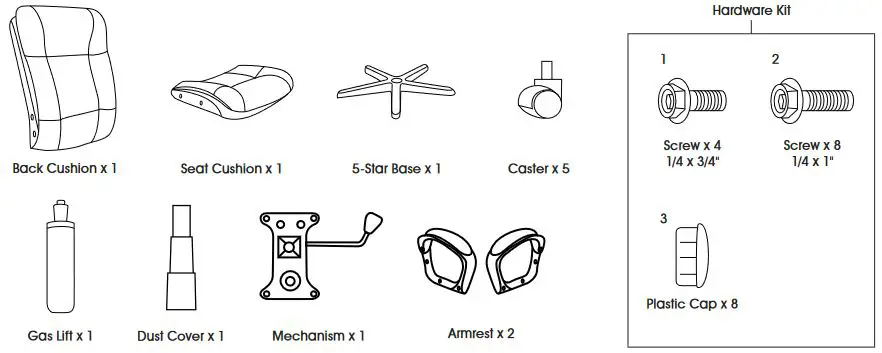
PARTS
ASSEMBLY
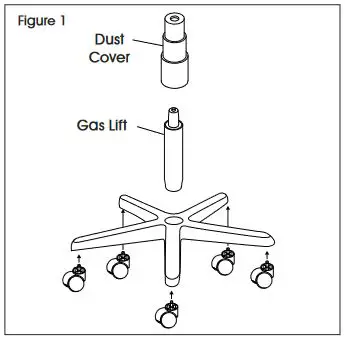
- Insert casters into legs of five-star base. Turn base upright. Insert gas lift into center of base and place dust cover over gas lift. (See Figure 1)

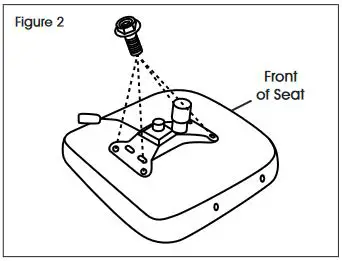
- Align mechanism with holes on bottom of seat cushion with tension knob facing the front of seat. Use four 1/4 x 3/4″ screws (1) to secure. (See Figure 2)
 NOTE: Use Allen wrench to tighten all screws.
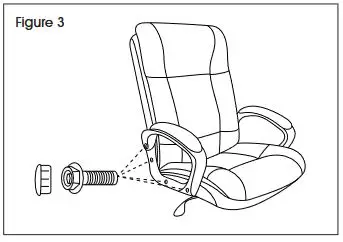
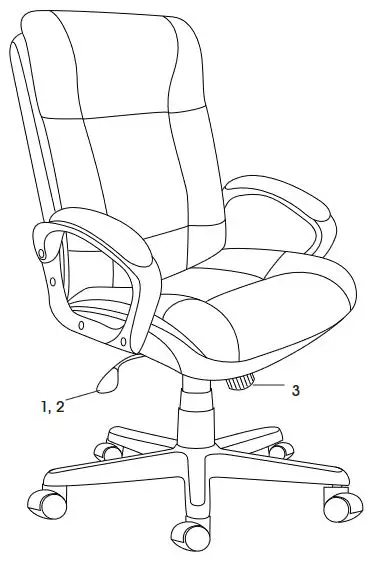
 - Align armrest with holes on seat cushion and back cushion and use four 1/4 x 1″ screws (2) to secure loosely. Repeat on opposite side. Once all eight screws are installed, fully tighten. Insert plastic caps (3) in holes to cover screws. (See Figure 3)

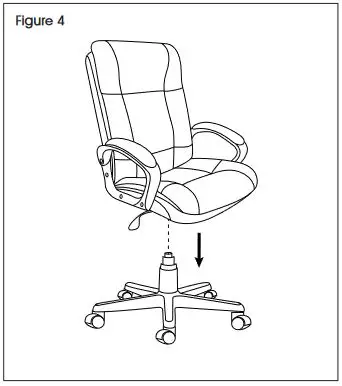
- Slowly lower chair assembly onto the gas lift. Press down on seat cushion to secure. (See Figure 4)

CHAIR ADJUSTMENTS
- Seat Height Adjustment – To raise seat height, lift lever up with little to no weight on the seat. To lower seat height, lift lever up while sitting.
- Upright Tilt Lock – To lock chair in an upright position, push the lever in toward the center of the seat. To
restore tilt, pull lever out. Chair has standard tilt; the seat and back tilt simultaneously at the same ratio. - Tilt Tension – To increase tilt tension, turn knob clockwise. To decrease tilt tension, turn knob counterclockwise.
![]()
1-800-295-5510
uline.com


