![]()
![]()
EMAIL: [email protected]
FACEBOOK: facebook.com/corsairmemory
BLOG: corsair.com/blog/

FORUM: forum.corsair.com
TWITTER: twitter.com/corsairmemory
H100i GT PAGE: corsair.com/H100iGT
USA and CANADA: (800) 205-7657 | INTERNATIONAL: (510) 657-8747 | FAX: (510) 657-8748
![]()
46221 Landing Parkway • Fremont • California • 94538 • USA
© 2014 Corsair Components, Inc. All Rights Reserved. The Corsair logo is a registered trademark, and Hydro Series is a trademark of Corsair in the United States and/or other countries. All other names and products are trademarks and property of their respective owners. Document Number: 49-001307 rev AA
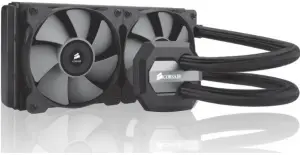
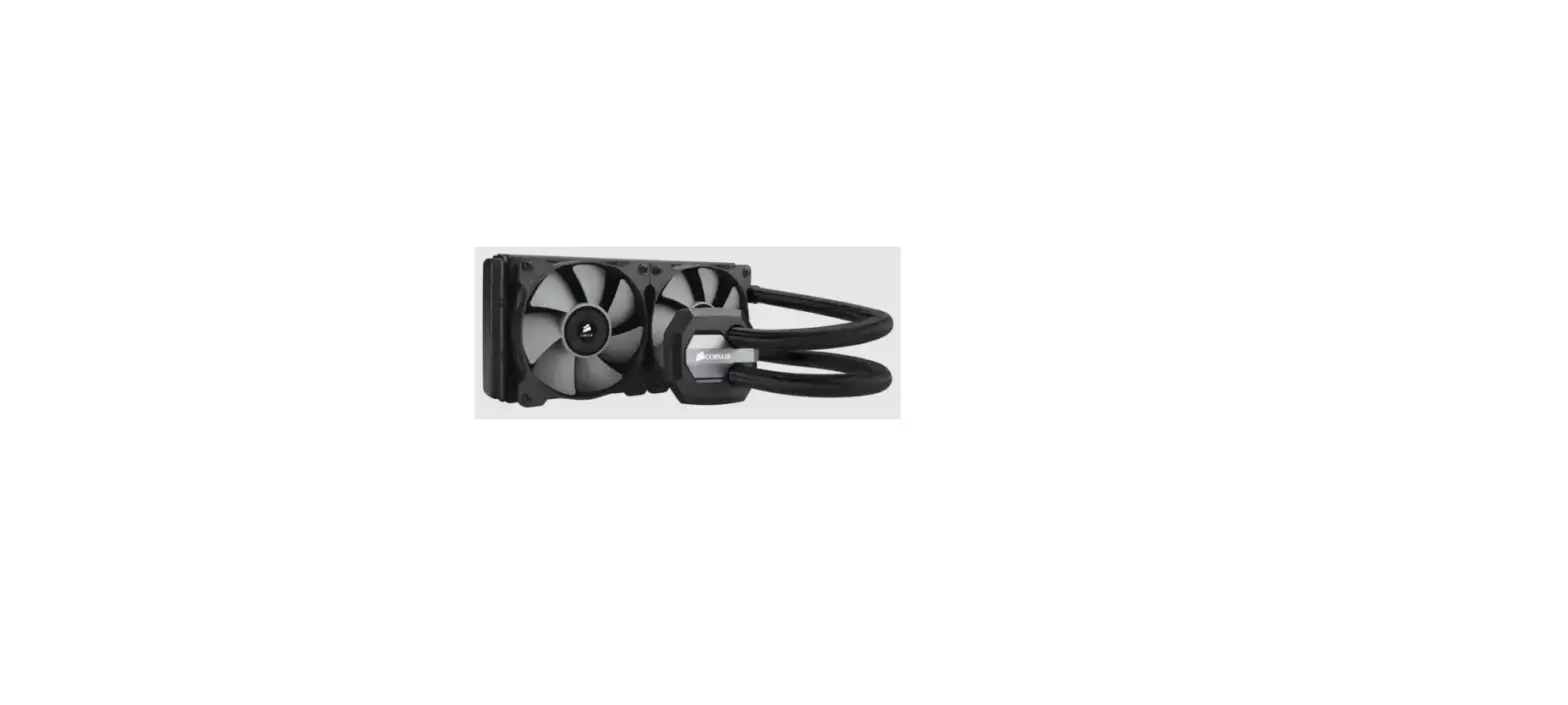
QUICK START GUIDE H100i GTX
EXTREME PERFORMANCE LIQUID CPU COOLER
Note: Most newer PC cases include a CPU cutout to allow access to the bottom of the motherboard. If your case does not include a cutout, you will need to remove your motherboard from the case before installation.
INTEL
Included Hardware
Highlighted parts for Intel installation only

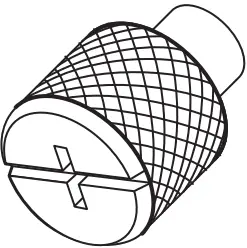
A x8 LONG FAN SCREWS

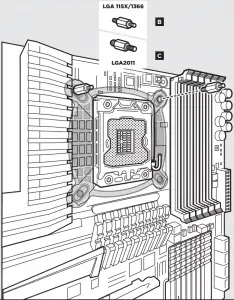
B x4 LGA 115X / 1366 STANDOFF
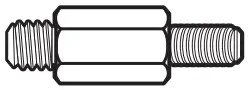
C x4 LGA 2011 STANDOFF
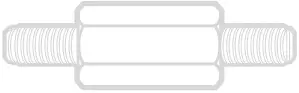
D x4 AMD BLACK STANDOFF
E x4 THUMBSCREWS
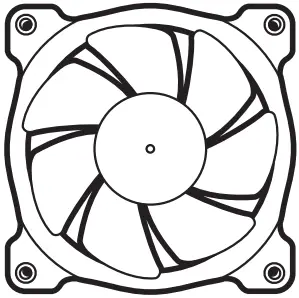
F x2 SP120L FANS
G x16 WASHER
H x1 INTEL BACKPLATE
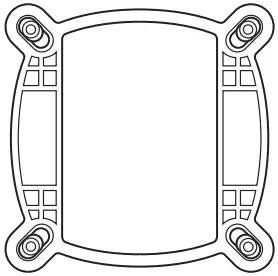
I x1 INTEL MOUNTING BRACKET (PRE-INSTALLED)
J x1 AMD MOUNTING BRACKET
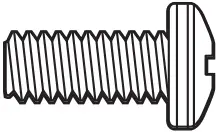
K x8 SHORT SCREWS
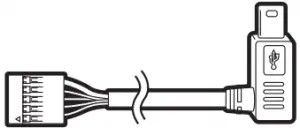
L CORSAIR LINK USB CABLE (Included)
Note: The H100i GTX comes with Intel mounting bracket pre-installed on the pump for quick installation.
INTEL
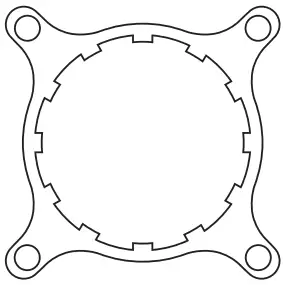
1 Installing the Intel Backplate
- For LGA 115X installation, slide the backplate pins inside (figure 1).
- For LGA 1366 installation, slide the backplate pins outside (figure 1).
- Install the assembled backplate (figure 2).
Note: Intel LGA 2011 does not require backplate installation. Proceed to step 2.
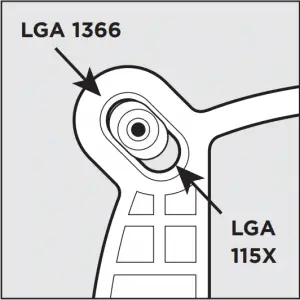
figure 1
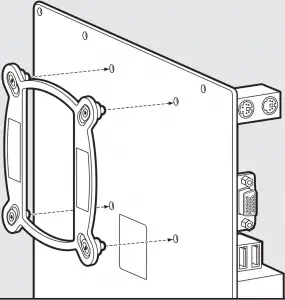
figure 2
INTEL
2 Installing the Intel Standoff Screws
- Attach the provided Intel standoff.
- Use (B) for LGA 115X / 1366, or (C) for LGA 2011.
- Tighten all four screws until firmly secure
INTEL
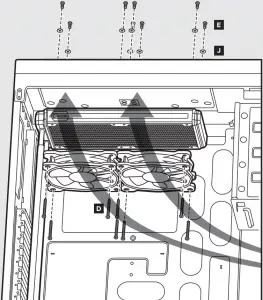
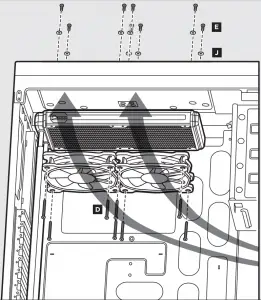
3 Install the Fans and Radiator
Attach the radiator and the fans as shown. For the best cooling performance, we recommend mounting the fans as an air-intake to your PC case.
INTEL
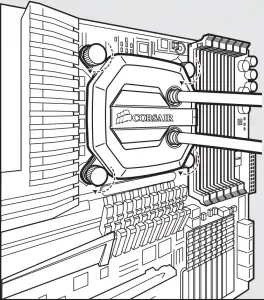
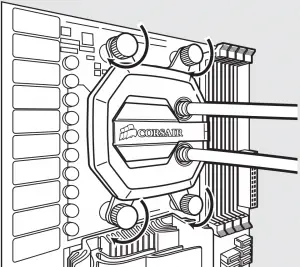
4 Installing the Pump Unit
- Align the bracket and pump over the standoff screws as shown.
- Tighten the thumbs screws until all four corners are firmly secured.
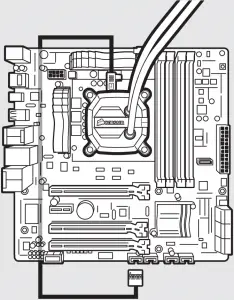
5 Connect Power to the Fans and Pump
- Connect the pump power cable to the CPU_FAN header on your motherboard.
- Connect the fans to the two connectors coming off the pump.
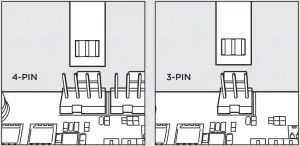
figure 1
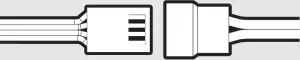
figure 2
INTEL
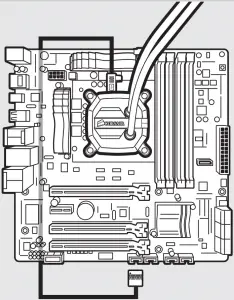
6 Connect Pump to USB Header
Using the included Corsair Link™ USB cable, attach pump unit to a motherboard USB header.
AMD
Included Hardware
Highlighted parts for AMD installation only
A x8 LONG FAN SCREWS
B x4 LGA 115X / 1366 STANDOFF
C x4 LGA 2011 STANDOFF
D x4 AMD BLACK STANDOFF
E x4 THUMBSCREWS
F x2 SP120L FANS
G x16 WASHER
H x1 INTEL BACKPLATE
I x1 INTEL MOUNTING BRACKET (PRE-INSTALLED)
J x1 AMD MOUNTING BRACKET
K x8 SHORT SCREWS
L CORSAIR LINK USB CABLE (Included)
Note: the H100i GTX comes with the INTEL mounting bracket pre-installed on the pump for quick installation.
AMD
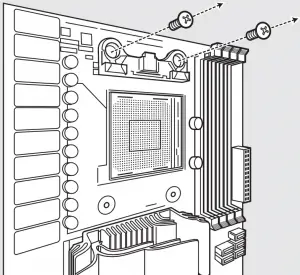
1 Installing the AMD Standoff Screws
- Remove the stock AMD top mounting bracket(s) shown. (figure 1)
- Attach the provided AMD standoff. (figure 2)
- Tighten all four screws until firmly secure. (figure 2)
Note: The stock AMD motherboard backplate is used for AMD installation. AMD standoff are black to differentiate between Intel standoff.
AMD
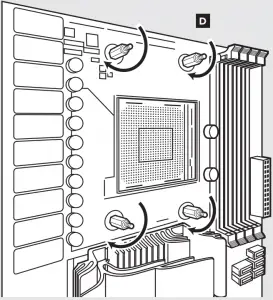
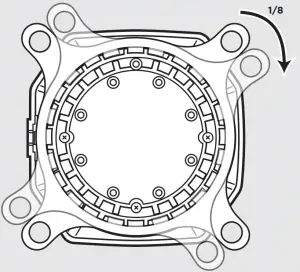
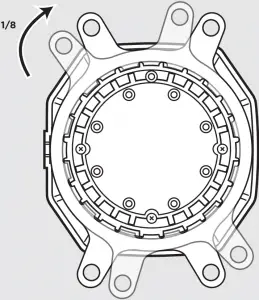
2 Installing the AMD Mounting Bracket
Note: It is important that the AMD retention bracket be evenly secured on all sides before installation!
- Remove the integrated Intel mounting bracket by pushing on the metal piece, turning 1/8th turn, and pulling away from the copper coldplate (figure 1).
- Install the AMD bracket by aligning the metal teeth, pushing in, turning 1/8th turn the opposite direction, and allowing bracket to secure (figure 2).
AMD
3 Install the Fans and Radiator
Attach the radiator and the fan as shown. For the best cooling performance, we recommend mounting the fans as an air-intake to your PC case.
AMD
4 Installing the Pump Unit
- Align the bracket and pump over the standoff screws as shown.
- Tighten the thumb screws until all four corners are firmly secured.
AMD
5 Connect Power to the Fans and Pump
- Connect the pump power cable to the CPU_FAN header on your motherboard.
- Connect the fans to the two connectors coming off the pump.

Figure 1

Figure 2
AMD
6 Connect Pump to USB Header
Using the included Corsair Link™ USB cable, attach pump unit to a motherboard USB header.
FAQ
1. How do I know the direction of the air flow of the fan?
– An arrow located on the side of the fan indicates the direction of air flow.
2. Can I reuse the pre-applied thermal paste on the H100i GTX for a re-installation?
– Re-installation of the H100i GTX cooler will require you clean off the pre-applied thermal paste and apply an aftermarket paste.
Thank you for purchasing the Corsair Hydro Series H100i GTX Extreme Performance Liquid CPU Cooler.
Please visit: corsair.com to download a detailed user guide or to obtain technical support.
The software can be downloaded from the following location: www.corsair.com/linksw
Corsair H100iGTX Extreme Performance Liquid CPU Cooler User Manual – Download [optimized]
Corsair H100iGTX Extreme Performance Liquid CPU Cooler User Manual – Download


