CITIZEN YP13610C Seconds Cartoon Multi Function Sport LCD Watch User Guide
Attention
- Never try to open the case or remove its back cover.
- Do not operate buttons underwater.
- Should moisture appear inside the watch. have it checked immediately by your dealer. Otherwise it can cause erosion of the metal parts of the watch .
- Though the watch is designed to withstand normal use, you should avoid rough use or dropping the watch.
- Avoid exposing the watch to temperature extremes.
- Wipe the watch with dry ,soft cloth only. Avoid allowing it to come into direct contact with chemical materials, which can cause deterioration of the plastic parts of the watch.
- Avoid to wear the watch in electromagnetic, static conditions.
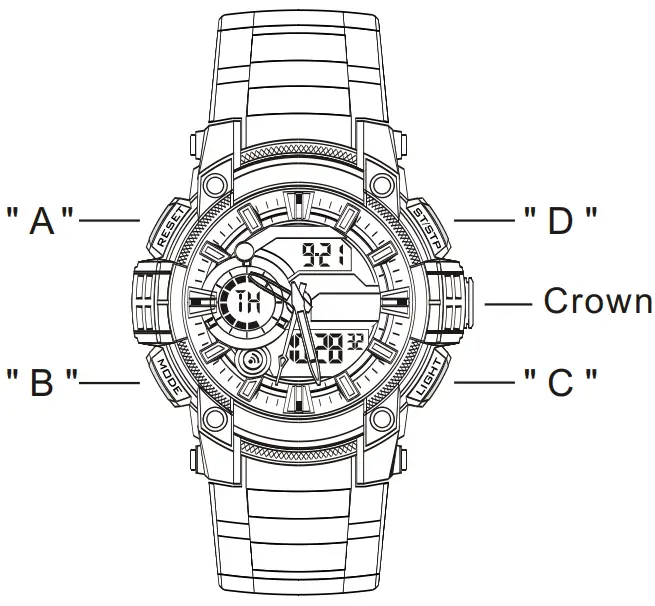
- Button operation are indicated using the letters shown in the illustration.

- A — Reset
- B — Mode
- C — EL Backlight
- D — Start/Stop
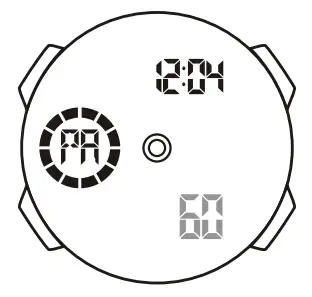
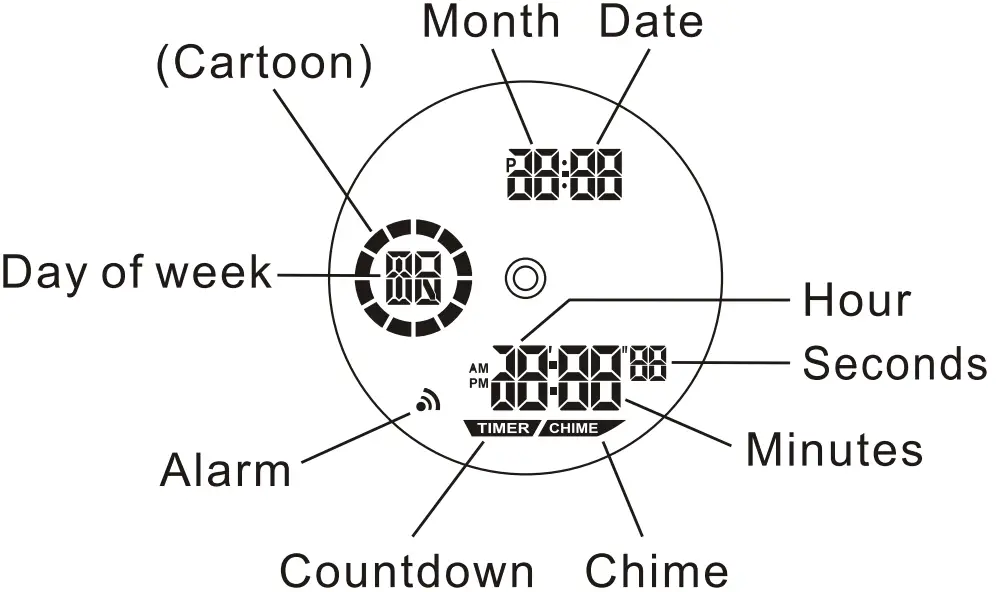
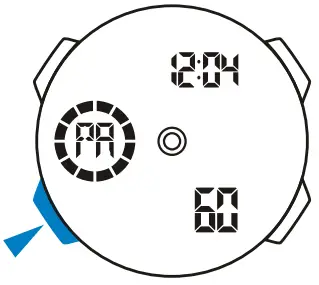
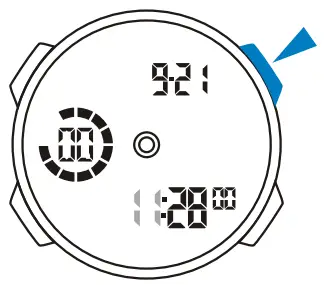
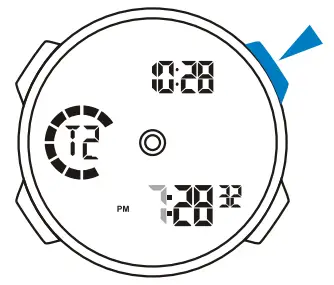
Display
- The screen shown in below:

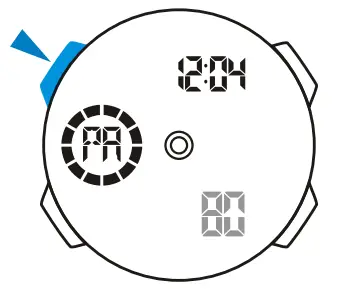
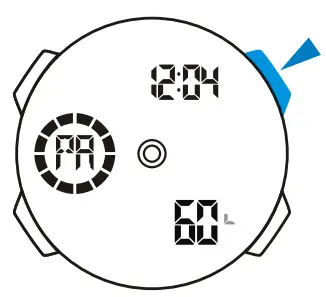
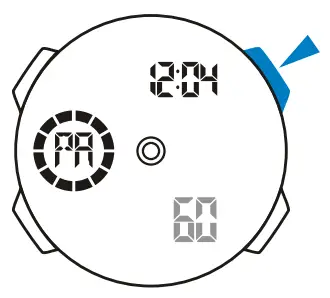
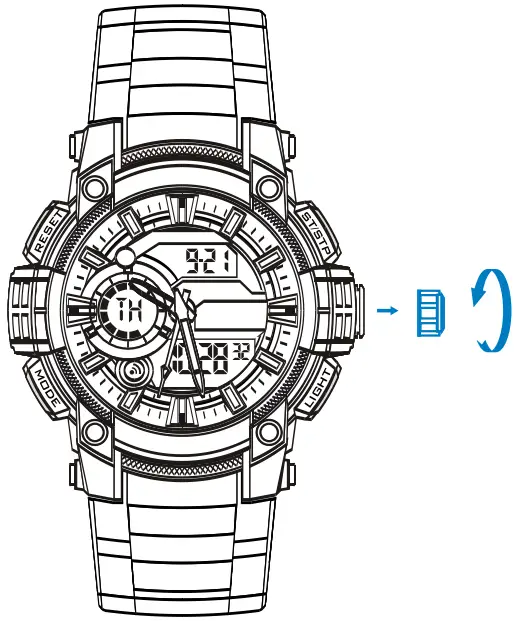
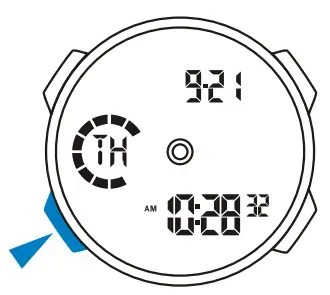
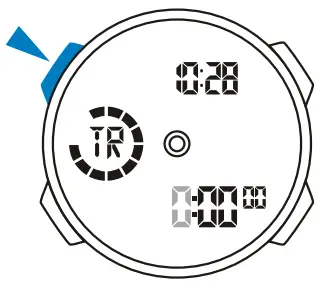
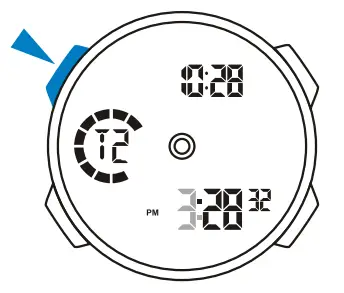
Adjust Hands
- Pull out the crown, turn to adjust the hour and minutes hands;
- Push the crown go back the normal position after the time set;

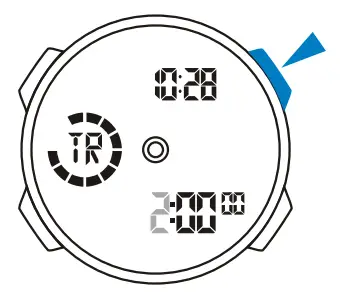
Mode Selection
- Press “B” to change mode to mode in the following Sequence: Timekeeping Mode — Stopwatch Mode — Countdown Mode — Alarm Mode —Dual Time Mode — Pacer Mode.
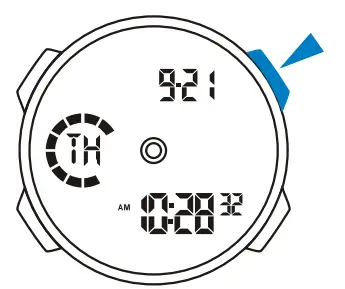
Time Keeping
- 12/24H Format; t
- Hour, Minutes, Seconds, Month, Date, Day of week;
- 100 years Calendar(2000-2099).

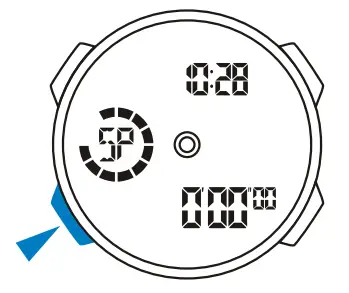
Stopwatch
- 1/100 second unit;
- Measuring range: 0’00″00 — 23:59’59”.

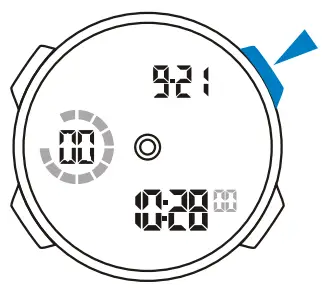
Countdown
- Countdown range: 23:59’59” — 0100″00.

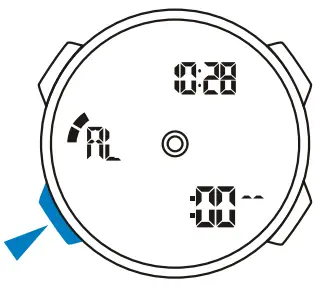
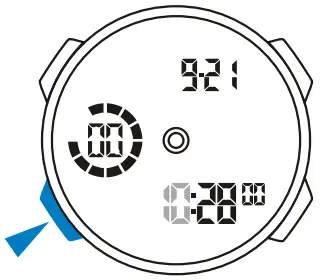
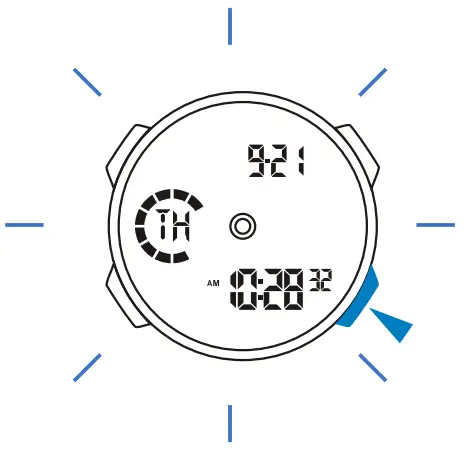
ALARM
- 5 Alarms;
- Hourly time signal;
- The alarm sounds at the preset time each day.

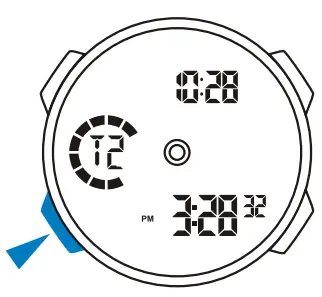
Dual Time
- The time for other time zone.

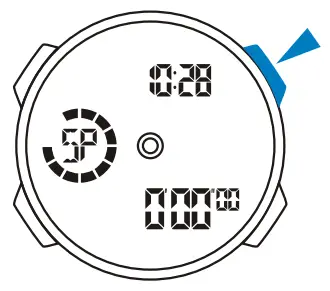
PACER
- 10 tempo.

Timekeeping
12/24H Format
- In the timekeeping mode, press “D” to switch between 12/24 formats.

Time Setting
- In the timekeeping mode press and hold “A” until the seconds to flash; (flashing indicated in set mode)

- Press “D” to reset the seconds;

- Press “B” to change the next selection;

- Press “D” to increase the number, press and hold to increase at high speed;

- Repeat step 3 and 4,the selection in the following sequence: Seconds – Hour – Minutes -Year- Month – Date;
- Press “A” to exit the set state, after you set (The day of week is auto displayed in accordance with year ,month and date setting).

Back Light
- The backlight that uses an EL(electro-luminescent) cause the display to glow for easy reading in the dark.
Use EL black light
- In the timekeeping mode -press “C” to illuminate the display about 3 seconds.

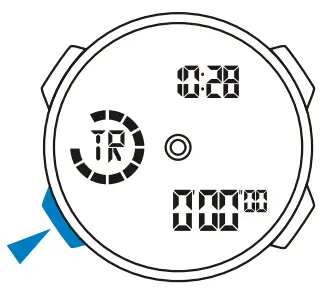
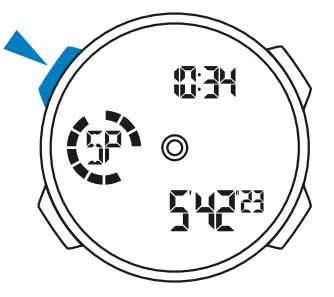
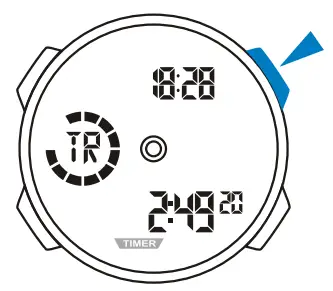
Stop Watch
A Lap Time
- In the stopwatch mode, press “D” to start the stopwatch;

- To stop the stopwatch by pressing “D” again;

- Press “A” to reset the stopwatch.

Split Time
- In the stopwatch mode press ‘IX to start the stopwatch:

- Press “A” to display the split time, stopwatch timing continues internally;

- Press “A” to clear the split time and to continue time measurement;

- Repeat step 2 and 3,you can measure the multi split time;
- Press ‘D” to stop the stopwatch.
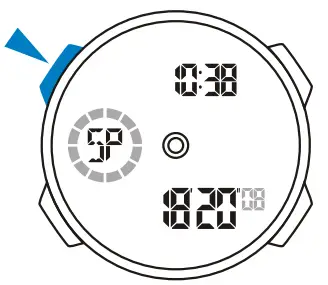
Count Down
- When the countdown reaches zero, the alarm sounds for about 60 seconds and press any button to break it.
Count Timer Setting
- In the countdown mode, press “A’ the hour to flash; (flashing indicated in set mode)

- Press “D” to increase the hour ,press and hold to increase at high speed;

- Press to select the minutes;

- Press “D” to increase the minutes. press and hold to increase at high speed;

- Repeat step 3 and 4,the selection in the following sequence: Hour – Minutes – Seconds;
- Press “A” to exit the set state after you set.
Use Countdown Timer
- Press “IY to start the countdown:

- To pause the countdown by pressing “D” again.
ALARM
- The alarm sounds at the preset time each day for about 60 seconds, press any button to break it.
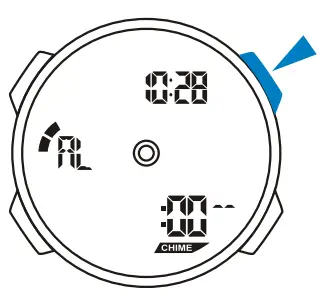
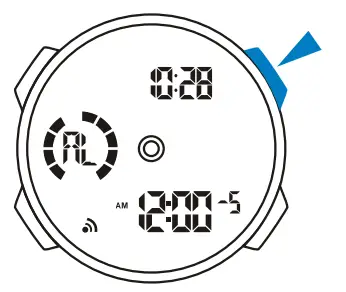
Alarm and Chime
- In the alarm mode, press C ” to select chime, Alarm1 -Alarms.

- In the chime state . press tr to on/off the chime.

- In the Alarm1 – Alarms state, press IV to on/off the alarm.

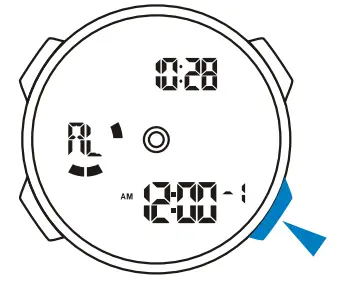
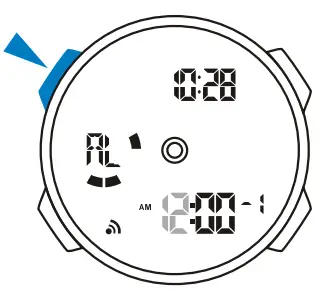
Alarm Setting
- In the alarm mode. press ” A• the hour to flash(tlashing indicated in set mode);

- Press “D” to increase the hour, press and hold to increase at high speed;

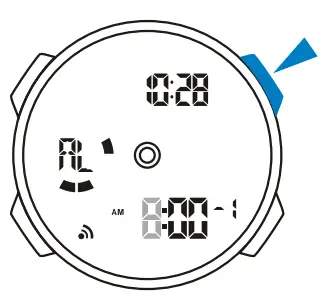
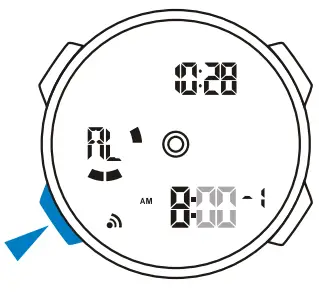
- Press “B” to select the minutes;

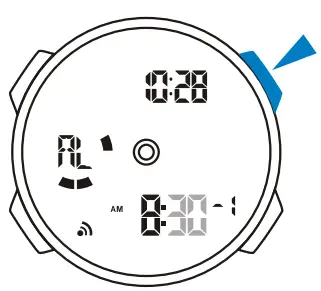
- Press “D” to increase the minutes, press and hold to increase at high speed;

- Press “A” to exit the set state, after you set.
- Setting and operation of the Alarml Alarm5 are the same.
Dual Time
Dual Time Setting
- In the dual time mode, press “A” the hour to flash; (flashing indicated in set mode)

- Press “D” to increase the hour, press and hold to increase at high speed;

- Press “B” to select the minutes;

- Press “D” to change the minutes ; (press once change 30 minutes)

- Press “A” to exit the set state, after you set.

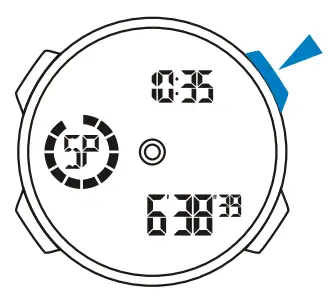
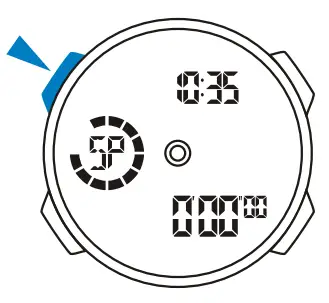
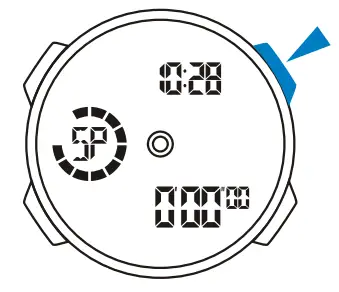
Pacer
Use The Pacer
- In the pacer mode, the tempo number flash;

- Press “A” select the tempo in the following sequence: 10- 20 – 30 – 40 – 60 -80-120-160-240 – 320;

- Press “D” to start;

- To stop it press “ID” again.