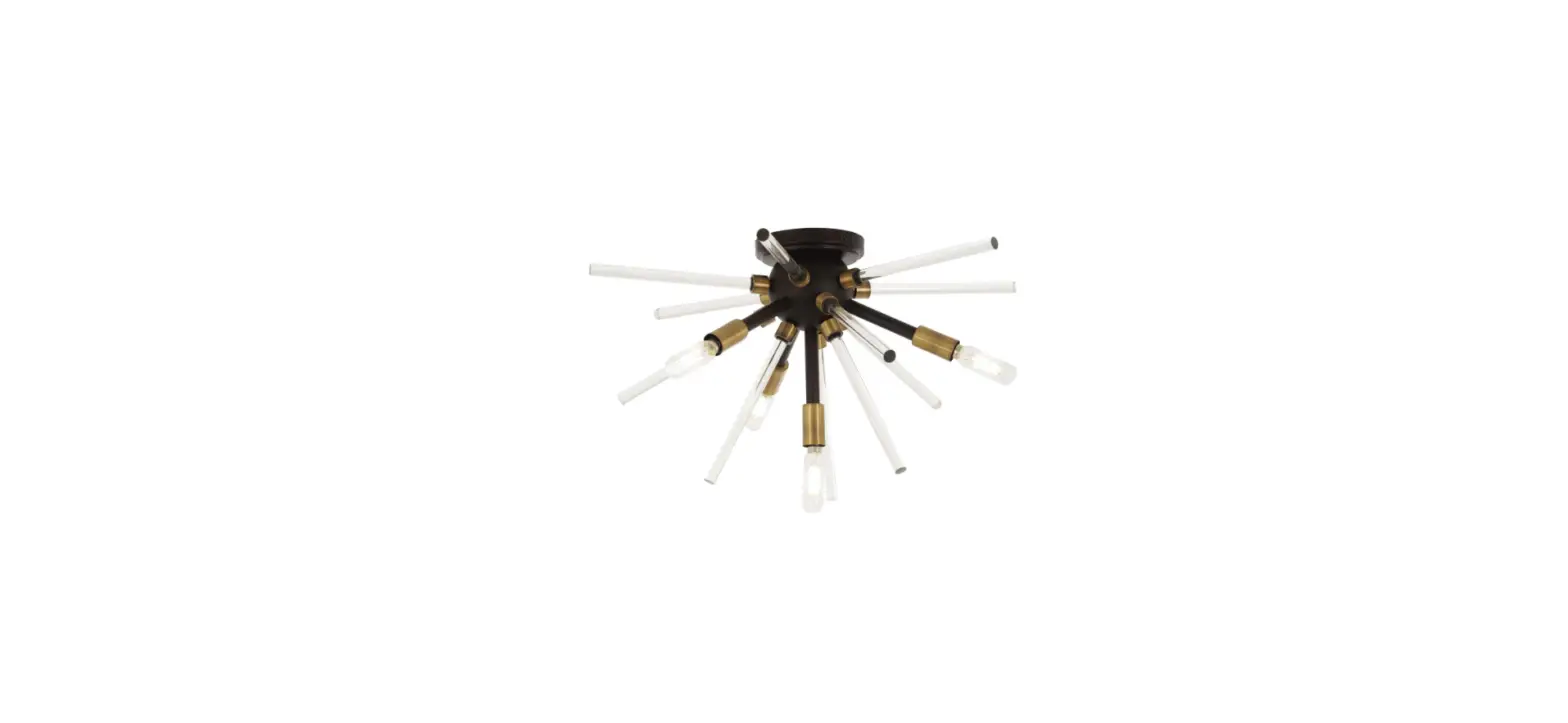
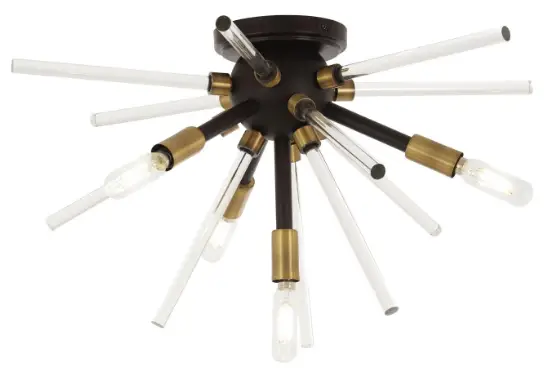
City Lights P1799 Spiked Flush Mount Ceiling Light
INSTALLATION INSTRUCTION FOR FIXTURE #P1799
WARNING! SHUT POWER OFF AT FUSE OR CIRCUIT BREAKER. AVERTISSEMENT! COUPER LE COURANT AU NIVEAU DES FUSIBLES OU DU DISJONCTEUR.
MOUNTING THE FIXTURE
- Shut off the power supply at the fuse box or circuit breaker. If necessary, remove the old fixture from wall. Including the mounting hardware.
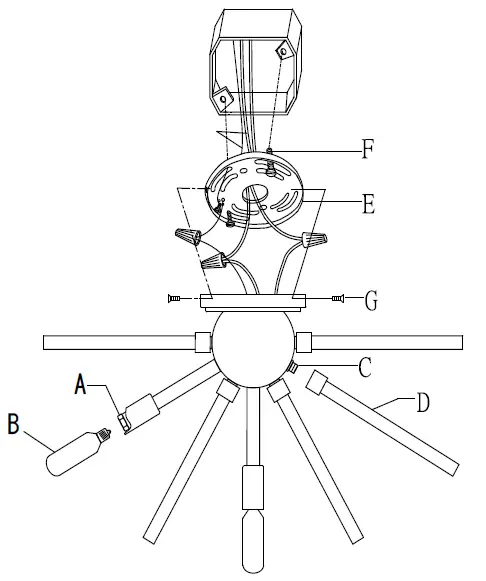
- Carefully remove the new fixture from the carton and check that all parts are included as shown in the illustration.
- Attach the mounting plate (E) to the outlet box using the outlet box screws (F). The side of the mounting plate marked “GND” must face out.
- Follow the wiring instructions carefully (See Fig.2).
- Attach the fixture canopy over the mounting plate (E) and secure with screws (G).
- Assemble the crystal bar (D) onto the nipple (C) well.
- Install the bulb (B) (not included) in accordance with fixture’s specifications. (DO NOT EXCEED THE MAXIMUM WATTAGE RATING!) (NE PAS DEPASSER LA PUISSANCE NOMINALE MAXIMALE!).
CONNECTING THE WIRES
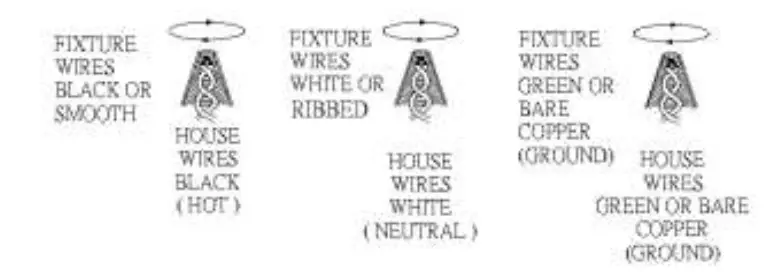
- At this point, connect the electrical wires as shown in Fig. 2, making sure that all wire connectors are secured. If your outlet box has a ground wire (green or bare copper), connect the fixture’s ground wire to it. Otherwise, connect the fixture’s ground wire directly to the mounting strap using the green screw provided.
- uck the wire connections neatly into the wall outlet box.
Your installation is now complete. Return power to the junction box and test the fixture.


