GLACIER BAY 20118-8801 24 Inch Towel Bar User Guide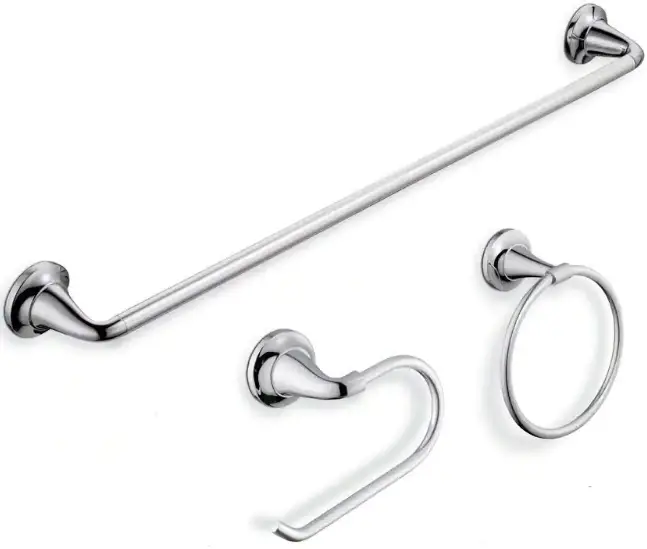
Safety Information
Please read and understand this entire manual before attempting to assemble, operate, or install the product.
Pre-Installation
PLANNING INSTALLATION
Before beginning installation of this product, ensure all parts are present. Compare parts with the Package Contents and Hardware Included list. If any part is missing or damaged, do not attempt to install the product.
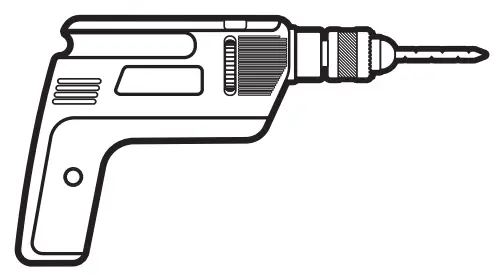
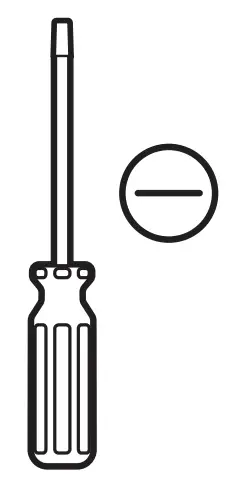
TOOLS REQUIRED
- Safety goggles

- Level

- Tape measure

- Electric drill

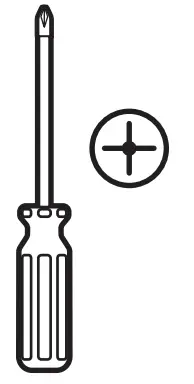
- Flathead screwdriver

- Phillips screwdriver

- Pencil


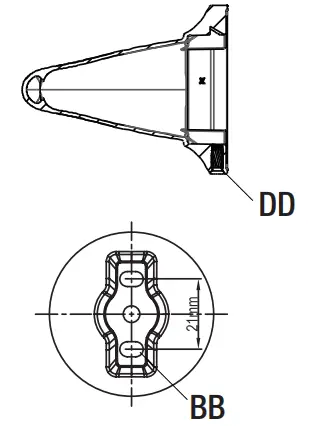
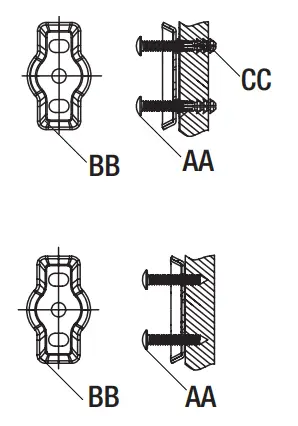
HARDWARE INCLUDED
NOTE: Hardware not shown to actual size.


| Part | Description | Quantity |
| AA | Wood screw | 8 |
| BB | Mounting bracket | 4 |
| CC | Plastic anchor | 8 |
| DD | Set screw | 4 |
| EE | Installation template | 1 |
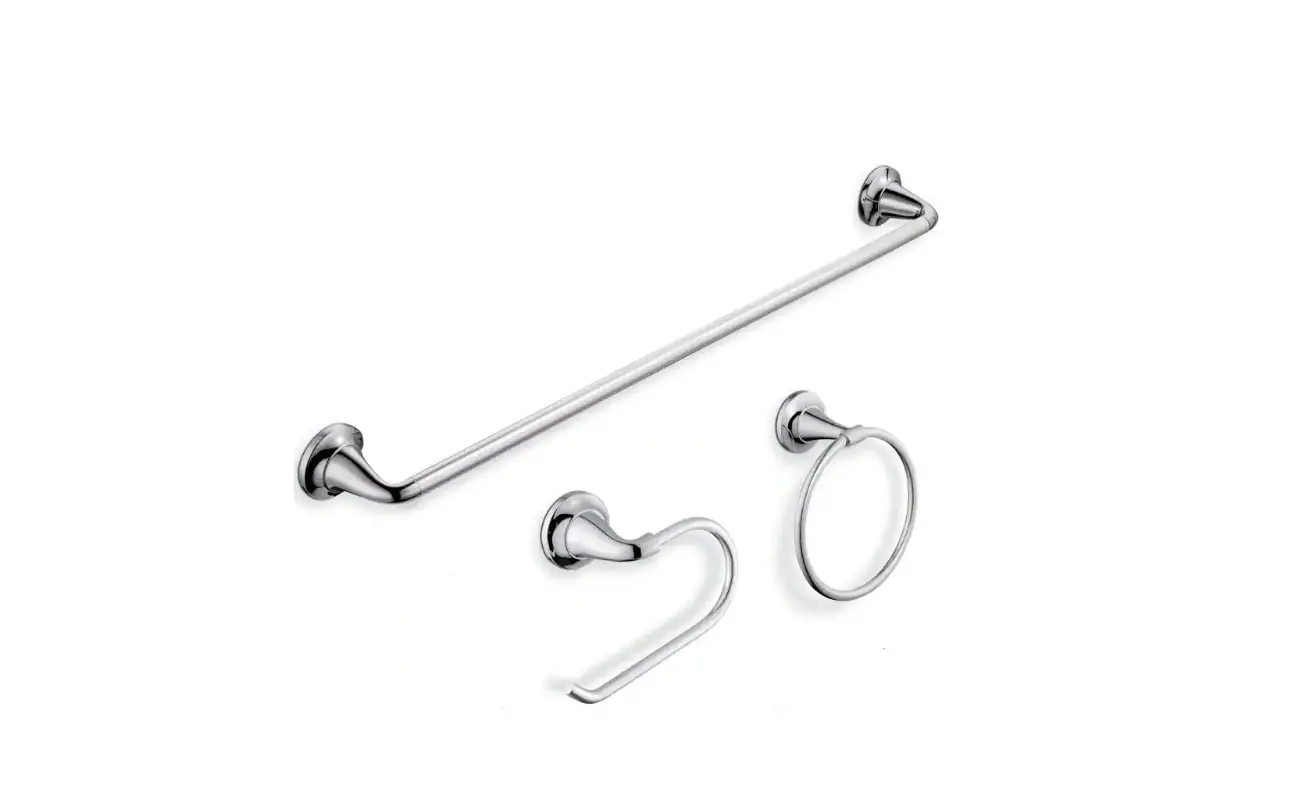
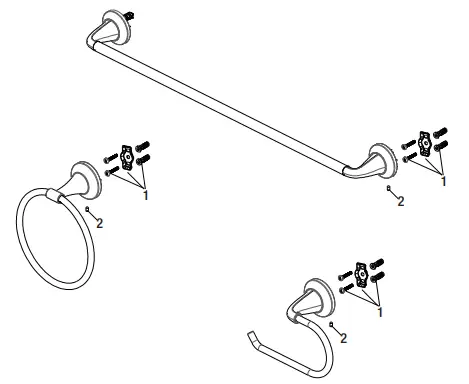
PACKAGE CONTENTS
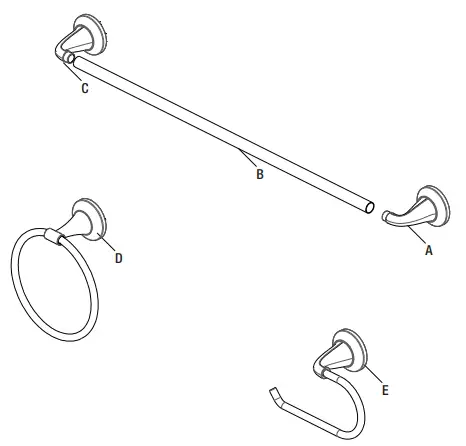
| Part | Description | Quantity |
| A | Towel bar post (right) | 1 |
| B | 24 in. Towel bar | 1 |
| C | Towel bar post (left) | 1 |
| D | Towel ring | 1 |
| E | Tissue holder | 1 |
Installation
Marking the mounting location
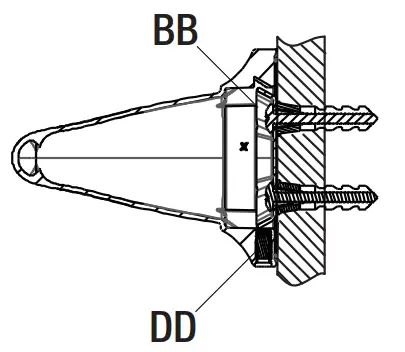
- Remove the set screw (DD) from the base of the product posts.
- Place the product in the desired mounting location, using a level to position it accordingly, and use a pencil to lightly mark the outline of the post(s).
- Center the mounting bracket (BB) within the marked post location(s), and mark where the screw holes will be drilled.
- Repeat this step as needed for each bath accessory.
NOTE: The included template (EE) may be used to mark the mounting locations for the towel bars: A and B for the 18 in. towel bar/ A and D for the 24 in. towel bar.
Installing the mounting brackets
- Drill 1/4 in. holes in the previously marked locations.
- Push the plastic anchors (CC) flush into the dry wall.
- Fasten the mounting bracket (BB) to the wall with the wood screws (AA).
- Repeat this step as needed for each bath accessory
When mounting the products to a wood wall, fasten NOTE: the mounting brackets (BB) to the wall using the wood screws (AA). There will be no need for drilling or plastic anchors (CC).
Installing the product
- Place the post (A or D) over the mounting bracket (BB) and secure it with the set screw (DD), as shown
- Repeat this step for the remaining post (D or A).
NOTE: Ensure the towel bar is inserted prior to securing the second post to the mounting bracket (BB).
Care and Cleaning
- Preserve the finish of the bath accessory using a non-abrasive wax.
- When using non-abrasive cleaners, rinse off immediately when finished cleaning the bath accessory.
- Do not use abrasive cleaners when cleaning this bath accessory.
Service Parts
*Towel bar, Rings and Posts are not available service parts.
| Part | Description | Part Number |
| 1 | Mounting hardware (screw, bracket, and plastic anchor) | RP80061 |
| 2 | Set screw | RP50078 |
Questions, problems, missing parts?
Before returning to the store, call Glacier Bay Customer Service
8 a.m. – 7 p.m., EST, Monday – Friday 9 a.m. – 6 p.m., EST, Saturday
1-855-HD-GLACIER (1-855-434-5224)
HOMEDEPOT.COM/GLACIERBAY
Retain this manual for future use.


