JORDCO ERK2-s Endoring II Hand-Held Endodontic Instrument With
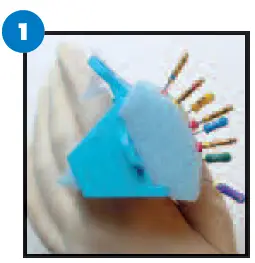
Instructions for Use
File Prep
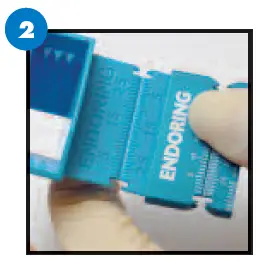
Always use new files or previously used instruments cleaned with ultrasonic cleaning prior to placing them into a new piece of e-Foam insert for steam autoclave processing. Files can be placed directly into a new single use e-Foam insert and then placed into a standard pack for steam autoclave processing. Avoid placing heavy objects onto the autoclave pack to avoid deforming the foam.
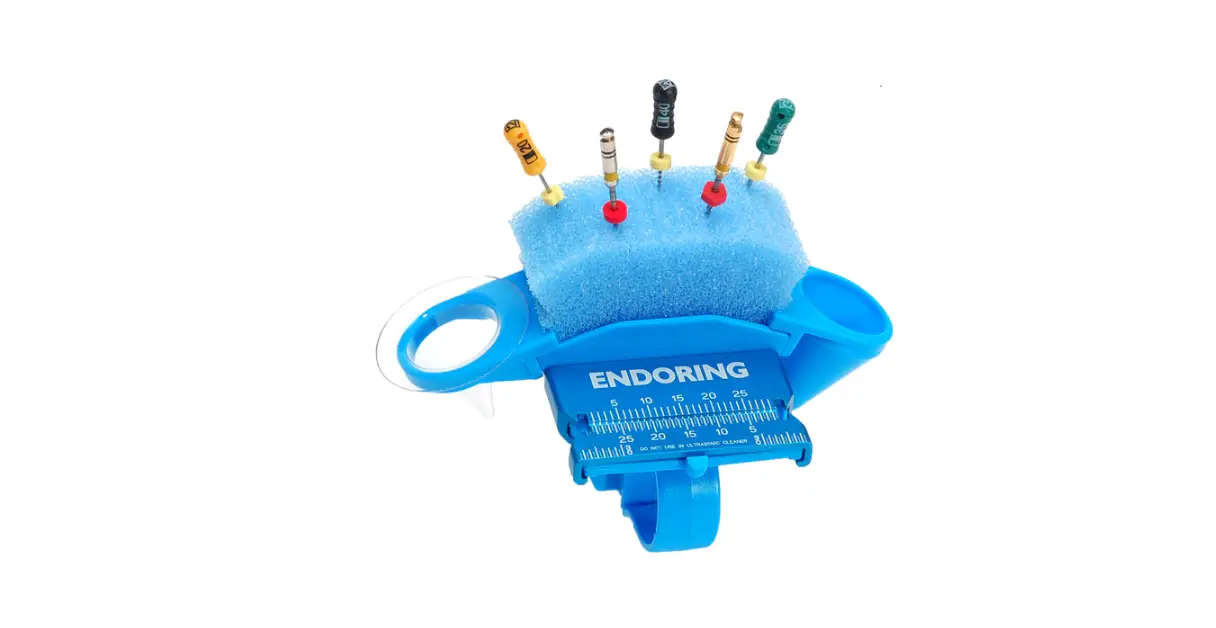
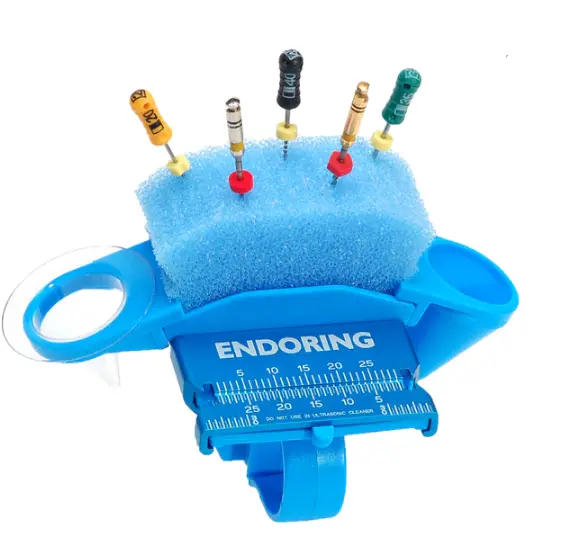
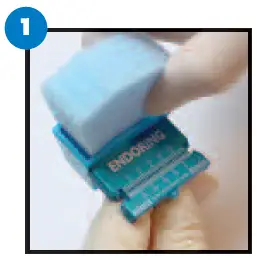
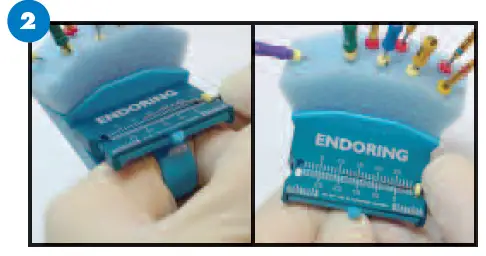
- Place the Jordco e-Foam insert into the EndoRing cup. Pull the e-Foam insert out the bottom of the cup to seat the e-Foam insert.

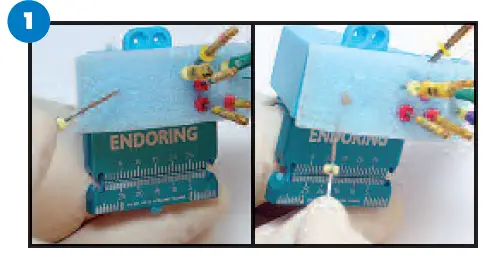
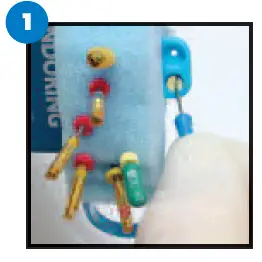
- Arrange hand files, rotary files or other instruments such as Gates Gliddens into the e-Foam insert. Remove all file bioburden prior to autoclaving files in the e-Foam insert. When using rubber stops, utilize the stop locks on either the built-in ruler or the detachable metal ruler to increase or decrease the instrument’s working length. The rulers perform well with paper points, gutta percha and many other endodontic instruments. To efficiently clean instruments simply pass them in and out of the e-Foam insert. You can also clean instruments by sliding them through the corrugated area on top of the e-Foam insert. Rubber stops can be safely added to instruments using the ports located on the back of the EndoRing cup.

Processing Instructions
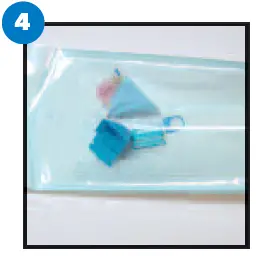
Steam autoclave a new e-Foam insert prior to use. Unused or ultrasonically cleaned files may be placed in the e-Foam insert prior to processing. Autoclaving will not remove bioburden left behind from prior usage. The e-Foam insert, along with files, may be placed in an FDA approved autoclave pouch/bag prior to processing. Do not exceed temperature of 275°F (135°C). To avoid deforming the e-Foam insert, do not load or stack items on top of the e-Foam insert during autoclave processing. Dispose of after each use.
Symbols Glossary Available at: www.jordco.com/symbols
Jordco products are covered by one or more U.S. or foreign patents or patent applications owned by Jordco, Inc. of Beaverton, OR, USA. See www.jordco.com for details. JORDCO, ENDORING, E-FOAM, ENDOGEL, E-DX, and FILECADDY are trademarks of Jordco, Inc., registered in the United States and/or other countries. The blue color of the e-Foam inserts and the endodontic organizer, the yellow color of the e-Foam inserts, and the colors yellow and blue-yellow together on e-Foam insert packaging, are all trademarks of Jordco, Inc., registered in the United States. See the above website for further information. (1704)
INITIALEND ORING SETP
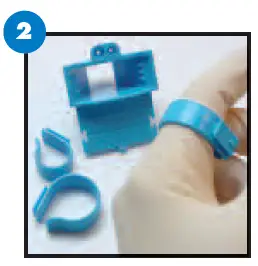
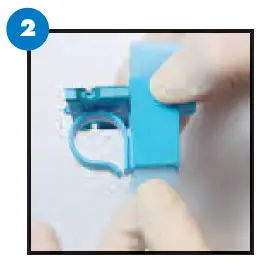
- Each Endoring assembly contains 3 different sizes of finger rings. Select the size that best fits your index finger. Note an extra small size ring is available for small fingers.

- Select the size that best fits your index finger. If you are right handed, size the ring to your left index finger. Make sure that the ring slides past your knuckle.

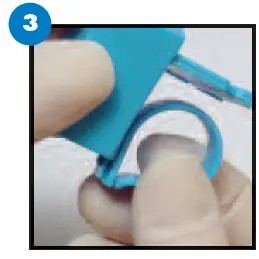
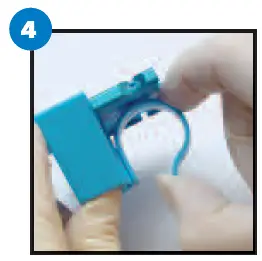
- After selecting a ring, slide the ring into the channel on the back of the cup. You may have to lay it on a flat surface and press it firmly to seat it.

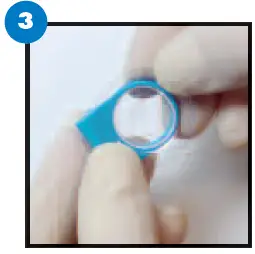
- If the finger ring remains too snug, you can engage it and spring it open for a more com-fortable fit. The resin is very durable and will adapt rather easily without breaking.

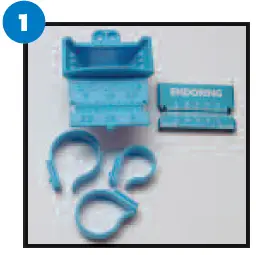
COMPONENT ASSEMBLY
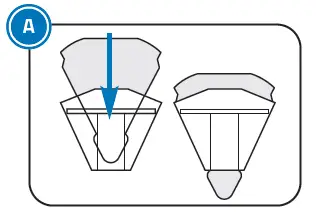
- Load the Endorsing Foam Insert by sliding it into the cup.

- Firmly seat the foam in the cup by grasping the pointed end and pulling it through the cup.

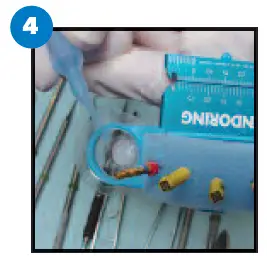
- Snap a single-use Gelwell cup into the adapter ring.

- Express some lubricating gel such as Jordco’s EndoGel into the clear cup

- Snap the assembly onto either side of the Endorsing cup.

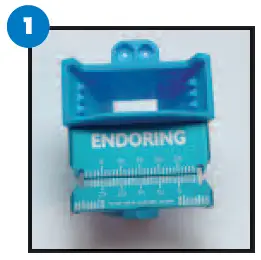
- Attach the metal ruler to the Endorsing cup by sliding it onto the ruler platform. It should snap on over the bump located at the leading edge of the platform.

HOW TO WEAR THE ENDORSING
- We suggest you wear the Endoring on your index finger. If you are right-handed, wear it on your left index finger. Place the Endorsing past your knuckle and make sure to rotate it to the angle shown.

- By rotating to the suggested position, your fingers will be free to hold other instruments such as a mouth mirror or pliers. This position is most comfortable to most users and will not interfere with the full use of your hand. It will also put the ruler into a position that allows you to calibrate your files.

NOTE: IT IS VERY IMPORTANT TO WEAR THE ENDORSING CORRECTLY IN ORDER TO MAXIMIZE ITS PERFORMANCE.
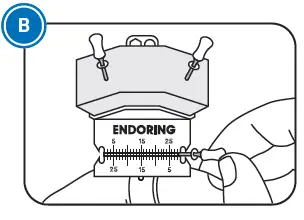
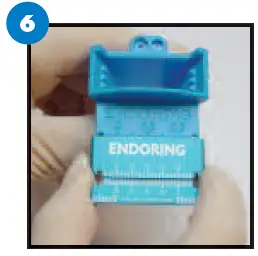
USING THE SCALE
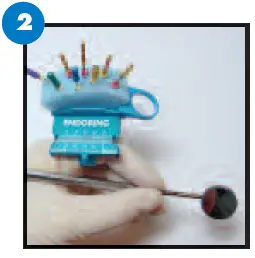
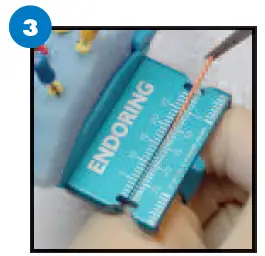
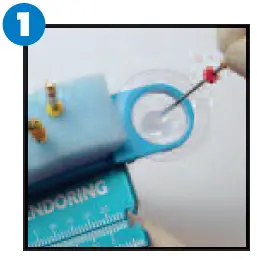
- To measure instruments, including rotary files, secure the rubber stop into either stop lock. The scale is designed for either right or left-handed users. Simply slide the stop to the desired position for your working length. Note the .5 mm markings on the lower part of the scale. You do not need to remove the rotary files from the handpiece in order to calibrate them.

- Curved files are easily measured by securing the stop into a lock. Flatten out the file in the stabilizing channel and set the stop to the desired length. Remove the file and it will resume its originally curved shape.

- To measure gutta percha or paper points simply grasp them with the fine tip of a standard cotton pliers. Place them into the channel and grasp them from the stop lock to get a working length.

STORING & CLEANING FILES
- The Endoring Foam Insert provides excellent storage capacity. In addition, it can clean debris from endodontic files very efficiently. Passing a dirty file in and out of the foam will clean off the most stubborn debris.

Endoring Docking Station™ - Files can also be stored on the back side the Foam Insert. Some doctors use this area to pass and “Dock” their files to the Endoring if an assistant wears the Endoring. This is very helpful for doctors who use microscopes and do not want to break their visual field.

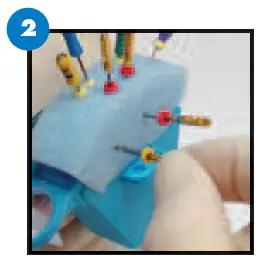
SAFETY RUBBER STOP LOADING PORTS
- If you need to load new rubber stops and want to avoid dangerous sticks, use the ports located on the back of the Endoring cup. Simply place a rubber stop into the recessed ports and safely insert the file through it.

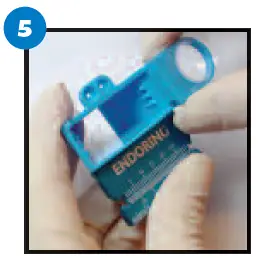
GEL WELL USE
- This convenient attachment allows you to store your lubricating gels or liquids close to the operating field. Jordco’s EndoGel is an ideal lubricant that can be loaded onto files and taken directly to the root canal. The single use clear cups must be disposed of after each use. An optional reusable cup is included with each Endoring assembly if you prefer this type of attachment.

CLEANING & PROCESSING
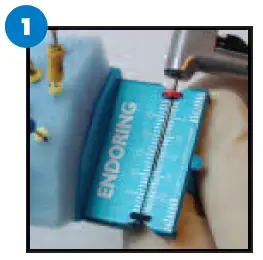
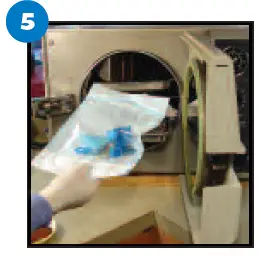
- IMPORTANT: Before your first use, autoclave the Endoring Cup with the metal ruler attached to it. This step helps to temper the Endoring and allows for the easy insertion and removal of the metal ruler

- Following the first autoclaving, always detach the metal ruler from the Endoring cup and autoclave them separately.

- NEVER ultrasonically clean the metal ruler as this will damage the anodized surface.

- Make sure all the components are separated. We suggest you bag all the separated components in a sterilizing bag. It is not necessary to separate the finger rings from the cup.
You can pre-arrange your files into the foam and autoclave them prior to your procedure. Do not autoclave the clear GelWell cups.
- Steam autoclave the Endoring set-up according to your normal procedures. Steam autoclaves must be charged with an adequate amount of water for each load. Inadequate water can cause excess chamber temperatures and result in damage to the ring and its components.


WARNING: DO NOT IMMERSE THE ENDORSING OR ITS COMPONENTS IN SURGICAL MILK.


