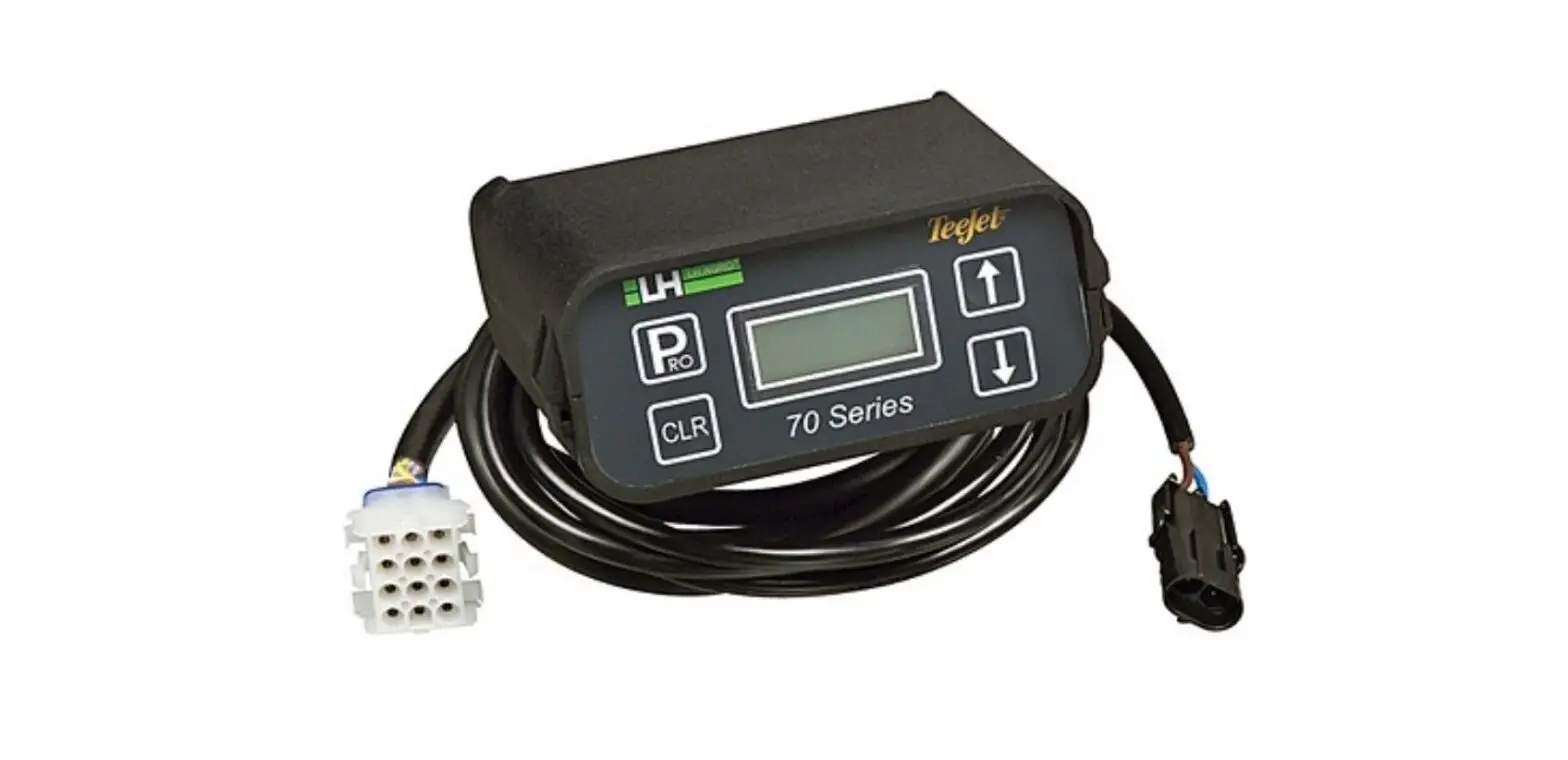
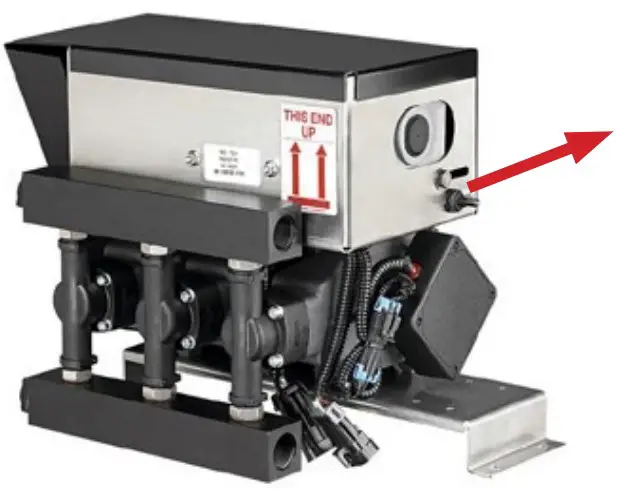
Teejet 73 Series Addflow User Guide
CONNECTIONS TABLE
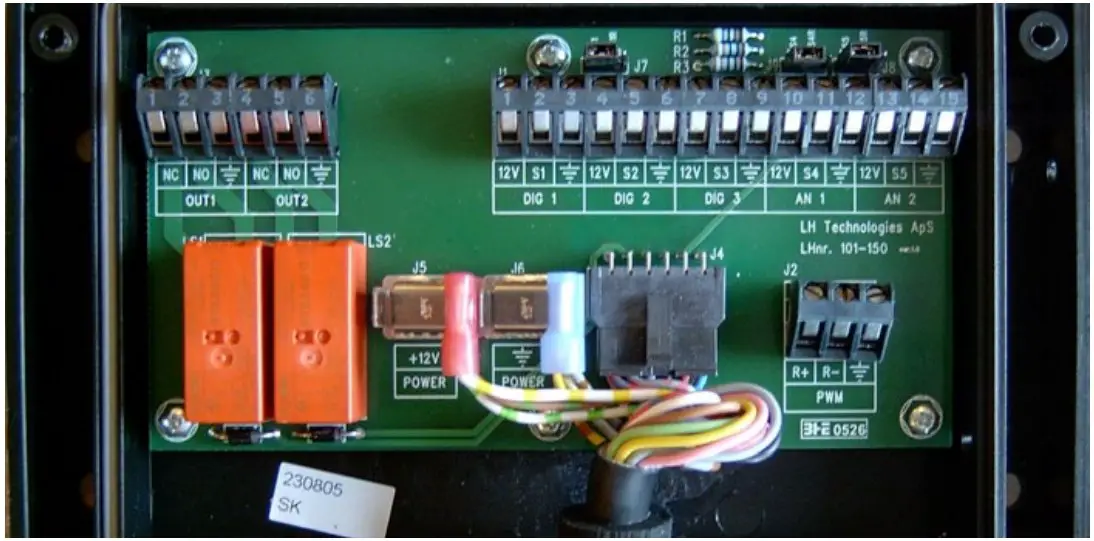
| Description | Connection | |
| Carrier Flow Meter | Supply | 12 V |
| Signal | S2 | |
| Ground | ||
| Liquid Flow Sensor | Supply (Brown) | 12 V |
| Signal (Black) | S4 | |
| Ground (Blue) | ||
| Master Signal (12V is spraying) | Supply (Brown) | |
| Signal (Black) | S5 | |

| Jumpers | Position |
| J7 | S1 R |
| J9 | S4 |
| J8 | S5 if External masterS5R if always active |
GENERALITIES
| Function | Key | Description |
| 1. Power On |  | The unit will power on and show the first working screen. inj. Rate2.00%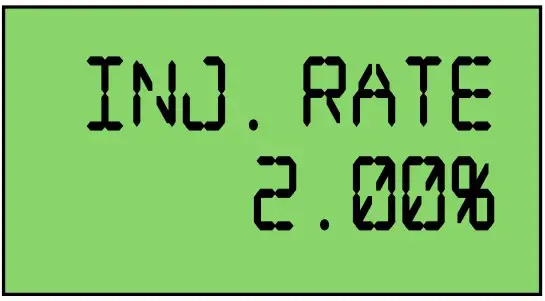 |
| 2. Power Off | The unit will power off. | |
| 3. Selection of Working Screen |
FUNCTIONALITY
| Function | Display | Comments | Possible Actions |
| 1. Injection Dose Rate | This is the desired dose rate for the injected product. It is set as a percentage of the main carrier flow. | ||
| 2. Injection Flow | This is the actual flow of injected product. | ||
| 3. Carrier Flow | This is the actual main carrier flow. | ||
| 4. Injected Volume | This is the injected volume counter. |
PRIMING
To activate priming, push the Pump switch to CAL
The pump will then start running and the display will show pumped volume
When predefined volume has been injected, the display will go back to the previous working screen.
ALARMS
| Function | Display | Comments | Possible Actions |
| 1. Pump Not Running |  | Alarm message will appear when injectionstarted but the pump is not turning. | Check cabling and pump |
| 2. No Liquid Injected |  | This means that no liquid is injected. Alarm message will appear only if the liquid presence sensor is mounted. | Check plumbing and//or fill the tank. |
PROGRAM
| Function | Display | Possible Actions | Comments |
| Access/Exit | Push | Master must be off | |
| 1. Carrier Flow Meter | Push | ||
| 1.1 | Main carrier flow meter calibration in pulses/litre | ||
| 2. Injection Pump | Push | ||
| 2.1 Injection Pump Type2.2 Injection PumpCalibration |  | Push | Choices are:
|
(see “7. Pump Automatic Calibration” on page 4) | This is the complete pump calibration (all heads together). Units are pulses/millilitre. Average value is 3.00 per head for a piston pump. | ||
| 3. Prime Calibration | Push | ||
| 3.1 | This is the volume that must bepumped to prime the system. |
PUMP AUTOMATIC CALIBRATION
| Function | Display | Possible Actions | Comment |
| 2.2 Injection Pump Calibration | 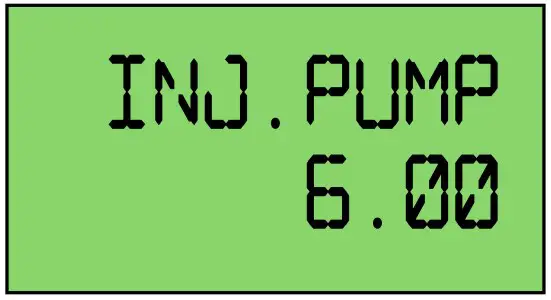 | This is the complete pump calibration (all heads together.) Units are pulses/millilitre. Average value is 3.00 per head for a piston pump. | |
| 2.2.1 |  | Pump must be ready to inject (tubes filled). | |
| 2.2.2 |  | Display shows the counted pulses from the pump | Release the CAL switch when enough pulses have been counted. |
| 2.2.3 | 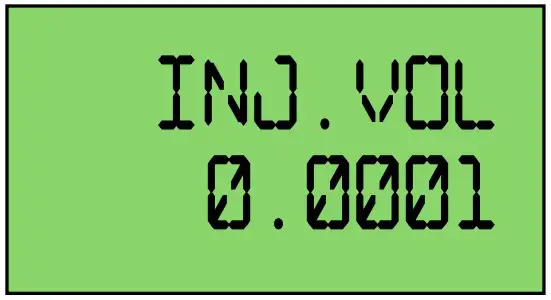 | Release the CAL switch when enough pulses have been counted. |
PRIME AUTOMATIC CALIBRATION
| Function | Display | Possible Actions | Comments |
| 3.1 Prime Calibration | 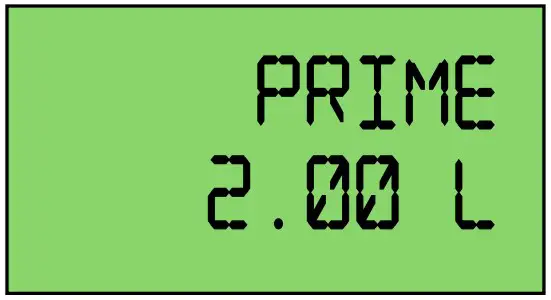 | This is the volume that must be pumped to prime the system. | |
| 3.1.1 |  | Push on the CAL switch on the pump to start the calibration. Keep the CAL switch pushed until calibration is finished. | |
| 3.1.2 | 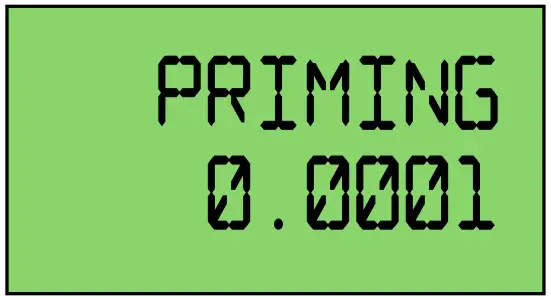 | Display will show injected volume. Release the CAL switch when system has been primed. |
98-05355-EN R1 English International
© TeeJet Technologies 2022