
![]() E PRIME III
E PRIME III
BATTERY REPLACEMENT
INSTRUCTIONS
PART# W13111818003
Required Tools: (Not included)
| A. Phillips screwdriver | B. Flat screwdriver |
| C. 3 mm Allen wrench | |
 WARNINGCAUTION: To avoid potential shock or another injury, turn the power switch OFF and disconnect the charger before performing any assembly or maintenance procedures. Failure to follow these steps in the correct order may cause irreparable damage.
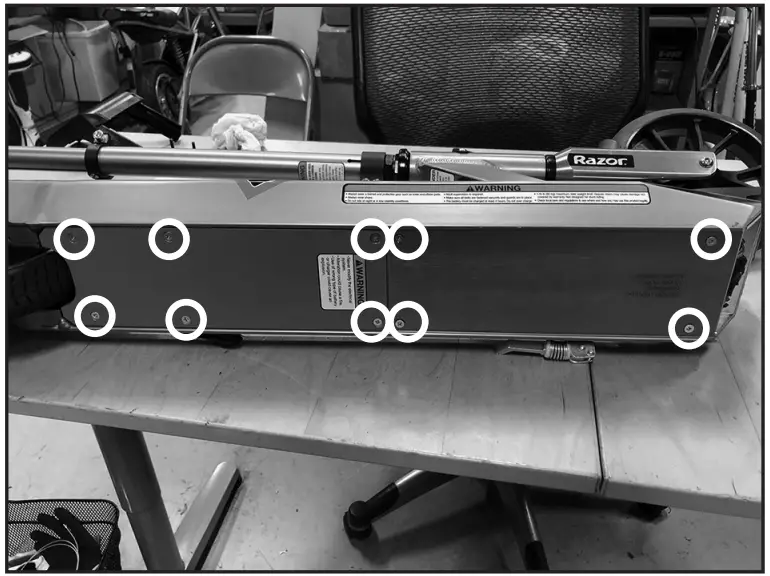
| Step 1 Using a Phillips screwdriver, remove the ten (10) screws from the bottom of the deck (circled in the image below). | Step 2 Using a Phillips screwdriver, remove two (2) screws from the front plastic cover (circled in the image below). Remove the front plastic cover and set it aside. |
 |  |
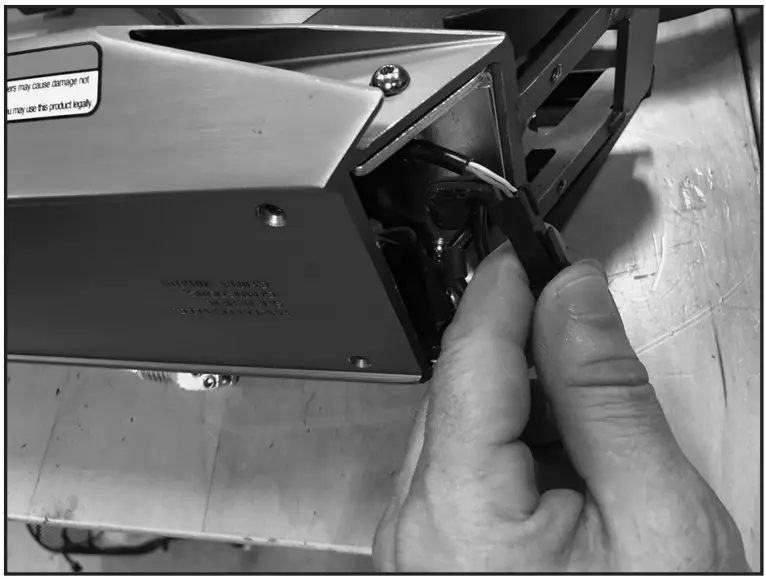
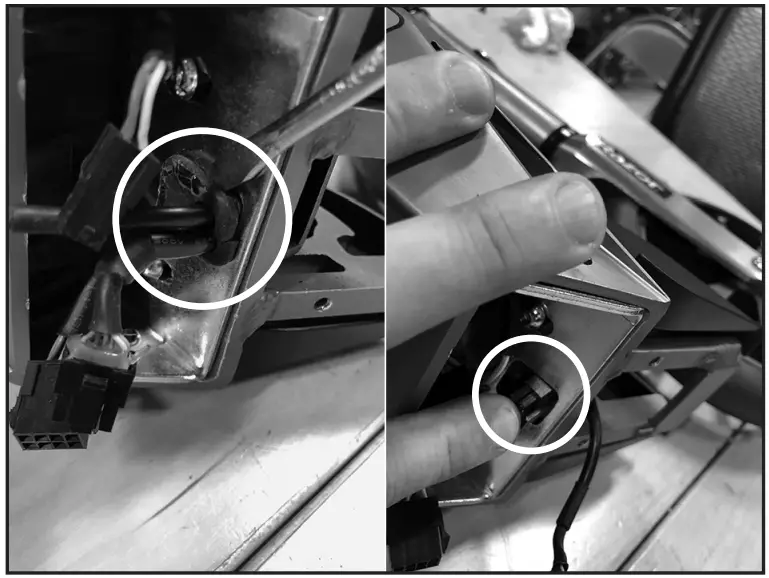
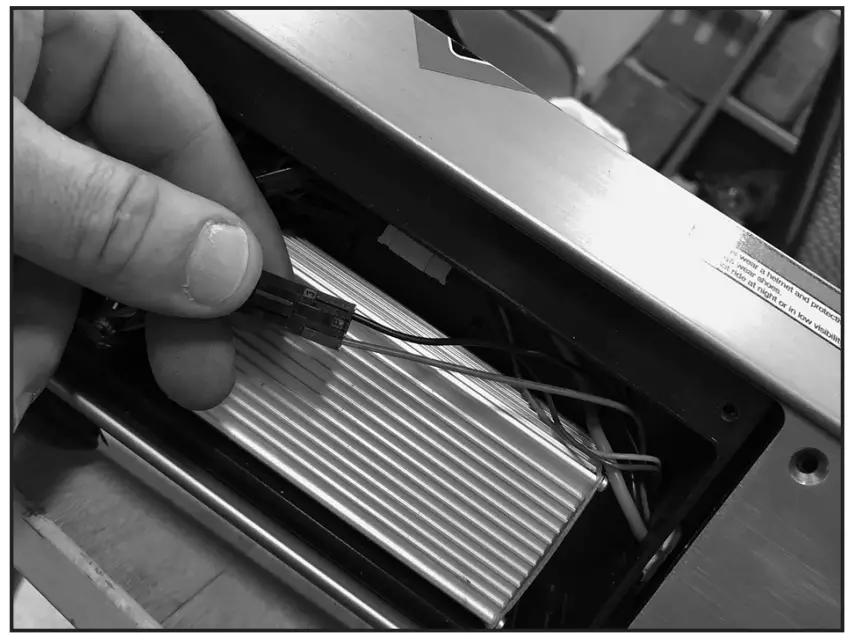
| Step 3 Locate and disconnect the throttle and power switch wires from the controller. | Step 4 Remove the grommet from the metal bracket and push the throttle and power switch wires inside the opening. |
 |  |
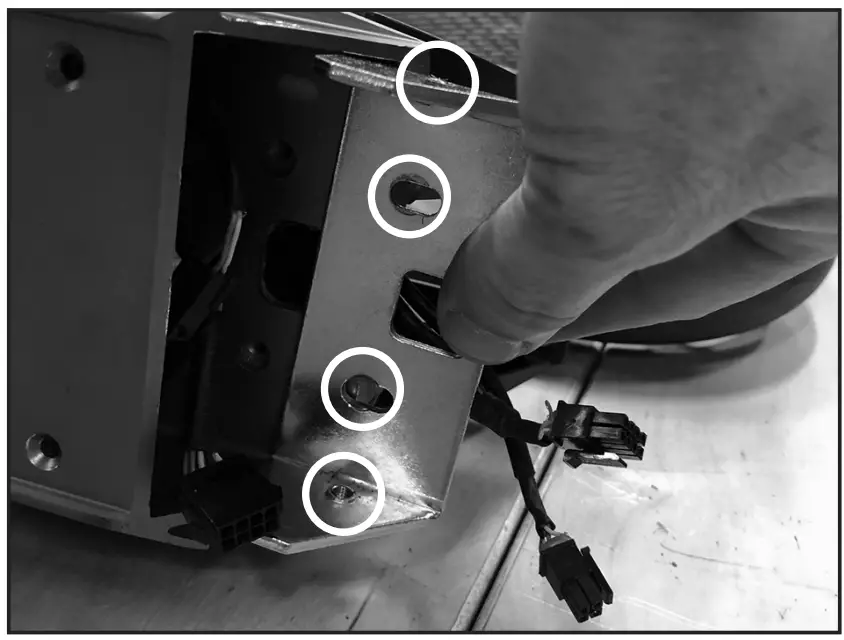
| Step 5 Using a 3 mm Allen wrench, remove the four (4) hex screws (circled in the image below) and pull the bracket out of the frame. | Step 6 Remove the controller cover to gain access to the wires. Set controller cover aside. |
 |  |
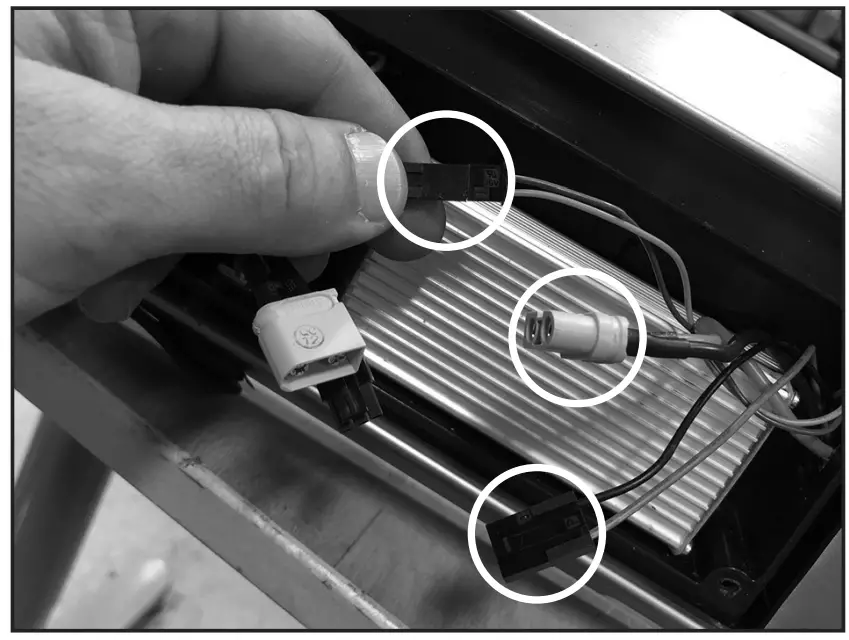
| Step 7 Disconnect the three (3) wires that come from the front of the unit. | Step 7 Disconnect the three (3) wires that come from the front of the unit. |
 | 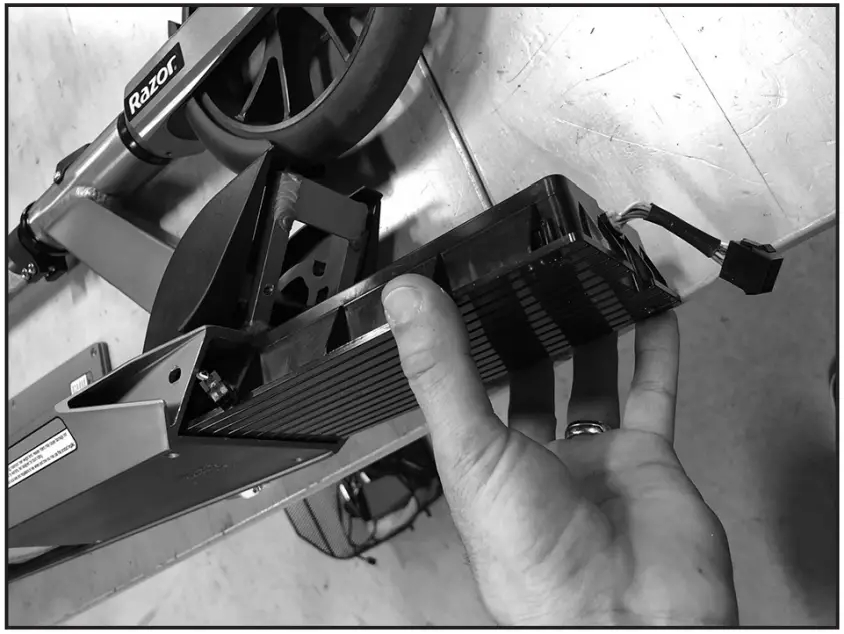 |
| Step 9 Reverse the procedures • Slide new battery in place. • Re-connect the three (3) wires to the front of the unit. • Re-install the controller cover. • Re-install the bracket and attach it with four (4) hex screws. • Re-install the grommet and pull the throttle and power switch wires through the opening. • Connect the throttle and power switch wires to the controller and re-install the front plastic cover. • Re-install two (2) Phillips screws to the front plastic cover. • Re-install ten (10) Phillips screws to the bottom of the deck. Attention: Charge battery 8 hours before using. | |
Need Help? Visit our website at www.razor.com or call toll-free at 866-467-2967 Monday – Friday 8:00 AM – 5:00 PM PST.


