
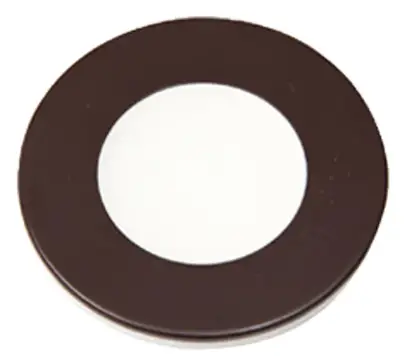
GM Lighting 24VDC Surface Recess Mount LED Slim Puck
BEFORE YOU START
- Please check local electrical codes before beginning
- Turn power off before installing
- Make sure to use proper rated wire

TOOLS NEEDED
- Keyhole Saw
- Phillips Screwdriver
RECESSED INSTALLATION
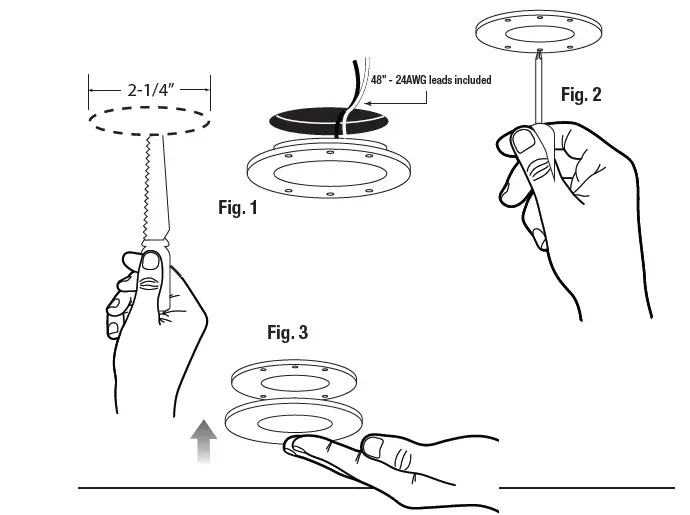
- Determine the position of your puck(s) and trace a 2-1/4” diameter circle on surface material. Using a keyhole saw or2-1/4” (58mm) drill bit – cut through surface
- Feed Puck wire through hole, and screw puck mountingring into surface using two screws
(supplied) - Connect feed wires to power supply and snap SlimPuckTrim to SlimPuck. Trim is held magnetically. No need forscrews

SURFACE INSTALLATION
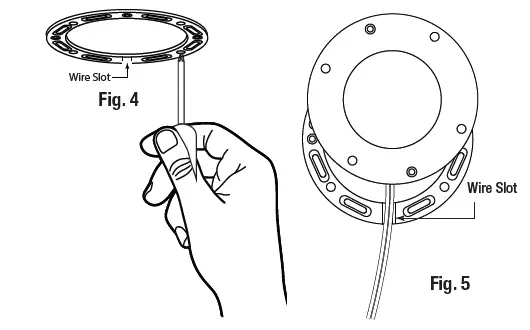
- Determine the position of your puck(s) and positionSlimPuck surface mount ring. Screw surface mount ringonto surface
- Making sure that you insert feed wire through SlimPucksurface mount ring slot, position SlimPuck onto surfacemount ring. Ring is held magnetically. No need for screws
- Connect feed wires to power supply and snap SlimPuckTrim to SlimPuck

NOTE: Pucks can be mounted in series. Please observe wattage limitations of power supply.
Example: A 20 watt power supply can power up to 8 2-watt Slim Pucks.
USE ONLY ELECTRONIC POWER SUPPLIES. DO NOT LOAD POWER SUPPLY ABOVE 80% OF MAXIMUM
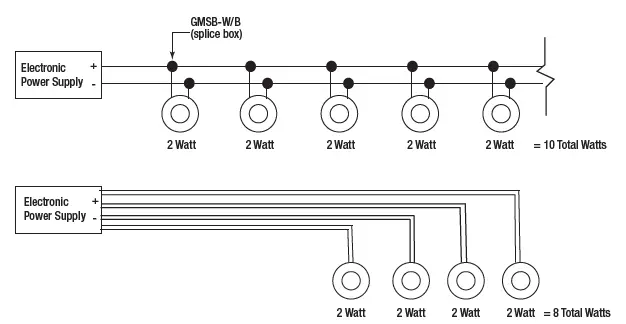
NOTE: USE ELECTRONIC POWER SUPPLIES ONLY.MAGNETIC POWER SUPPLIES ARE NOTOPERABLE WITH THIS FIXTURE
©2022 GM LightingSpecifications are subject to change 18700 Ridgeland Ave. 150 Tinley Park, IL 60477
- Toll-Free: (866) 671-0811
- FAX: (708) 478-2640
- www.gmlighting.net
- [email protected]


