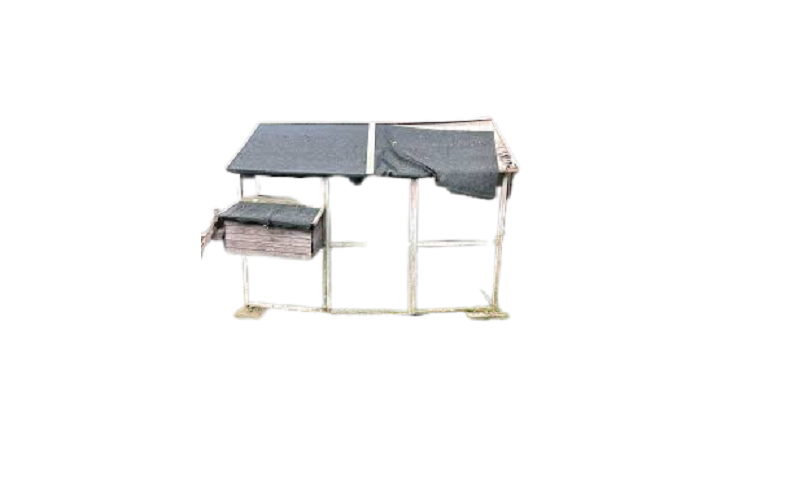
Cumberland Coop Chicken coop Installation Guide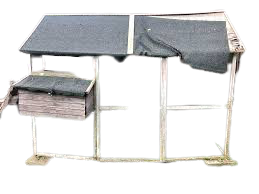
Fasteners
- 3.5 x 40 mm 18 + 1pcs

- 3.0 x 16 mm 2 + 1pcs

- 3.5 x 35 mm 16 + 1pcs

- 3.5 x 50 mm 4 + 1pcs

- 3.5 x 22 mm 22 + 1pcs


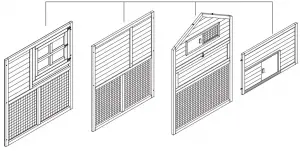
Wood Pieces
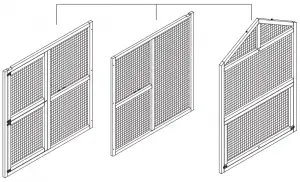
- Body
Left front panel X 1
Left Back panel X 1
Left side panel X 1
Middle Side panel X 1
- pen
Right Front panel X 1
Right Back panel X 1
Right side panel X 1
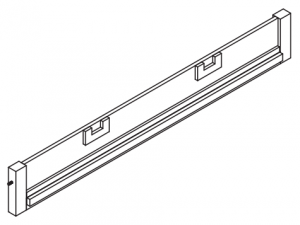
- Roosting Area pan ledge x 1

- Middle ceiling wall x 1

- Slide out pan x 1

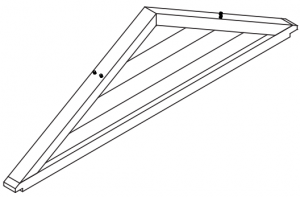
- Ramp x 1

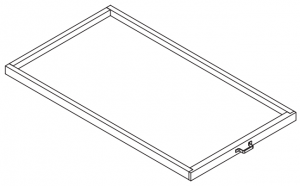
- Nesting box
floor x 1
divider x 2
- Roof for coop area x 2

- Roof for area x2

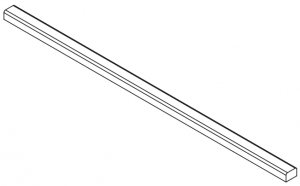
- Roosting bar for coop area x 2

- Roosting bar for area x 1
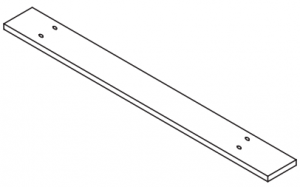
- Trim panel for roof x 2

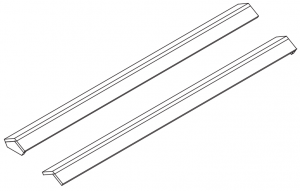
- Roof cap x 2


Assembly Instructions
Use screw driver for assembly
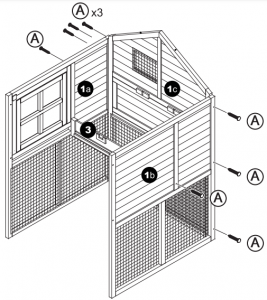
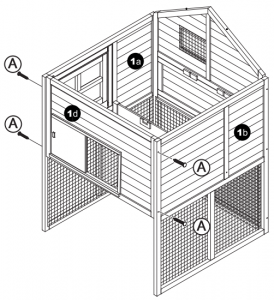
- Connect coop roosting area front and side panels (1 a, 1 c, 1 b) with screws (A), making sure the bottom of each panel are aligned properly. Attach slide-out pan ledge (3) with screws (A).

- Attach middle side panel (1d) with screws (A).

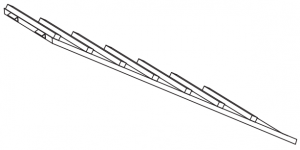
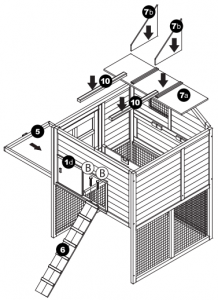
- Attach ramp (6) on middle side panel with screws (B). Insert pan (5) and place in roosting bars (10), nesting box floor panel (7a) and nesting box dividers (7b).

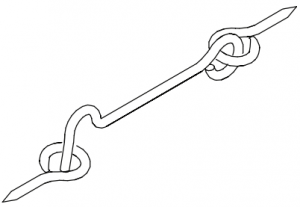
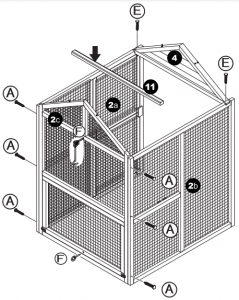
- Next, build the pen area. Attach right back panel (2b) and right front panel (2a) right side panel (2c) with screws (A). Attach middle ceiling wall (4) with screws (C). Place in roosting bar (11). Attach hook and eye latch (F) in area shown.

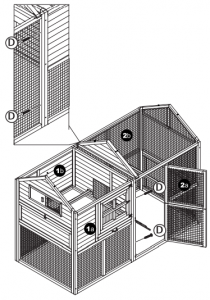
- Open the pen door and attach the pen to the right front panel (2a) and right back panel (2b) with screws (D).

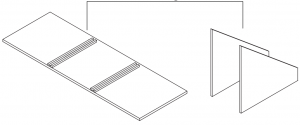
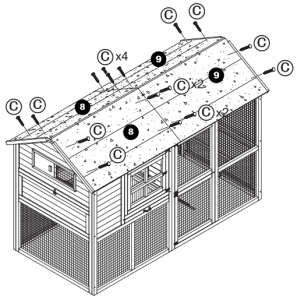
- Attach the pen roof panels (8) followed by the coop roof panels (9) with screws (C).

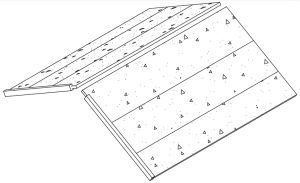
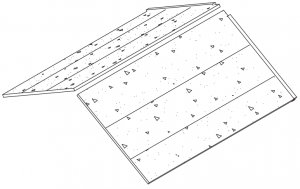
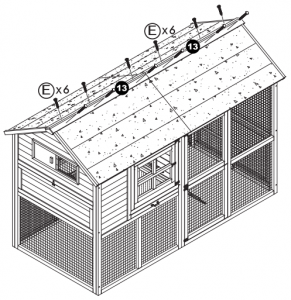
- Attach front and back roof caps (13) with screws (E).

- Attach roof trim panels (12) with screws (E).


Cumberland coop sku # 1497229
distributed by: tractor supply company 5401 virginia way, brentwood, tn 37027
for customer support call: 888-376-9601
www. tractorsupply.com


