FISHMASTER Pro Series T-Top Instruction Manual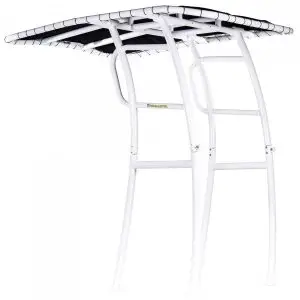
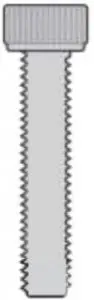
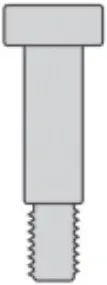
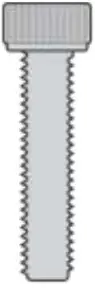
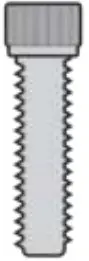
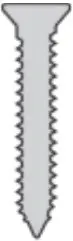
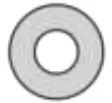
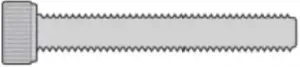
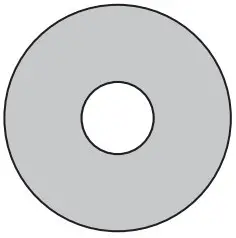
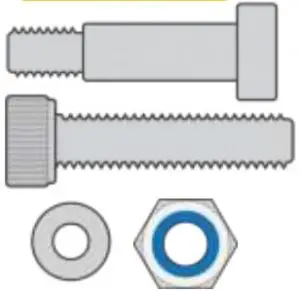
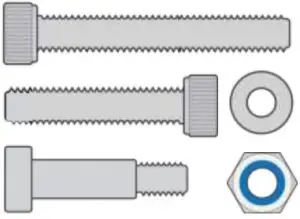
Included Hardware Identification
- 8x

- 4x

- 8x

- 16x

- 16x

- 12x (Actual Size)

- 18x
- 10x

- 4x


Parts List:
- (5) Canopy Coupler
- (4) Canopy Sections
- (4) Leg Sections
- (4) Upright Caps
- (2) Standoffs
- (2) Allen Keys
- (2) Nylon Washers
- (1) Canvas Cover
- (1) Rope
- (1) 3M 5200 Adhesive Tube
- (1) Marine Lubricant
Gather Additional Tools and Materials
| Reversible Drill | Permanent Marker | 45 Degree Chamfer Bit |
| 3/16” Drill Bit | Level | (16) 8” Cable Ties |
| Screwdriver | Hammer | Marine Grease for Bolts |
| Blue Painter’s Tape | Center Punch | Loctite 242 Blue |
| Tape Measure | 14” Long 3/8” Drill Bit |
![]() CAUTION: If you are unfamiliar with your boat’s construction, please seek professional advice before installing the t-top.
CAUTION: If you are unfamiliar with your boat’s construction, please seek professional advice before installing the t-top.
For added assistance when installing the t-top, please consider watching the installation video at: fishmaster.com Or call us at 877-777-8693
As you plan to install the, Fishmaster Pro Series T-Top, keep in mind that drilling into the console and deck of the boat is needed in order to safely secure the t-top to the boat.
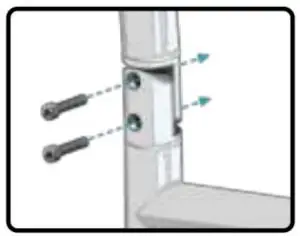
Step 1: Assemble Side Sections
Hardware Needed:
PRO TIP: Get the bolts snug in place first, then come back to tighten down fully after each step.
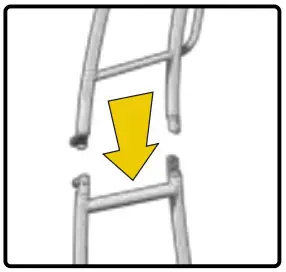
- Attach leg sections together with the hinge facing the bow of the boat.

- Insert the M10x35 bolts to connect the top and lower sections.

- Insert the nylon washer followed by the hinge bolt and lock nut into the hinge.
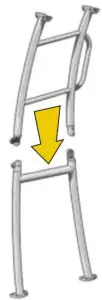
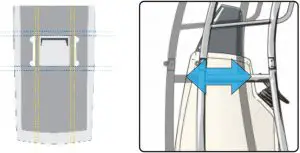
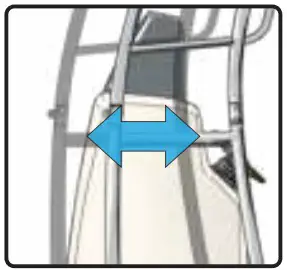
Step 2: Positioning The Assembled Legs
- It is important to understand the placement of the legs will need to be square and even with the opposite side of the console.

PRO TIP: It is recommended to place the leg 1”-7” away from the sides of the console.
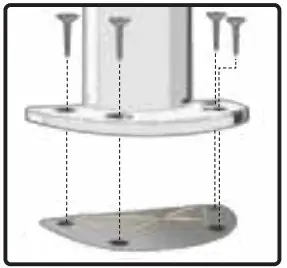
Step 3: Mounting Legs To Boat
Hardware Needed:

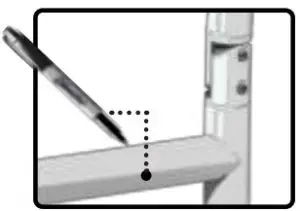
- Mark the holes to know where to drill.
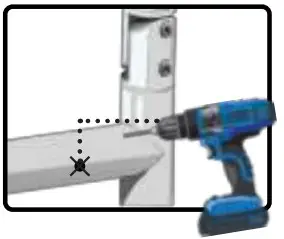
- DRILL IN REVERSE, and use a 45 degree chamfer drill bit to prevent gel coat damage.

- Attach leg sections to the boat by applying 3M 5200 marine adhesive between and in the holes. Then screw down the foot.

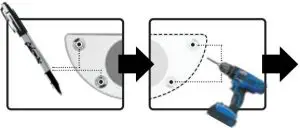
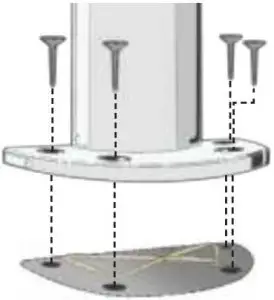
- Do not apply 3M 5200 adhesive to deck or screw holes until parts 1-2 of Step 3 is completed to both the front and rear feet.
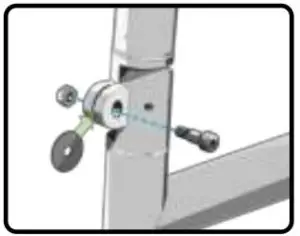
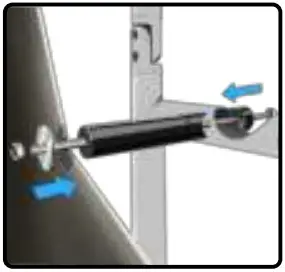
Step 4: Assembling The Standoffs
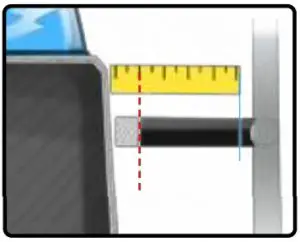
- Mark to know where to place the standoff.

- Using a 3/8” drill bit, drill a hole through the side upright.

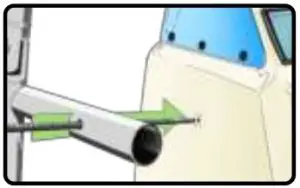
- Place the standoff rod through the hole and mark where it touches on the console. Use 14” long 3/8” Drill Bit.

- Measure standoff and cut with a fine tooth handsaw to the appropriate length.

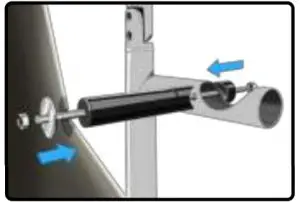
- Assemble the standoff through the leg and from the inside of the console.

Step 5: Repeat Steps 1-4 For Second Leg
- Repeat steps 1-4 to properly assemble the second leg and mount it to the deck.

- Step 1

- Step 2

- Step 3

- Step 4

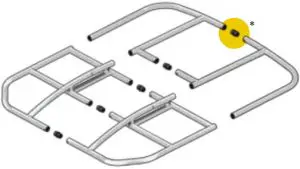
Step 6: Assemble The Canopy
Hardware Needed:
- Gather the parts to the canopy.

Note: If the coupler is in a colored bag, that is the designated rear coupler - Insert the double ended canopy couplers into the inner/outer rails

- Install bolts to join the canopy sections together.

- Remember to install the hinge bolts.


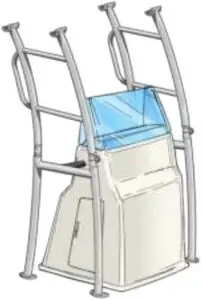
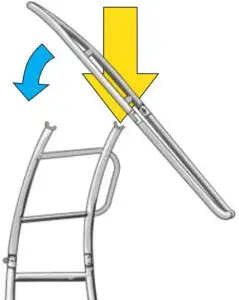
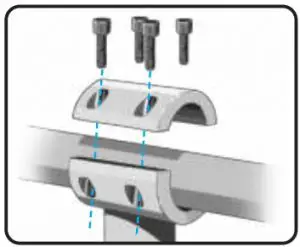
- Install the canopy to the legs by resting it into the c-clamp and tilting it forward.

- Insert the bolts into the c-clamps.

PRO TIP: It is recommended to get assistance in placing the canopy onto the legs.
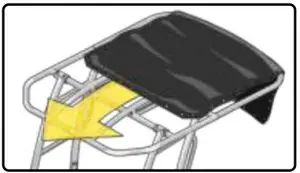
Step 7: Attaching the Canvas Top
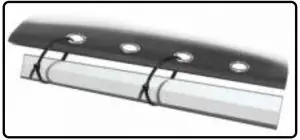
- Slide the canvas top onto the canopy of the tower. Make sure the white I.D. tag is facing the rear and on the underside.

- Keep the canvas in place by first attaching cableties. Maintain an even spacing between the canvas and the tubes.

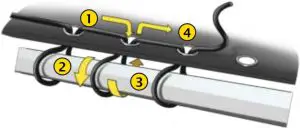
- Thread the rope through each grommet and over the bars as shown below. Remove the cable-tie afterwards.
PRO TIP: With a firm tug, tighten the canvas down like a drum head.
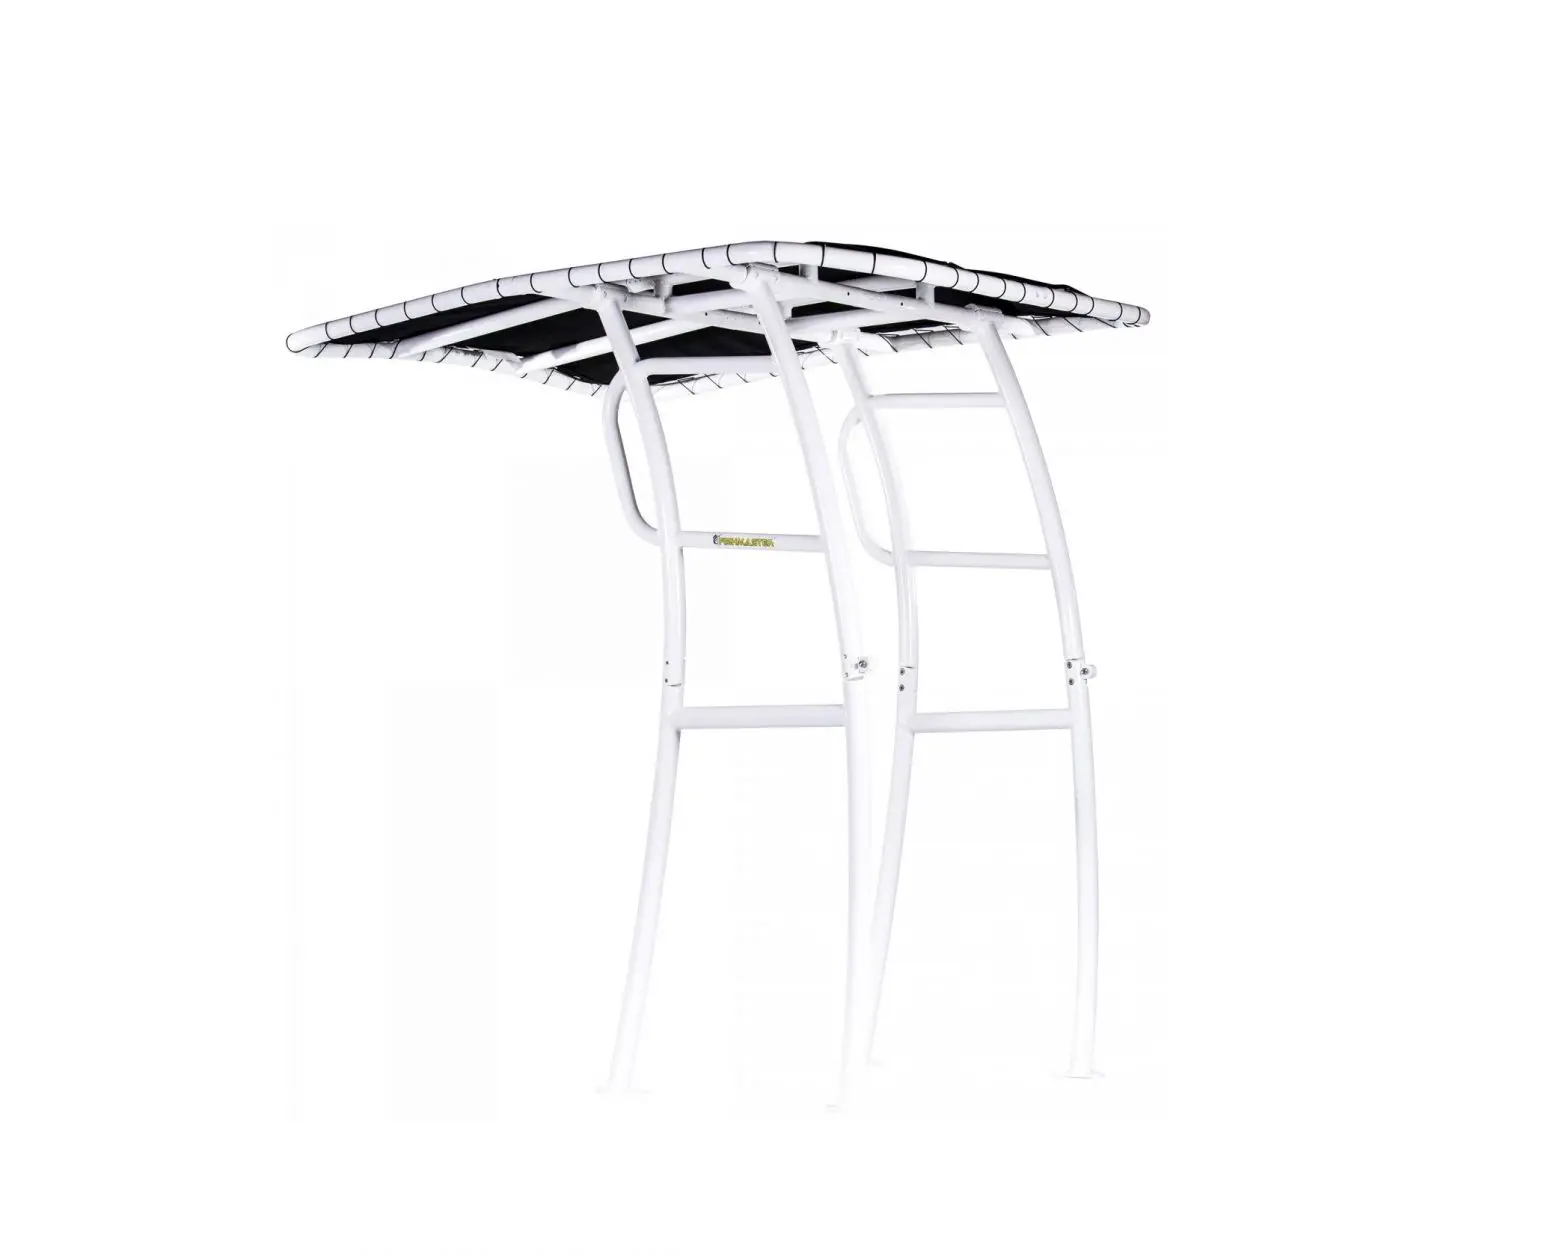
Final Product
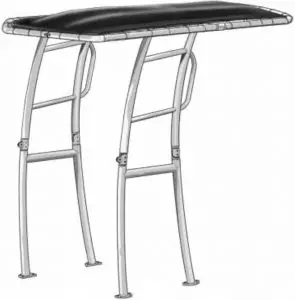
Congratulations,
You have just successfully installed your new Fishmaster Pro Series T-Top!
Send us a picture of your install out on the water to our gallery on Fishmaster.com and we will send you a FREE t-shirt!
Tag us on social media to be featured on our feed! Welcome to our fishing team!
Contact Us
Do you have questions? Call us @ 877.777.8693 Monday – Friday, 8am-5pm EST
Follow us on:

@fishmasterinc
fishmasterinc


