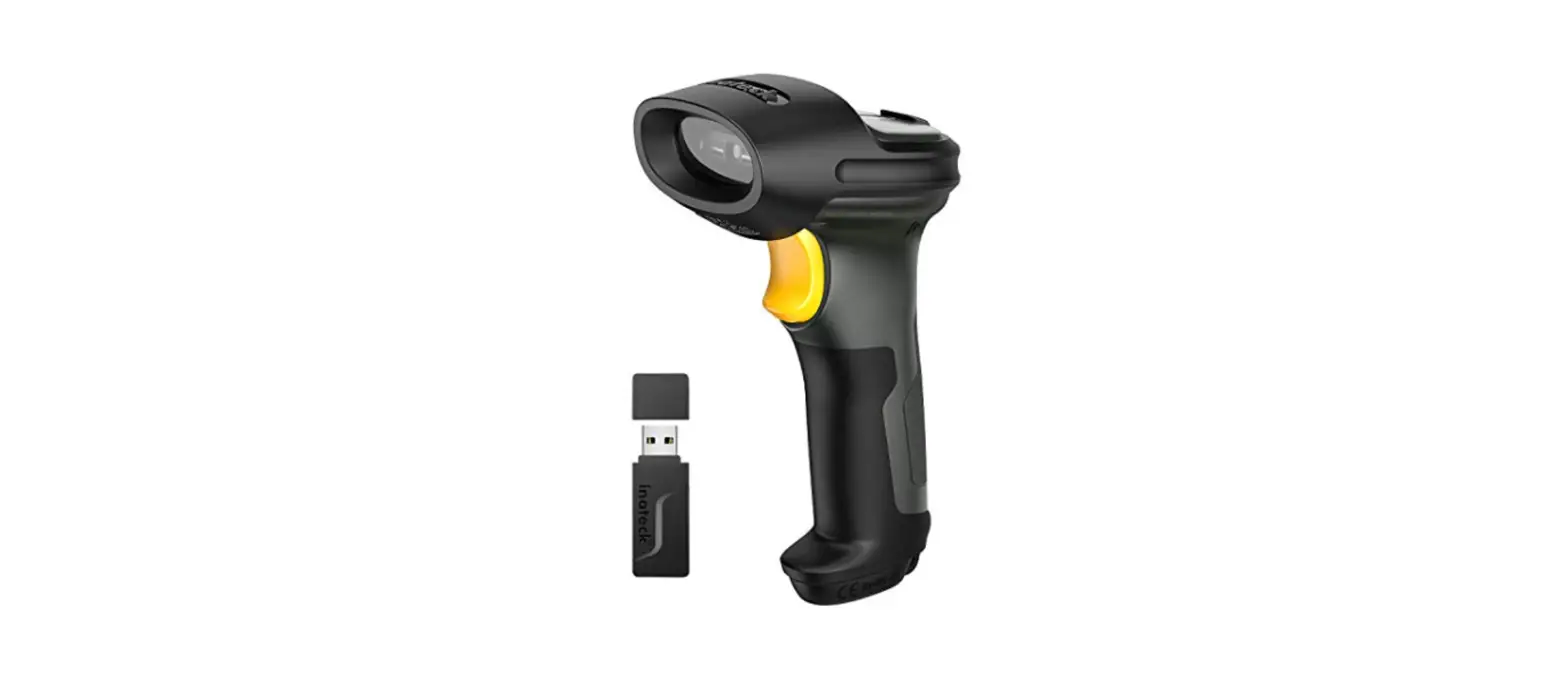

inateck BCST-54 2D Barcode Scanner
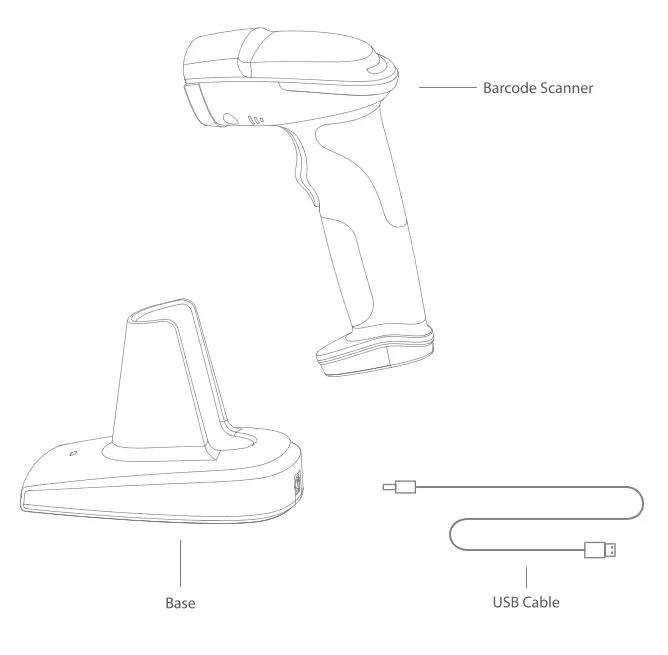
Product Illustration
Quick Start
HowtoSetup
Connect the base to a computer via the included USB cable and the blue LED on the base will turn on when the power is connected. The base can receive signals from the barcode scanner and be used to charge the scanner.
When the trigger is pressed, the barcode scanner will turn on and connect the base automatically.
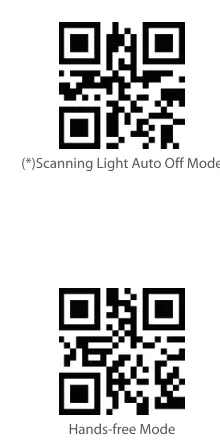
Frequently Used Barcodes
Note:
- Function Setting Steps: “Enter Setup” — “eg: Low Volume” — “Save and Exit”
- Those marked with (*) in the manual indicate default settings.


Use of BCST-54
Connection
(*) Wireless Base Mode
The scanner is synched to the base. Connect the base to a computer via the included USB cable and the blue LED on the base will turn on when the power is connected. The base can receive signals from the barcode scanner and be used to charge the scanner.
Note: If you receive an error during data transfer via the wireless connection, please scan the setting barcodes in sequence to reconnect the scanner to the base: “Enter to setup” “Wireless Base Mode”.”Save and Exit”.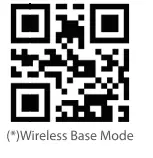
Wired Mode
Connect the scanner to a computer via the USB cable. BCST-54 will transmit data via the USB cable to your computer even though it once works via the wireless base or Bluetooth.
Bluetooth Mode(HID)
The Bluetooth mode (HID) is not the default mode. To enter this mode, please scan the setting barcodes in sequence: “Enter to setup” – “Bluetooth Pairing (HID mode) ” –
“Save and Exit”.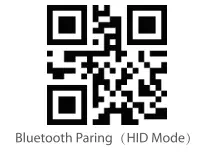
Charging
- Connect the base to a computer/charger via the included USB cable. You can charge the scanner simply by placing it onto the base.
- Connect the scanner to a computer/charger directly via the included USB cable to charge it.
Setting
System Setting
Keyboard Setting 


Inventory Mode
Users may use the inventory mode to keep the scanned barcodes in the cache of BCST-54 and upload them to a computer in batches. Under inventory mode users are not restricted to the time or location when uploading data. In addition, historical data can be cleared in the cache. More details about inventory mode are as below.
Note:
It is not necessary to scan “Enter Setup” or “Save and Exit” when scanning the 5 barcodes below. Simply scan the barcodes to activate the functions.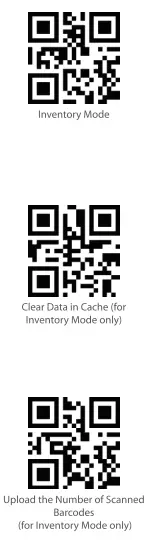

Status Indicator
| LED Indication -On the Scanner | |
| Green Light Flashes Once | Data is read and uploaded to the computer. |
| Blue Light Flashes Once | Data is read and stored in cache. |
| Blue Light Stays On | The scanner is under Setting Mode. |
| Yellow Light Stays On | Low Battery. |
| Red Light Stays On | Charging ( Red light goes off when fully charged). |
| LED Indication -On the Base | |
| Blue | Power is connected but the scanner is not in place. |
| Red | The scanner is in place and under charging. |
| Green | Fully Charged. |
Product Specification
| Material | ABS, PC, TPU |
| Voltage | DCSY |
| Battery Capacity | 2600mAh |
|
Supported Barcode | Code 128, EAN-13, EAN-8, UPC-A, UPC-E. Code 39, Code 93, Codabar, Interleaved 2 of 5, Standard 2 of 5, Industrial 2 of 5, Matrix 2 of 5, IATA 2 ofS, MSI, Code 11, ISBN, ISSN, GSl 128, GSl DataBar, GSl DataBar Expanded, GSl DataBar Limited, QRCode, POF-417, AztecCode, Maxi Code, Data Matrix, Han Xin Code |
| Resolution | Smil |
| Scan Method | Auto/Manually |
| Lowest Contrast | 20% |
| Decoding Angle | Turning Angle 360°, Elevation Angle 55°, Deflection Angle 55° |
| Communication Frequency | 2.402GHz~2.480GHz |
Package List
- BCST-54* 1
- USB Cable * 1
- User Guide* 1
FCC Statement
This device complies with part 15 of the FCC Rules. Operation is subject to the following two conditions: (1) this device may not cause harmful interference, and (2) this device must accept any interference received, including interference that may cause undesired operation.
Any changes or modifications not expressly approved by the party responsible for compliance could void the user’s authority to operate the equipment.
NOTE: This equipment has been tested and found to comply with the limits for a Class B digital device, pursuant to Part 15 of the FCC Rules. These limits are designed to provide reasonable protection against harmful interference in a residential installation. This equipment generates, uses and can radiate radio frequency energy and, if not installed and used in accordance with the instructions, may cause harmful interference to radio communications. However, there is no guarantee that interference will not occur in a particular installation.
If this equipment does cause harmful interference to radio or television reception,
which can be determined by turning the equipment off and on, the user is encouraged to try to correct the interference by one or more of the following measures:
- Reorient or relocate the receiving antenna.
- Increase the separation between the equipment and receiver.
- Connect the equipment into an outlet on a circuit different from that to which the receiver is connected.
- Consult the dealer or an experienced radio/TV technician for help.
The device has been evaluated to meet general RF exposure requirements. The device can be used in portable exposure condition without restriction


