Singtel XGSPON Optical Network Router

Product Information
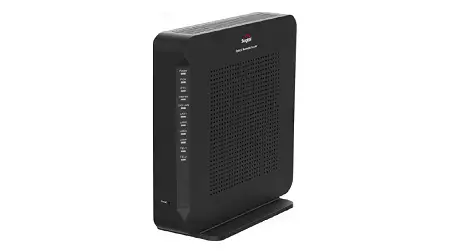
The XGSPON Optical Network Router is a device that provides high-speed internet connectivity and telephone services. It has 4 Ethernet ports, 1 10G Ethernet port, 2 POTS ports, and 1 USB 2.0 port. The XGSPON ONR should be placed vertically in an open area, such as on a work desk, and its ports at the back should be unobstructed. The device comes with a Cat6A cable, power adapter, phone cable, and quick installation guide.
Product Usage Instructions
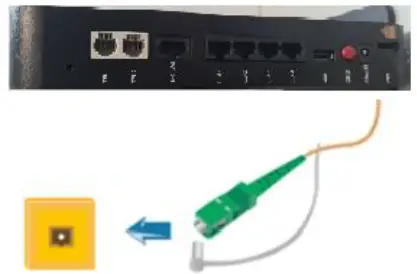
Step 1: Perform Fibre Patching
As fibre optic cables are made of glass, do not bend them sharply and ensure the bending diameter is larger than 60mm.
Step 2: Connect Cables to XGSPON ONR
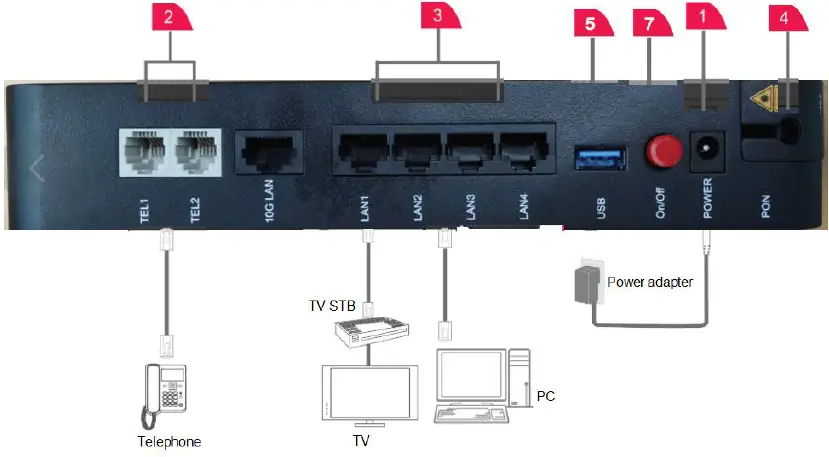
- Power port
- Two telephone ports
- Four ethernet ports
- Fibre port
- USB port
- Reset button
- LED ON/OFF
Follow instructions below to perform fibre patching.
 Note
Note
As fibre optic cables are made of glass, please do not bend sharply and ensure the bending diameter is larger than 60 mm.
- Connect the Cat6a cable (blue) from the Ethernet port of your device to a LAN port on the XGSPON ONR.
- Connect the phone cable (grey) from your phone to the assigned TEL port on the XGSPON ONR.
- If you have a USB data cable, connect it from the USB port on the XGSPON ONR to your USB device (optional).
- Connect the power adapter to the XGSPON ONR’s POWER port and your home electrical outlet. The POWER indicator on the XGSPON ONR should be green.
Step 3: Configure the XGSPON ONR
Logging in to the Webpage for Configuration
- Connect your PC to the XGSPON ONR through the Ethernet port.
- Ensure your PC is in dynamic IP address mode.
- Enter http://192.168.1.254 in the address bar of Internet
Explorer and press Enter. When the login window is displayed, enter the username (root by default) and password (printed on the label). - Click Login.
Your session will automatically timeout after 5 minutes of inactivity and you will be required to login again. Replace your default password with a personal one to avoid unauthorized access.
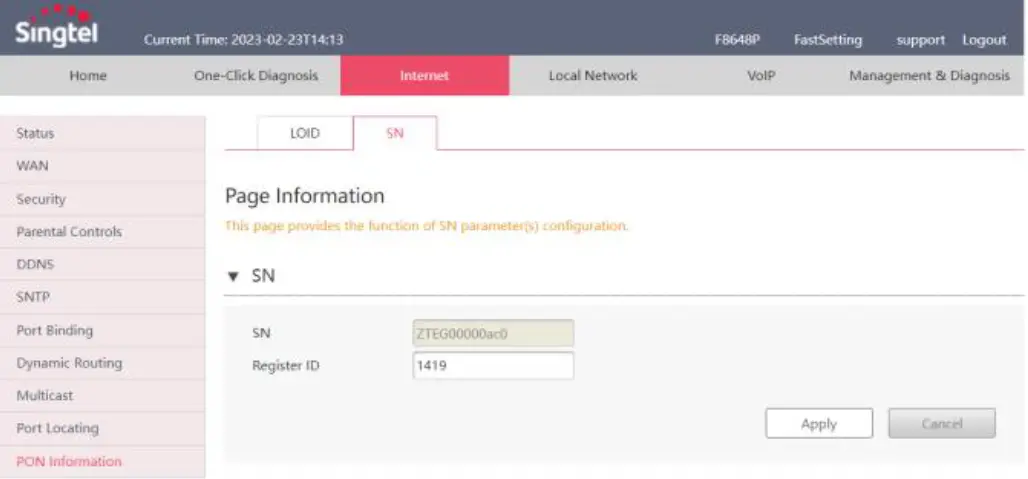
Configuring the FTTH ID
- Choose Internet (header third tab) > PON Information (on the left pane) > SN (second tab).
- Input the FTTH ID (Use FTTH ID provided by Singtel).
- Click Apply. The XGSPON ONR will automatically reboot. For how to verify the service, refer to chapter 5.

Step 4: Verify Connection Successfulness
If the PON indicator is blinking, check your fibre connection as stated in chapter 3, and FTTH ID configuration in chapter 4. See chapter 7 if other indicators display exception occurs.
- LED indicators on the XGSPON ONR provide status information of each service connection. Each light mode indicates the successfulness of the connection listed in chapter 3 & 4:
- Fibre connection is up if PON indicator is steady green.
- Each of these services are functioning normally if LAN/Internet/IPTV/TEL indicators are steady green.
- If the PON indicator is blinking, check your fibre connection as stated in chapter 3, and FTTH ID configuration in chapter 4.
- See chapter 7 if other indicators display exception occurs.

Step 5: Reset Factory Defaults
To reset all the settings except the FTTH ID, press the Reset button using a needle-like object and hold it for more than 10 seconds. If the LED indicator turns off and on, your ONR has been successfully restored to factory defaults.
- What does it do?
To reset all the settings except the FTTH ID - How to reset?
Press Reset button by using a needle-like object and hold for more than 10 seconds. If LED indicator turns off and on, your ONR has been successfully restored to factory defaults.
Technical Specifications
- Power supply: 12 V DC, 2 A
- Power adapter input: 100 – 240 V AC, 50 – 60 Hz
- System power supply: See the nameplate on the device
- Ambient temperature: 0ºC to +40ºC
- Ambient humidity: 5% – 95% RH (non-condensing)
- Weight: < 800 g
- System power consumption: ≤ 24 W
Product Overview
| Product | Feature |
| XGSPON Optical Network Router (ONR) |
|
What’s in the box?
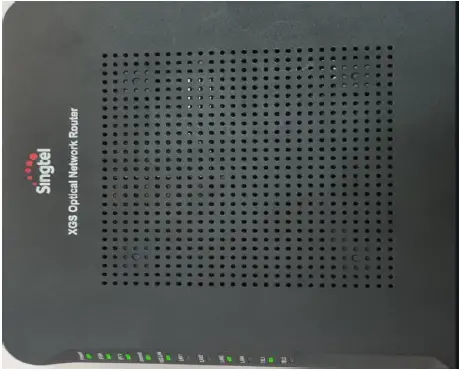
| Name | How it looks like |
| XGSPON ONR |  |
| Cat6A cable | 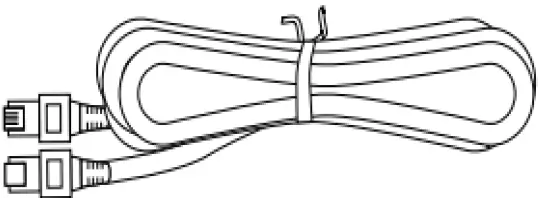 |
| Power Adapter |  |
| Phone cable | 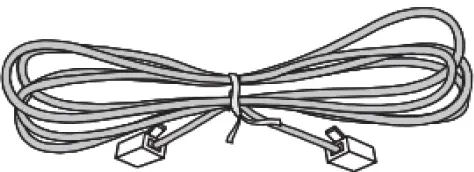 |
| Quick installation guide |  |
Suggested Placement of ONR
Caution
Do not install XGSPON ONR outdoors or in cabinets which may be exposed to sun and rain.
XGSPON ONR should be vertically placed at an open area, such as on your work desk. Ports at the back of XGSPON ONR should be unobstructed.
Indicator Description
| Indicator | Status | LED Description |
| POWER | Steady green | The ONR is powered on. |
| Off | The power supply is cut off. | |
| Blinking red | The ONR is upgrading. | |
| Steady red | Hardware self-check failed or failed to start. | |
| PON | Steady green | Fibre connection is up. |
| Off | Fibre connection is down. | |
| Blinking twice a second | Fibre connection set up in progress. | |
| Steady red | Optical signals are abnormal, please reconnect the fibre port, | |
| TEL1–TEL2 | Steady on | Corresponding voice service is up. |
| Blinking | Voice service is up and the phone is off-hook or ringing. | |
| Off | Voice service is down or not available. | |
| LAN1– LAN4 | Steady on | Ethernet connection is in the normal state. |
| Blinking | Data is being transmitted on the Ethernet port. | |
| Off | Ethernet connection is not set up. | |
| 10G LAN | Steady on | Ethernet connection is in the normal state. |
| Blinking | Data is being transmitted on the Ethernet port. | |
| Off | Ethernet connection is not set up. | |
| INTERNET | Steady on | Internet service is OK. |
| Blinking | Internet data is being transmitted. | |
| Off | Internet service is down. | |
| IPTV | Steady green | IPTV WAN IP address and STB detected OK. |
| Blinking | No IP address obtained in IPTV interface and STB detected | |
| Off | No STB detected. |


