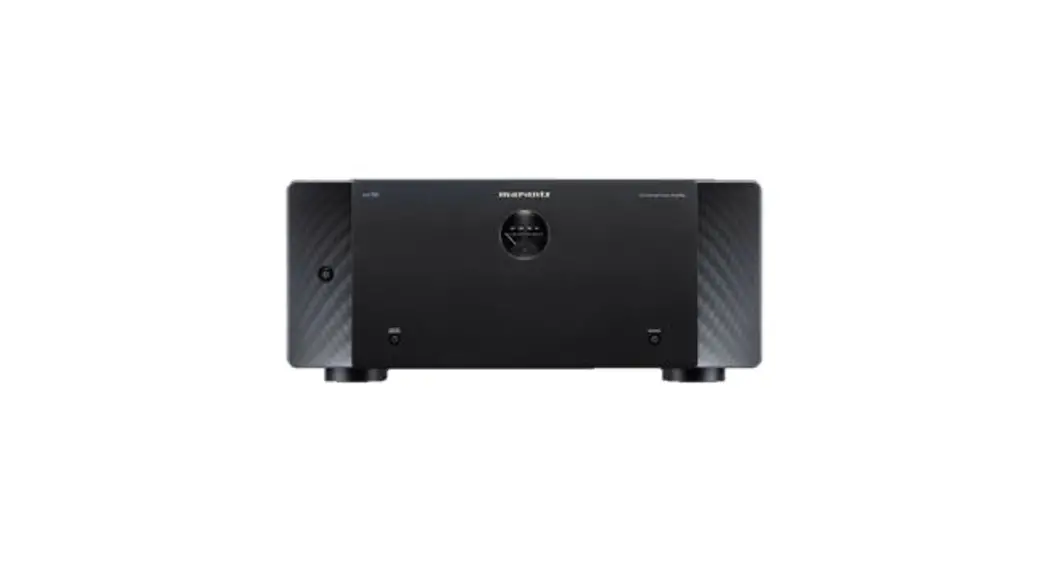
![]() AMP10 16 Channel Amplifier
AMP10 16 Channel Amplifier
User Guide
Welcome
Thank you for choosing a Marantz power amplifier.
Connecting a Marantz AV 10 and speakers (sold separately) to this unit enables use of a variety of surround sound systems.
This guide describes how to connect AV Preamplifier and speakers to this unit.
Please do not return this product to the store.
If you need help…
Scan the QR code or visit support.marantz.com/ for setup help, technical support, warranty assistance, or customer support contact information.

Before you begin
| RCA cables | 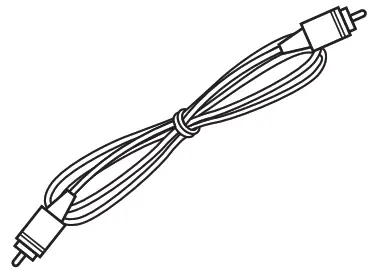 |
| or | |
| XLR cables | 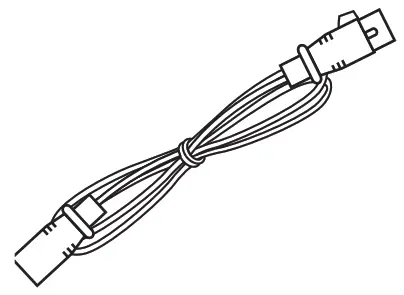 |
| AV Preamplifi er | 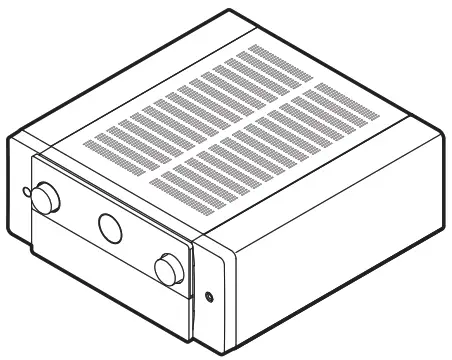 |
| Speakers | 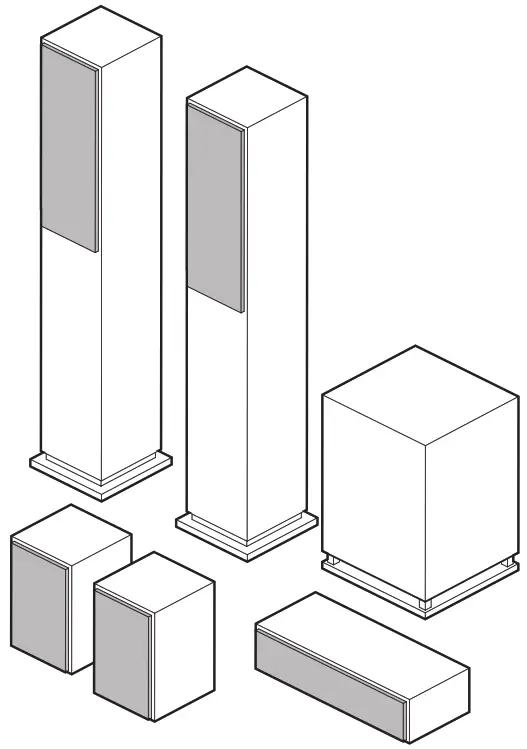 |
| Speaker cables | 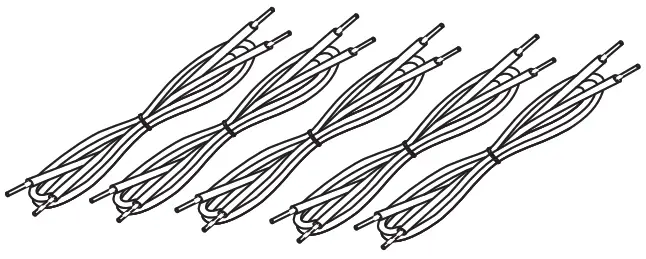 |
What’s in the box
| Quick start guide | 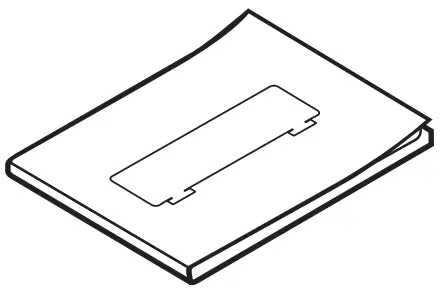 | Power cord | 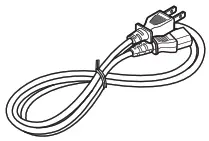 |
| Safety instructions |  | REMOTE CONTROL connector cable |  |
| Warranty (for USA and Canada) |  | AMP CONTROL connector cable |  |
| Power amplifi er | 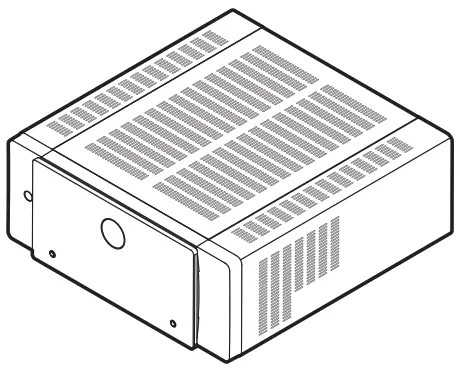 | Speaker terminal wrench | 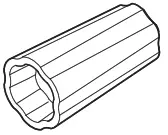 |
Setup
1. Connect your speakers
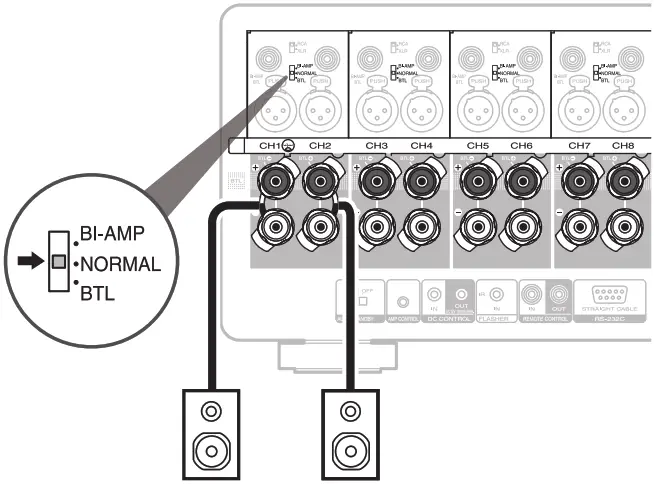
There are 3 modes for connecting this unit with speakers:
- Normal mode
- Bi-amp mode
- BTL mode (Bridge mode)
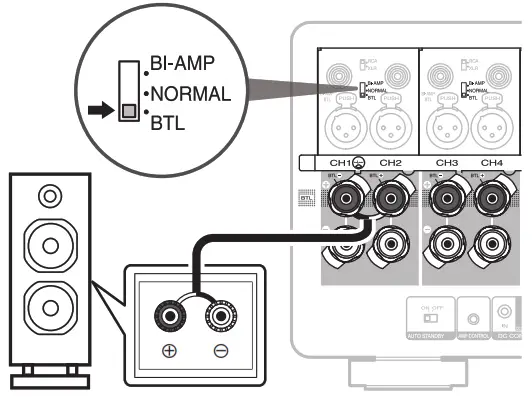
Set the NORMAL/BI-AMP/BTL selector on the rear panel of this unit according to the connection mode used.
NOTE
Always set the NORMAL/BI-AMP/BTL selector before turning on the power. If the setting is changed after turning on the power, the setting will not be applied.
- Normal mode
Connect your speaker cables between the AMP 10 and your speakers. This is the default setup, where you simply connect the speakers directly to the corresponding pair of terminals.
- Bi-amp mode
Connecting separate amplifi ers to the tweeter terminal and woofer terminal of a speaker that supports bi-amplifi cation enables playback with higher sound quality.
 • When making bi-amp mode, be sure to remove the short-circuiting plate or wire between the speaker’s woofer and tweeter terminals.
 - BTL mode (Bridge mode)
Using 2 amplifi ers to drive 1 speaker enables more powerful playback. • For the highest power set-up, the BTL mode can convert the 2 x 200 W at 8 ohms stereo amplifi er to a 400 W mono amplifi er. The two-amplifi er circuit construction guarantees an excellent signal to noise ratio and the full control of any speaker.

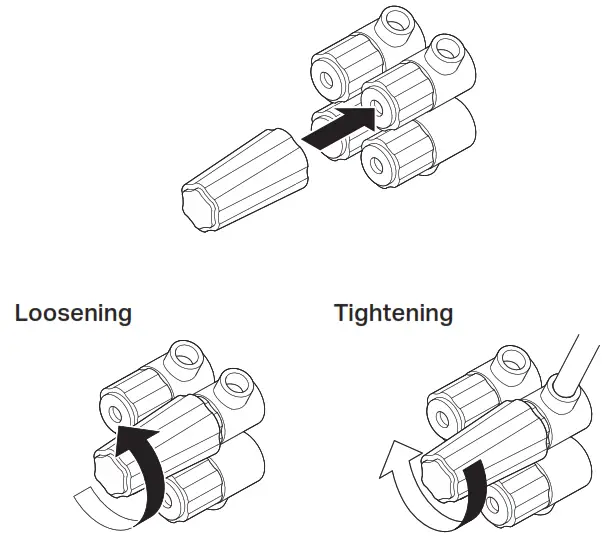
How to use the speaker terminal wrench
Use the included speaker terminal wrench to easily loosen or tighten the speaker terminals.
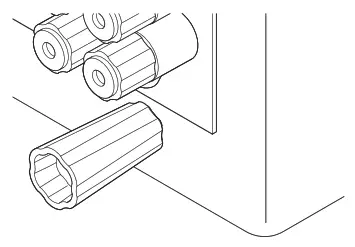
- The speaker terminal wrench contains a built-in magnet that enables it to be attached to the rear panel. After connecting speakers, store it in the included accessory box or in another safe place.

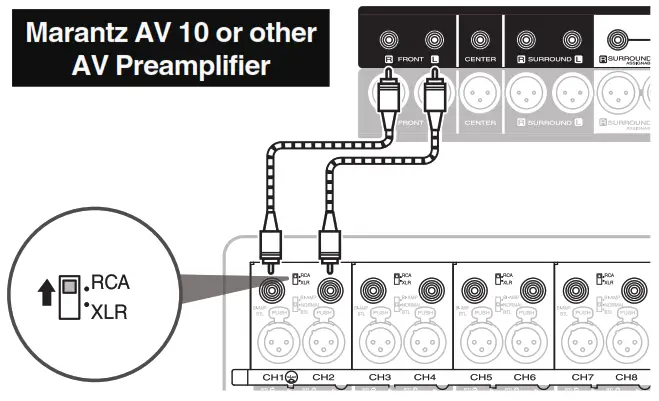
2. Connect your AV Preamplifier
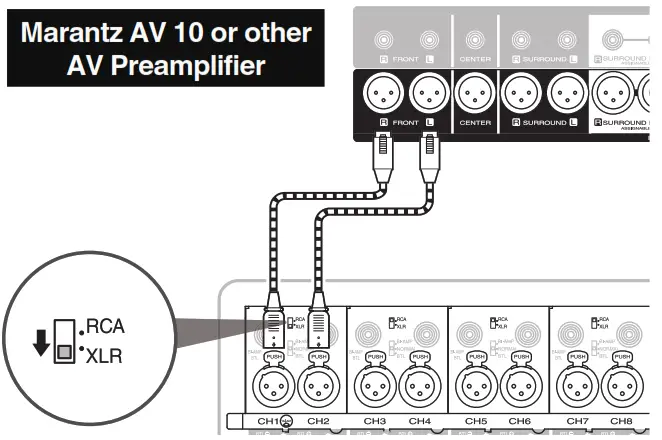
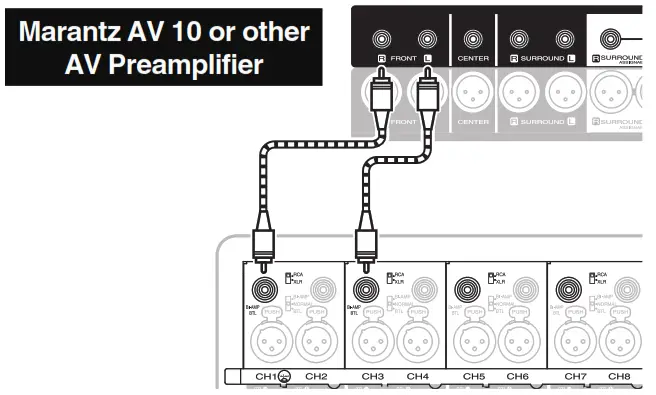
There are 2 methods for connecting this unit with an AV Preamplifi er… an unbalanced connection or a balanced connection. Set the RCA/XLR INPUT selector on the rear panel of this unit according to the connection method used.
NOTE
Always set the RCA/XLR INPUT selector before turning on the power. If the setting is changed after turning on the power, the setting will not be applied.
- Connect the UNBALANCED RCA INPUT connector

- Connect the BALANCED XLR INPUT connector

NOTE
When connecting speakers using a bi-amp connection or BTL connection, connect BALANCED XLR or UNBALANCED RCA to an odd-numbered channel (CH1, CH3, CH5, CH7…). Do not connect to an even-numbered channel (CH2, CH4, CH6, CH8…).
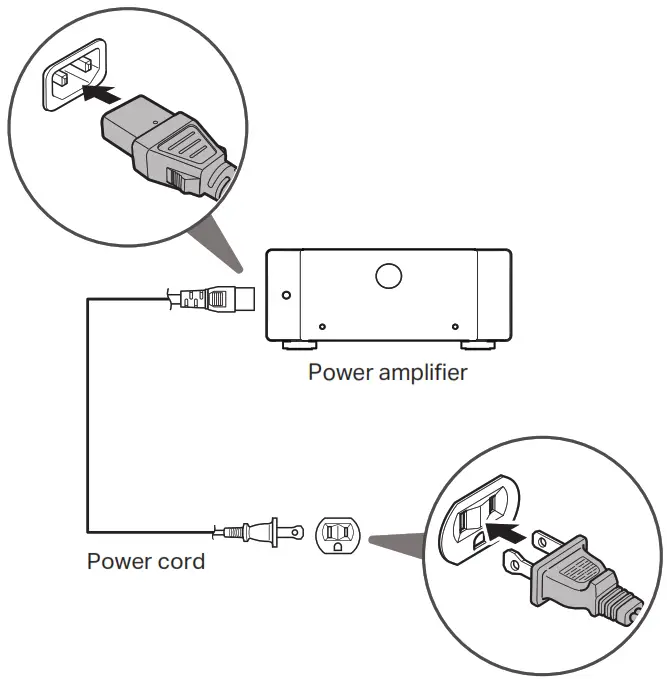
3. Connect the power cord
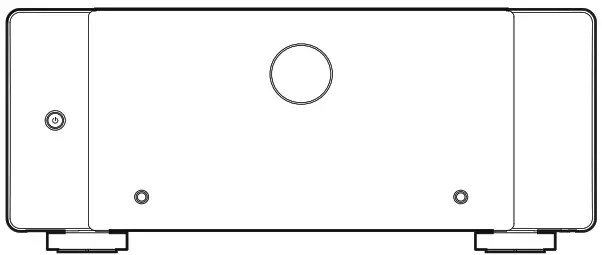
4. Turn on the power amplifier
Press the ![]() button on the power amplifier.
button on the power amplifier.
Control cables (included)
The AMP 10 comes with the following two types of control cables. Choose between the two to suit the type of device you are connecting.
AMP CONTROL connector cable
When the AMP 10 is connected to a Marantz AV Preamplifier with an AMP CONTROL terminal, the following linked operations can be performed.
- When the AV Preamplifier is turned on or put on standby, the same operation is applied to the AMP 10.
- When the display brightness setting of the AV Preamplifier is changed, the new setting is also applied to the front panel lights of the AMP 10.
REMOTE CONTROL connector cable
When the AMP 10 is connected to a Marantz product with a REMOTE CONTROL terminal, the following linked operations can be performed.
- When a Marantz product is turned on or put on standby, the same operation is applied to the AMP 10.
Refer to the owner’s manual for details such as instructions on connecting.
Owner’s manual
Refer to the online manual for other functions, information, and operation procedure details.
manuals.marantz.com/AMP10/NA/EN/

For more information, visit www.marantz.com
![]() Printed in Japan
Printed in Japan
5411 11954 00AS
© 2022 Sound United. All Rights Reserved.


