![]() 7 Gallon Fuel Tank Replacement Kit
7 Gallon Fuel Tank Replacement Kit
User Guide
Z-GS-0795-AP 7 Gallon Fuel Tank Replacement Kit
 Read and completely understand these instructions prior to starting this procedure. If you have any questions or are not completely comfortable performing this procedure, call Allparts Equipment Customer Service at 877-475-5660.
![]()
Read the generator General Manual. Do not attempt to operate this equipment until you have read the General Manual for Safety, Operation, and Maintenance Instructions.
Items needed to replace the fuel tank:
- 1 – Pliers
- 1 – 1/4″ Nut Driver or Wrench
- 1 – Approved container designed to hold 7 gallons of gasoline. Light oil or soap
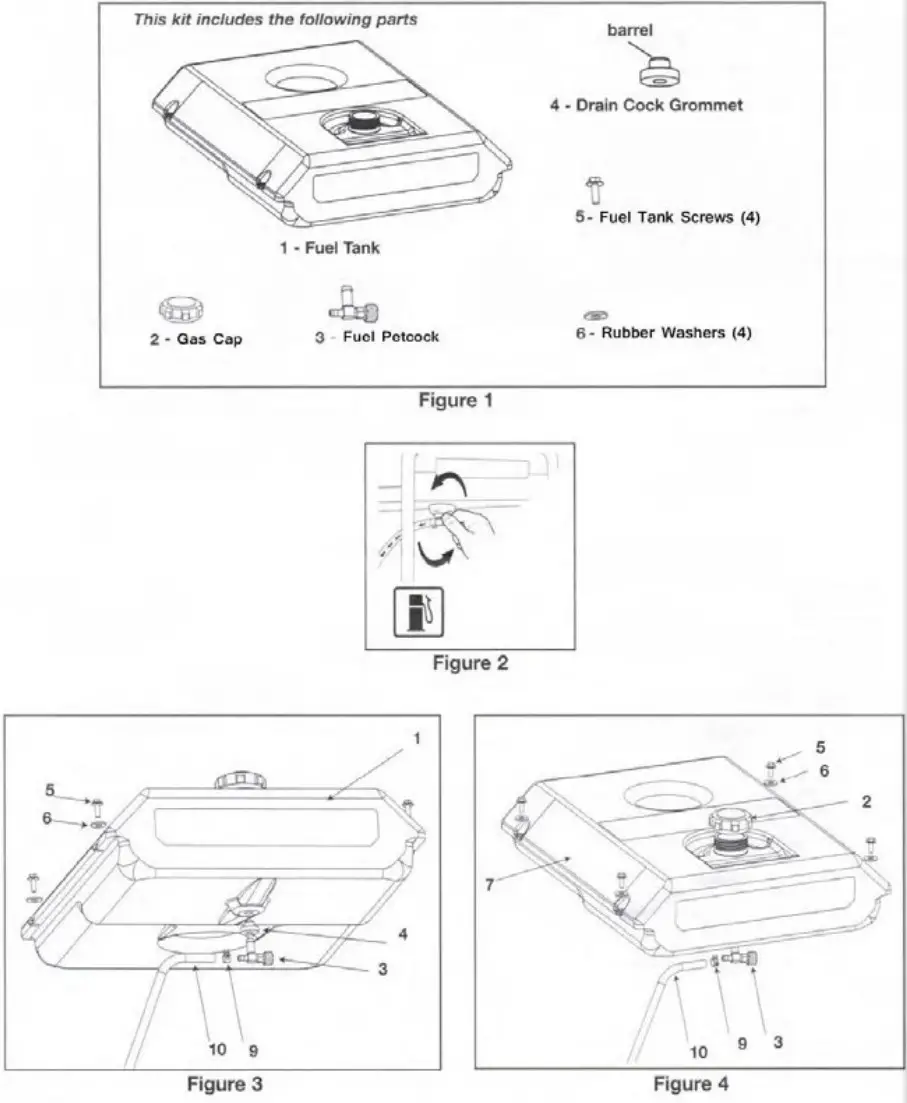
| Kex No. | Description | Qty |
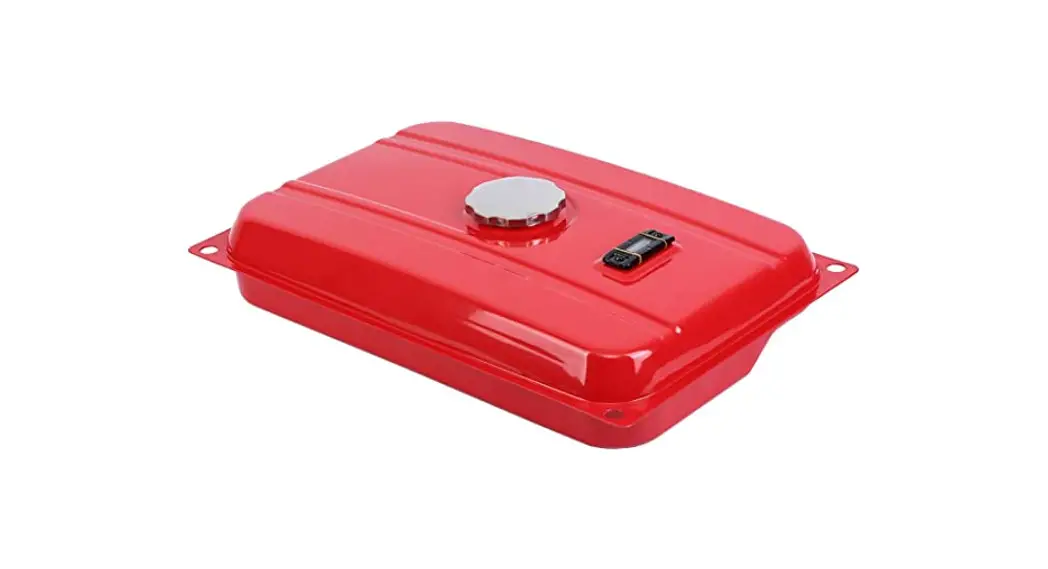
| 1 | Fuel Tank | 1 |
| 2 | Gas Cap | 1 |
| 3 | Fuel Petcock | 1 |
| 4 | Drain Cock Grommet | 1 |
| 5 | Fuel Tank Screw | 4 |
| 6 | Rubber Washers | 4 |
![]()
Gasoline is highly flammable and explosive.
You can be burned or seriously injured when handling fuel.
- Stop the engine and keep heat, sparks, and flame away.
- Handle fuel only outdoors.
- Wipe up spills immediately.
To Remove Old Tank
- Disconnect all electrical loads.
- (if equipped) Turn engine and panel ON/ OFF switch to “OFFposition.
- (Figure 2) Close fuel petcock on tank by turning clockwise until it stops.
- Allow engine to cool to room temperature.
- (if equipped) Disconnect battery cables from battery.
- Place generator outside away from heat, spa rks, or flame.
- Drain contents of fuel tank into approved container.
NOTE: If drained fuel is more than 30 days old and has not been treated with fuel stabilizer, dispose of properly. - (Figure 3) Using pliers, loosen clamp (9) on fuel line (10) and remove fuel line from tank. NOTE: Be careful removing fuel line; it may contain fuel.
- (Figure 3) Remove four screws (5), and washers (6) securing fuel tank to frame. Remove old fuel tank. Discard tank, screws, and washers.
- (if equipped) Leave heat sh ield in original position.
- Remove labels from old fuel tank and attach to new fuel tank.
NOTE: Dispose of old tank properly.
To Install New Tank
- (Figure 3) Lubricate barrel of drain cock grommet (4) with light Oil or soap. (See Gromit installation instructions on Page 3)
- (Figure 3) From bottom of tank, fully insert barrel of drain cock grommet (4) into new tank (1 ).
- (Figure 3) Insert shaft of fuel petcock (3) into drain cock grommet (4). Close fuel petcock (3) by turning clockwise until it stops.
- (if equipped) Place heat shield in original position.
- Place tank on frame ra ils with drain cock oriented away from engine. Align holes in tank with holes in frame.
- (Figure 4) Install fuel tank screws (S) and rubber washers (6). Torque screws to 20-25 inch pounds (hand tight.)
IMPORTANT: DO NOT over tighten; over tightening may cause damage to tank. - (Figure 4) Secure fuel line (1 0) to fuel petcock (3) with fuel clamp (9).
- Add a small amount of fuel to the tank; open fuel petcock and inspect for leaks at fuel line and fuel petcock.
- If no leaks are found, the tank is ready to be refilled. Use clean, fresh, regular unleaded gasoline with minimum of 85 octane. Inspect tank after refilling for leaks.

Never fill fuel tank completely. Fill tank to 1/2″ below the bottom of the filler neck to provide space for fuel expansion. Wipe any fuel spillage from engine and equipment before starting engine.
Never fill fuel tank indoors. Never fill fuel tank when engine is running or hot. Do not smoke. - (Figure 4) Install and hand tighten fuel cap (2).
- (Figure 4) Apply warning label (7) from old tank as shown.
- The unit is now ready for operation.
![]() Title: installation o n instructions for Viton Grommet (Orange)
Title: installation o n instructions for Viton Grommet (Orange) 
- Soa1k Grommet i1n wa1rm tap 5 water .5 minutes to ease installation.
- Insert Grommet (small end fi1r:st) into hole.
- Coa1t liD of Grommet with lubricant (see chart).
- Slowly press fitting through hole in Grommet
| Average Push-in-force with Lubrication test results (Viton) | |
| Lubricant | Avg force (lbs∼force) |
| P-80 | 80.4 |
| Dawn dish soap | 88.3 |
| 2-cycle oil | 99.3 |
| 10W30 Motor Oil | 98.3 |
| Purple Murple | 124.6 |
| Water | 152.1 |
| Dry | 234.2 |
| Test parameters: Hole size .540 wall niceness .250 | |

Available from Allparts Equipment and Accessories
1-877-475-5660
www.allpartsinc.com


