User Manual
MODEL: L325
Solar Garden Spotlight | 3 Adjustable Heads
| Warm White | ACCENT
![]()
Solar panel assembly and installation
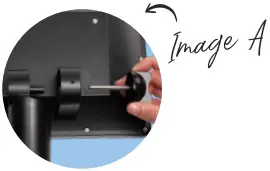 Refer to image A. Thread the screw through the bracket located on the back of the solar panel then push the spike over the screw, securing with the supplied nut. The solar panel can either be mounted by using the supplied screws and plugs or inserted into the ground using the spike.
Follow these steps to mount the solar panel to a wall or fence using the supplied plugs and screws:
MASONRY INSTALL:
Using an electric drill (hammer or rotary), drill a hole with an 8mm masonry drill bit. Hammer plugs into place then secure the screws.
TIMBER INSTALL:
Using an electric drill, drill a pilot hole with a 4mm drill bit to guide the screws (plastic plugs not required).
Connecting lights and solar panel
Push the three cables into place being mindful not to damage the prongs inside the connection, then tighten collar for a watertight seal.
Light installation
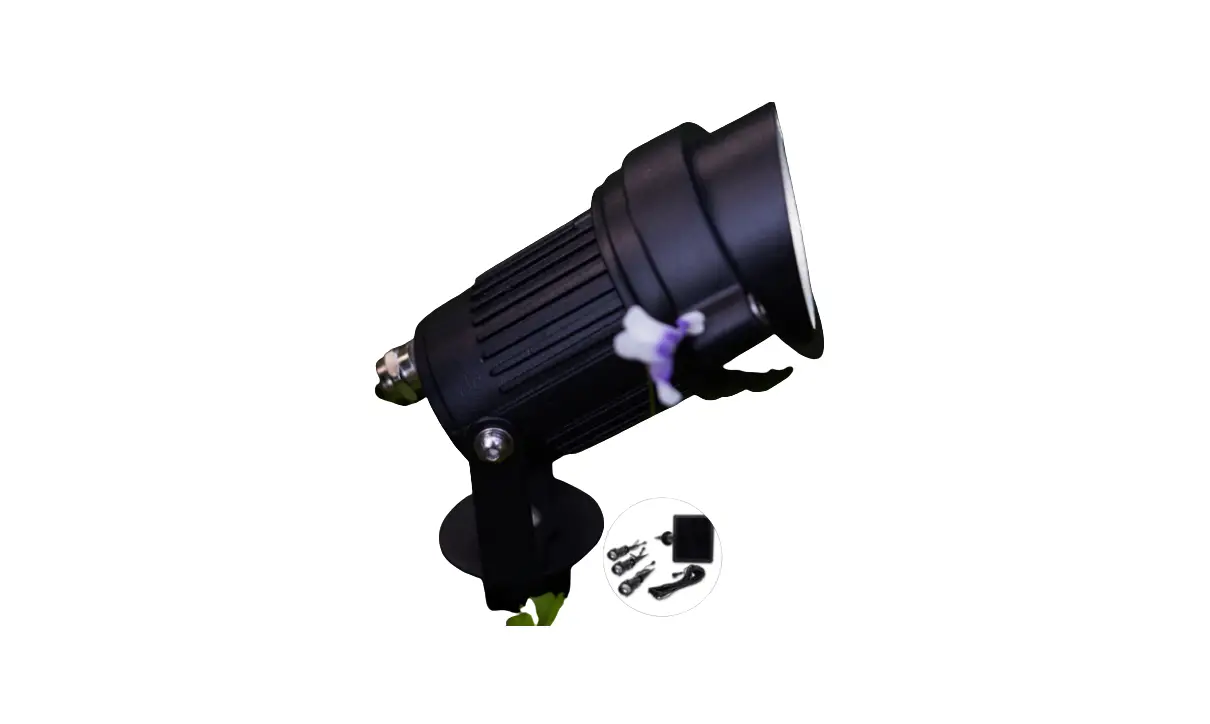
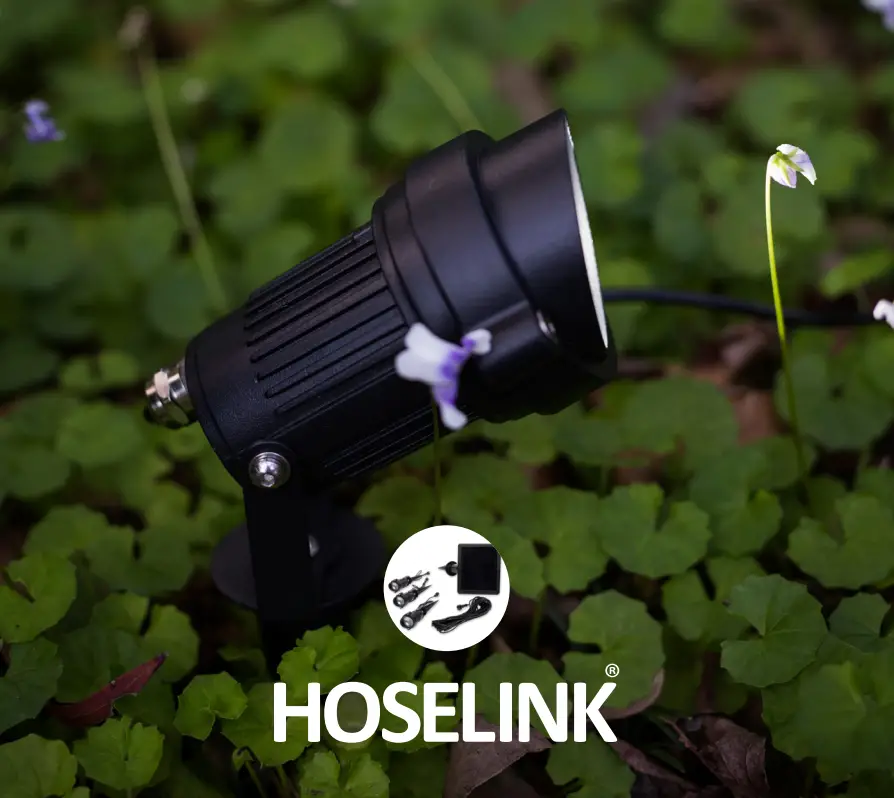
Follow these steps to use the supplied metal spikes:
Secure the spikes to the lights using the three small screws supplied. Simply line up the bracket on the light and spike then thread the screw into place. Push spikes into ground as required.
FIND A SUITABLE LOCATION:
The solar panel needs access to direct sunlight to enable it to charge during the day. 6-8 hours of sunlight is optimal.
ACTIVATING THE LIGHT:
Press and hold the white button on the back of the solar panel for 3 seconds to turn the light on and off.
Specifications
| SOLAR PANEL | 6W |
| LED LUMENS | 3 x 100lm |
| WORKING TIME | Up to 8 hours |
| LITHIUM BATTERY | 3.7V 2200mAh x 3 |
| CABLE LENGTH | 15 metres |
| CHARGE TIME | 6-8 hours |
WARNING: Do not use this light underwater or in low-lying puddles.

MODEL: L325
Solar Garden Spotlight | 3 Adjustable Heads
| Warm White | ACCENT
For more information visit
or call
1300 900 617


