ROHO-MSP500488-Smart-Check-Set-Up-fig-12
PRODUCT DESCRI[TION
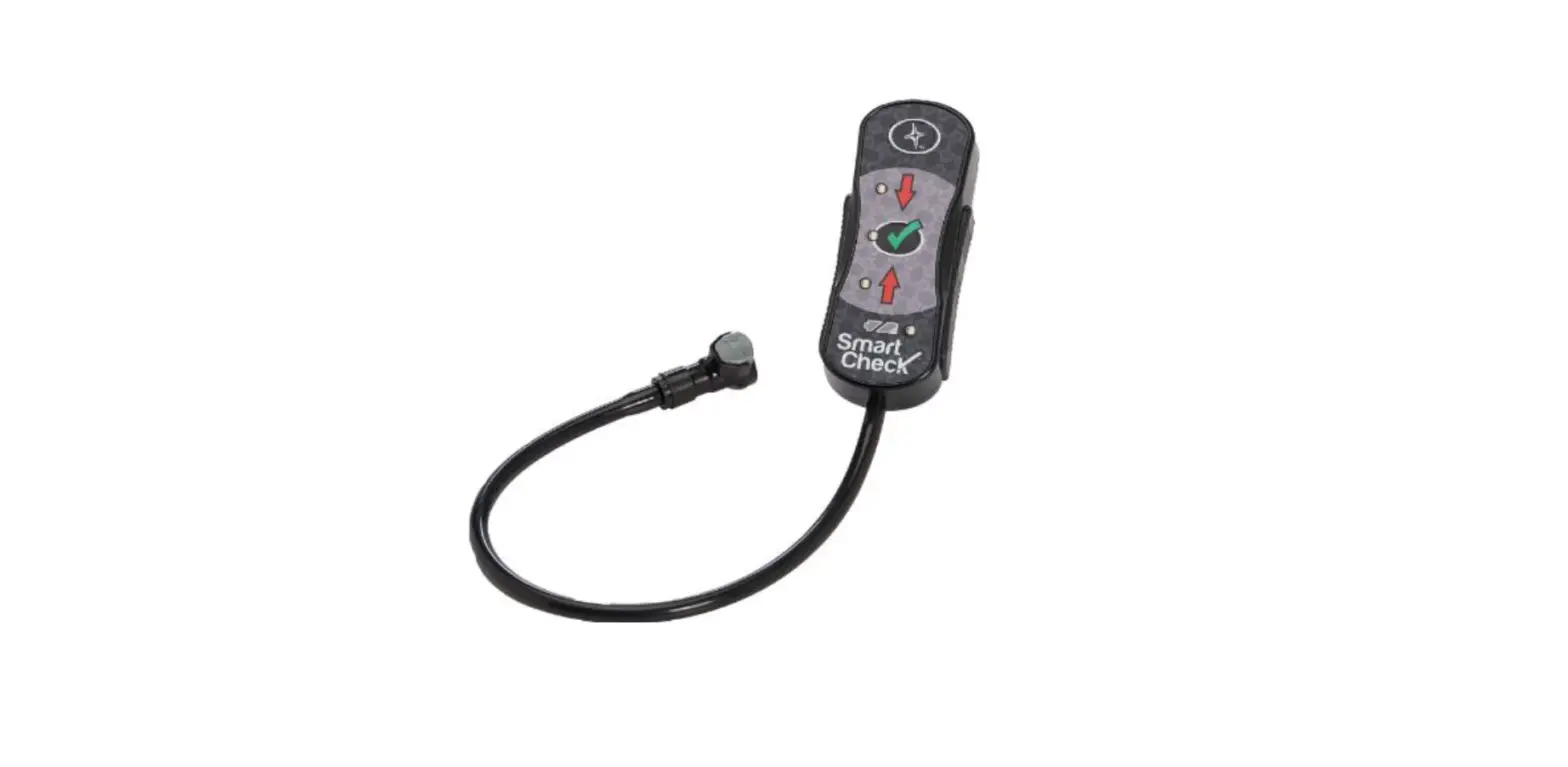
Smart Check Setup
- Place the ROHO® Sensory Ready Cushion on the chair with the air cells facing up. Place the nozzle of the pump over the inflation valve and overinflate the cushion until it begins to arch. Pinch the rubber nozzle of the hand pump and turn to close the inflation valve completely. Remove pump.

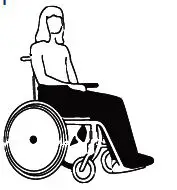
- Transfer individual to chair and attach Smart Check to the cushion. You will hear a “click” when the connection is secure.

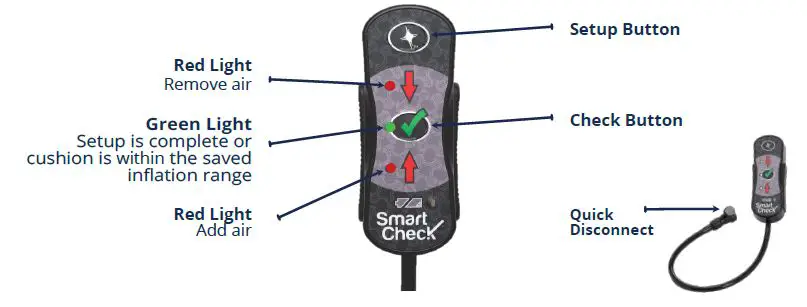
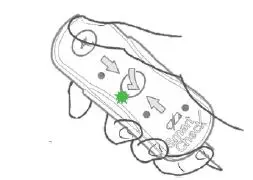
- Start Setup Process: Press the green check button, when you see the red down arrow illuminate, you are ready to begin the Smart Check Set-up, continue to step 4.
 Note: If you see the red up arrow, when you press the check button then:
- Make sure the disconnect is securely attached and,
- Open the inflation valve and press the green check button again. Repeat until you see the red down arrow illuminate.
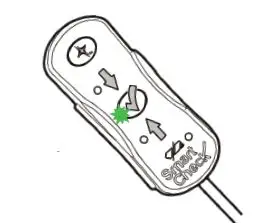
- Press, but do not hold, the Setup Button. The red down arrow will flash. Open the inflation valve, release air (approx 30-60 sec) and wait for the flashing green light. To ensure an accurate reading, the individual must remain still.

- When you see the flashing green light, close the inflation valve. The green light indicates that set up is complete.
- The individual can now check their cushion inflation rate daily by attaching the Smart Check and pressing the Check Button.

 Note: If you see the red up arrow, when you press the check button then:
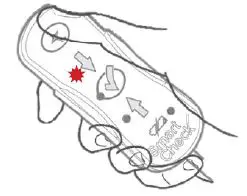
Hard Reset
Before performing a new Setup, clear the setting on Smart Check by performing a Hard Reset as instructed below.
Note: Smart Check can be attached or detached when performing the Hard Reset.
- Make sure there are no steady or flashing lights.
- Simultaneously press and hold the Check Button AND the Setup Button for 5 seconds. Each of the lights will flash one time, indicating that the previous setting has been removed.
- After Hard Reset is complete, follow the Smart Check Setup Instructions.
Optional Setup
- Perform a Hard Reset.
- Place the ROHO® Sensory Ready Cushion on the chair with the air cells facing up. Place the nozzle of the pump over the inflation valve and overinflate the cushion until it begins to arch. Pinch the rubber nozzle of the hand pump and turn to close the inflation valve completely. Remove pump.
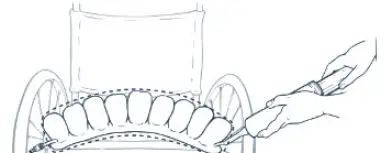
- Transfer individual to chair and then perform a hand check as follows:

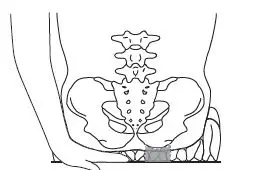
- Slide your hand between the cushion and the individual. Lift the leg slightly and feel for the lowest bony prominence and then lower the leg to a sitting position.

- Open the inflation valve to remove air, keeping your hand beneath the individual’s lowest bony prominence.
- Release air until you can slightly move your fingertips, as per Proper Cushion Inflation Setting. Close the inflation valve. ½”-1”

- Attach Smart Check to cushion. Press the green Check Button, you will see either red light illuminate. DO NOT add or remove air.
- Press and hold the Setup Button for 4 seconds until the green light illuminates, indicating your preferred cushion inflation setting has been saved.

- Slide your hand between the cushion and the individual. Lift the leg slightly and feel for the lowest bony prominence and then lower the leg to a sitting position.

Check Instructions
How to Perform a Check
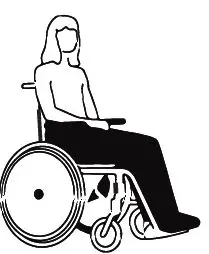
- Individual sits in usual sitting position.
- Press the green Check Button.
- Refer to table below.
| Light | Status / Causes | Action |
 | The cushion is within saved inflation range | No further action required |
 | Weight maybe unevenly distribute | Perform a weight shift, then press Check Button again |
| The quick disconnect is not securely attached | Check connection and press the Check Button again | |
| The cushion needs more air | Open inflation valve and add more air with the hand pump. Close inflation valve and press Check Button again. Repeat as needed | |
| The cushion or quick disconnect on the cushion has a slow leak | See User Manual | |
 | The cushion has too much air | Open inflation valve and remove air from the cushion until green light illuminates |
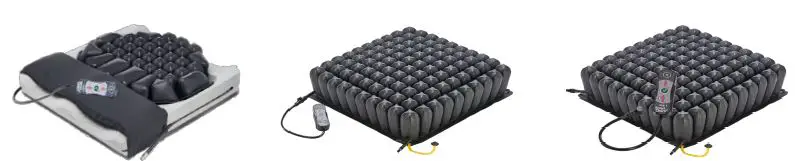
- Single Compartment Hybrid Elite®
- Single Compartment High Profile Sensor Ready®
- Single Compartmentn Mid Profile Sensor Ready®
The world’s best personal electronic cushion security device!
With Smart Check® by ROHO®, you have ROHO’s industry leading skin protection plus you get real time feedback to ensure proper cushion inflation range with the push of a button.
Permobil Australia | 1300 845 483
[email protected]
permobil.com.au


