![]()
MX500/MX650/SX500/ RSF650/INDIAN YOUTH eFTR
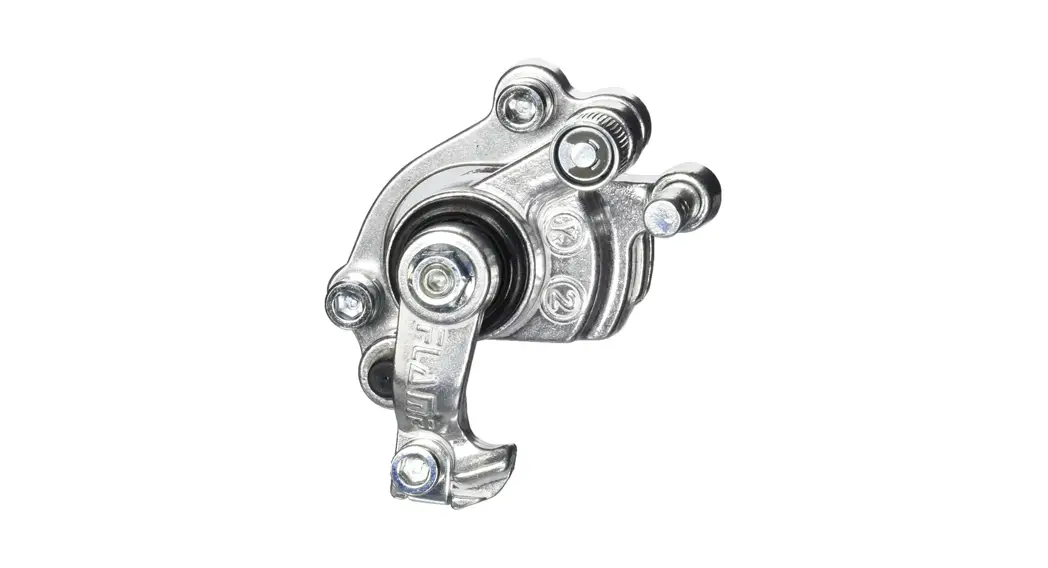
BRAKE CALIPER FRONT AND BACK REPLACEMENT INSTRUCTIONS
PART# W15128190009
Required Tools: (Not included)
A. Plier
B. 5 mm Allen wrench
![]() WARNING
WARNING![]() CAUTION: To avoid potential shock or other injury, turn power switch OFF and disconnect charger before performing any assembly or maintenance procedures. Failure to follow these steps in the correct order may cause irreparable damage.
CAUTION: To avoid potential shock or other injury, turn power switch OFF and disconnect charger before performing any assembly or maintenance procedures. Failure to follow these steps in the correct order may cause irreparable damage.
Step 1
Using a pair of pliers, carefully pinch the silver end cap at the end of the brake cable then remove it.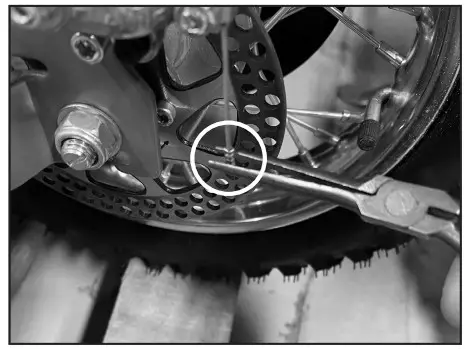 Step 2
Using a 5 mm Allen wrench, loosen the anchor bolt just enough to allow you to pull the brake cable out from the caliper.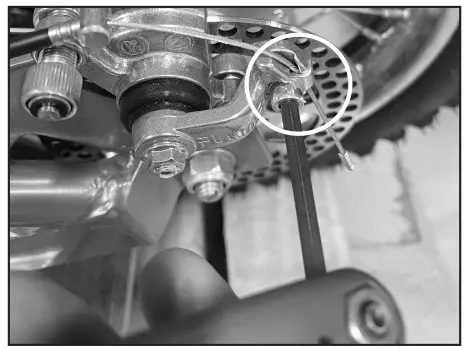 Step 3
Using a 5 mm Allen wrench, loosen the two hex bolts that holding the brake caliper in place and then remove it.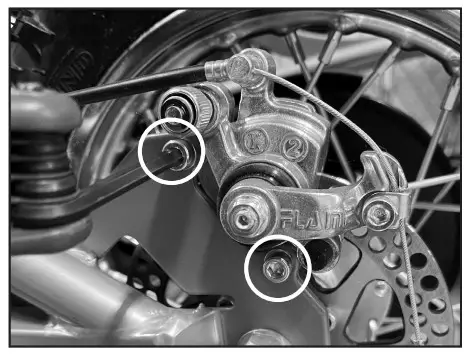 Step 4
Reverse the procedures
- Replace brake caliper.
- Re-attach brake cable back into caliper and adjust accordingly.
Attention: Charge battery 12 hours before using.
Need Help? Visit our website at www.razor.com or call toll-free at 866-467-2967 Monday – Friday 8:00 AM – 5:00 PM PST.


