![]()
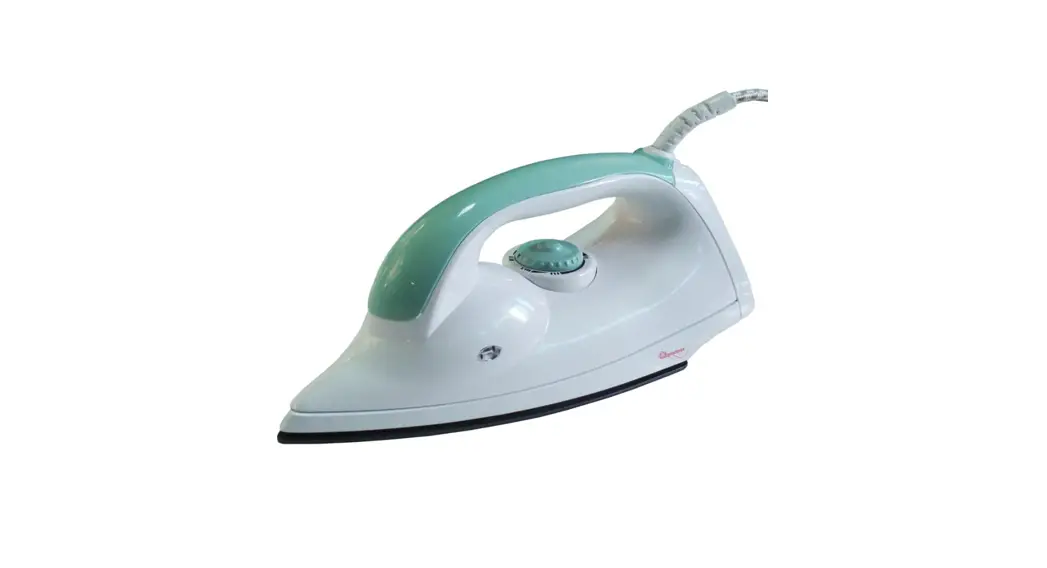
RM/202
DRYIRON
INSTRUCTIONS
KNOW YOUR IRON
A. Front hand grip
B. Supply cord
C. Swivelling cord protector
D. Back hand grip
E. Temperature control dial
F Pilot light
G. Soleplate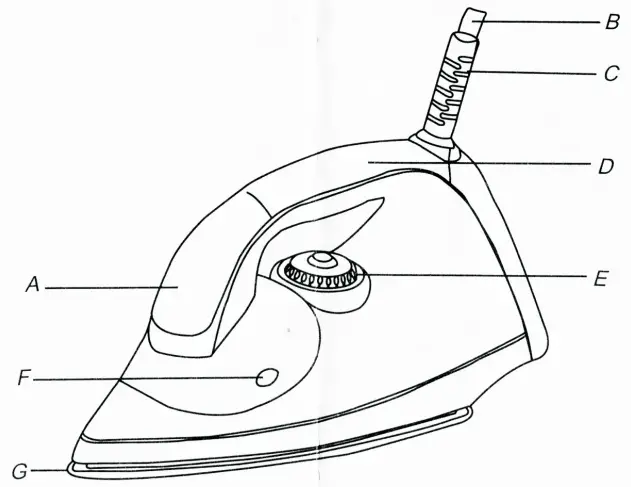
Important
- Please read these instructions for use carefully in conjunction with the illustrations before using the appliance.
- Never use the appliance if damaged in any way.
- Take care that children cannot touch the iron when hot and that they cannot pull the main cord.
- The corset should not be allowed to touch the soleplate when it is hot.
- Never immerse the iron in the water.
- Always place the iron with its back on a firm flat surface when interrupting ironing and after use. When leaving, even when only for a short while, always unplug the iron.
- Keep the soleplate smooth; avoid hard contact with metal objects.
- Some parts of the iron have been slightly greased and as a result, the iron might slightly smoke when connected for the first time. After a short while, however, this will cease.
- Do not leave the iron unattended while it is connected to the main supply. of sliould be disconnected before the filly
- If the main cord of this appliance is damaged, it must be replaced by the original type only.
Ironing temperature
- Always check first if a label with ironing instructions is attached to the article to be ironed. (See table.) Follow these ironing instructions in all cases.
- If ironing instructions are missing but you know the kind of fabric, then see the table for recommended ironing temperatures.
- The table is valid for fiber materials only.
- If some kind of finish has been applied (gloss, wrinkle, relief, etc.), the textile can best be ironed at a lower temperature.
- First sort out the fabrics according to ironing temperature: wool with wool, cotton with cotton, etc.
- The iron heats up quicker than it cools down. Therefore, start ironing the
- Then progress to the higher temperatures. Finish by ironing cotton and linen.
- If the article is made of a mixture of different fibers, you must always select the lowest ironing temperature of the composition of those fibers. (E.g.an an article consisting of “60% polyester and 40% cotton” should be ironed at the temperature indicated for polyester (. ).
- If you do not know what kinds(s)of fabric(s)the article has been made of, tind a spot that will be invisible when wearing or using the article to try out the ironing temperature,(Always start at a low temperature and increase to one which gives the required results.)
- Velvet and other textures which rapidly acquire shiny spots should be ironed in one direction only (with the nap), applying only light pressure. Always keep the iron moving.
- Iron the reverse side of synthetic materials and silk to prevent shining spots. To prevent staining do not use the spray on silk or other delicate fabrics.
| Table | ||
| Label with ironing instructions | Kind of textile | Temperature dial |
 |  | |
| Synthetic e.g. acetate, acrylic, viscose, polyamide, polyester. silk | ||
| Wool | ||
| Cotton Linen | ||
| Please note: This article cannot be Ironed! | ||
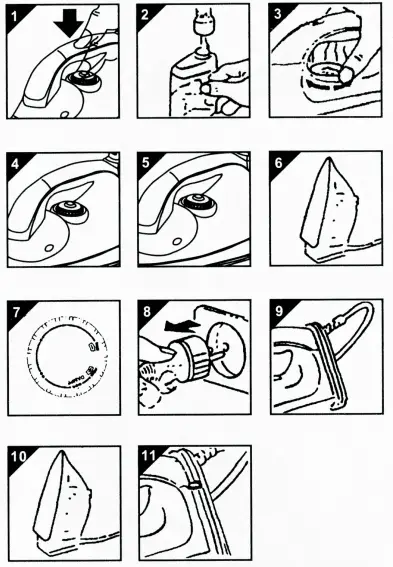
Filling with water (for spray iron only)
You can fill the water tank with normal tap water.
- Press the release button (fig.2) and remove the spray unit (fig.3).
- Pull out the spray button (fig.4).
- Fill the water tank (fig.5).
- Replace the spray button (“Click!”)(fig.6).
- Replace the spray unit (“Click!”)(fig.7).
Setting the temperature
- Set the appropriate ironing temperature indicated in the ironing instructions or in the fabric table by means of the temperature dial (fag.8).
- Insert the mains plug into the wall socket. The pilot light will now come on (fig.9).
- When the pilot light has gone out and has come on again you can start ironing (fig.1 0).
- The pilot light will come on from time to time during ironing. This has no effect on the ironing, so simply continue.
- If you set the temperature control to a lower setting after ironing at a high temperature, do not recommence ironing before the pilot light comes on again.
Ironing tips
- Iron with a straight back. Adjust the height of the ironing board so that the handle of the iron is on the same level as your elbow.
- Pressing onto the iron is not necessary. provided that the temperature has been set correctly. Ironing is most effective if the laundry is slightly damp.
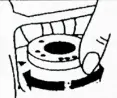
Spraying(for spray iron only)
- At any temperature by pushing on the spray button a couple of times the laundry can be damped down (fig.11).
When finished ironing
- Place the iron on its rear side (fig.12). – Set the temperature dial to positioningfig.13).
- Remove the mains plug from the wall socket (fig.14).
- Let the iron cool down for at least 30 minutes.
- You can wind up the mains cord (fig.15) and then fix the cord clip (fig.16).
- Store the iron standing on its rear side to prevent damage soleplate (fig.1 7).
Cleaning
- Before cleaning remove the mains plug from the wall socket, let the iron to cool down sufficiently.
- The appliance can be cleaned with a damp cloth.