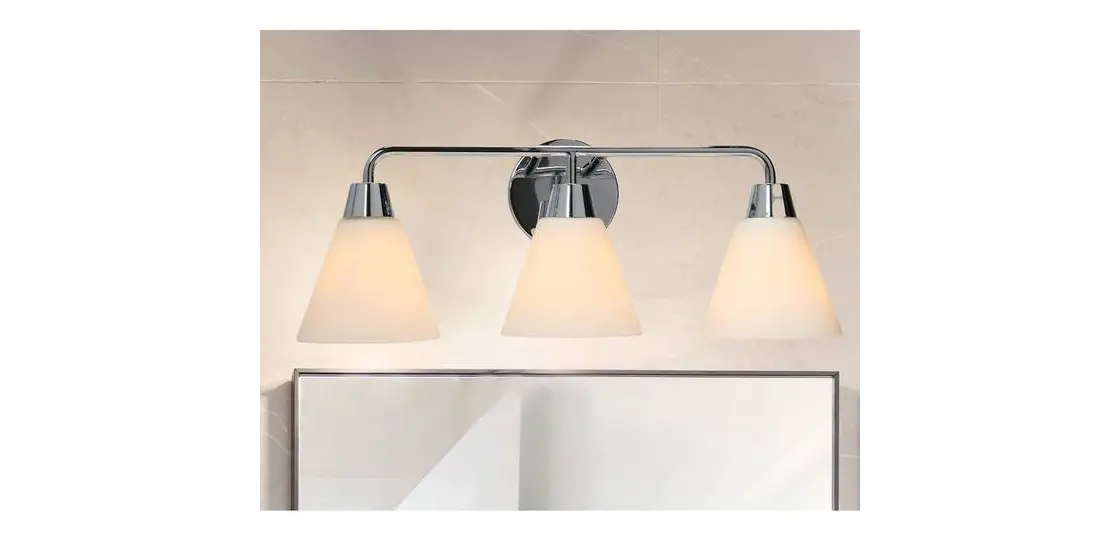
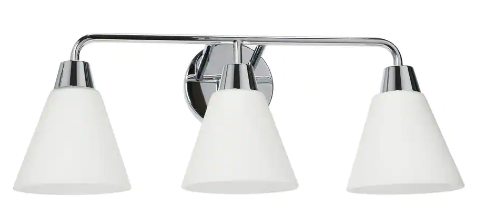
EC1165C Brody 3-Light Metal Chrome Finish Vanity Light
EC1164C/EC1165C Product Information
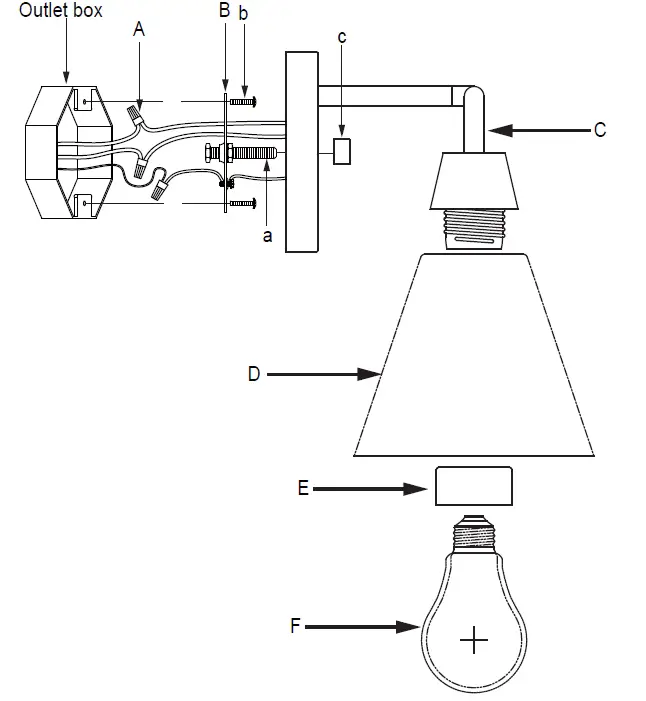
The EC1164C/EC1165C is a light fixture that includes a wire connector (A), mounting bracket (B), fixture body (C), glass (D), socket collar (E), and bulb (F) (not included). The fixture can accommodate a maximum wattage of 100 watts.
Product Usage Instructions
WARNING: To avoid the risk of electrical shock, make sure to turn off the main power prior to installation.
CAUTION: Refer to the wattage caution label located near the socket for recommended maximum wattage. Do not exceed the maximum wattage.
- Carefully unpack the fixture from the carton and lay all the components on a clean and flat surface.
- Install the all thread stem (a) and lock nuts (a) into the mounting bracket (B). Attach the mounting bracket (B) to the outlet box with long screws (b) (not included). Note: The side of mounting plate marked GND must face out.
- Connect the GROUND WIRE from the fixture and canopy to junction box, secure the electrical connections using the Wire Connector (A). Connect the NEUTRAL (OR WHITE) WIRE from the fixture to NEUTRAL WIRE from power supply with the Wire Connector (A). Connect the HOT (OR BLACK) WIRE from fixture to HOT WIRE from power supply with the Wire Connector (A). Tuck wires neatly back into the outlet box.
- Mount Fixture Body (C) on to the Mounting Bracket and over the protruding All Thread Stem (a). Adjust fixture body and secure in place using Barrel Knob (c).
- Install Glass (D) onto the Fixture Body (C) and tighten the Glass (D) using the Socket Collar (E).
- Screw Bulb (not included) (F) into the lamp socket. Do not exceed the maximum wattage specified on the fixture’s wattage rating label. MAXIMUM 100 Watts.
Note: The above diagram illustrates the installation of your new light fixture. This is a representative drawing and may not match the style of your light fixture.
EC1164C/EC1165C
ASSEMBLY & INSTALLATION INSTRUCTIONS
Components List
| Item | Description | Quantity | Item | Description | Quantity |
| A | Wire Connector | 3 | D | Glass | 3 |
| B | Mounting Bracket | 1 | E | Socket Collar | 3 |
| C | Fixture Body | 1 | F | Bulb (Not Included) | 3 |
Hardware List
| Item | Description | Quantity | Item | Description | Quantity |
| a | All Thread Stem | 1 | c | Barrel Knob | 1 |
| b | Long Screws (not included) | 2 |
WARNING
TO AVOID THE RISK OF ELECTRICAL SHOCK, BE SURE TO TURN OFF MAIN POWER PRIOR TO INSTALLATION.
CAUTION
Refer to the wattage caution label located near the socket for recommended maximum wattage. Do not exceed maximum wattage.
ASSEMBLY & INSTALLATION
- Carefully unpack fixture from the carton. Take the parts out of package and lay all the fixture components in a clean and flat surface.
- Install All Thread Stem and lock nuts (a) into the Mounting Bracket (B). Attach the Mounting Bracket (B) to outlet box with Long Screws (b) (not included).
Note: The side of mounting plate marked “GND” must face out. - Connect the GROUND WIRE from the fixture and canopy to junction box, secure the electrical connections using the Wire Connector (A). Connect the NEUTRAL (OR WHITE) WIRE from the fixture to NEUTRAL WIRE from power supply with the Wire Connector (A). Connect the HOT (OR BLACK) WIRE from fixture to HOT WIRE from power supply with the Wire Connector (A). Tuck wires neatly back into the outlet box.
- Mount Fixture Body (C) on to the Mounting Bracket and over the protruding All Thread Stem (a). Adjust fixture body and secure in place using Barrel Knob (c).
- Install Glass (D) onto the Fixture Body (C) and tighten the Glass (D) using the Socket Collar (E).
- Screw Bulb (not included) (F) into the lamp socket. Do not exceed the maximum wattage specified on the fixture’s wattage rating label. MAXIMUM 100 Watts.
Note: (1). The above diagram illustrates the installation of your new light fixture. This is a representative drawing and may not match the style of your light fixture.


