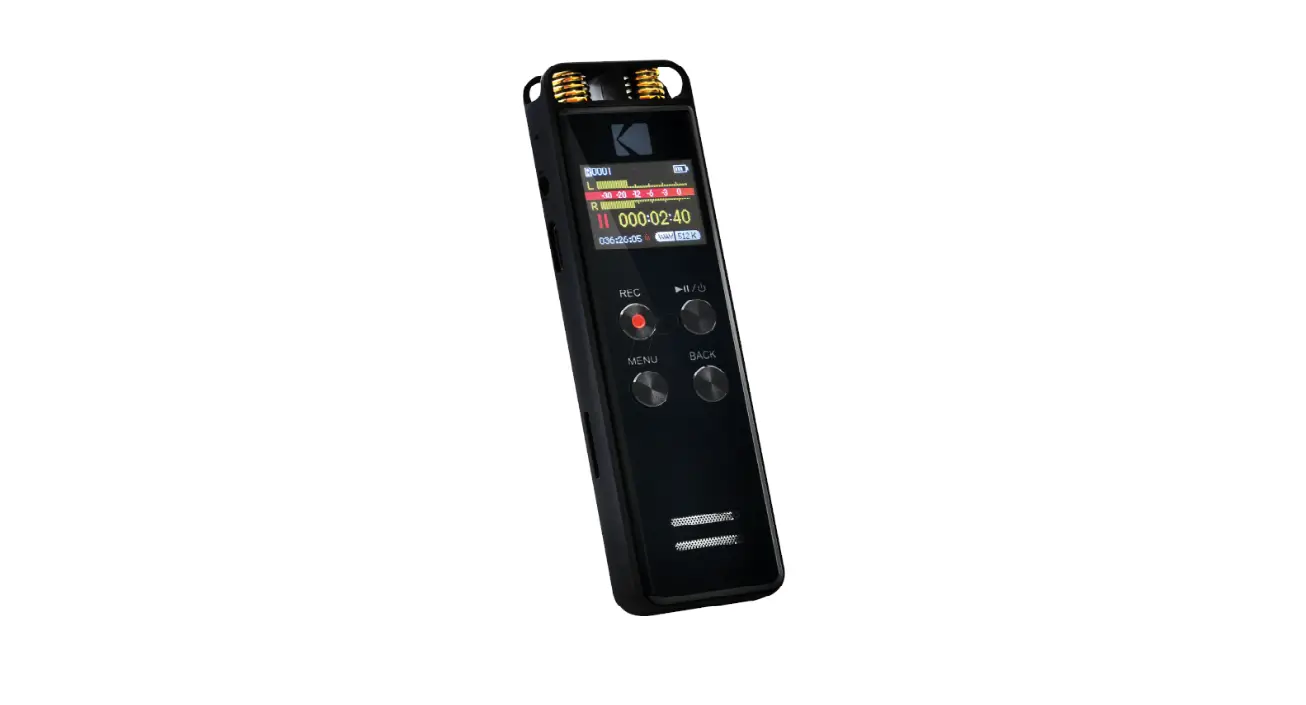
KODAK VRC550 Digital Voice Recorder
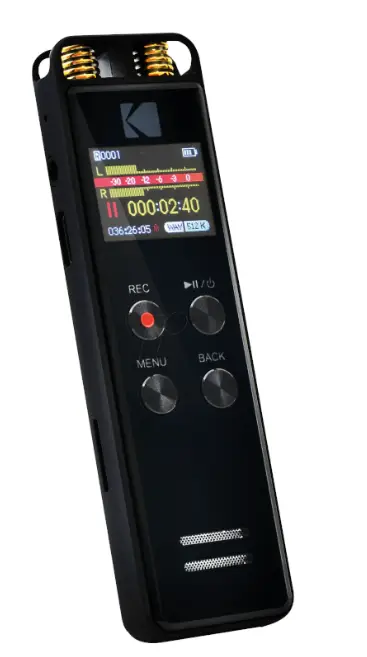
Thank you for purchasing the KODAK VRC550 digital voice recorder. This is a quick start guide providing instructions for the basic operation of this model.
FULL USER MANUAL
For a more detailed explanation on operation and safety precautions, download the full user manual at:
Product Description
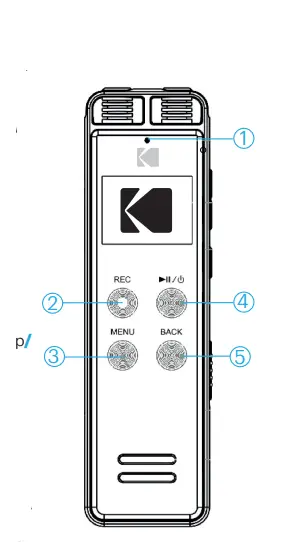
- Recording LED indicator
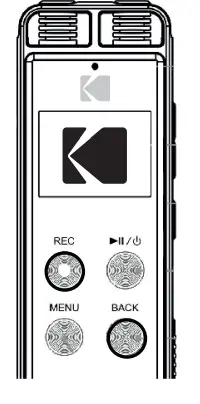
- Record button
- Menu button
- Play or Pause + On and off button
- Return button
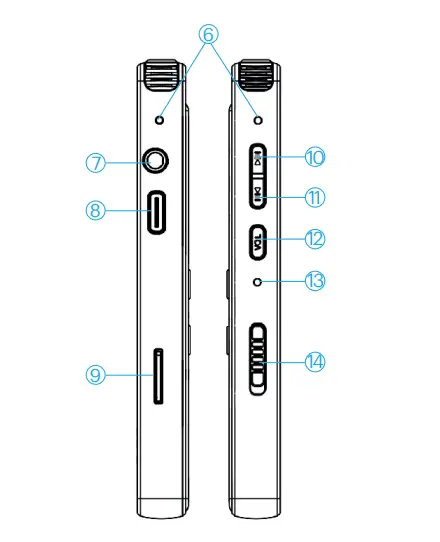
- Built-in microphones
- Earphone input
- USB port
- Micro SD card slot
- Previous or rewind + Volume up
- Next or fast forward
- Volume button
- Reset hole
- On and off button

Charging
- 2-3 hours

- 2-3 hours

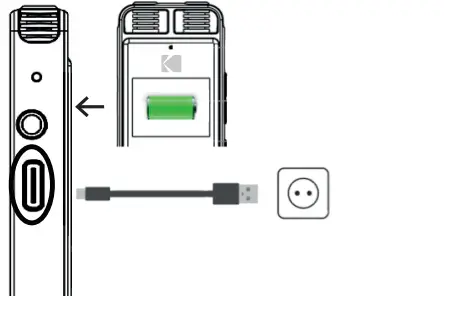
AC adapter not supplied
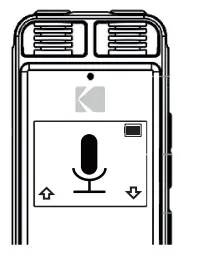
Turning on and off
- Push up to turn the device on
- Push down to turn the device off

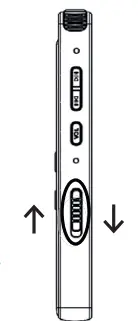
Note: It is also possible to turn the device on and off by pressing the ![]() button for 3 seconds if the 14 button is in theON position
button for 3 seconds if the 14 button is in theON position
Basic settings
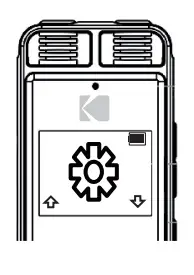
- Press 11 button until reaching the device settings menu then
 button to enter it
Language - Press 11 button until reaching the language setting then button to enter it
- Press 11 button to select your language then button confirm
Time - Press 10 button once to select Date and Time settings then button twice to enter Time settings option
- Press II button to set the time format first then 11 button to select the desired format and button once again to confirm
- Press the 11 buttons and then button to set the time
- Press buttons to set the hour then the 12 button to move to the minute setting
- Press the buttons to set minute then the II button to confirm
Date - Press the Return button then the 11 buttons to select the Date settings option and button to enter it
- Press II button to set the date format first then 11 button to select the desired format and button once again to confirm
- Press the 11 buttons then button to set the date
- Press buttons to set the first date than 12 buttons to move to the next one
- Repeat until you reach the third one and press II button to confirm
Recording format
- Press Return button until exiting the device settings menu
- Press 11 button to select recording mode then button to enter it
- Press 11 button to select record settings then button twice to access them and enter Record Format setting
- Press the button and then 11 buttons to select the recording format
The default recording format is WAV - Press button to confi rm and move to the selection of recording bit rate
- Press 11 buttons to select a recording bit rate* then button to confirm
A high bit rate gives better recording quality but recordings will take up more memory
Micro SD card insertion
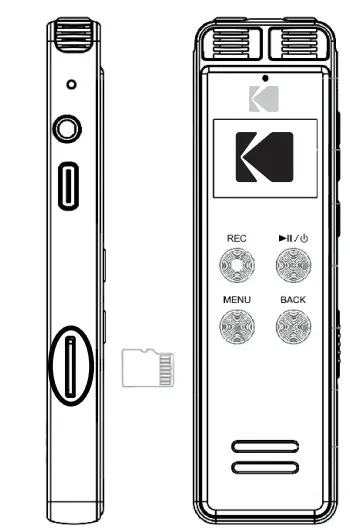
- Insert a Micro SD card as shown in the left-hand illustrations
- It clicks once it is properly inserted and a small white Micro SD card icon* appears at the top of the recording and playback screens
- In the recording mode menu, press 10 buttons until selecting the Recordings Location setting then button to enter it
- Press 11 button to select “Micro SD Card” then button once again to confirm
The icon appears in green if the Micro SD card has been set as the recording location
Recording and saving
- Press Record button to start recording and Return button to stop and save it
- Note: press button to only pause the recording
Activating voice-activated recording
In record settings menu, select VOR mode with the 11 button. Press ![]() button twice then 11 button to select “On” and press
button twice then 11 button to select “On” and press ![]() button once again to confirm
button once again to confirm
Activating denoise function
In the record settings menu, select “Noise Reduction” mode with the 11 button. Press 11 button to select “On” and press ![]() button once again to confirm
button once again to confirm
The sensitivity level of voice-activated recording and denoise function can be adjusted in the recording settings
Recording screen

- Left (L) and right (R) channel level meters
- File number
- Micro SD card indicator
- Voice activated recording function indicator
- Battery status
- Elapsed recording time
- Recording bit rate
- Recording format
- Remaining recording time
Recording playback
After pressing the Return button to save the undergoing recording, the device automatically switches to playback mode. To listen to another recording, press Return button again to access the recording
library
- Press buttons to select the recording to play then button to start playback
- Press button once again to pause
- Press the buttons briefly to move to the previous
- Press 12 button to adjust the playback volume (the corresponding icon on the screen should turn red) then press 10 button to raise or 11 to lower the sound and press 12 button to confirm
- To erase the recording, press the Menu button then II button twice to enter playback settings menu and Delete option. Select “Yes” with the 10 button and press button to confirm
Note: the recording library is also accessible from the recording mode
Playback screen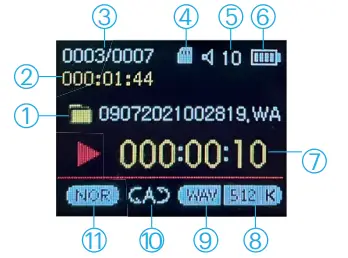
- File name
- Recording duration
- File number
- Micro SD card indicator
- Sound volume
- Battery status
- Elapsed recording time
- Recording bit rate
- Recording format
- Playback mode
- Equalizer mode
Music playing
- Select music player mode with the 11 button in the main menu and press button to enter it
- Press 11 button until reaching “Music directory” and press button to enter it
- Choose a storage location with the 11 button and press button to access songs there
Then refer to the recording playback section for playback control
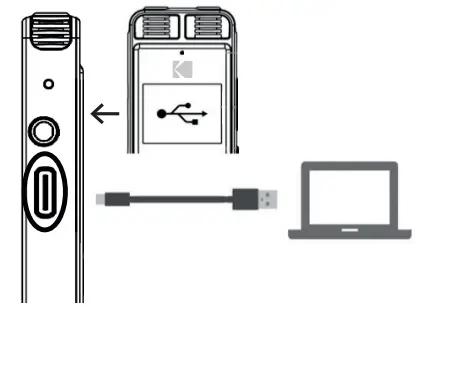
Files transfer to computer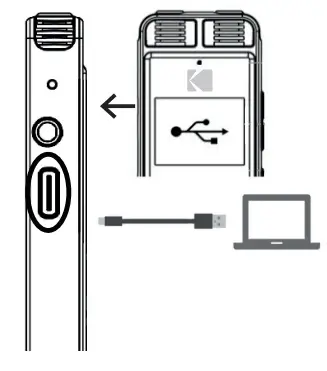
Find the device among the removable disks then copy and paste recordings from RECORD fi le on your computer
1 year limited warranty
Made in China/
Disposal of waste equipment by users in the European Union This symbol means that according to local laws and regulations, it is prohibited to dispose of this product with household waste. Instead, it is your responsibility to protect the environment and human health by handing over your used device to a designated collection point for the recycling of waste electrical and electronic equipment. For more information about where you can drop off your waste equipment for recycling, please contact your local city office, your household waste disposal service or the shop where you purchased the product.
After-sales service
@ : [email protected]
✆ : + 33 (0) 1.85.49.10.26
The Kodak trademark, logo and trade dress are used under license from
Eastman Kodak Company.
© 2021 GT Company
All rights reserved.
GT Company FR : 5 rue de la Galmy 77000 CHESSY – France
GT Company UK LTD : 11 Old Jewry EC2R 8DU LONDON – United Kingdom
www.gtcompany.fr


