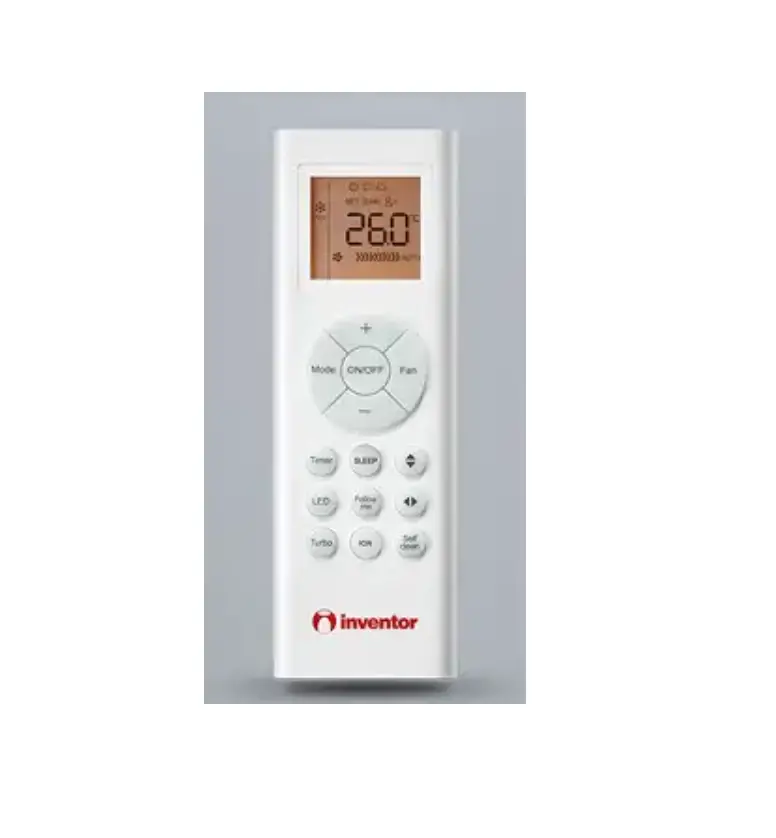
inventor HotelMenu Air Conditioning Systems
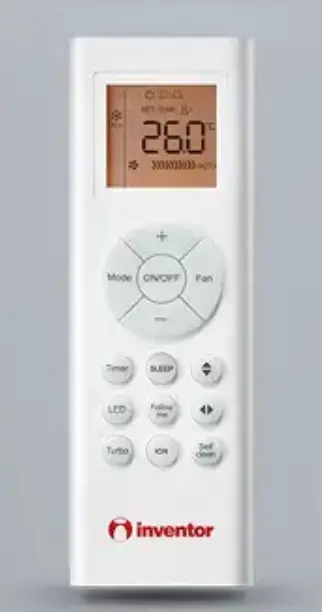
Handling the remote controller
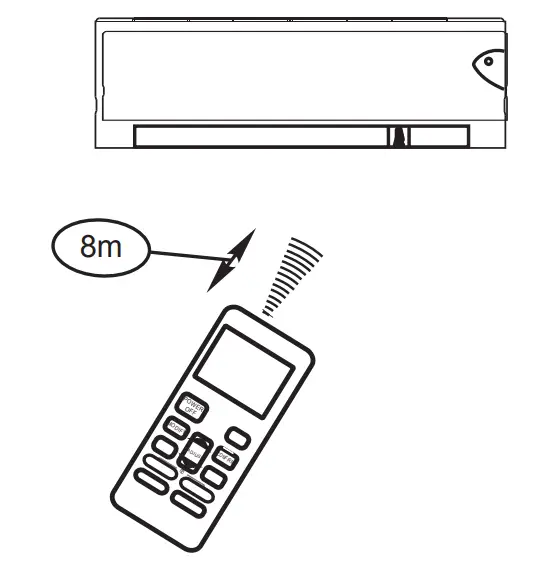
Location of the remote controller
- Keep the remote controller where its signals can reach the receiver of the indoor unit (a distance of 8m is allowed).
![]() CAUTIONS
CAUTIONS
- The air conditioner will not operate if curtains, doors or other materials block the signals from the remote controller to the indoor unit.
- Prevent any liquid from falling into the remote controller. Do not expose the remote controller to direct sunlight or heat.
- If the infrared signal receiver on the indoor unit is exposed to direct sunlight, the air conditioner may not function properly. Use curtains to prevent the sunlight from falling on the receiver.
- If other electrical appliances react to the remote controller, either move these appliances or consult your local dealer.
Replacing batteries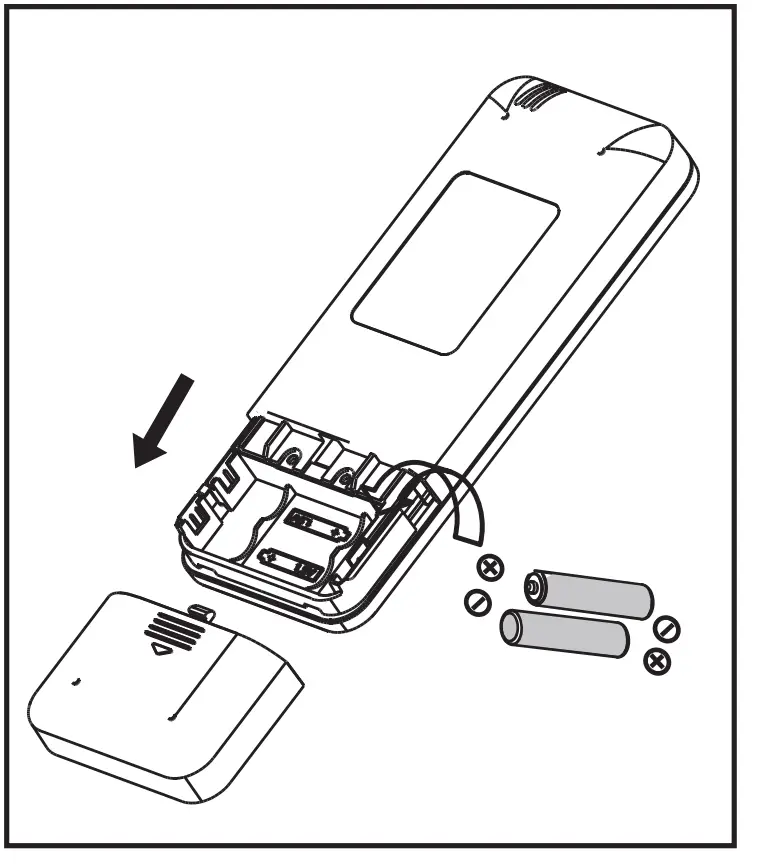
The remote controller uses two alkaline dry batteries (R03/LR03X2)
- Slide the cover of the battery compartment off according to the arrow direction, then replace the old batteries with new ones.
- Insert the new batteries, making sure that the(+) and (-) of battery are installed correctly.
- Reattach the cover by sliding it back into position.
NOTE:
- Do not mix old and new batteries or batteries of different types.
- Do not leave the batteries in the remote controller if they are not going to be used for 2 or 3 months. Do not dispose batteries as unsorted municipal waste.
- Collection of such waste separately for special treatment is necessary
Remote controller specification
| Dime | RG57 / RG66 / RG10 |
| Rated Voltage | 3.0V (Dry batteries R03/LR03X2) |
| Signal Receiving Range | 8m |
| Environment | -5°C~60°C |
NOTE:
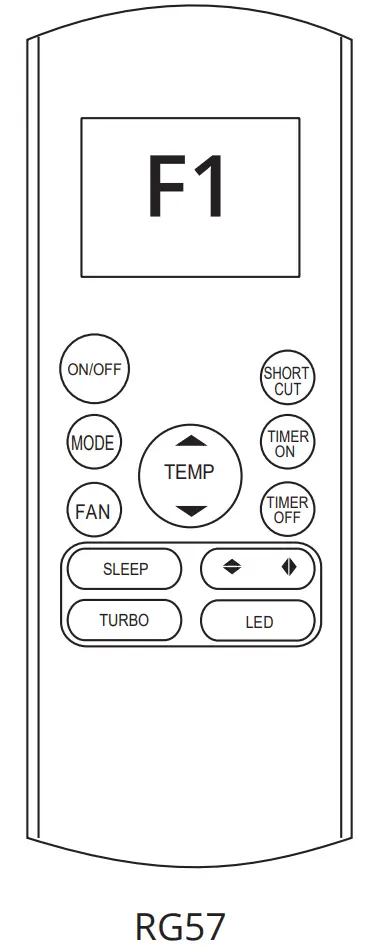
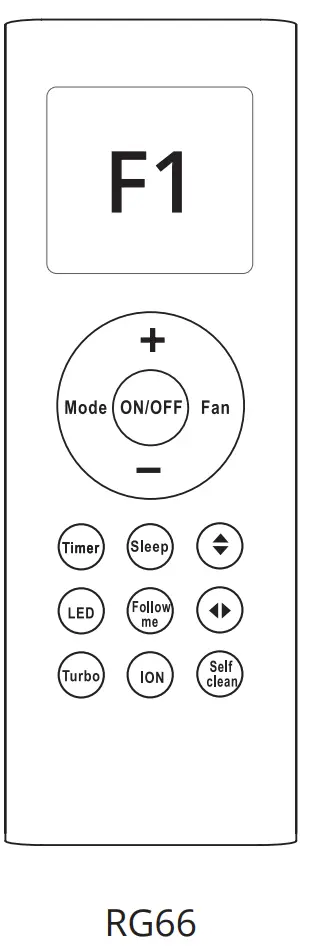
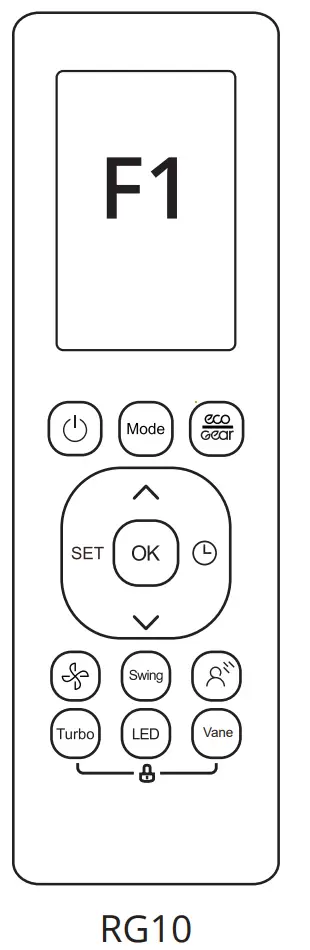
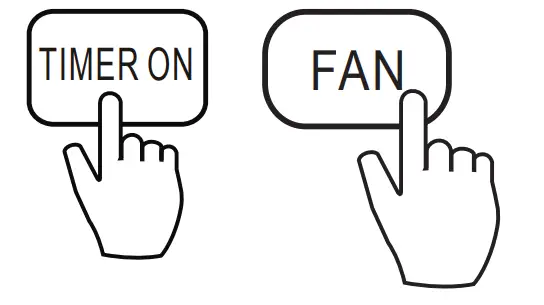
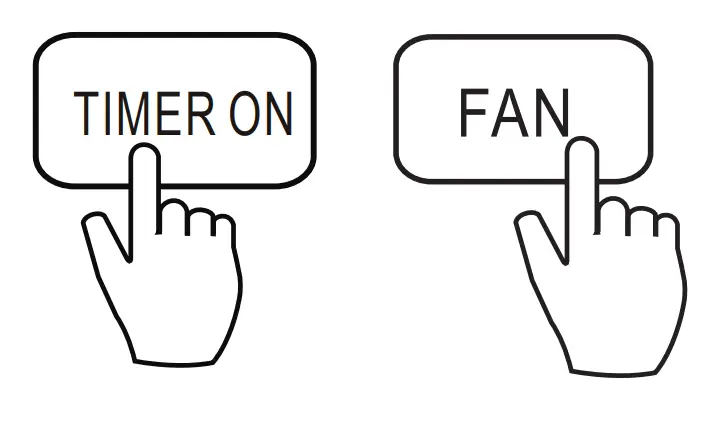
After installing the batteries and during the first 30 seconds period, press and hold the remote controller’s corresponding buttons* for 5 seconds to enter the Hotel Menu settings. The LCD window will display F1.
- for RG57 controller: MODE, FAN and TIMER ON

- for RG66 controller: MODE and FAN

- for RG10 controller: POWER and FAN

IMPORTANT
The remote controller is only enabled within10 minutes after the indoor unit is powered on, and the indoor unit must be switched off.
 POWER OFF button: Press this button to turn off the unit
 MODE button: Used to modify the selected function. Press this button to enter the parameter setting interface, and the parameter to be modified will be kept flashing. Using TEMP ”
![]() ” & ”
” & ”![]() ”button to modify the parameter or choosing the other parameter in conjunction with FAN & TIMER OFF button.
”button to modify the parameter or choosing the other parameter in conjunction with FAN & TIMER OFF button.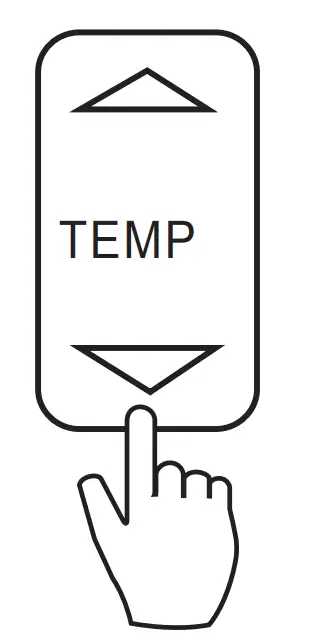 TEMP”
TEMP”![]() ” & ”
” & ”![]() ” button: Used to choose functions or adjust parameters. On parameter un-adjustable interface, press the ”q” & ”p” button to select the specified function in a range of F1 ~ F9 and E1~E9. Then pressing the MODE button to enter the parameter modifying interface, the relevant parameter flashes, pressing ”
” button: Used to choose functions or adjust parameters. On parameter un-adjustable interface, press the ”q” & ”p” button to select the specified function in a range of F1 ~ F9 and E1~E9. Then pressing the MODE button to enter the parameter modifying interface, the relevant parameter flashes, pressing ”![]() ” & ”
” & ”![]() ” button to adjust the parameter.
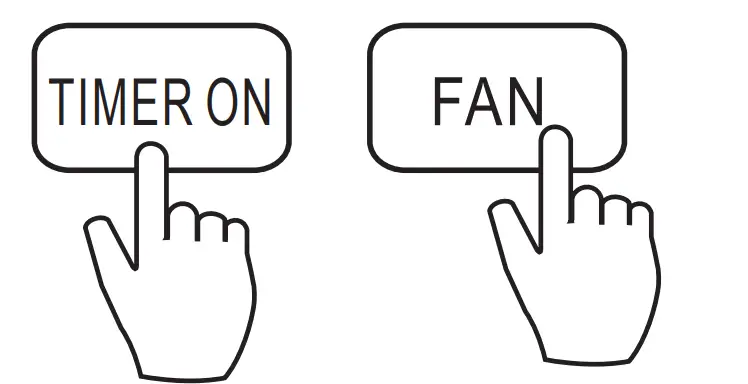
” button to adjust the parameter.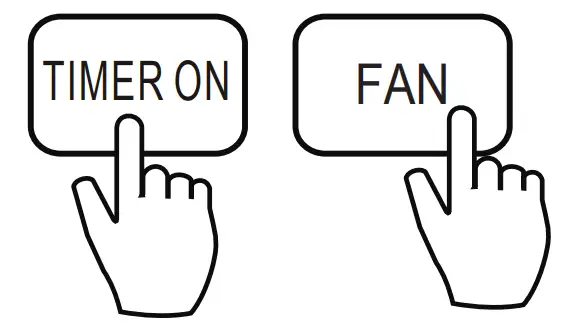 TIMER ON / FAN button: Press this button to confirm the setting parameter and transmit the signal to the machine.
 FAN & TIMER OFF button: On parameter setting interface, pressing FAN & TIMER OFF button to select parameter to be modified.
How to set up the functions
NOTE
The indoor unit will beep for 2 seconds indicating the function being set up successfully.
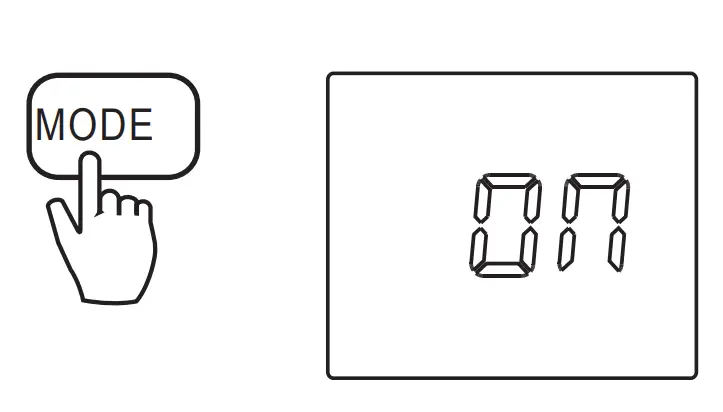
› Auto-start function
”![]() ” & ”
” & ”![]() ”
”
- Press ”
 ” & ”
” & ” ” button to choose “F1”.
- Press MODE button. Then press”” & ”” button to choose “ On” or “Off”

- Press TIMER ON or FAN button, and the Auto-start function on/off setting has finished.


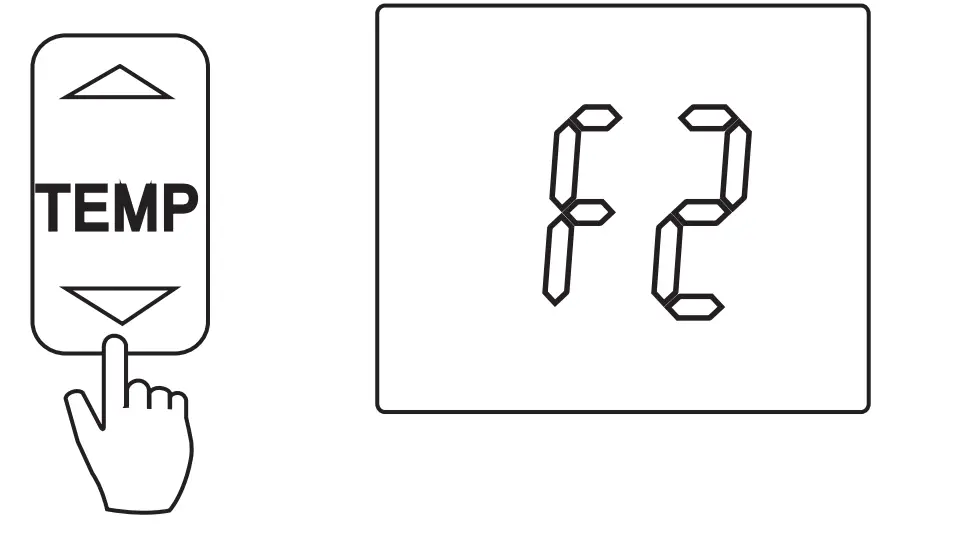
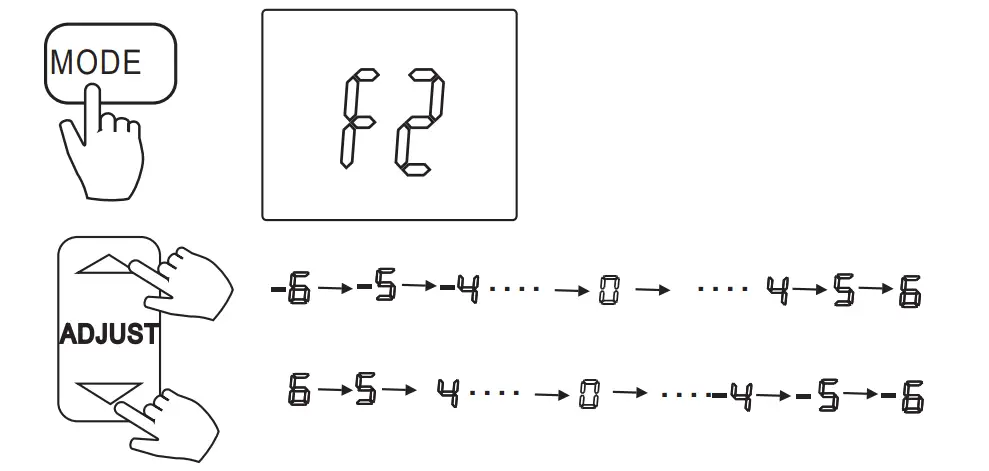
› Heating temperature compensation
- Press ”” & ”” button to choose “F2”.

- Press MODE button. Then press”” & ”” button to choose the parameter. The parameters can be adjusted within a range of -6ºC~6ºC.;

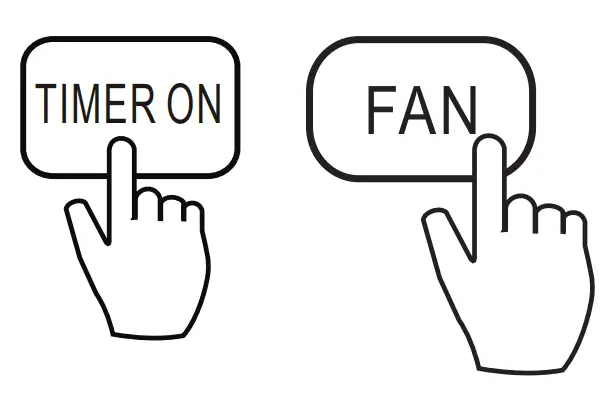
- Press TIMER ON or FAN button.

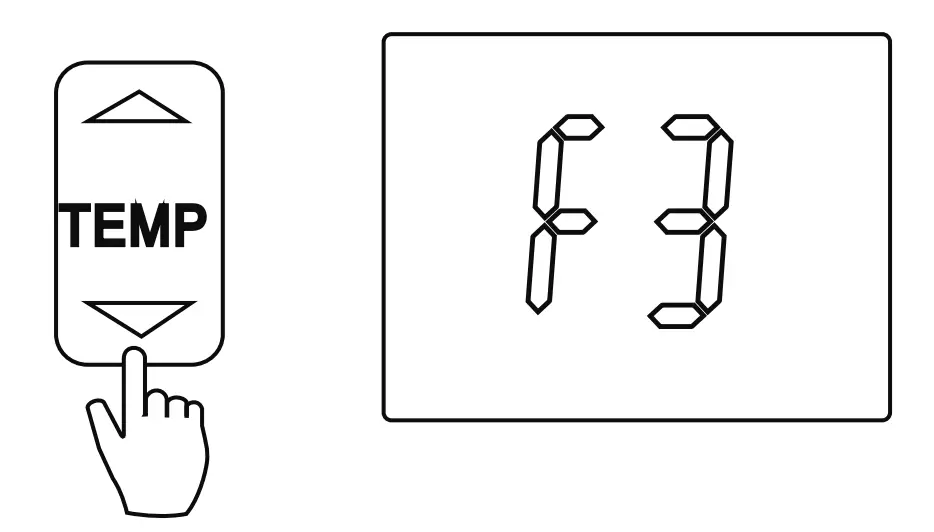
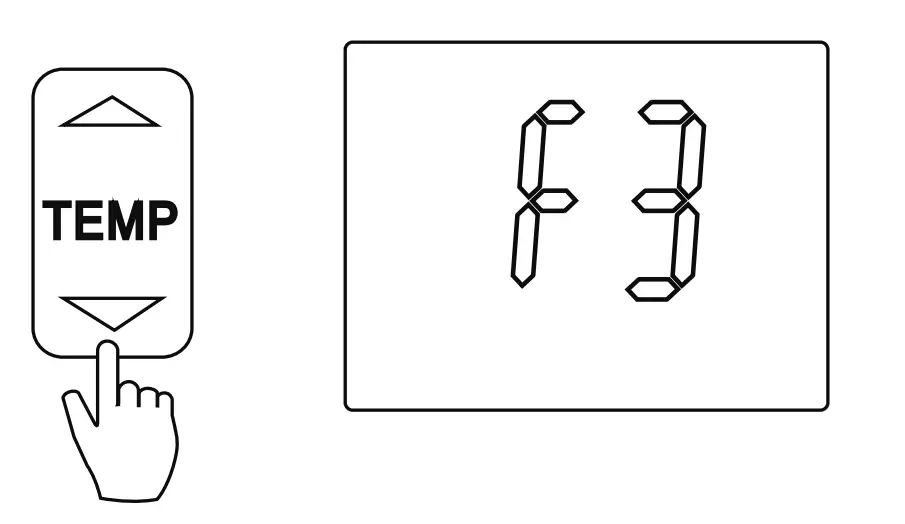
Anti-cold air function
Intelligent anti-cold air function setting:
NOTE
The parameter of intelligent anti-cold air is changed with the room temperature. After the room temperature raised, the temperature of anti-cold air would raise too, which can make you feel more comfortable. After the room temperature decreased, the anti-cold air temperature would decrease too, which can improve the fan speed and bring fast heating operation.
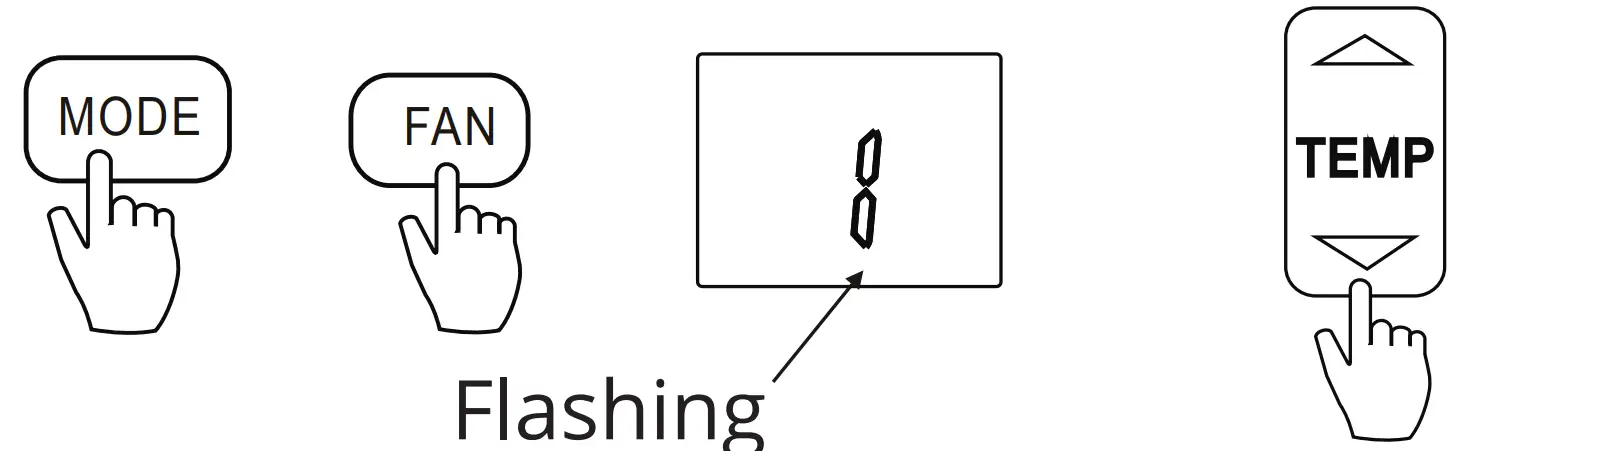
- Press ”” & ”” button to choose “F3” .

- Press MODE button. Press FAN button to to choose parameter. Then press”” & ”” button to select “1” .

- Press TIMER OFF button to adjust the parameter. The parameter keeps flashing. Then press”” & ”” button to adjust the parameter in the range of 17ºC~21ºC.

- Press TIMER ON or FAN button to confirm.


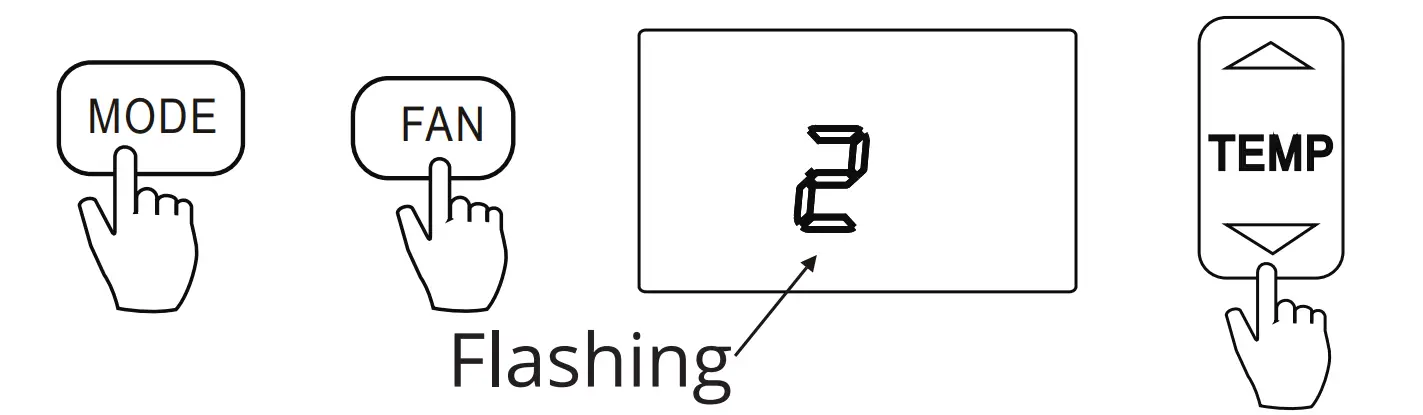
General Anti-cold air function setting
NOTE:
- Press”” & ”” button to choose F3

- Press MODE button. Press FAN button to to choose parameter . Then press ”” & ”” button to select 2 .

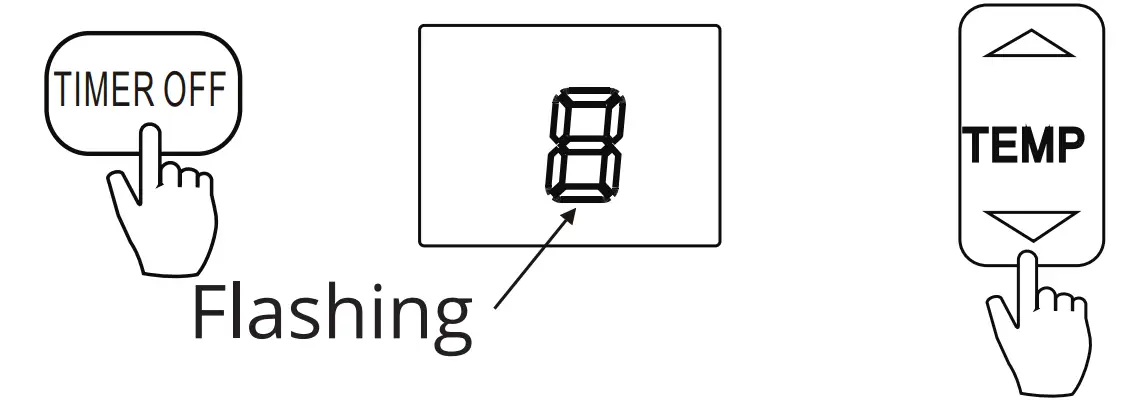
- Press TIMER OFF button to adjust the parameter. The parameter keeps flashing. Then press ”” & ”” button to adjust the parameter in the range of 8ºC~28ºC.

- Press TIMER ON or FAN button to confirm.


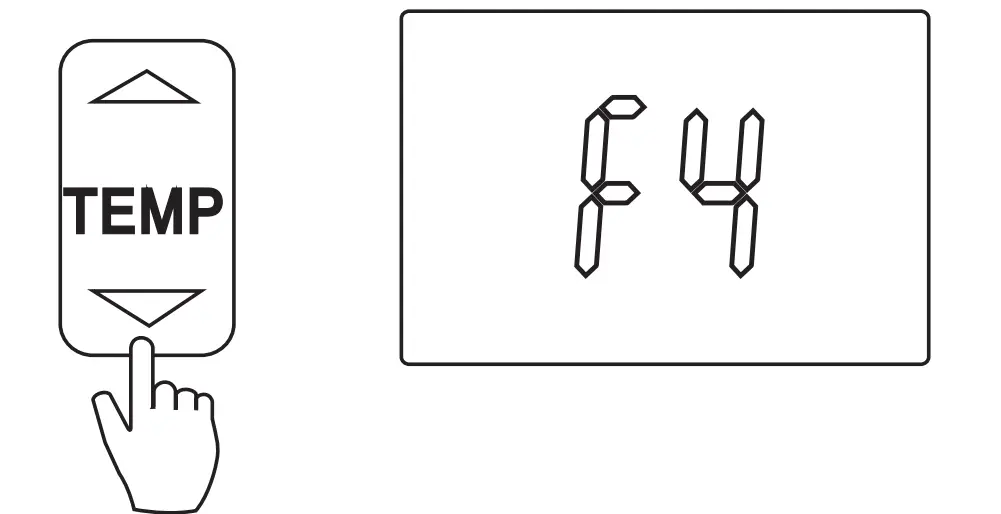
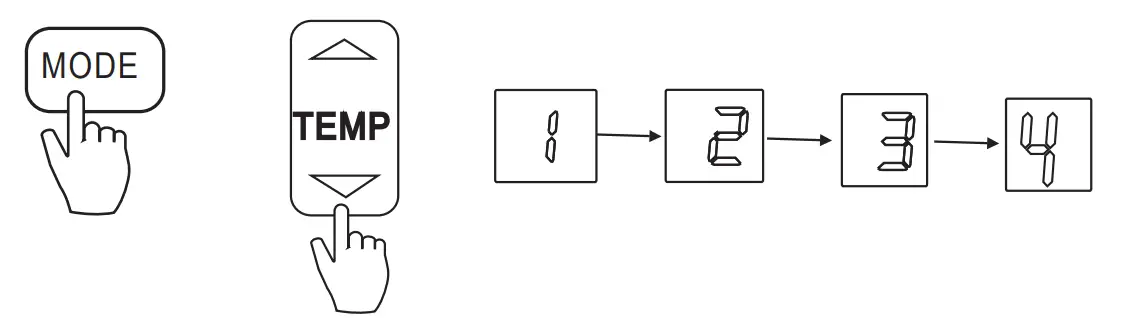
Speed control of indoor fan motor after the set temperature reached
- Press”” & ”” button to choose “F4” .

- Press MODE button. Then press ”” & ”” button to select “1”, “2”, “3” or “4”.

 Indicates stopping fan motor Indicates operating at lowest fan speed Indicates operating at setting fan speed Indicates cycle on-off function
 - . Press TIMER ON or FAN button.


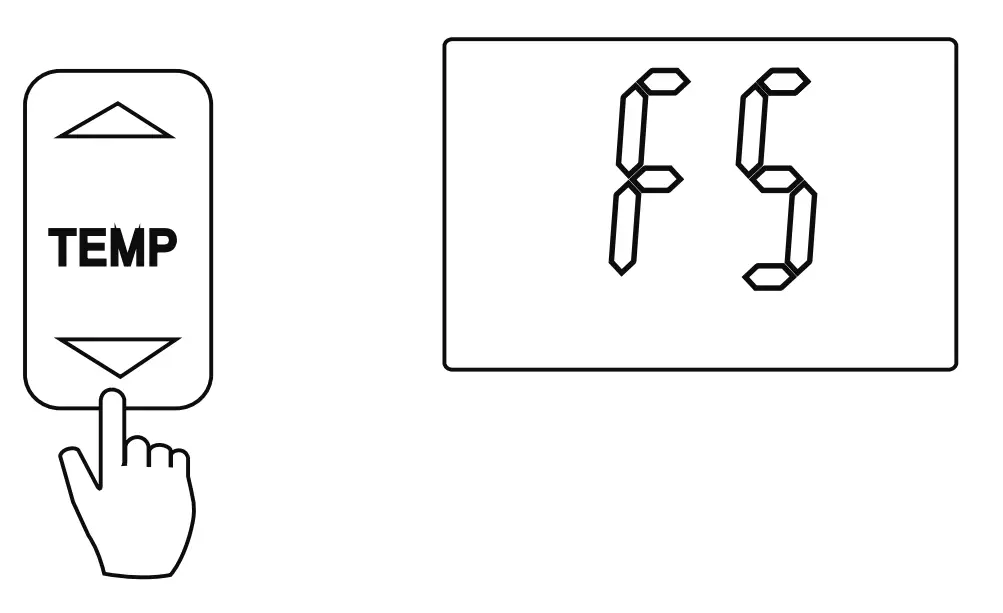
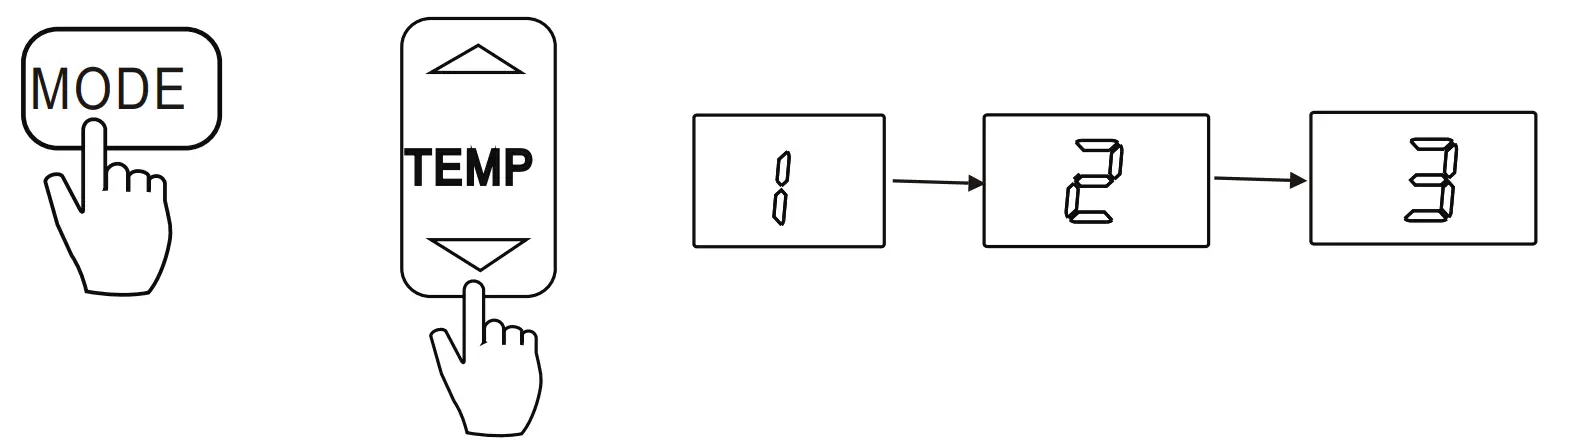
› Louver angle memory function
- Press”” & ”” button to choose “F5” .

- . Press MODE button. Then press ”” & ”” button to select “1”, “2” or “3”.
 Indicates cancelling memory function. Indicates the louver angle memory function is enabled under switching off or power failure. Indicates the louver angle memory function is enabled under switching off, disabled under power failure.
 - . Press TIMER ON or FAN button to confirm.

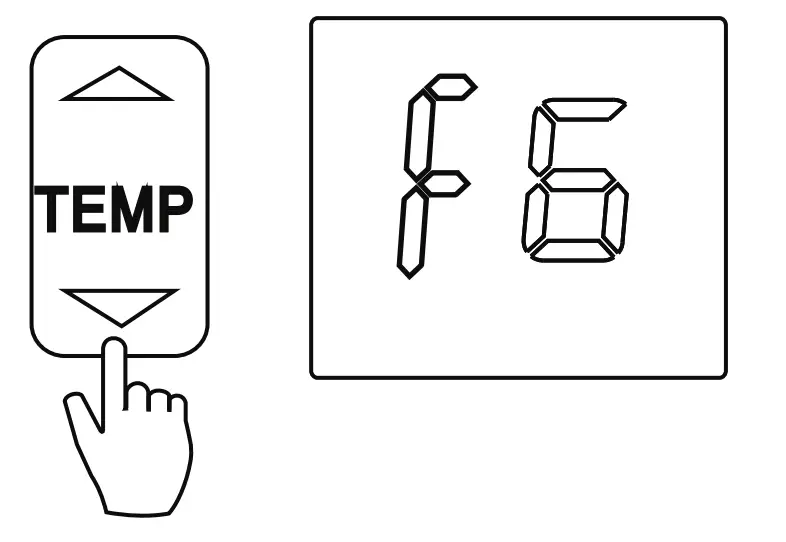
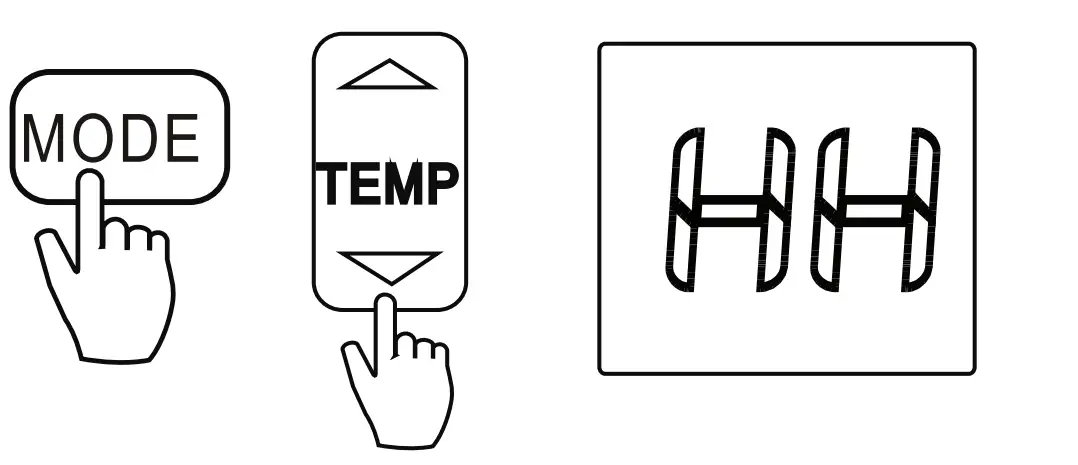
Heating only or Cooling & Heating setting
- Press ”” & ”” button to choose “F6” .

- Press MODE button. Then press ”” & ”” button to select “HH” or “CH”. (HH: Heating only, CH: Cooling & Heating)

- Press TIMER ON or FAN button to confirm.
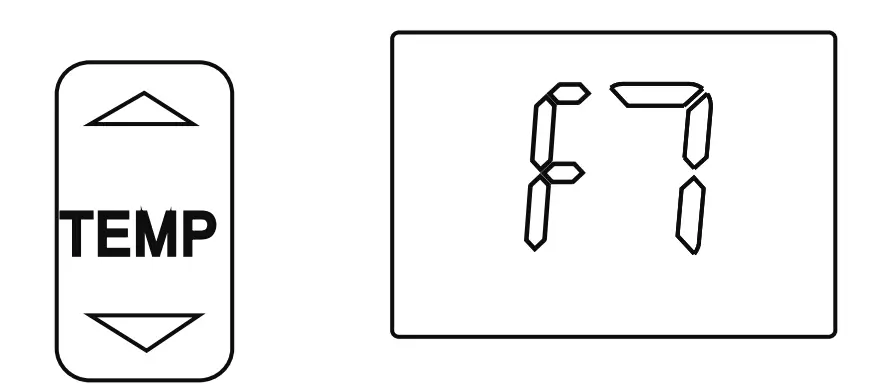
› Cooling temperature compensation
- Press ”” & ”” button to choose “F7” .

- Press MODE button. Then press ”” & ”” button to choose the parameter in a range of -2ºC~2ºC.
- Press TIMER ON or FAN button to confirm.
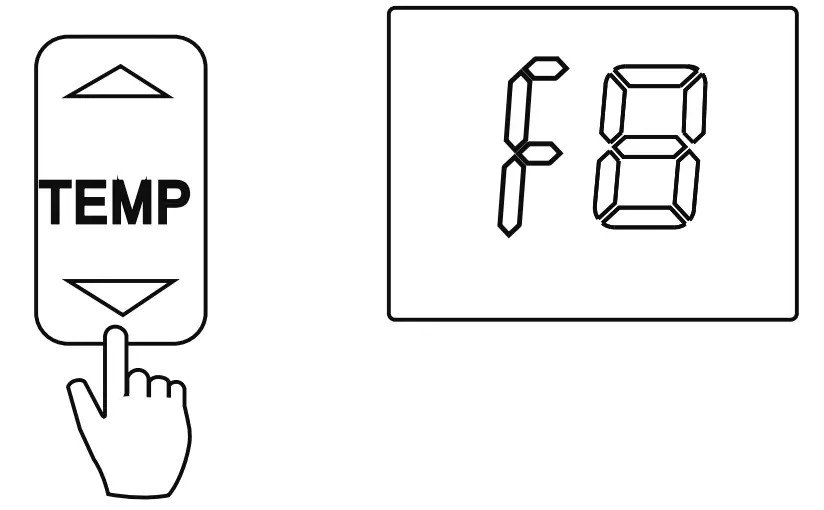
› Cooling temperature compensation
- Press ”” & ”” button to choose “F8”

- Press MODE button. Then press”” & ”” button to choose “on” or “off”.
- Press TIMER ON or FAN button to confirm.
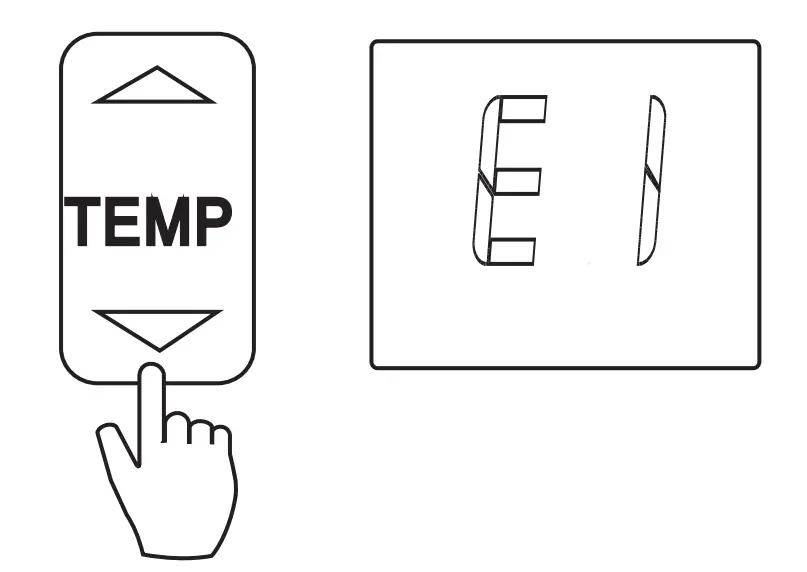
› Filter Replacement Reminder
- Press”” & ”” button to choose “E1”

- Press MODE button. Then press ”” & ”” button to choose “on” or “off”.
- Press TIMER ON or FAN button to confirm.
› Lowest temperature setting
- Press ”” & ”” button to choose “E2” .

- Press MODE button. Then press ”” & ”” button to set the temperature in a range of 17ºC to 24ºC.
- Press TIMER ON or FAN button to confirm.

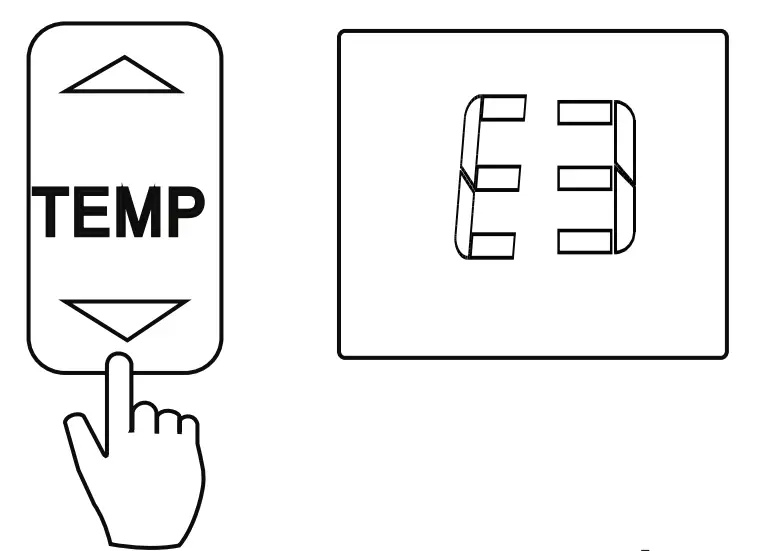
› High temperature setting
- Press ”” & ”” button to choose “E3”.

- Press MODE button. Then press ”” & ”” button to set the temperature in a range of 25ºC to 30ºC.
- Press TIMER ON or FAN button to confirm.
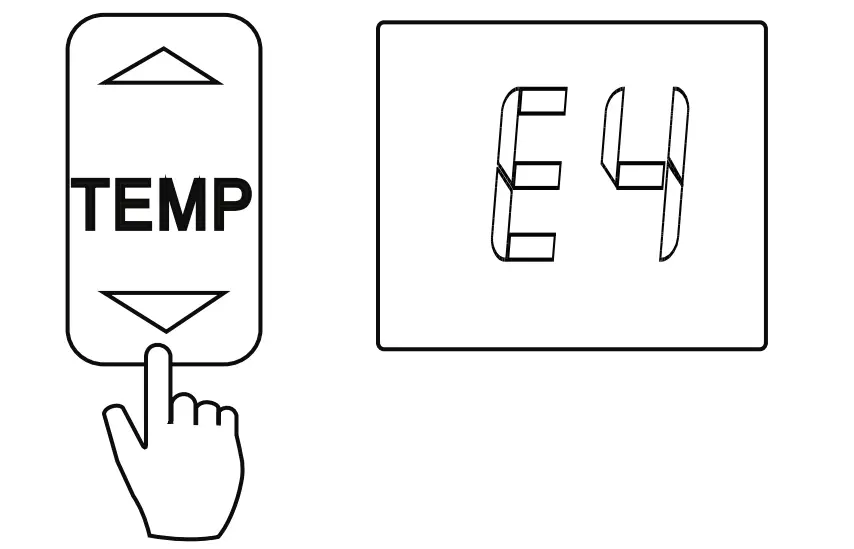
› Special Anti-cold air function setting
- Press ”” & ”” button to choose “E4”.

- Press MODE button. Then press ”” & ”” button to choose “on” or “off”.
- Press TIMER ON button to confirm.
Point check function
Press the “LED DISPLAY” button (“Mute” button for some remote controllers) of remote controller three times and then press “AIR DIRECTION” button (“Swing” button for some remote controllers) three times within 10 seconds, the buzzer ring last 2 seconds, the air conditioner will enter the information enquiry status. After that, press the “LED DISPLAY” button to enquiry the next one information and press the “AIR DIRECTION” button to enquiry the last one information. When the air conditioner enter the information enquiry status, it will display the code name in 2 seconds, the details are as follows:
| Enquiry information | Displaying code | Meaning |
| T1 | T1 | T1 temp. |
| T2 | T2 | T2 temp. |
| T3 | T3 | T3 temp. |
| T4 | T4 | T4 temp. |
| T2B | Tb | T2B temp. |
| TP | TP | TP temp. |
| TH | TH | TH temp. |
| Targeted Frequency | FT | Targeted Frequency |
| Actual Frequency | Fr | Actual Frequency |
| Indoor fan speed | IF | Indoor fan speed |
| Outdoor fan speed | OF | Outdoor fan speed |
| EXV opening angle | LA | EXV opening angle |
| Compressor continuous running time | CT | Compressor continuous running time |
| Causes of compressor stop | ST | Causes of compressor stop |
| Reserve | A0 | |
| Reserve | A1 | |
| Reserve | b0 | |
| Reserve | b1 | |
| Reserve | b2 | |
| Reserve | b3 | |
| Reserve | b4 | |
| Reserve | b5 | |
| Reserve | b6 | |
| Reserve | dL | |
| Reserve | Ac | |
| Reserve | Uo | |
| Reserve | Td |
When the air condtioner enter the information enquiry status, it will display the code value in the next 25s after display name is displayed, the details are as follows,
| Enquiry information | Display value | Meaning | Remark |
| T1,T2,T3, T4,T2B,TP, TH, Targeted Frequency, Actual Frequency | -1F,-1E, -1d,-1c, -1b,-1A | -25,-24,-23,-22, -21,-20 | All the displaying temperature is actual value. All the temperature is ºC no matter what kind of remote controller is used. T1,T2,T3,T4,T2B display range:-25~70, TP display range:-20~130. Frequency display range: 0~159HZ. If the actual value exceeds the range, it will display the maximum value or minimum value. |
| -19-99 | -19-99 | ||
| A0,A1…A9 | 100,101……109 | ||
| b0,b1…b9 | 110,111….119 | ||
| c0,c1. c9 | 120,121….129 | ||
| d0,d1…d9 | 130,131….139 | ||
| E0,E1…E9 | 140,141….149 | ||
| F0,F1…F9 | 150,151….159 | ||
| Indoor fan speed/ Outdoor fan speed | 0 | OFF | |
| 1,2,3,4 | Low speed, Medium speed, High speed, Turbo | For some big capacity motors. | |
| 14-FF | Actual fan speed =Display value turns to decimal value and then multiply 10. The unit is RPM. | For some small capacity motors, display value is from 14-FF(hexadecimal), the corresponding fan speed range is from 200-2550RPM. | |
| EXV opening angle | 0-FF | Actual EXV opening value= Display value turns to decimal value and then multiply 2. | |
| Compressor continuous running time | 0-FF | 0-255 minutes | If the actual value exceeds the range, it will display the maximum value or minimum value. |
| Causes of compressor stop. | 0-99 | For the detailed meaning, please consult with engineer | Decimal display |
| Reserve | 0-FF | ||
| Reserve | 0-FF | ||
| Reserve | 0-FF | ||
| Reserve | 0-FF | ||
| Reserve | 0-FF |
CUSTOMER SUPPORT
All the pictures in the manual are for explanatory purposes only. The actual
shape of the unit you purchased may be slightly different, but the operations and
functions are the same.
The company may not be held responsible for any misprinted information.
The design and the specifications of the product for reasons, such as product
improvement, are subject to change without any prior notice.
Please consult with the manufacturer at +30 211 300 3300 or with the Sales agency
for further details. Any future updates to the manual will be uploaded to the service
website, and it is advised to always check for the latest version.

Scan here to download the latest version of this manual.
www.inventorairconditioner.com/media-library