ARECast Content Sharing Wirelessly
Specifications
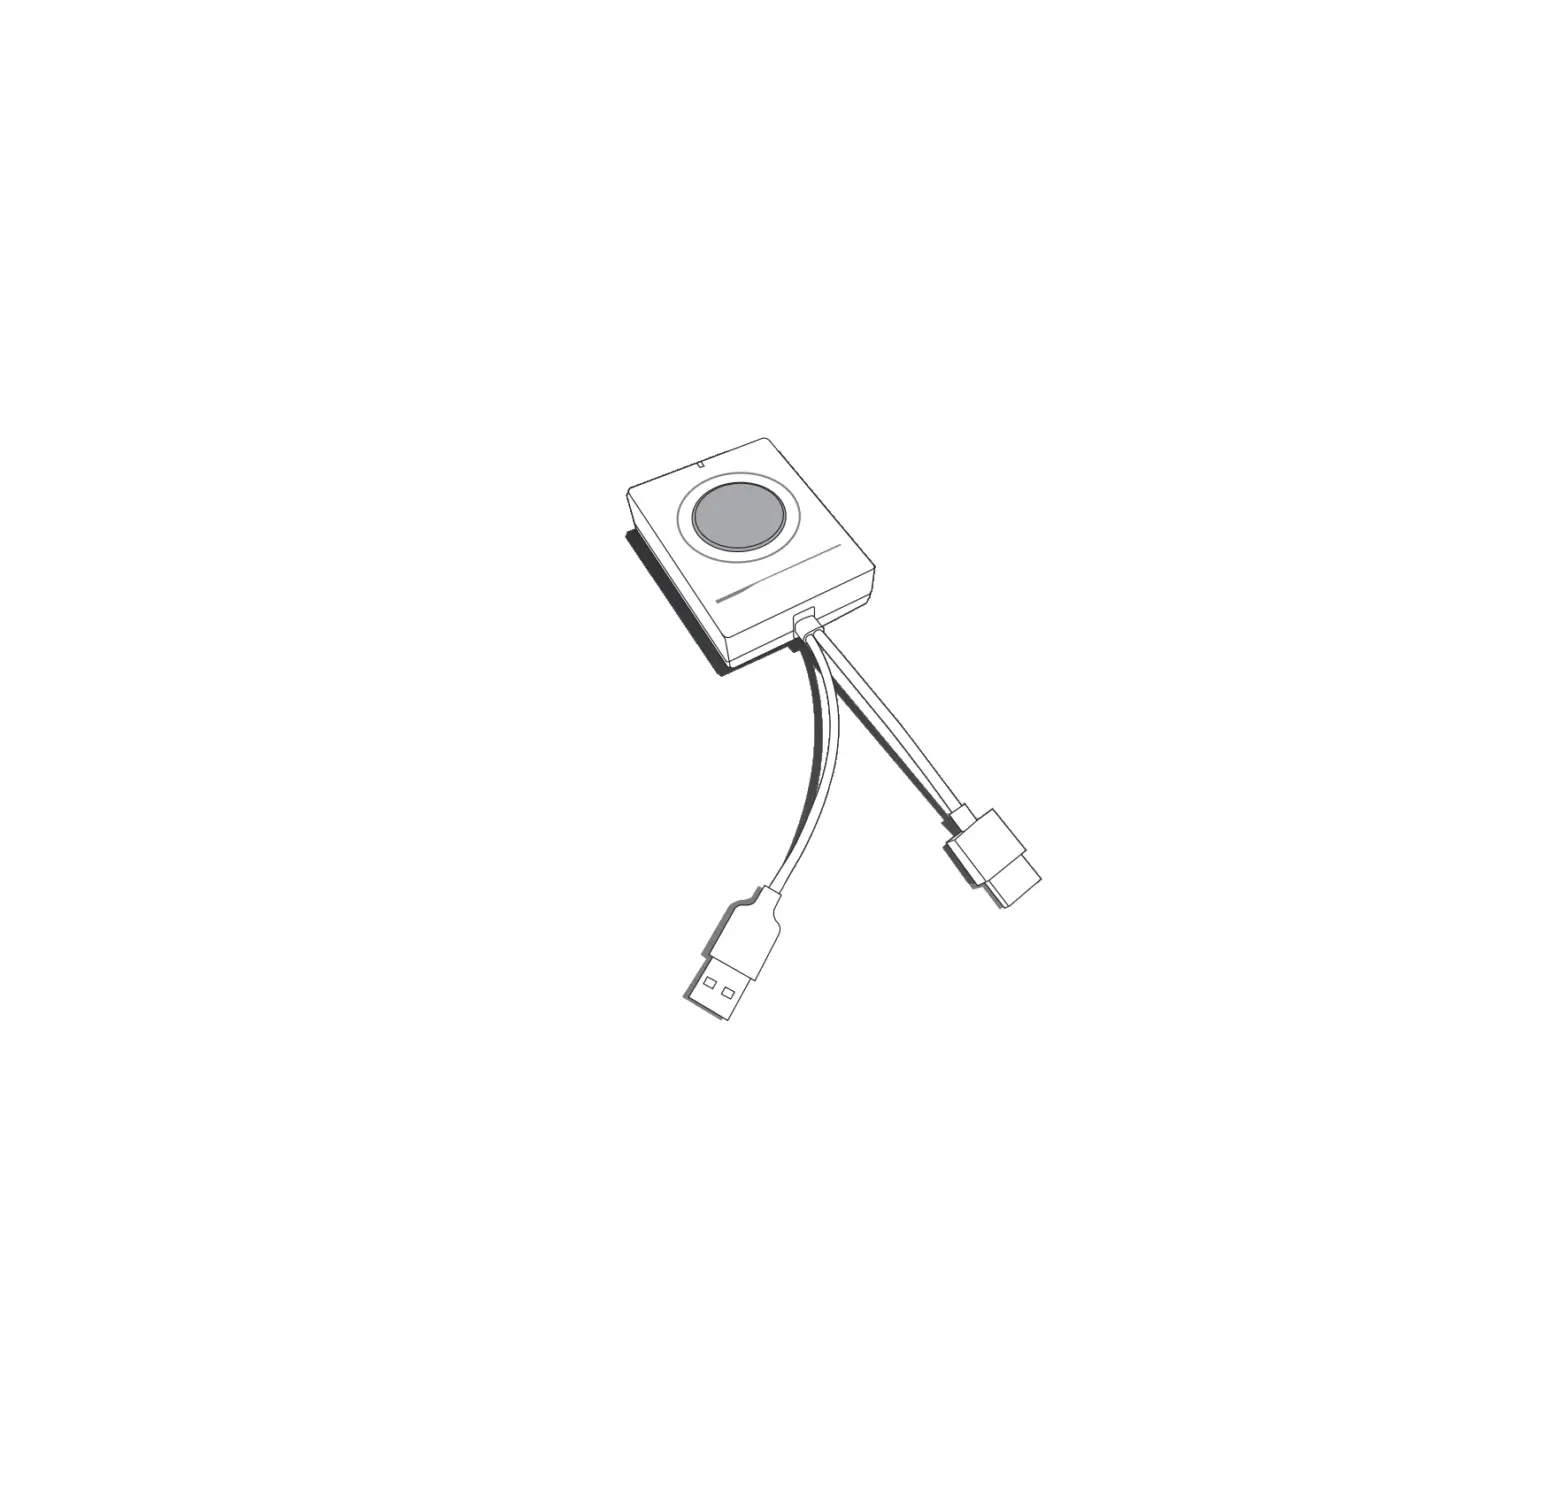
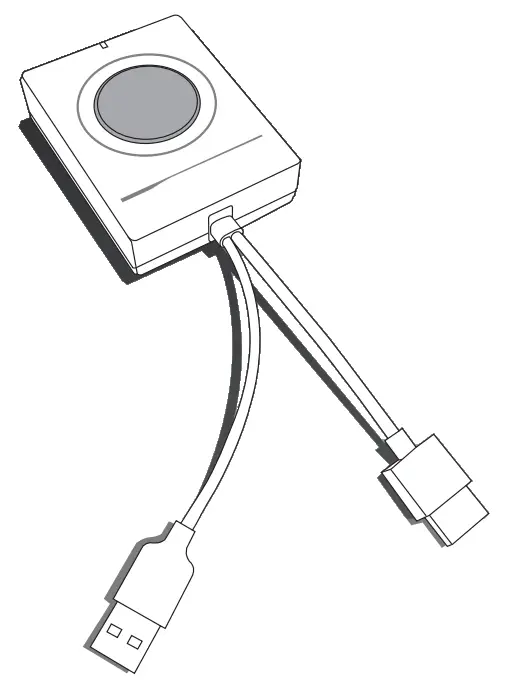
ARECast Wireless Projection Button | |
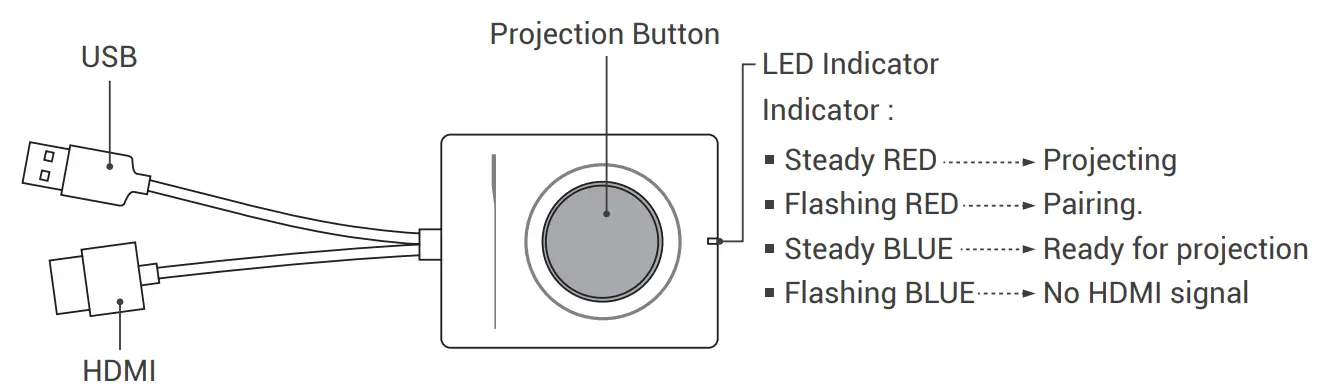
| Interface | HDMI: Audio/Video data capture USB: Pairing/Touch control/Power supply |
| HDMI capture resolution | Up to 4K/60p |
| Output resolution | 1920 x 1080 30p |
| Audio sample rate | 48KHz |
| Button | Press once to start/stop projection |
| Wireless transmission protocol | IEEE 802.11ac (2.4/5GHz) |
| Wireless effective distance | 30m |
| Projection delay | Less than 120ms |
| Bypass HID control | Support Mouse and 10 points touch control |
| Cable length | HDMI: 11cm USB: 12.2cm |
| Dimension | 80(L) x 64(W) x 24(H)mm |
| Weight | 75g |
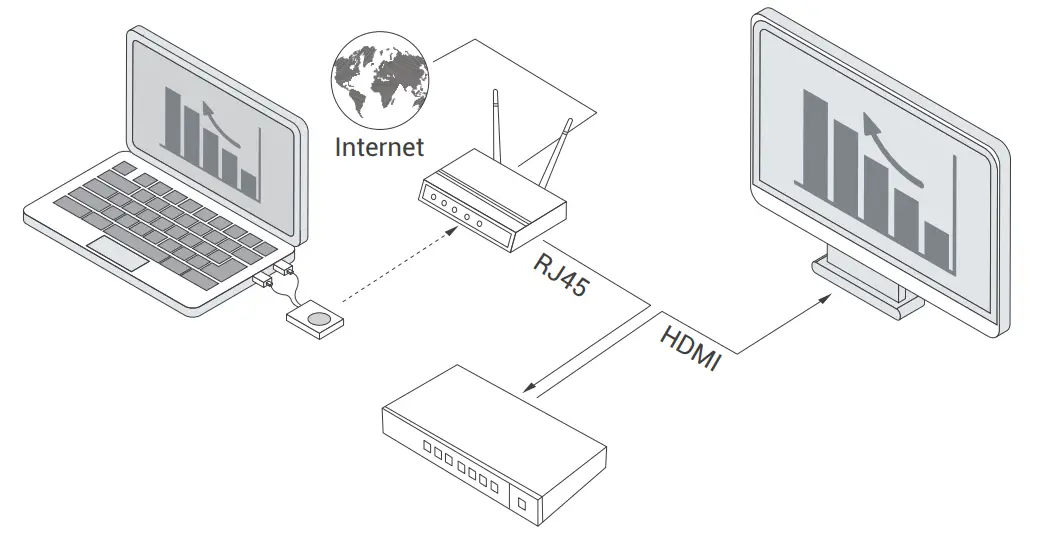
Configuration
* It is recommended to use 5GHz wireless environment instead of 2.4GHz to avoid possible interference problem
Set-up the wireless projection
Before the Set-up:
- Refer to the Configuration Diagram. Connect AREC Media Station to the LAN port of a router and find out the station’s IP address. For example, you can see it on the bottom-right part of the GUI (by default the GUI is available via HDMI output).

- Connect your computer to the same LAN network and open a browser.
- Type the station’s IP address and proceed to the Administrator page. Please refer to the station’s user manual to learn how to log in.
- Via Media I/O -> Video inputs, change Signal type to Wireless projection and enable PC HID control if your screen is an interactive flat panel display (iFPD)


Setting up :
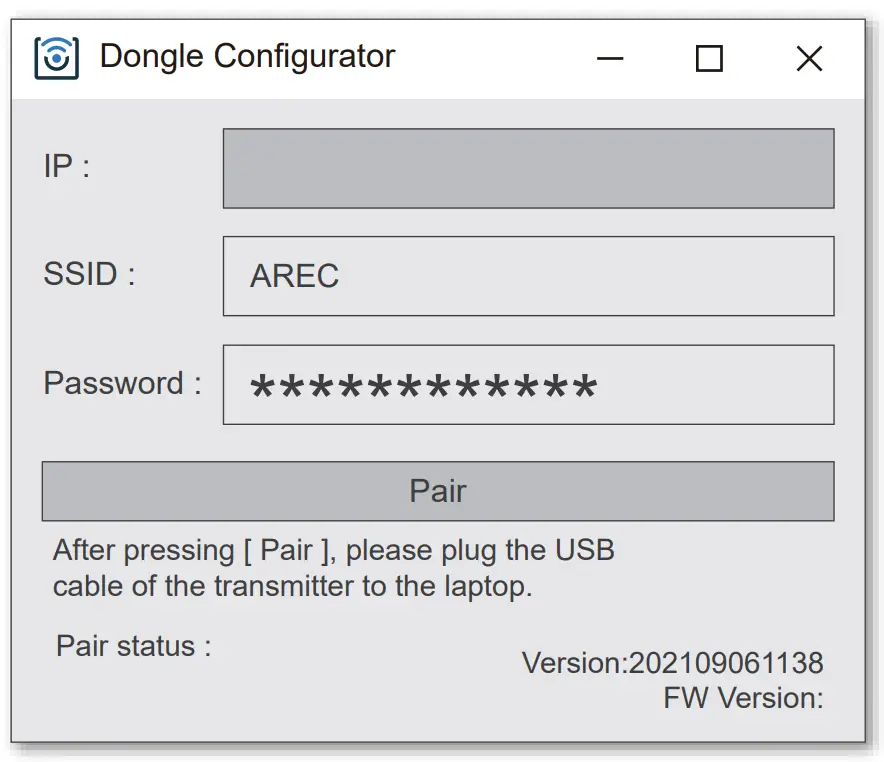
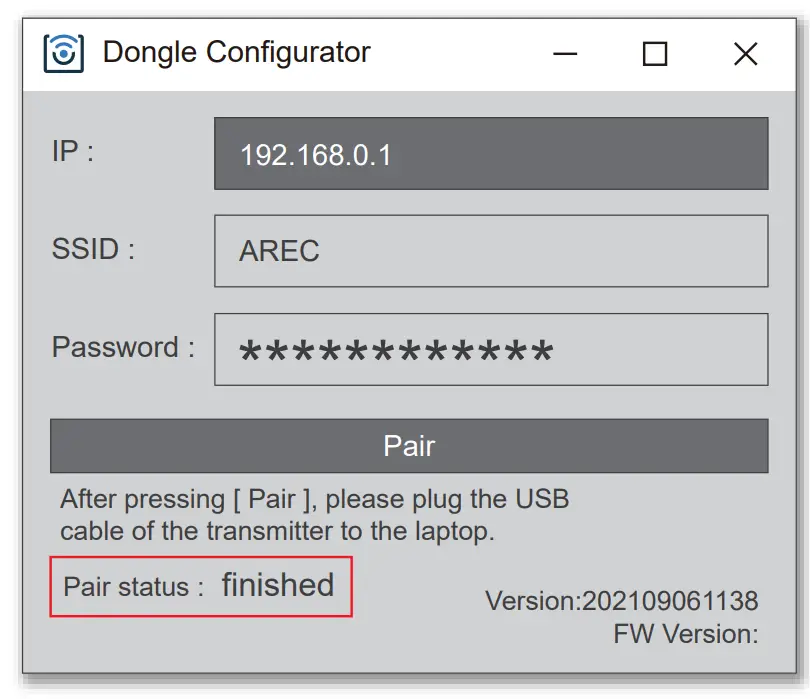
- Run the “Dongle Configurator” software.
Please contact your vendor to get the installation file.
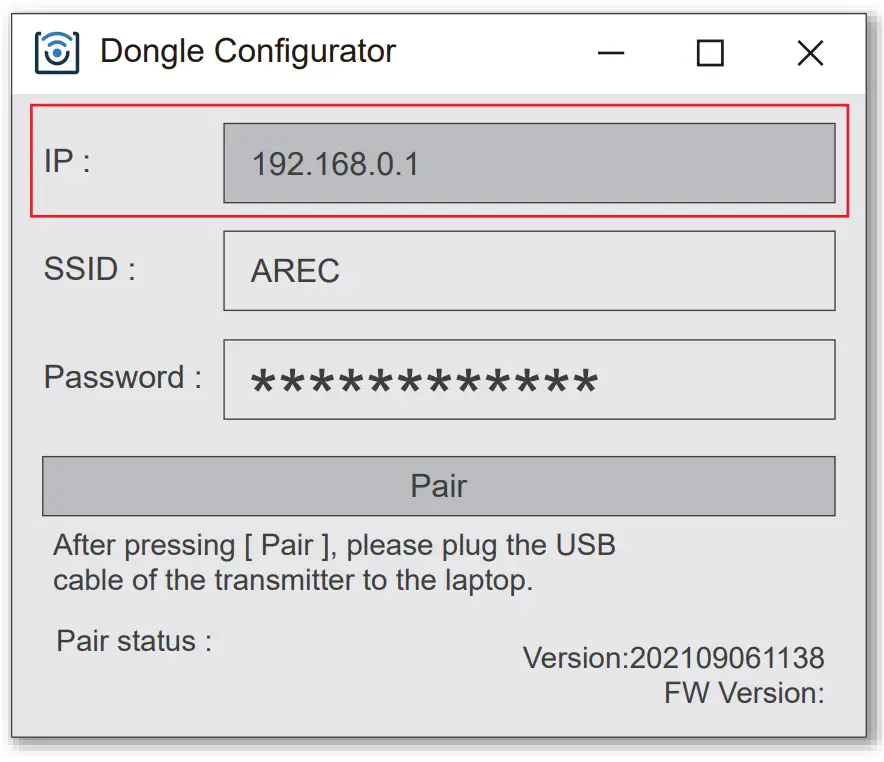
- Type the IP address of your station into the “Dongle Configurator”.
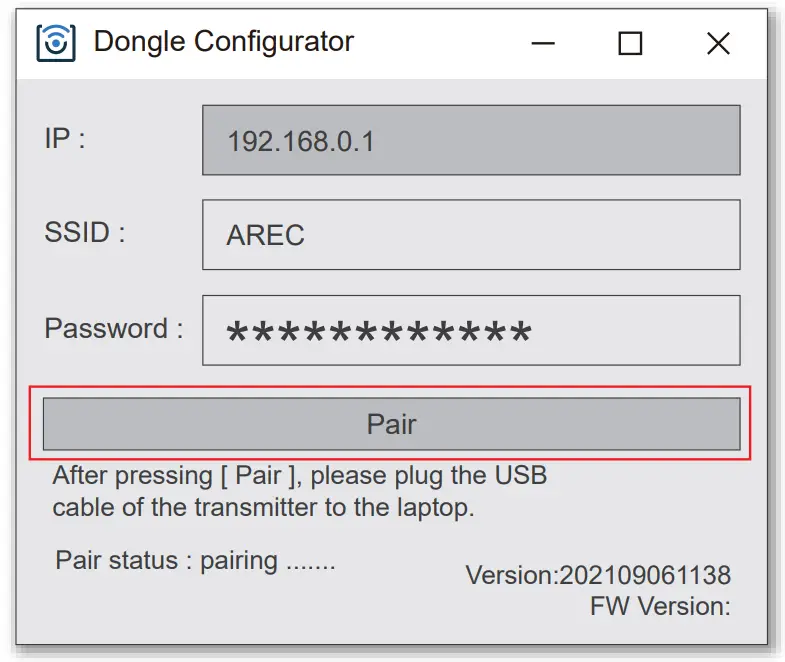
- Press [ Pair ] button to get into paring mode.

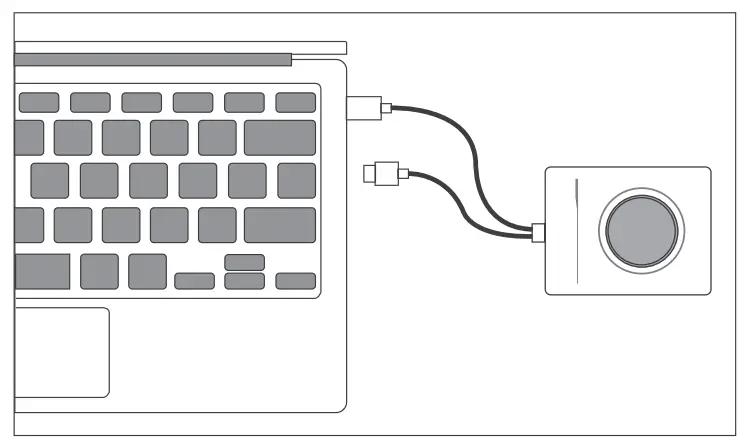
- Connect the USB cable of ARECast to your computer for pairing.

- After waiting for 3-5 seconds, the “Pair Status” will show “finished”.

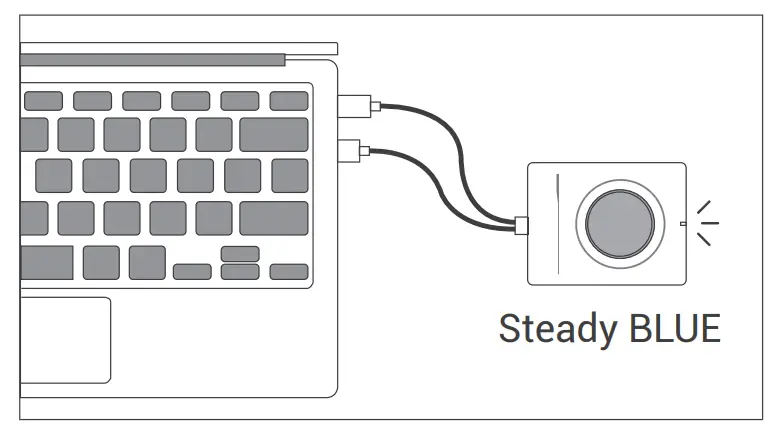
- Disconnect the USB cable first, then connect both the USB and HDMI cables to your computer. ARECast’s LED button will first start flashing red (pairing) and then change to steady blue (ready for projection).

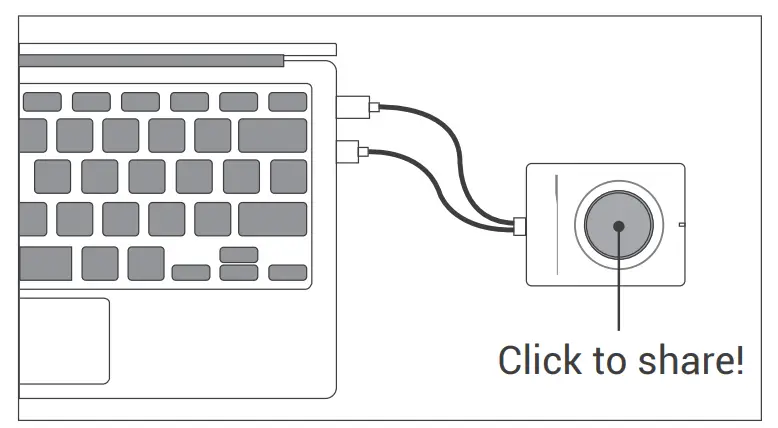
- The device is ready. Press on the button to project!

AREC Inc.© All Rights Reserved 2022. l www.arec.com
All information contained in this document is Proprietary
Made in Taiwan
Version: 2022.1.1